3 granny smith apples ( peel, core & slice ¼” thick, or thinner )
1/3 C granulated sugar
eggs (w/ egg yolk separated)
Jelly – about 2 tablespoons
2 TBL butter + 2 TBL butter
Turbinado sugar for garnish
Cinnamon
Optionally, you can add 1 TBL cornstarch to help your custard set
STEP BY STEP
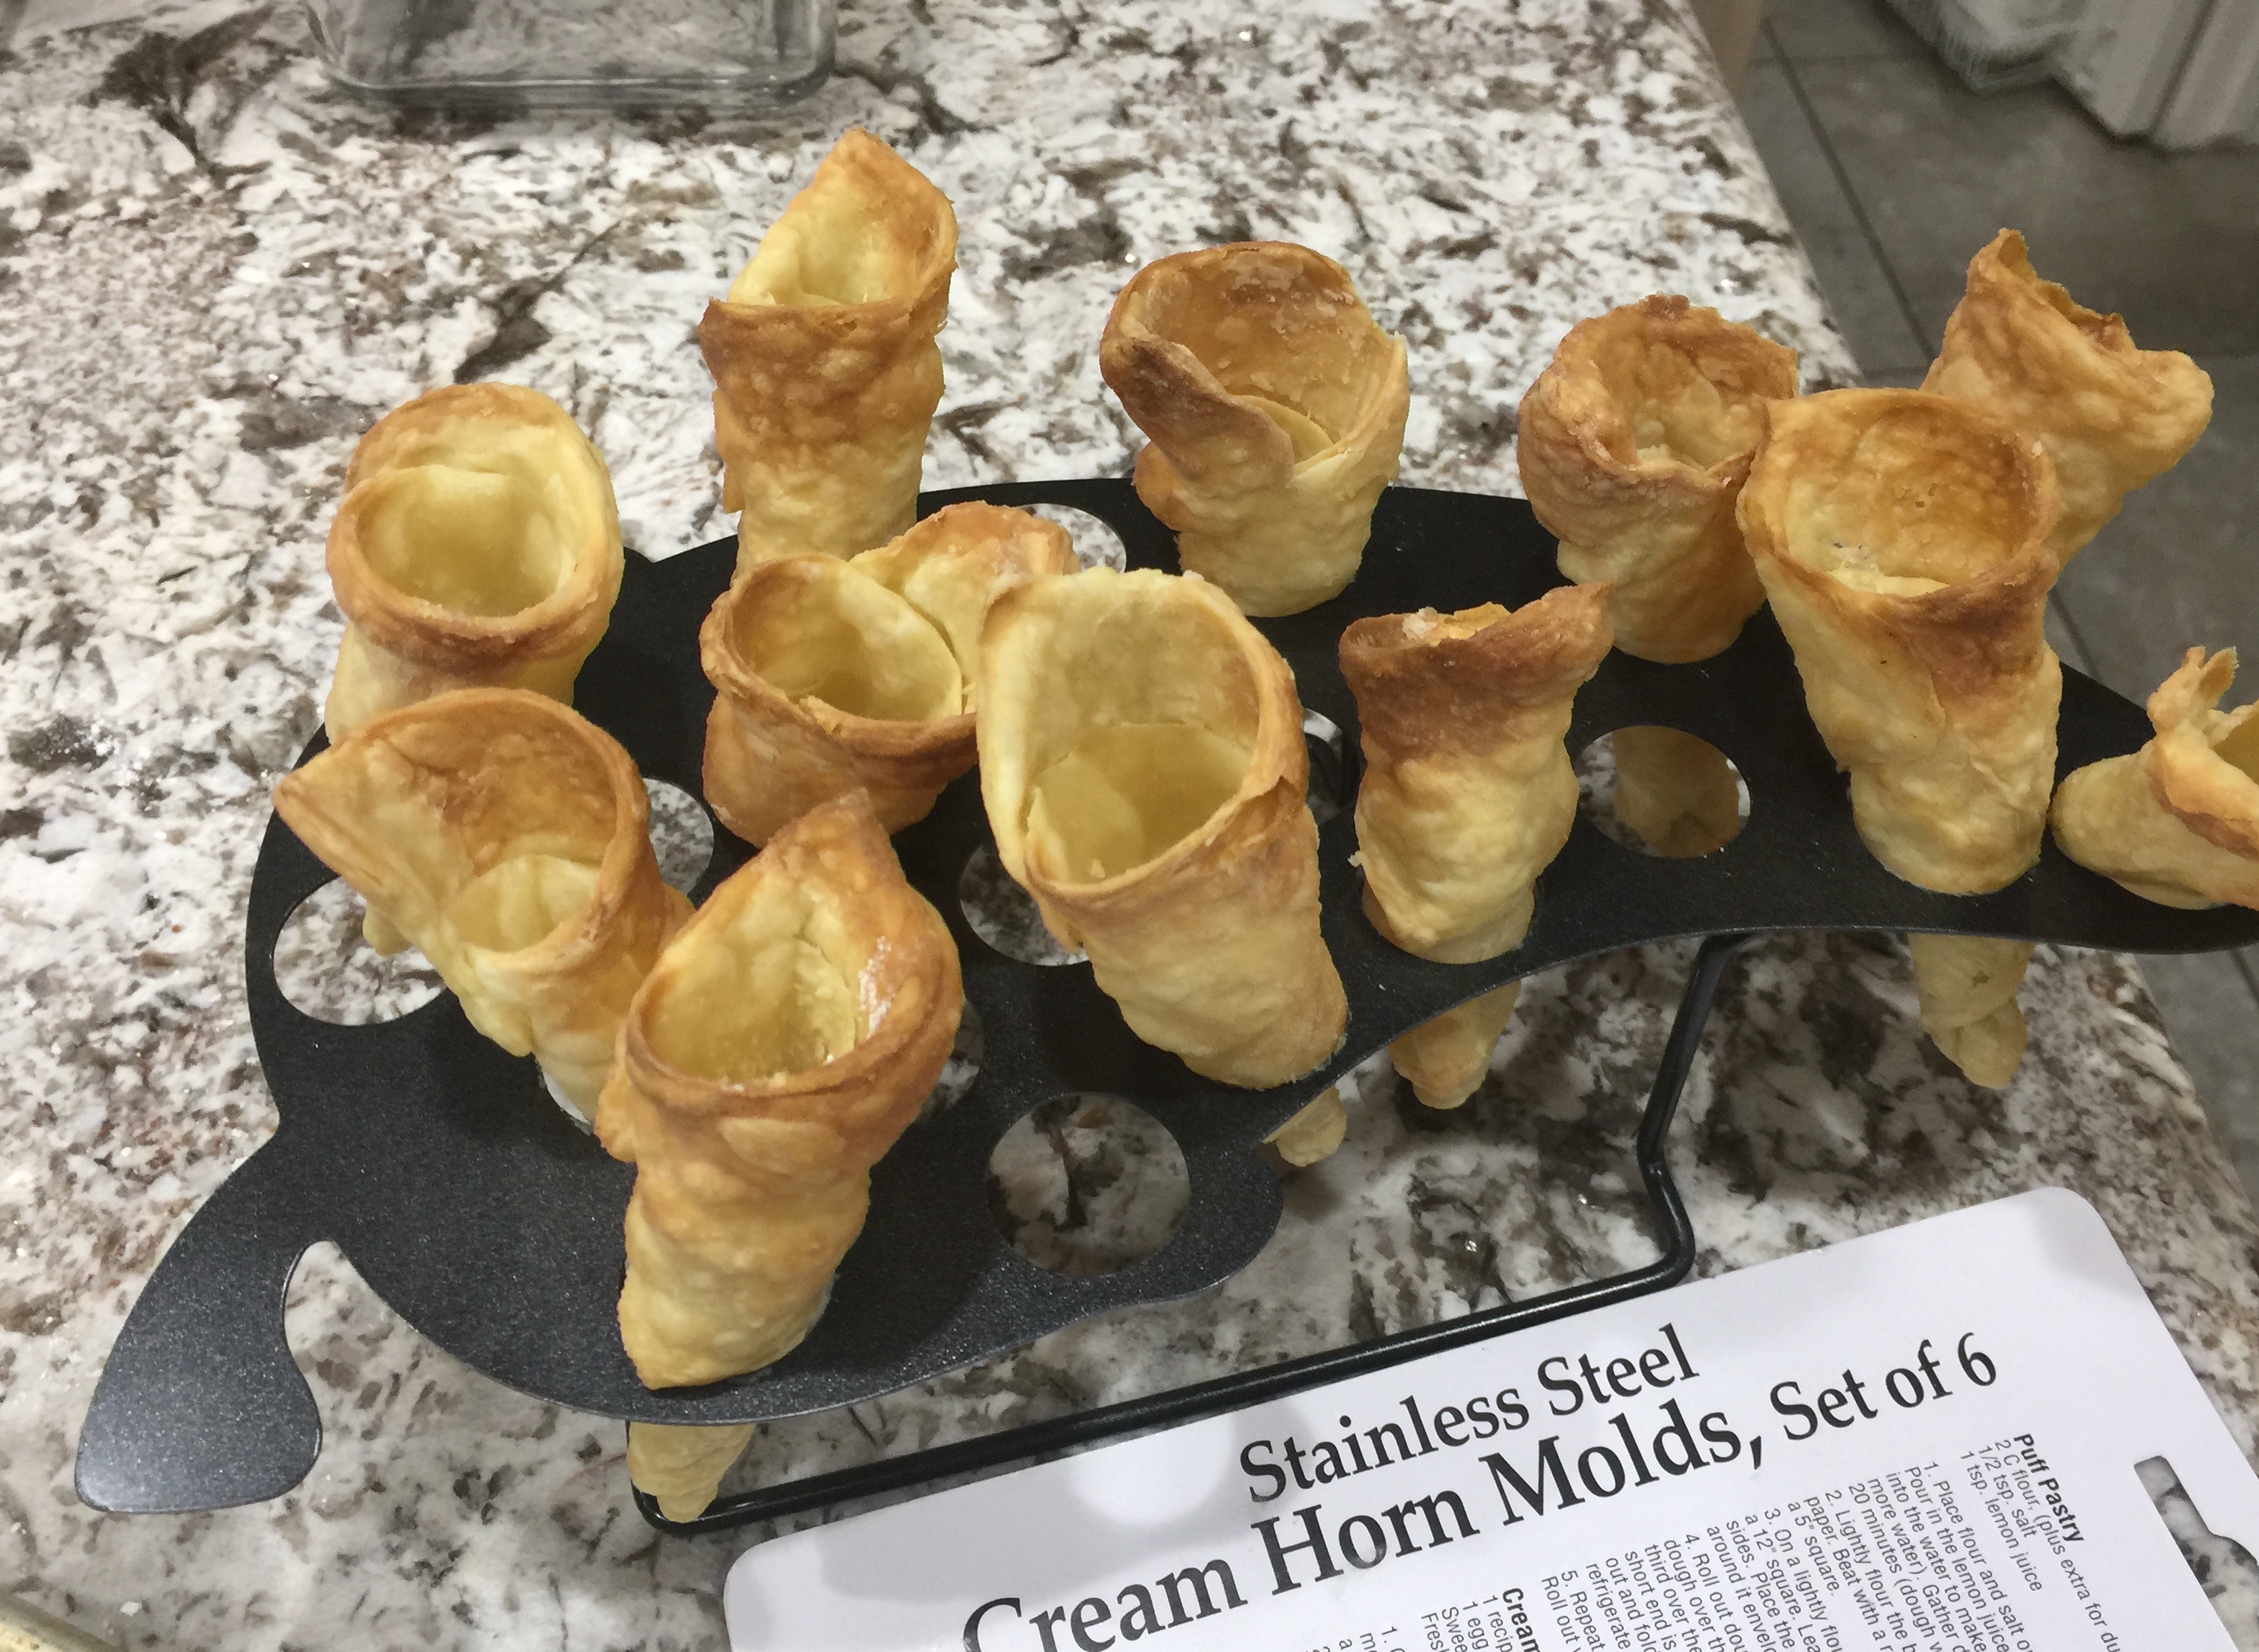
Roll out frozen puff pastry, that’s been thawed, rolled out w/o unfolding to twice size.
OR make your own tart crust. Get a recipe by using the link at the top of the page
Trim edges
Put onto flat baking sheet
Score perimeter with a knife about ½” all around, DO NOT CUT THROUGH. This will allow edge to puff up.
Refrigerate for 10 minutes
Egg wash – brush entire crust, but don’t brush edges outside of the knife mark
Mix apples w/ 1/3 cup sugar
Layout apples in a pretty pattern
To glaze, mix 2 TBL each of butter, water & jelly
Heat glaze in microwave about 30 seconds, and paint on
Also called buerre noiset, brown butter has a subtle nuttiness and enhances some recipes. If you go too far, you get buerre noir, which is black butter.
One of the important points is that some of the milk solids from the butter are OK. When making clarified butter the clear solution is poured off, and the solids are discarded.
INGREDIENTS
1 stick butter
1 tsp vanilla
1 C AP flour
1/4 C granulated sugar
1/4 tsp salt
1/2 tsp baking powder
OPTIONAL: 1/4 C oatmeal plus 1 egg
STEP BY STEP
Melt butter in a sauce pan over low heat until the milk solids turn brown
Pour through a fine sieve into a mixing bowl. Some solids are OK, but there are large chunks which you don’t want
MAKING YOUR TART
Add vanilla to the brown butter, and set aside
In separate mixing bowl sift together flour, sugar, salt and baking powder.
At this point, you may optionally add the oatmeal
Mix brown butter mixture into your flour mixture
Add the egg also, if you have added oatmeal
Mix together till crumbly
Press into a tart pan with a removable bottom
You can use plastic wrap to make pressing easier
Press dressing up the side as well
Chill for about 30 minutes
Dock the crust (poke holes with a fork so it doesn’t puff up
Cover the crush with parchment paper and weigh the paper down with clean pebbles so it stays flat
Bake 350º for 15 – 20 minutes
Remove paper and the pebbles and cook another 5 minutes
Your tart crust is now ready for use. Let it cool before you put custard into it. Keep for up to five days in the fridge.
Blueberries
Lemon tart
Sliced apple tossed with sugar and cinnamon
Strawberry and rhubarb tossed with sugar
Use the link above to explore different tart fillings.
Also called Zabaglione by the Italians, who claim to have invented it.
Basic Lemon Curd
This does not follow all of the rules, but it is about as easy as you can get. I like easy, and this is the way I do it.
You will need a double boiler or a bowl which fits into a saucepan to make lemon curd. This restricts the temperature from never getting hotter than 212º – which is actually too hot for lemon curd, so you still need to be careful. 202º is the perfect water temperature. This also reduces the risk for scorching. You CAN do it in a sauce pan alone, but your chances of failure increase greatly.
The eggs will need to heat between 150º and 170º – NEVER exceed 175º
Limes and Lemons both work really well in this recipe.
INGREDIENTS
lemon zest and juice of 4 lemons
( about 1/2 C )
6 egg yolks
Reserve the whites for an omelet
1/2 cup Karo Syrup
1 dash of salt
1/4 C ( 1/2 stick – 8 TBL ) butter ( cut into tabs )
2 TBL corn starch
Scant vanilla or Grand Marnier at the very end
STEP BY STEP
NOTE: Just the yolk makes custard. Yolk plus lemon makes lemon curd.
Wash lemons.
Info: The lemons and the eggs should be at room temperature. Roll the lemons firmly on a table as a preparation for extracting the maximum quantity of juice from them.
Grate rind, leaving white pith
Info: Using a citrus zester or a fine microplane grater, remove the yellow portion of the lemon rind, leaving behind the white pith (the white part under the rind which is bitter). Put the grated peel (also known as the zest) into a large mixing bowl.
Squeeze juice from lemons into the mixing bowl. Don’t worry about the seeds and the pulp, we will be straining in Step 14. Plus, the seeds have a bit of pectin in them, which will help with your custard creation.
Mix together eggs, sugar, salt, corn starch in a large mixing bowl. Your mixing bowl should be a larger diameter than your stock pot. We will be using the bowl as a double boiler. Cream together the eggs and dry ingredients. This will break apart the strings of white.
Pour the egg into the large mixing bowl.
Fill a large stock pot about 2 inches with water and bring to a rapid boil, then reduce the heat to a light simmer. As I mentioned 202º – 205º is the perfect temperature
Cut your butter into pieces and put into your mixing bowl. This will become your “wok” bowl.
Put your mixing bowl on top of the pot to create kind of a low-temperature wok. This is called a double-boiler.
Everything (except the vanilla) should now be in your double-boiler. You need to stir VERY frequently. About every 15 seconds, at least.
When butter has completely melted, stir continually.
Cook over double boiler until thickened ( 10-15 minutes ) then add your vanilla. Mixtures continues to thicken upon standing. If the temperature of the egg mixture rises above 175 the egg will cook and develop clumps. Ideally, keep the egg mixture temperature between 150 and 170º. The clumps can be removed in Step 14 if this happens.
Put in about 1/2 tsp of vanilla or Grand Marnier.
Put bowl into an ice bath and stir until temperature drops.
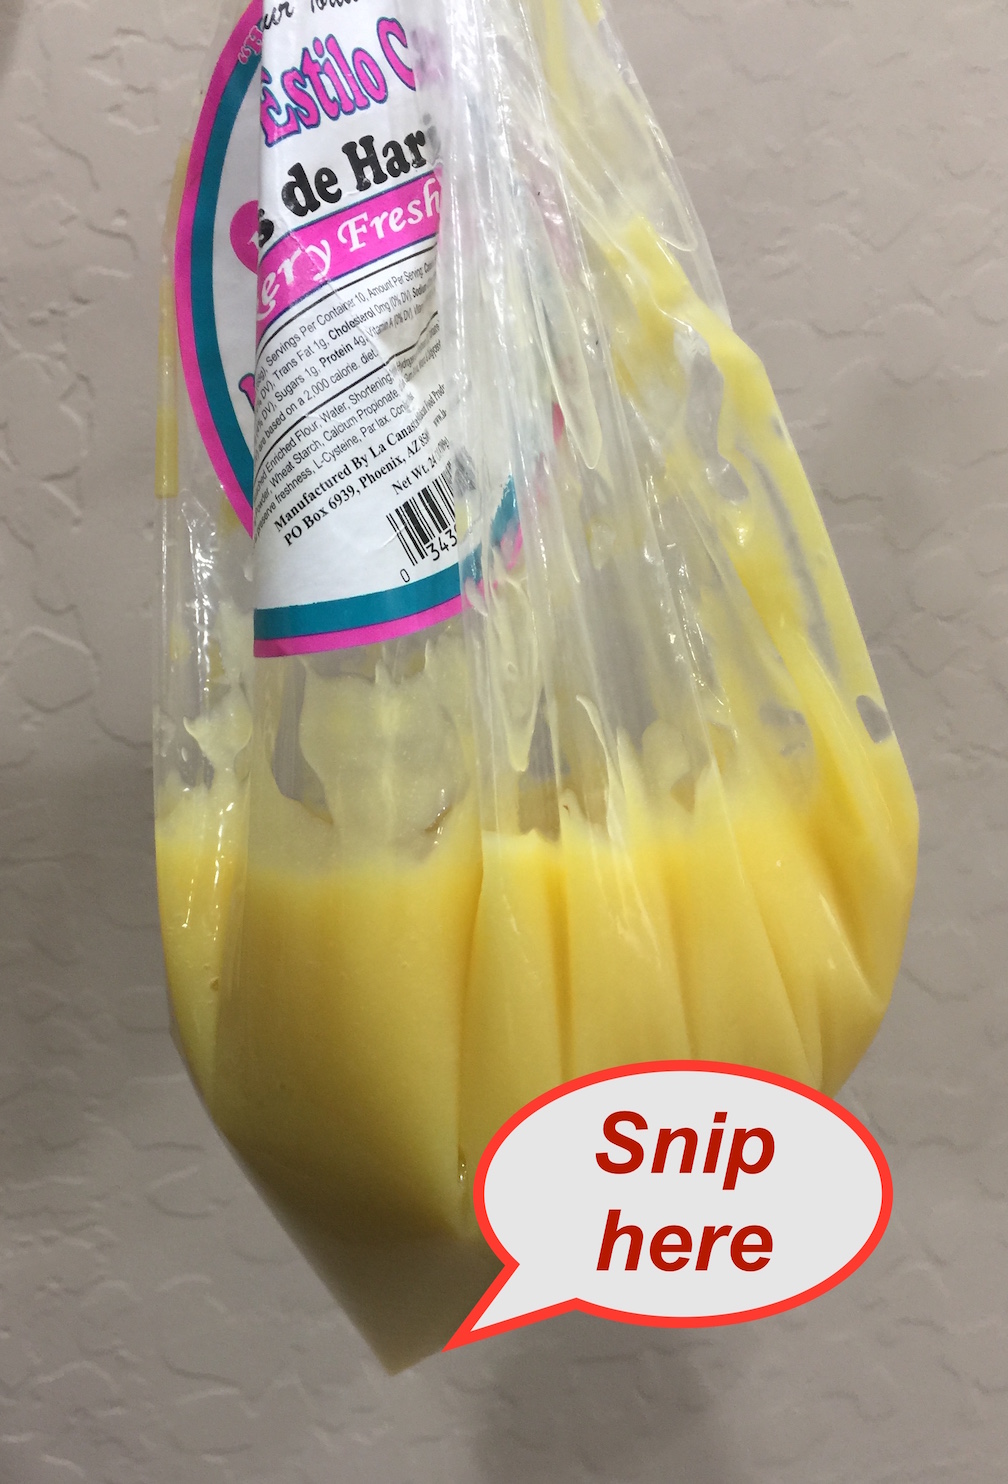
Strain the custard into a measuring cup, lined with a plastic bag.
Cut the merest tip from the bag, and pipe into bowls or dump into tart crust (see recipes at top of this page)
Cool at least an hour before serving
NOTES and ADDITIONAL INFORMATION
Lemon curd is a summer treat which isn’t difficult to prepare.
You can transfer the curd to a clean jar or store in the refrigerator, covered with wax paper.
Use the lemon curd to fill tarts, as a pie filling, or spread on crackers, toast or waffles.
You can also just serve this in a little bowl as a side dish.
Brioche is more of a recipe than an end product. It can be a bun, a loaf, a tart and much more. Design your recipe with the light eggy bread in mind, but shape the bread to whatever you are wishing to create.
This is the first brioche recipe that I’ve cobbled together. If you are planning to entertain in-laws, you are best advised to use this recipe by Epicurious.com (click on the link)
Ingredients and Step by Step
Start about two days before you want your end product
Day One
• Start between 12:00 and 3:00 pm
• If you want to shorten production time, start at 8:00 am and do Day Two production sometime after 7:00 pm
Dough starter (Sponge):
1/4 C warm low-fat milk – approx 100º
1 TBL sugar
2 tsp instant yeast
3/4 C unbleached high-quality AP flour
1 large egg (or two small)
MIX WELL – DOUGH WILL BE EXTREMELY WET
Flour cover mixture:
3/4 C unbleached high-quality AP flour
1 tsp instant yeast
COVER WET SPONGE WITH DRY MIXTURE
LET PROOF 60 MINUTES
DRY COVER WILL DEVELOP CRACKS
After 60 minutes, place in refrigerator overnight
Day Two
Final flour addition:
1/4 C sugar
1/2 tsp salt
3 whole COLD eggs
1 C flour
MIX A FULL 15 MINUTES
ADD 1/4 C FLOUR IF DOUGH SEEMS TOO WET
Butter addition:
8 TBL unsalted butter – Stick and a half – VERY COLD and cut into pieces and mashed into a mass
or freeze for 1 hour and grate into dough
MIX FOR ANOTHER 5 MINUTES – just to blend
Move to a lightly greased bowl, cover, and let rise for 1 hour in a warm place
Gently reshape dough, folding over several times, to redistribute the yeast, then cover and let rise overnight in the refrigerator. If you are in a hurry 6-8 hours is sufficient, but overnight helps develop more flavor.
HOW YOU SHAPE YOUR BRIOCHE, DEPENDS ON WHETHER YOU ARE MAKING A LOAF OR A TART
IF YOU ARE MAKING A TART, YOU WILL ROLL YOUR DOUGH ON THE NEXT STEP – FOR A LOAF, SHAPE A BALL.
Day Three
or Day Two, late in the day
Pull the dough out and shape into desired shape
If a tart, flatten the large ball of dough into a large circle, then roll the edges up to create a round container
OTHERWISE
Roll into a rope and cut in half, again and again and again until you have 8 or 16 pieces and form each into a ball
ALTERNATELY
Roll quickly into a rope, then tie a knot: (1) Make a hole and stick one end into the hole, then (2) bring the other end around the back and stick it into the hole. (3) Lay flat on your tray.
Put onto a silicon baking sheet and let rise uncovered for an hour in the refrigerator
Remove from fridge and allow to rise for another 30-60 minutes
Preheat oven to 425º 1 hour before baking. You want the temperature to be stabilized. Place a large cast iron skillet on the bottom shelf to help maintain a constant temperature.
If a glaze is desired, use 1 egg yolk and 1 tsp of milk. Allow glaze to dry for 5 minutes, then brush a second time. For a dessert brioche, sprinkle on Turbinado sugar after the second egg wash.
Bake for 10-15 minute or until the internal temperature reads 190º – Cool for at least 2 hours.
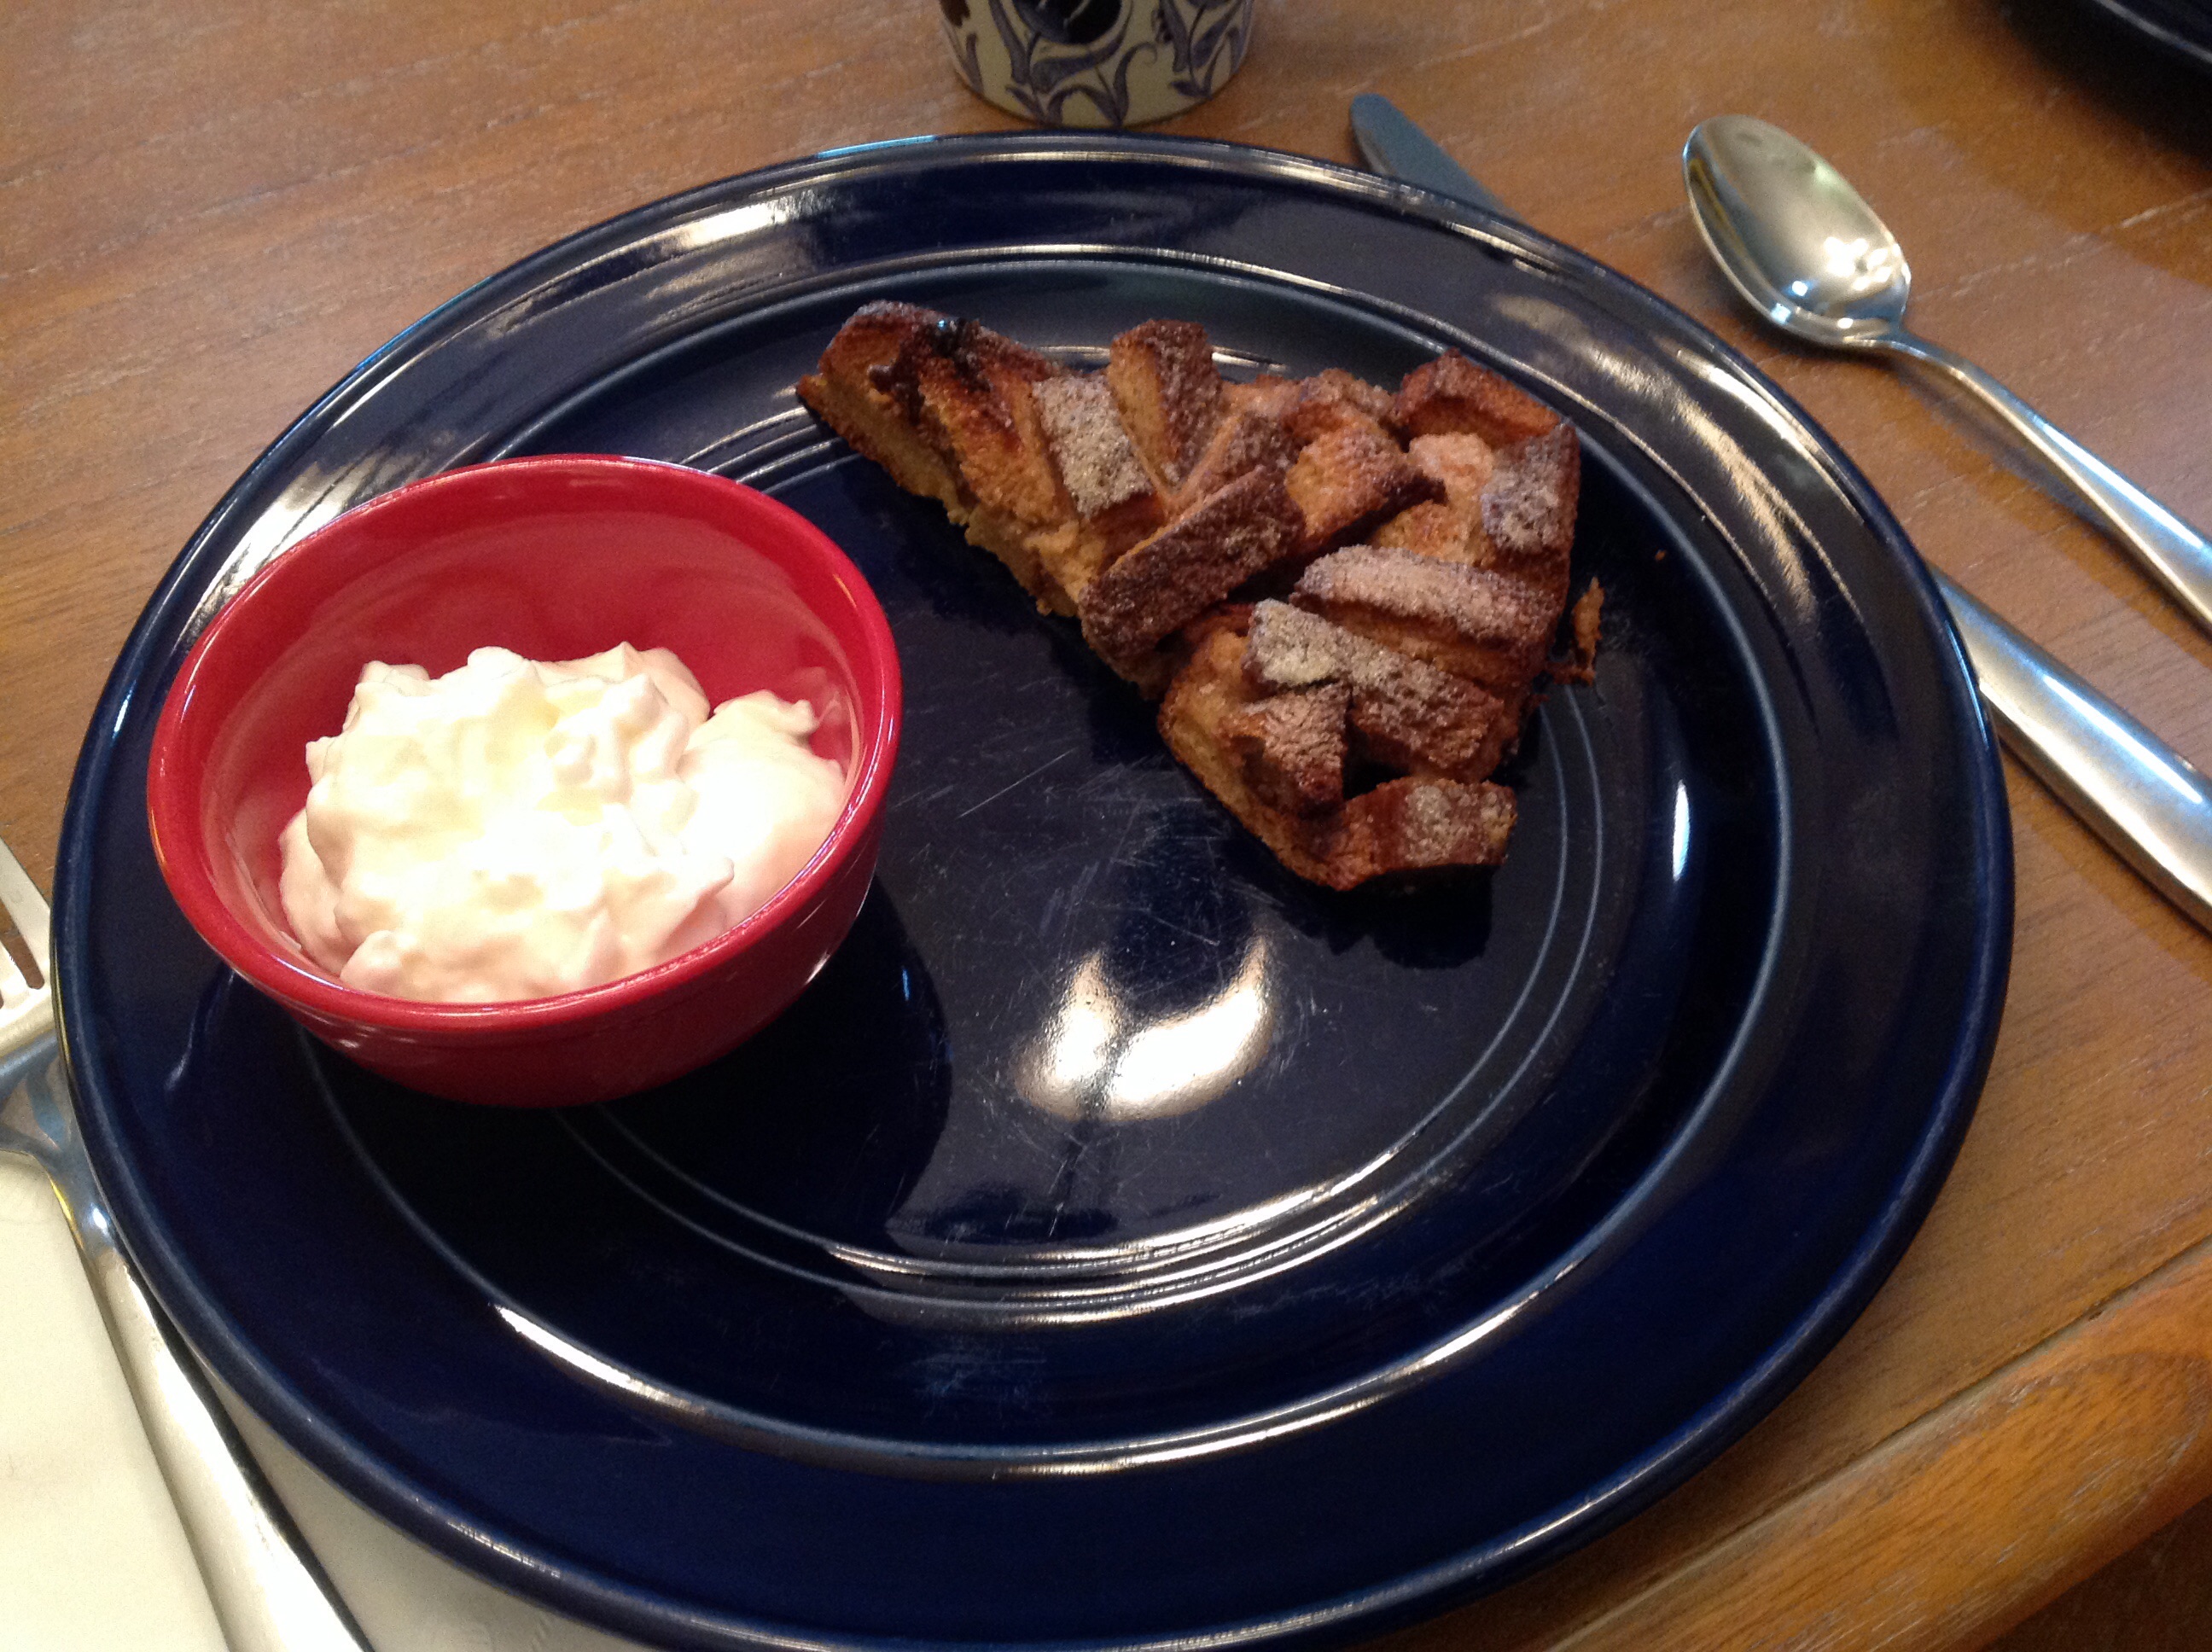
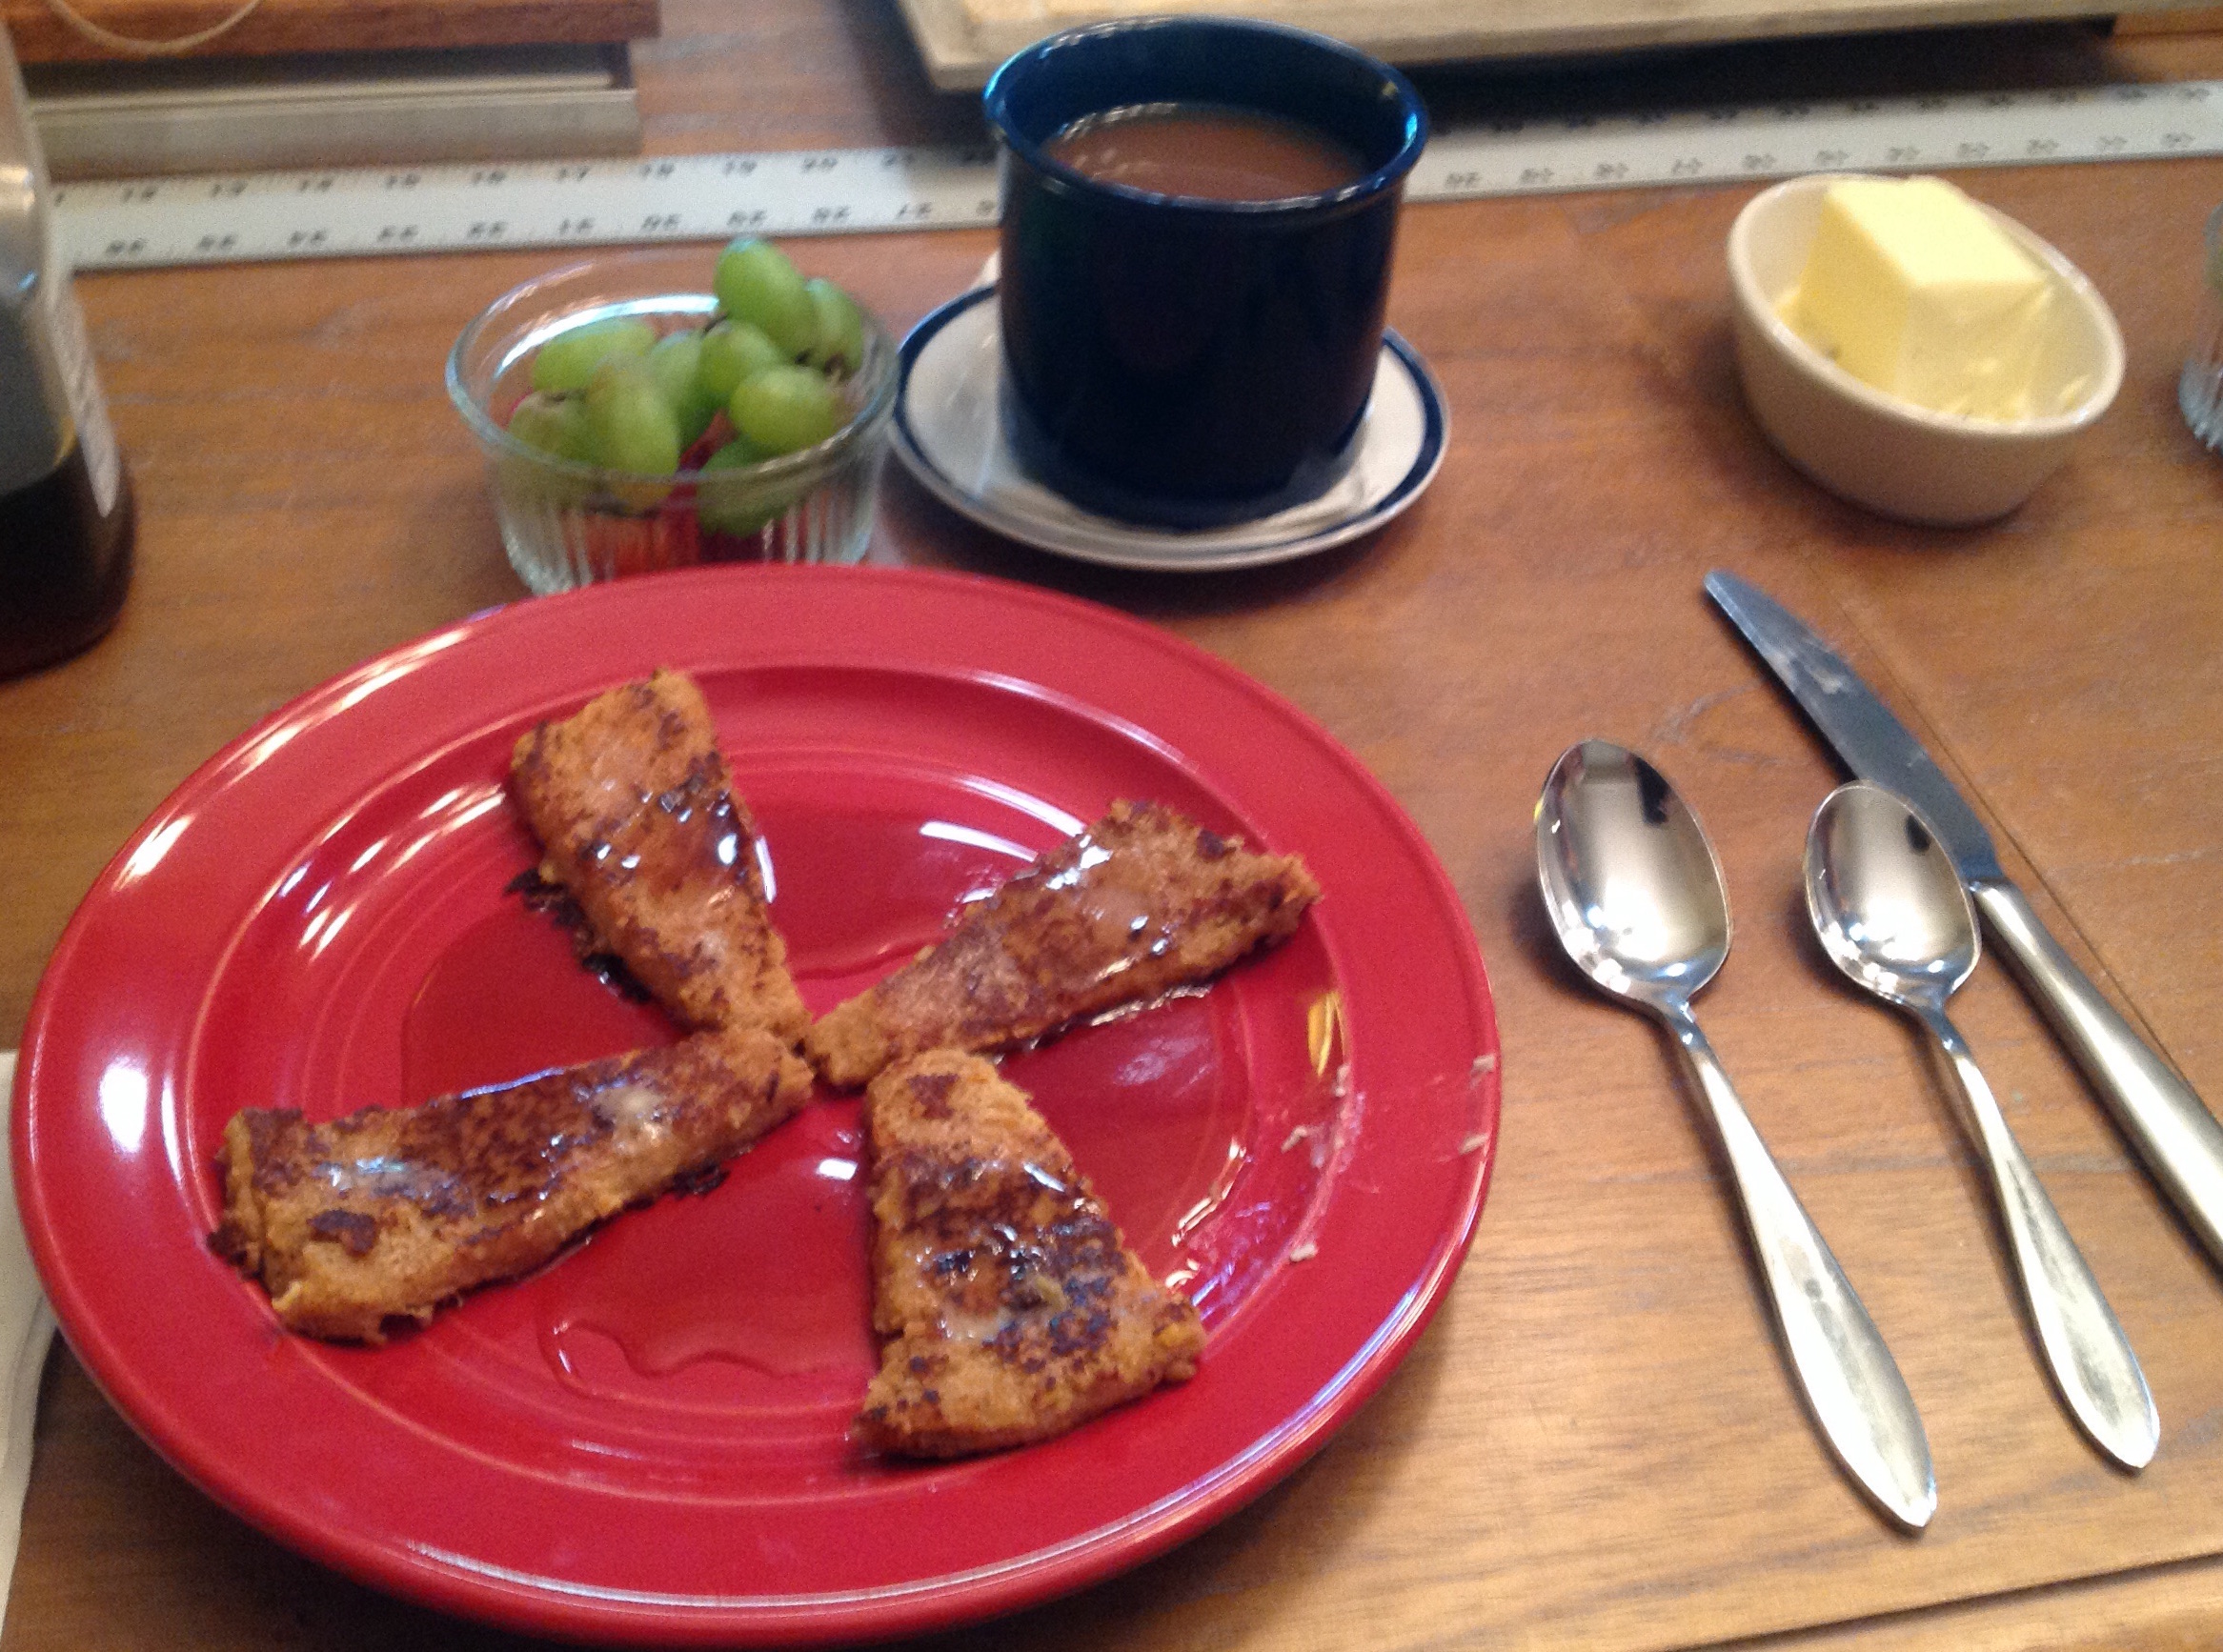
Recently the IRC has started to issue Bread Shares. With this program you get baked goodies, fresh from the oven. Tuesday will remain the distribution day, so as the weekend rolls around, here is a recipe you might want to try. This recipe will make two small casseroles.
INGREDIENTS
2 C fresh French bread cut into 1/2 inch cubes.
1 Apple cut into 1/2 inch cubes (Peel if you prefer)
1 egg
1 TBL sugar, brown sugar or honey
1/4 C whole milk
1/4 C cream, buttermilk or half and half
2 tsp Grandpa’s CinnaSugar®
1/2 tsp vanilla
Optional: Turbinado sugar for garnish
STEP BY STEP
Mix sugar, cinnamon and nutmeg together before putting it into the liquid, or it will clump. Set a bit aside for glaze.
Toss cut apples in the sugar mixture to coat. You can also add dried raisins or cherries
Remove coated pieces into a small bowl and set aside
Crack the egg into the remaining mixture and beat to mix thoroughly
Add milk and vanilla with the egg mixture
Don’t use skim on this, as the fat is needed to keep the bread from getting too soggy
If you want to avoid milk with animal fats, use yogurt instead of milk.
Gently fold the bread into the liquid and let set five minutes
Lightly grease your casserole dishes
VERY gently fold the fruit in with the softened bread
Transfer to your baking dishes
OPTIONAL: Sprinkle Turbinado sugar lightly over the top
Bake at 350 for 45 minutes
Grandma likes hers “turned out” to cool. I like mine to stay warm and leave it in the casserole.
Serve with a small side dish of yogurt or a glass of milk
OTHER THOUGHTS
Some people say to leave the bread out overnight to get a bit hardened, but I prefer to use a fresh robust loaf like French bread
If you like it wit a bit more body, add 1 TBL oat bran, wheat germ or raw oatmeal.
You can also add a chopped banana or sliced apples into this for great taste and texture
Flatten your red bell and put it under the broiler. This will become your sauce
Chop up meat
Mix and combine with cheese and fresh red bell
One serano chile
Fresh cut cilantro
Basil chiffonade and chop
Salt
Stuff the poblano
Cook 10 minutes at 350º RED BELL PEPPER SAUCE
Blend (puree) sauteed shallot, garlic and roasted red bell, chicken stock, salt and pepper
Put into skillet and heat to reduce
Serve stuffed pepper on a bed of the red bell pepper sauce
Stuffed Mini Peppers
A bag of what I like to call mini peppers from the supermarket.
WASH and dry before using
Blacken over a gas burner, with a torch or under the broiler about five inches from the heater element – or on the grill.
After they have blackened put them into a glass bowl and seal with plastic wrap.
Let stand ten minutes to loosen the skin, then peel off. DO NOT RINSE.
Use a paper towel to scrape off most (not all) of the blackened skin
Peppers Stuffed with Cream Cheese
INGREDIENTS – OPTION ONE
Photo from www.aspicyperspective.com
Cream cheese
Goat cheese
Grated cheddar
Ground basil
Cilantro – chopped
STEP BY STEP – OPTION ONE
Prepare peppers as shown above
Stir together cream cheese, goat cheese, grated cheddar, ground basil and cilantro.
Put a slit into the side of the pepper and carefully remove the seeds and the veins as much as possible.
Spoon cheese mixture into the peppers pressing gently to close the slits. Do not overstuff.
Return peppers to the pan (slit side up) and bake 10 more minutes.
Sprinkle with salt and pepper and top with chives.
Peppers Stuffed with Meat
INGREDIENTS – OPTION TWO
Photo from theitaliandishblog.com
1 LB uncooked Ground pork, chicken, beef, or whatever you prefer
Salt and pepper to taste
Handful of Panko bread crumbs
1 egg
1/4 chopped green onion
SAUCE – OPTION TWO
1 TBL EACH – Soy, fish or oyster sauce, mirin
2 TBL EACH – Sake, sugar
1 tsp cornstarch in 1 tsp sake (hold aside)
STEP BY STEP – OPTION TWO
Cut pepper in half length wise – remove seeds, stem and veins
Mix together all of the above ingredients ( for the stuffing – not the sauce )
Shake the halved peppers gently in a bag of flour
Carefully pack the stuffing into the pepper
If you are able to do it at the same time, prepare sauce while the meat and pepper are cooking – otherwise, do it now and then set it aside. Use cornstarch to thicken or sake to thin
Fry MEAT SIDE DOWN in safflower oil for about 3-4 minutes
Flip in skillet to give a light fry to the pepper itself