 This is the recipe we created in 2012. CLICK HERE for our recipe that we created in 2013.
This same process can be used for making Apple Butter
We made apricot butter, but you can make apple butter, pear butter, or whatever spread you want using the same recipe.
INGREDIENTS
- 1 cup fruit pulp
- 1/2 cup + 1 TBL sugar
- 1/4 cup water or fruit juice
- Optional – Fruit Fresh or Spices
- Zest and juice from one lemon
EITHER
- 1 teaspoon Fruit Fresh, or
- 1/2 tsp each cinnamon, cloves, and/or Ginger
STEP BY STEP
 Multiply or decrease other items based on how much fruit pulp you have.
Do not try to process more than 8 cups of fruit pulp
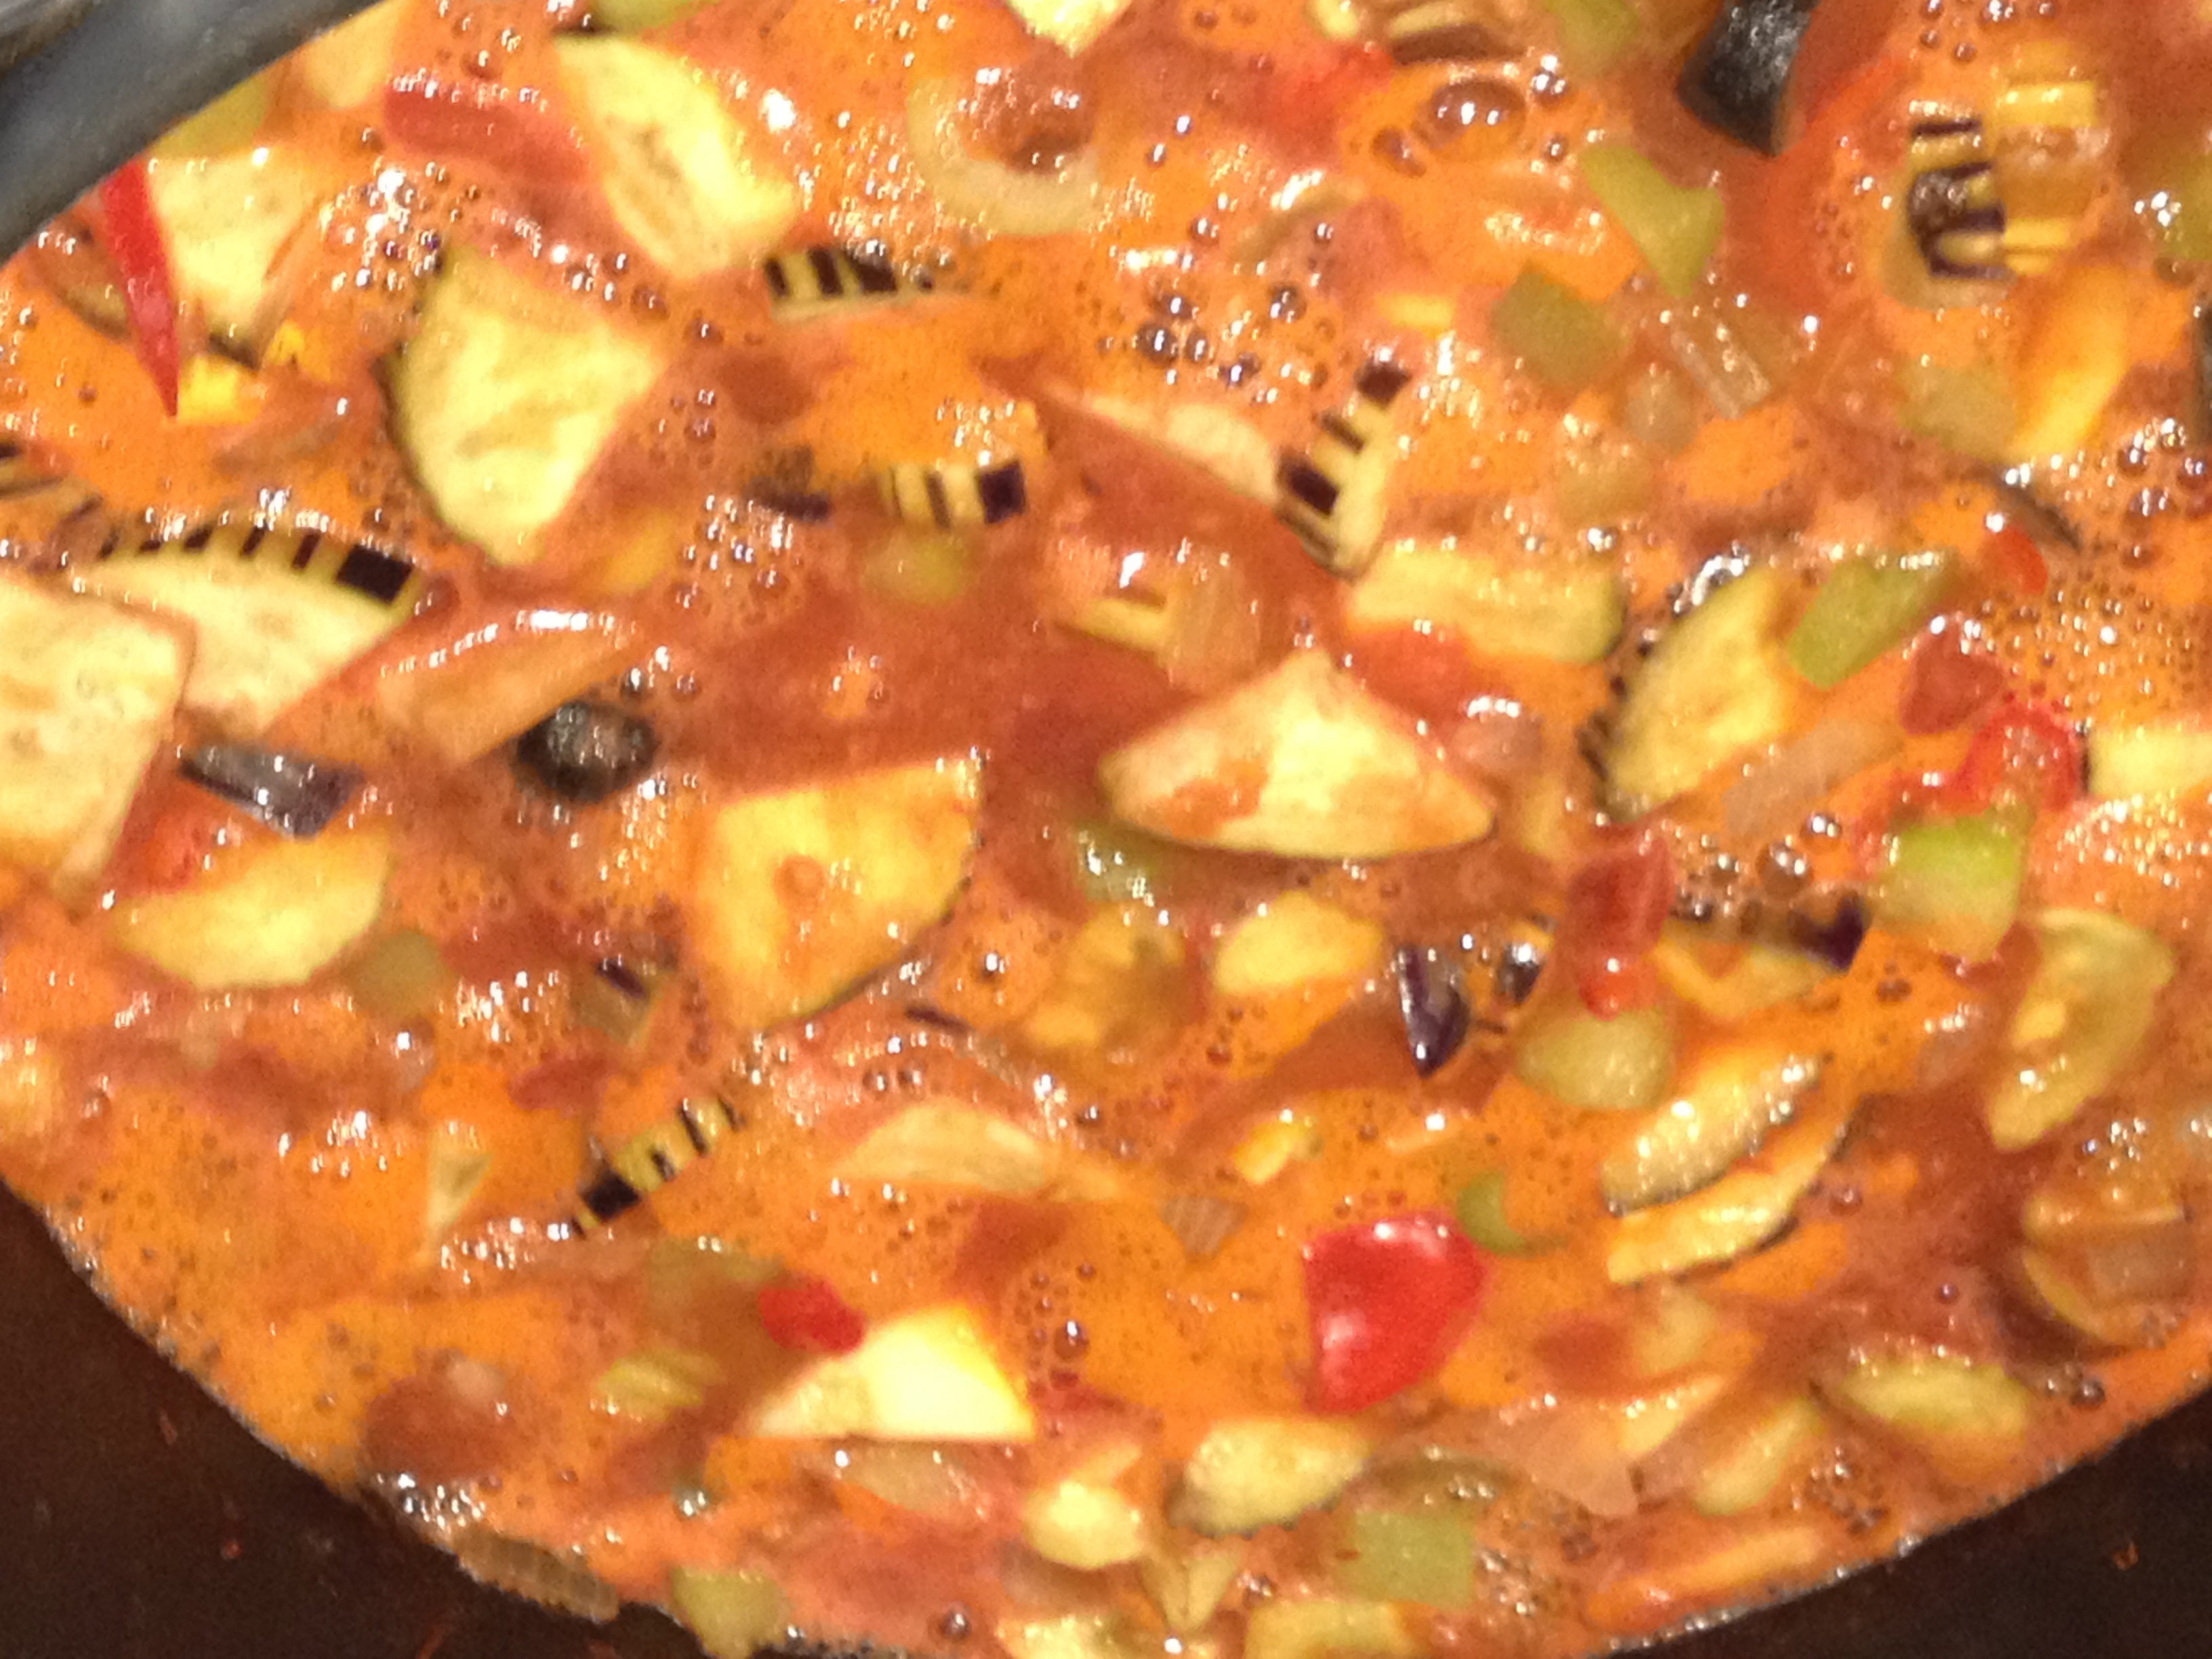
- Mix pulp, sugar, and water and heat over low heat until mixture starts to simmer
- Raise temperature on stove, and bring mixture to boil stirring frequently
- Continue gentle boiling until mixture thickens – stirring constantly
Note: this took us about 45 minutes. Unfortunately this can take as long as 60 minutes.
- Mix in Fruit Fresh or spices plus the lemon
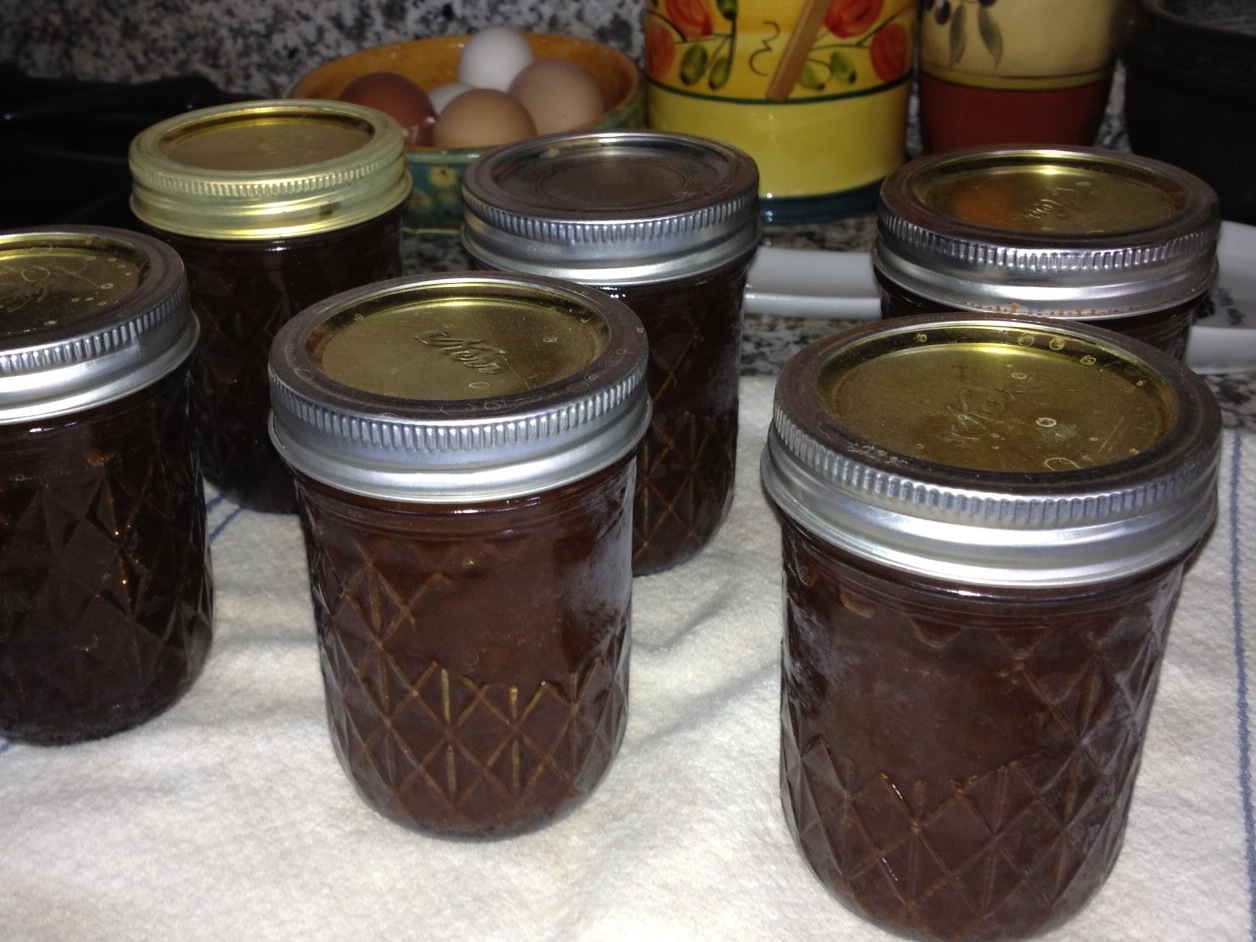
CANNING YOUR APRICOT BUTTER / APPLE BUTTER
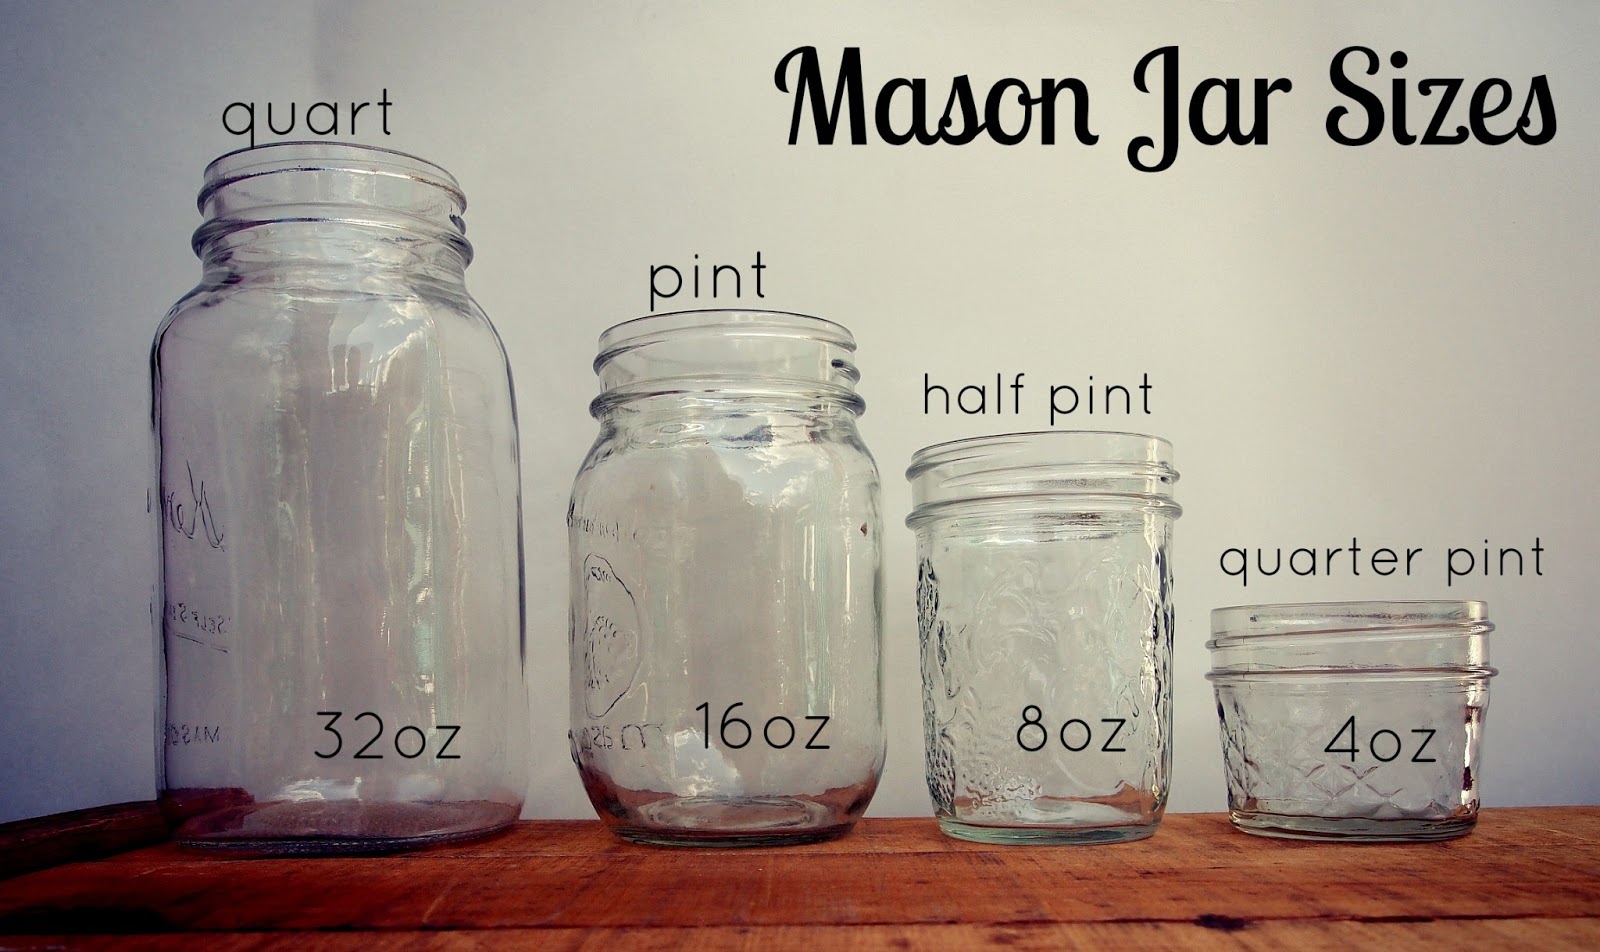
- Sterilize your jars, canning funnel and ladle in the hot water
- Remove a jar and place near the pots. Drop a lid into the water.
- Ladle your jars full just to where it touches the bottom of your canning funnel – about 1/2 inch from the top
- Wipe the rim clean.
- Remove the lid from the hot water bath and cover the jar of butter. Tighten very firmly, but do not bear down.
- Repeat until all jars are filled.
- Place jars in hot water bath, completely covering the top of the jar.
- Bring the temperature of water to over 190°. Simmer at 190° or higher for 20 minutes. DO NOT bring up to a full boil.
- Remove and wait for the happy little PING.
- Butter can be stored in a cool dark place for about a year.
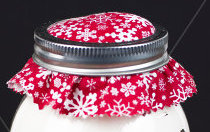
Just for pretty, after the cans cool you can remove the ring, put a piece of nice fabric over the top and put the ring back on.
 2 TBL
2 TBL