NLOF
- 1 C Leftover shredded pork or shredded corned beef
- 1/2 onion, sliced thin
- 2 C shredded potatoes
- 2 eggs
Mix well, then put into greased waffle iron for 5-6 minutes
Feel free to browse.
NLOF
Mix well, then put into greased waffle iron for 5-6 minutes
Make a large, fairly thin pancake – almost like a crepe
SAVORY: Add cheese, sausage, scrambled eggs, tomatoes, green onion, avocado, and hot sauce
FRUITY: Spread with almond or peanut butter or cream cheese, then the fruit.
Kiwi, strawberries, blueberries – toss with pancake syrup
Mini dark chocolate chips or brown sugar
OPT: Toasted coconut
Top with yogurt
Recipe for Mayonnaise from Scratch
A sweet, tangy, creamy dressing that tastes remarkably close to the bottled original — makes enough to dress one 14-oz bag of coleslaw mix.
Taste before serving — the sweet/tangy balance is where people tweak this most. Less sugar (some cut it to half) makes it less sweet; a bit more vinegar or a splash of lemon juice brightens it if it tastes flat. Regular mayo gives the closest texture; light mayo works but comes out slightly thinner. Keeps about a week refrigerated (store dressing and slaw separately — don’t dress the whole bag if you won’t eat it all right away).
That’s the classic copycat formula — mayo base, sugar, vinegar, and a touch of mustard, with celery seed doing most of the work getting the flavor right. A few notes on getting it close:
If you’ve had the Southern Style version (the cooked/boiled one with egg, sold in jars in the dressing aisle rather than the refrigerated section) and that’s the one you’re after instead, let me know — it’s a different recipe entirely.
Tips:
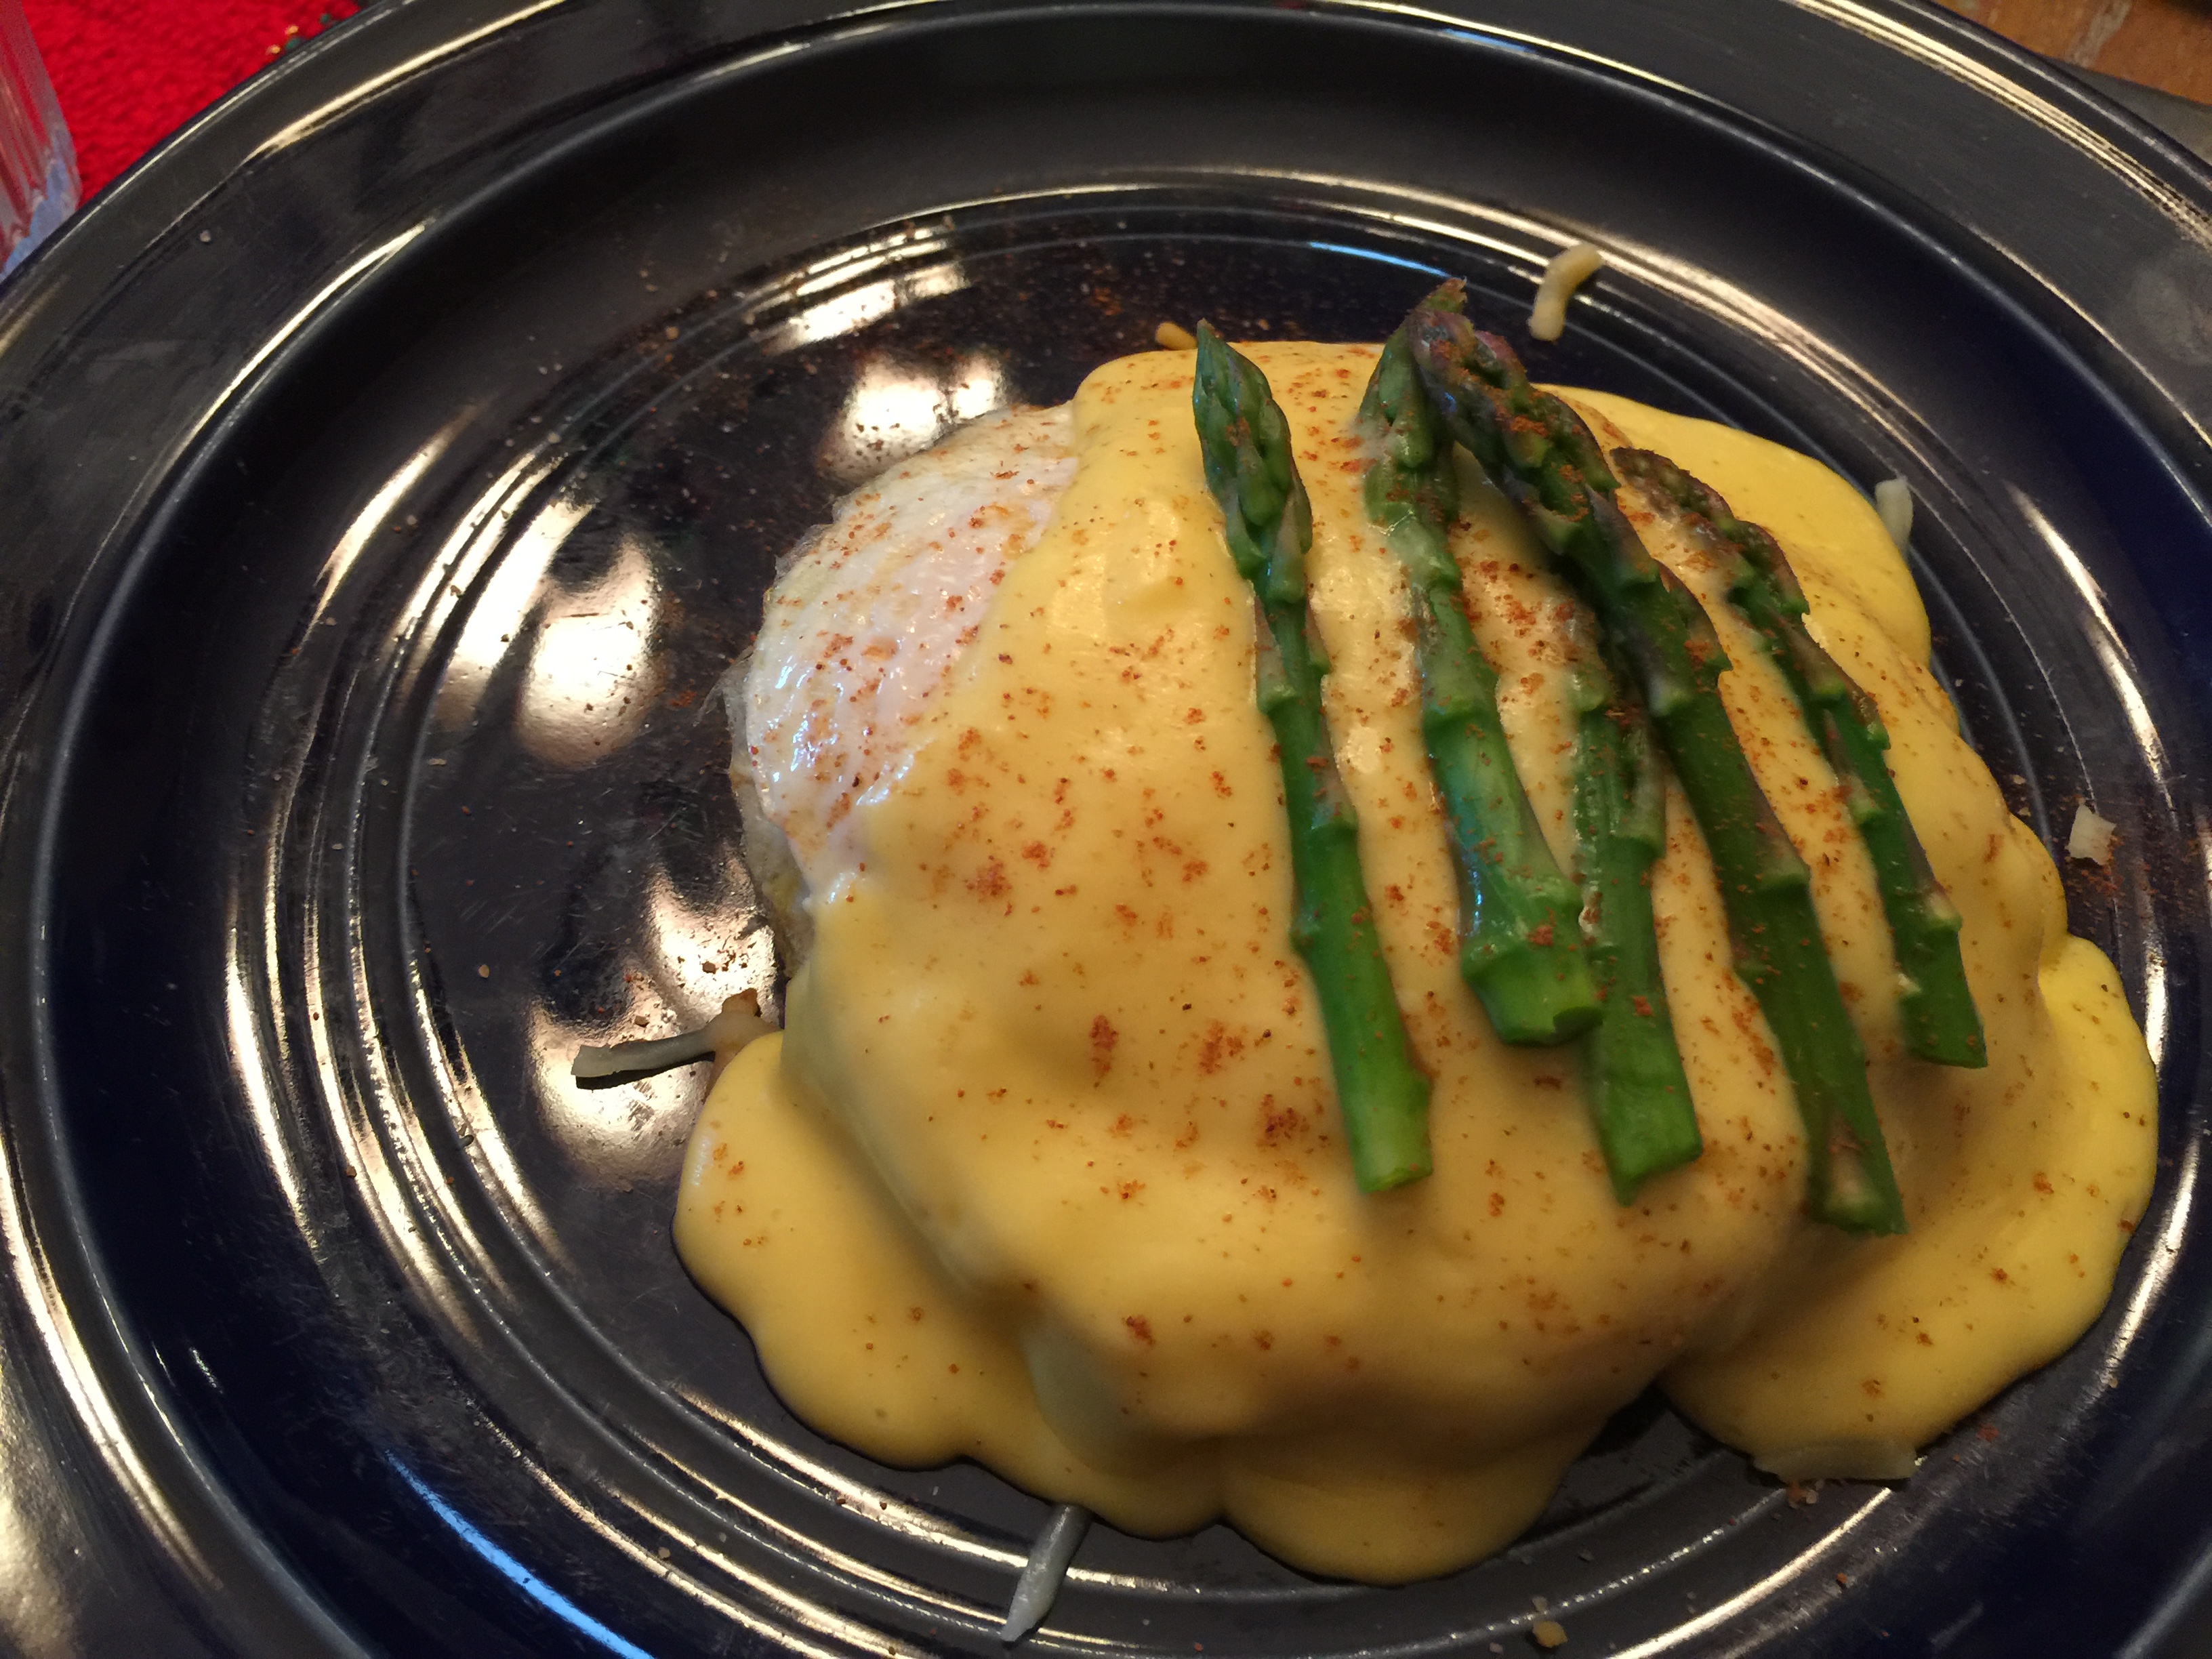
 There are a lot of Hollandaise recipes here. You can use the links below my recipe to explore, but here is the one that I use most of the time. For a double boiler, I put 1 C water in a stock pot, and then use a large mixing bowl set on top. Whisk continually.
 1 bay leaf
This goes quickly so prepare your English Muffin, ham, spinach, artichokes, asparagus… whatever… prior to starting your Hollandaise.
 Special Steps
1. Saute spinach lightly in 1 TBL olive oil -OR-
1. Heat slices of ham in fry pan
2. Place spinach or ham topping over toasted and buttered English muffin
3. Place poached or lightly fried egg on top of topping
4. Spoon hollandaise over top
5. Garnish with parsley, cinnamon, chives, paprika or any other topping
Serve with Tabasco on the side.
 Jose Lopez
Buckwalds AZ Grill Cook
|
What’s on the Menu on YouTube. Use this link to preview all of our menus. |
What’s on the Menu Collection Index: Index 1, Index 2, or Index 3 |
Use any 40% semi-firm cheese. Other choices include asiago, young gouda, taleggio, fontina, gruyere, Emmenthaler, or Comté. Good melting cheeses will have high moisture, high protein, low age (max 150 days) and low fat
For putting cheese on something like lobster, where you don’t want the cheese to overpower the meat, try some of these suggestions:
 Cosmin Barbu
Executive Chef
|
What’s on the Menu on YouTube. Use this link to preview all of our menus. |
What’s on the Menu Collection Index: Index 1, Index 2, or Index 3 |
When serving brisket or pulled pork, consider shaking things up with this White BBQ Sauce.
 David Fernandez
Buckwald’s Cook
|
What’s on the Menu on YouTube. Use this link to preview all of our menus. |
What’s on the Menu Collection Index: Index 1, Index 2, or Index 3 |
BONUS: The mushrooms and lily buds will keep for quite some time in the pantry. You can have hot and sour soup whenever the craving hits!
This soup is really best eaten as soon as it is made and does not freeze well. If you have leftovers, reheat them gently on the stovetop over low heat.
Optional “bottom” ingredients
Press into plastic lined loaf pan
Black cow cake
• Choc cake mix and root beer
White cow cake
• Vanilla cake mix and sprite
Bake according to directions
NOTES:
 John Ramos Bell
Plaza Bistro Cook
Hosted by Chef Cosmin Barbu
Ingredients
Step by Step
|
What’s on the Menu on YouTube. Use this link to preview all of our menus. |
What’s on the Menu Collection Index: Index 1, Index 2, or Index 3 |
In a food processor put