Not yet tried…
- Cut banana in segments
- Toss in 2 TBL lemon juice and 1 TBL sugar and 1/2 tsp salt
- Spread out on baking sheet
- Cook 2 hours at 200º
- Flip
- Cook another 1.5 hours at 200º
Feel free to browse.
Not yet tried…
These are misc notes that I made from various sources.
1. Cut rib rack in half to get 3-4 ribs per rack. Leave fat back on. Season/coat your ribs with Grandpa's Thunder Powder or Arghhh Powder depending on how spicy you want your coating, then let sit on counter 1 hour. Even better: In refrigerator overnight!
2. Cooking- 250°-300° in grill , 30 coals, use thermometer. Pile up on side of grill, wet wood on coals, trap down to regulate heat.
3. Ribs on – meat side down, fat on top, cook ribs 1 hour.
One hour add more coals and flip ribs, add 20 coals and another wood block, cook another hour.
Also works for Baby Back Pork ribs
Instructions
1. Cut ribs to 3 or 4 per section
2. Use 1 tsp rub per section. Leave fat on the back, let sit on counter 1 hours.
3. Grill temp is KEY! 250° – 300°, 2 – 2 ½ hours
(30 coals). Pour coals to one side – preheat 5 min, put meat on opposite side.
4. Ribs – fat layer facing up, vent grill 2/3 open, maintain temp, cook 1 hour, put 20 more coals on and another steam log on, flip ribs, cook another hour.
5. Start testing for doneness, cook up to 45 more minutes. Done when you stick w/ fork and it releases fairly easily.
Dry rubs can be used for both meats and vegetables. They can be mild or spicy. Browse the recipes below and find one that suits your palate.
This is something that I like to use for pizza toppings and to add an extra bit of heat to hot wings. It has the heat of crushed red pepper, but doesn’t get stuck in your teeth and gums. Just a bit of salt enhances the flavor too. This is also good for meat seasoning.
INGREDIENTS
Mix all of the above together well and store in a sprinkle jar.
Recipe By : Tony Chachere
WEBMASTER NOTE: You can buy this amazing seasoning mix already packaged for you at www.tonychachere.com but for those of you who want to try to make it yourself, Tony himself has provided the recipe, which is presented here. My modifications (are in parentheses)
INGREDIENTS
STEP BY STEP
WEBMASTER NOTE : Tony Chachere is from Opelousas, Louisiana. He was 11 years old when his first cookbook came out. This is the first recipe in his “Cajun Country Cookbook”. In the cookbook, he says “THIS RECIPE IS WORTH THE PRICE OF THE BOOK”. He’s right.
Right after the cookbook came out, everyone was making this and storing it in those large plastic ice cream cartons. Within a short while, he started marketing this himself. Now you can find the green cans of this stuff all over the country. Where I’m from, this is the only seasoning anyone uses. That sounds kind of strange, but try it and you’ll see.
There might be such a thing as “too complex.” Tony’s Creole Seasoning is simple and really great. It suits the palate of 90% of Middle America. It is better than salt and pepper, but doesn’t pack quite the kick as Grandpa’s Thunder Powder. I personally like a huge kick, that’s why I invented Thunder Powder, but as a staple in our house, Tony’s still has a place. My recipe that is a bit less spicy is Grandpa’s Dry Rub and a lot less spicy than Grandpa’s Arghhhh Powder.
Robert Andrews (Grandpa of Grandpa Cooks and Webmaster)
This mix is adapted from Alton Brown’s Pork Rib Dry Rub recipe
INGREDIENTS
STEP BY STEP
FLAVOR MIXTURE – Makes 1/4 Cup of seasoning
NOTES
This is a good rub to use on hamburgers, wings, ribs, etc.
INGREDIENTS
There is a mix called Sticky Fingers Dry Rub, but this is actually what Grandpa’s Thunder Powder was based on, so just use Grandpa's Thunder Powder or Arghhh Powder depending on how spicy you want your coating.
It sounds simplistic, but ribs are ribs. OK, not really, but tips for beef ribs can also apply to pork ribs and short ribs. Here is a collection of recipes that I’ve collected, led by the best recipe. Mine.
INGREDIENTS
STEP BY STEP
Alternate storage
This recipe makes enough marmalade to last you for a couple of months. If you want enough marmalade to last you through to next season, CLICK HERE for the amounts used to make a larger batch.
Marmalade is traditionally made with Seville oranges (also called sour oranges) which are FAR too sour to eat. They do, however, have a high amount of pectin in them. With the proper amount of sugar, this makes a great marmalade base to which other fruits can be added. Prep your oranges the day before, so they can soak overnight. Total hand-on time for this recipe is 3 – 4 hours, so make sure that you allow yourself enough time to cook safely.
You should put the cut up and pulsed skin and innards into bowls covered with water overnight in the refrigerator. This will soften them so that the pectin is more easily released.
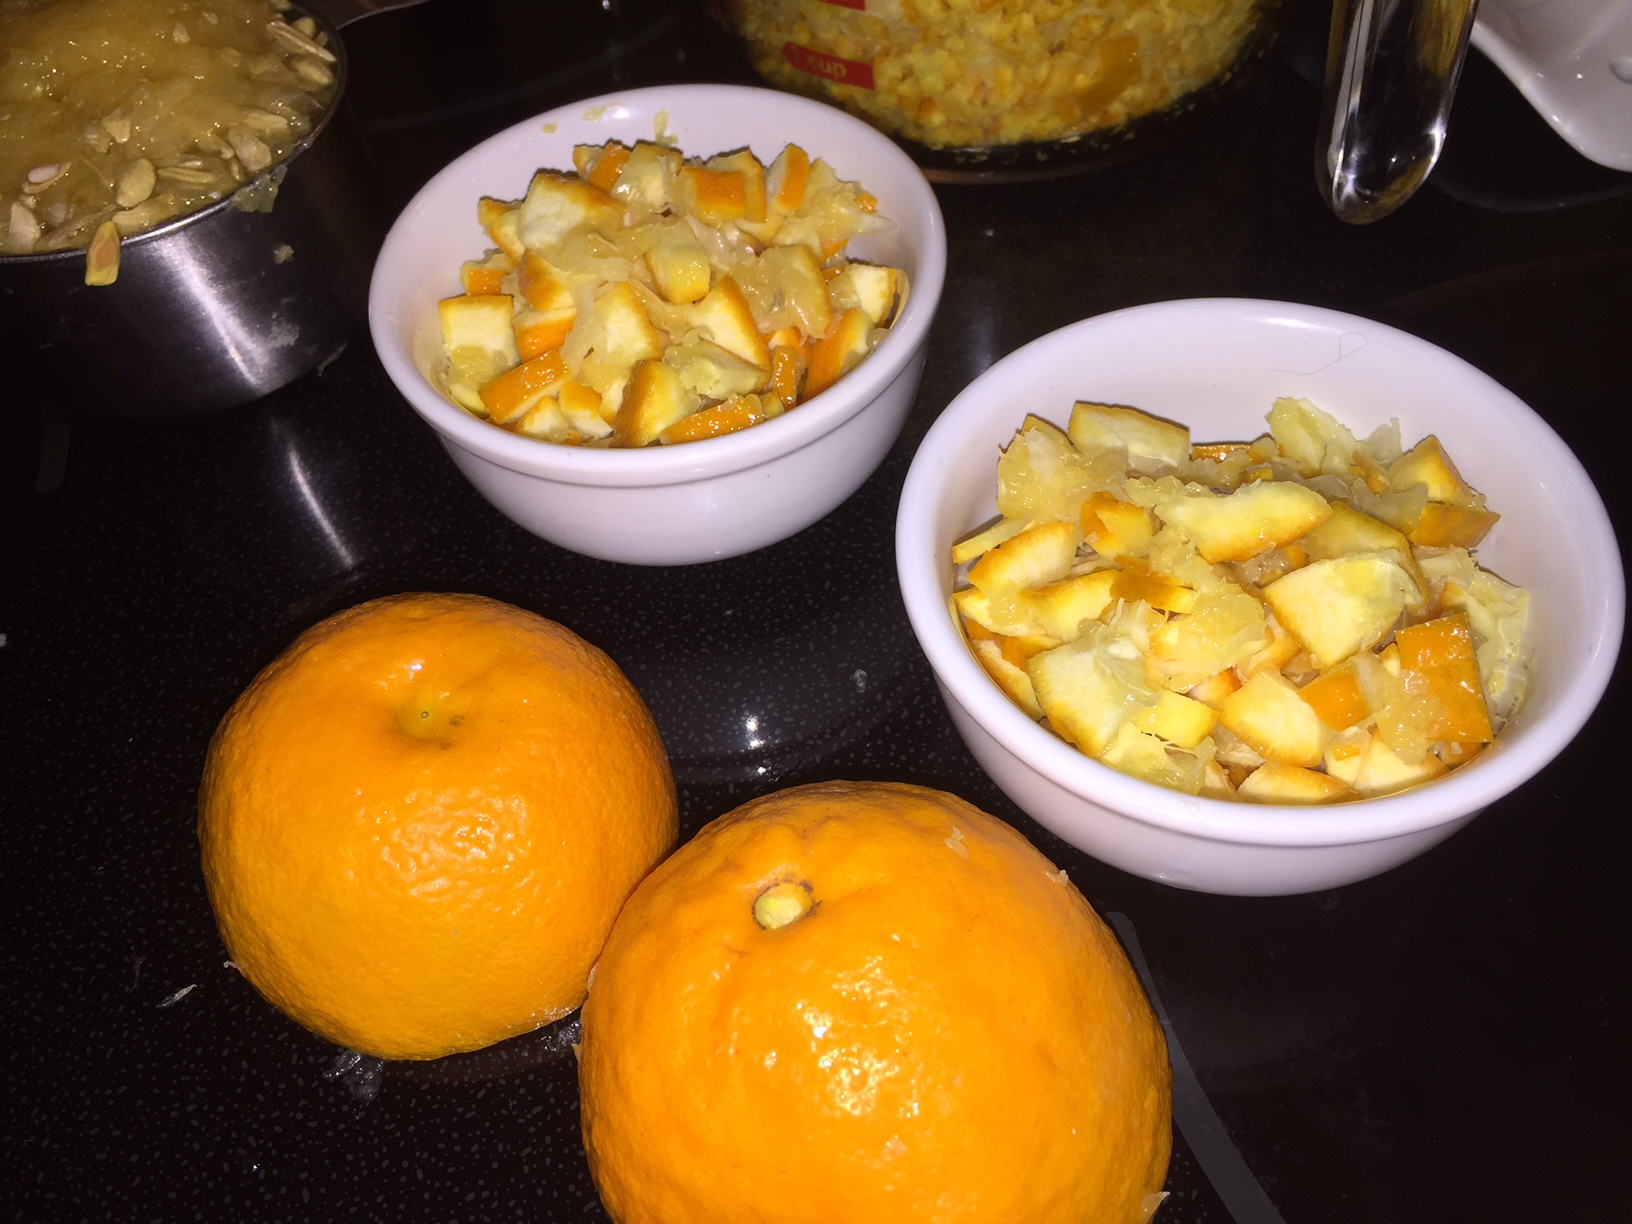
The seeds contains the pectin, and will be discarded after about 90 minutes. The outer orange peel will become the meat of the marmalade. I prefer to dice half and mince half of the rind, so that you have a variety of sizes of orange rind in your marmalade.
Definition: bouquet garni – A bag (frequently in a cheesecloth) that is used for infusions, and removed later as the recipe progresses. CLICK HERE to read more.
NOTE: DO NOT ADD SUGAR YET. If you add sugar too early, it will freeze the production of pectin, and your jam may not set properly, so don’t add it until after the 90 minute boil.
NOTE:
Temperature will plateau at 215 for quite awhile – for as long as 15 minutes
After that, you will get 1º increase in temperature about every 3 minutes
Be patient.
There are SWEET ORANGE marmalades which do not use as much sugar as this recipe. CLICK HERE for Alton Brown’s recipe for Sweet Orange Marmalade, or USE THIS LINK for Strawberry Marmalade.
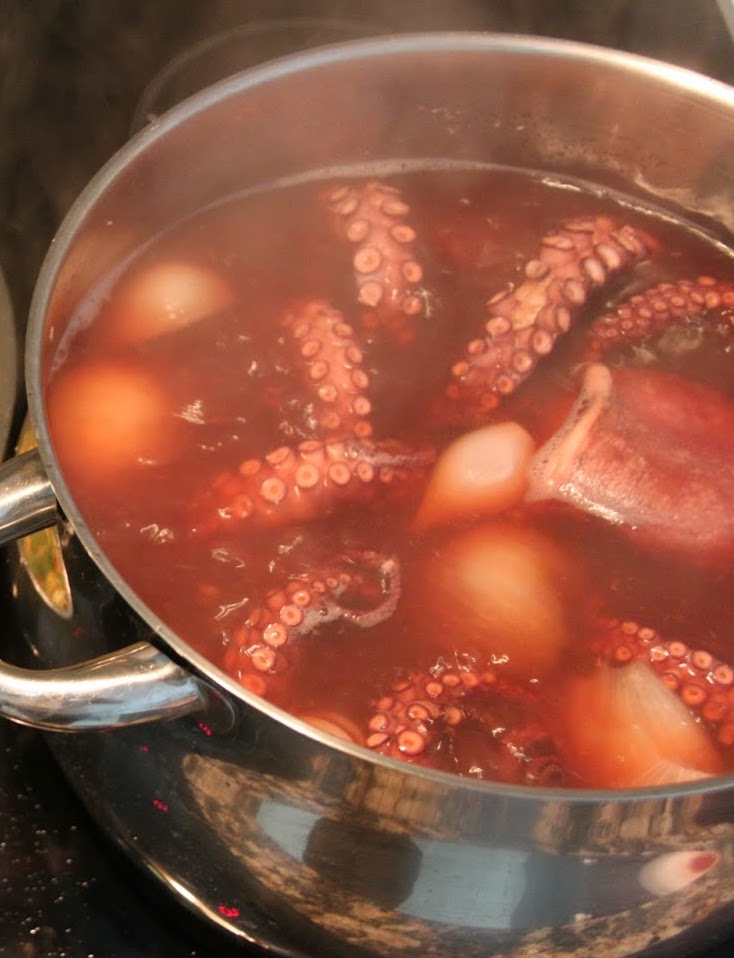
A word about POT SIZE. The first time I made this I nearly boiled over. It was a constant battle between foam and the size of my pot. This will foam up about 400% of its size. NO KIDDING. Make sure you use a pot large enough, or you will end up with a huge dangerous mess. This does not ALWAYS happen, but you can be prepared if it does.
I reuse my canning lids. If they fail to seal, I eat that jar first. Put an X on the failed lid so you don’t save it after the jar is empty. If they seal, they will generally not fail after cooling. I prefer to use the small canning jars, because once exposed to light and air, the marmalade starts to lose its flavor.
The canned jars will last longer if you process them in a water bath for 10 minutes after putting into jars.
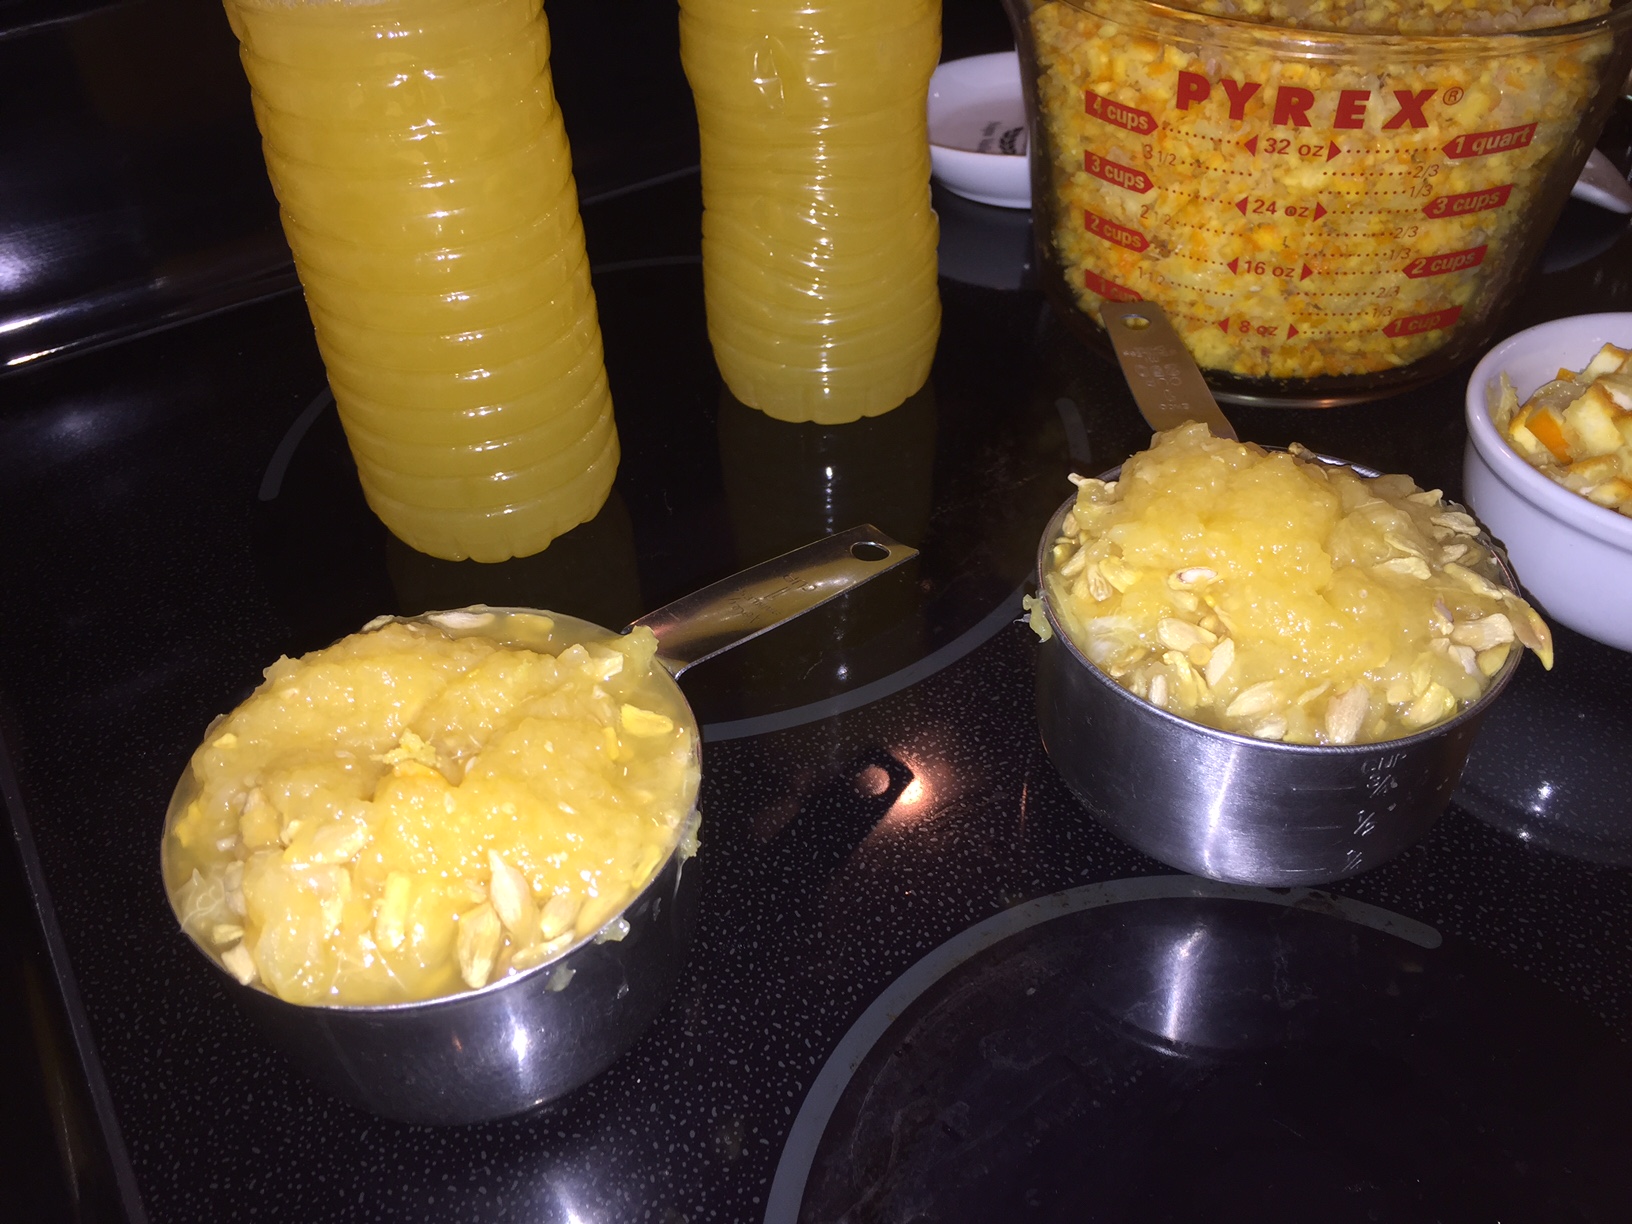
What is shown in the photos are quantities to make two entire large batches of marmalade.
Optional ingredients reserved for the very end:
Minced strawberries, blueberries, rhubarb, shredded carrot, or other contrast
If you do not use enough sugar, the liquid will be unable to reach 221º (as water only gets 212º) and it will NEVER set. Sugar can get up to 300º If you try to decrease the calories, and use a marginal amount of sugar, you may heat it too long and you will get inverted sugar which has a longer shelf life, but is similar to high fructose corn syrup and is not as good for you as regular sugar.
Realistically, if you don’t have a thermometer, you can test the gel level but putting glass plates in the fridge, and then dripping jam onto the plate to see if it runs or just sits there. CLICK HERE
If your marmalade does not set, it is still good for steamed marmalade pudding, marmalade tarts, marmalade ice cream and much more. CLICK HERE if your marmalade did not set properly.
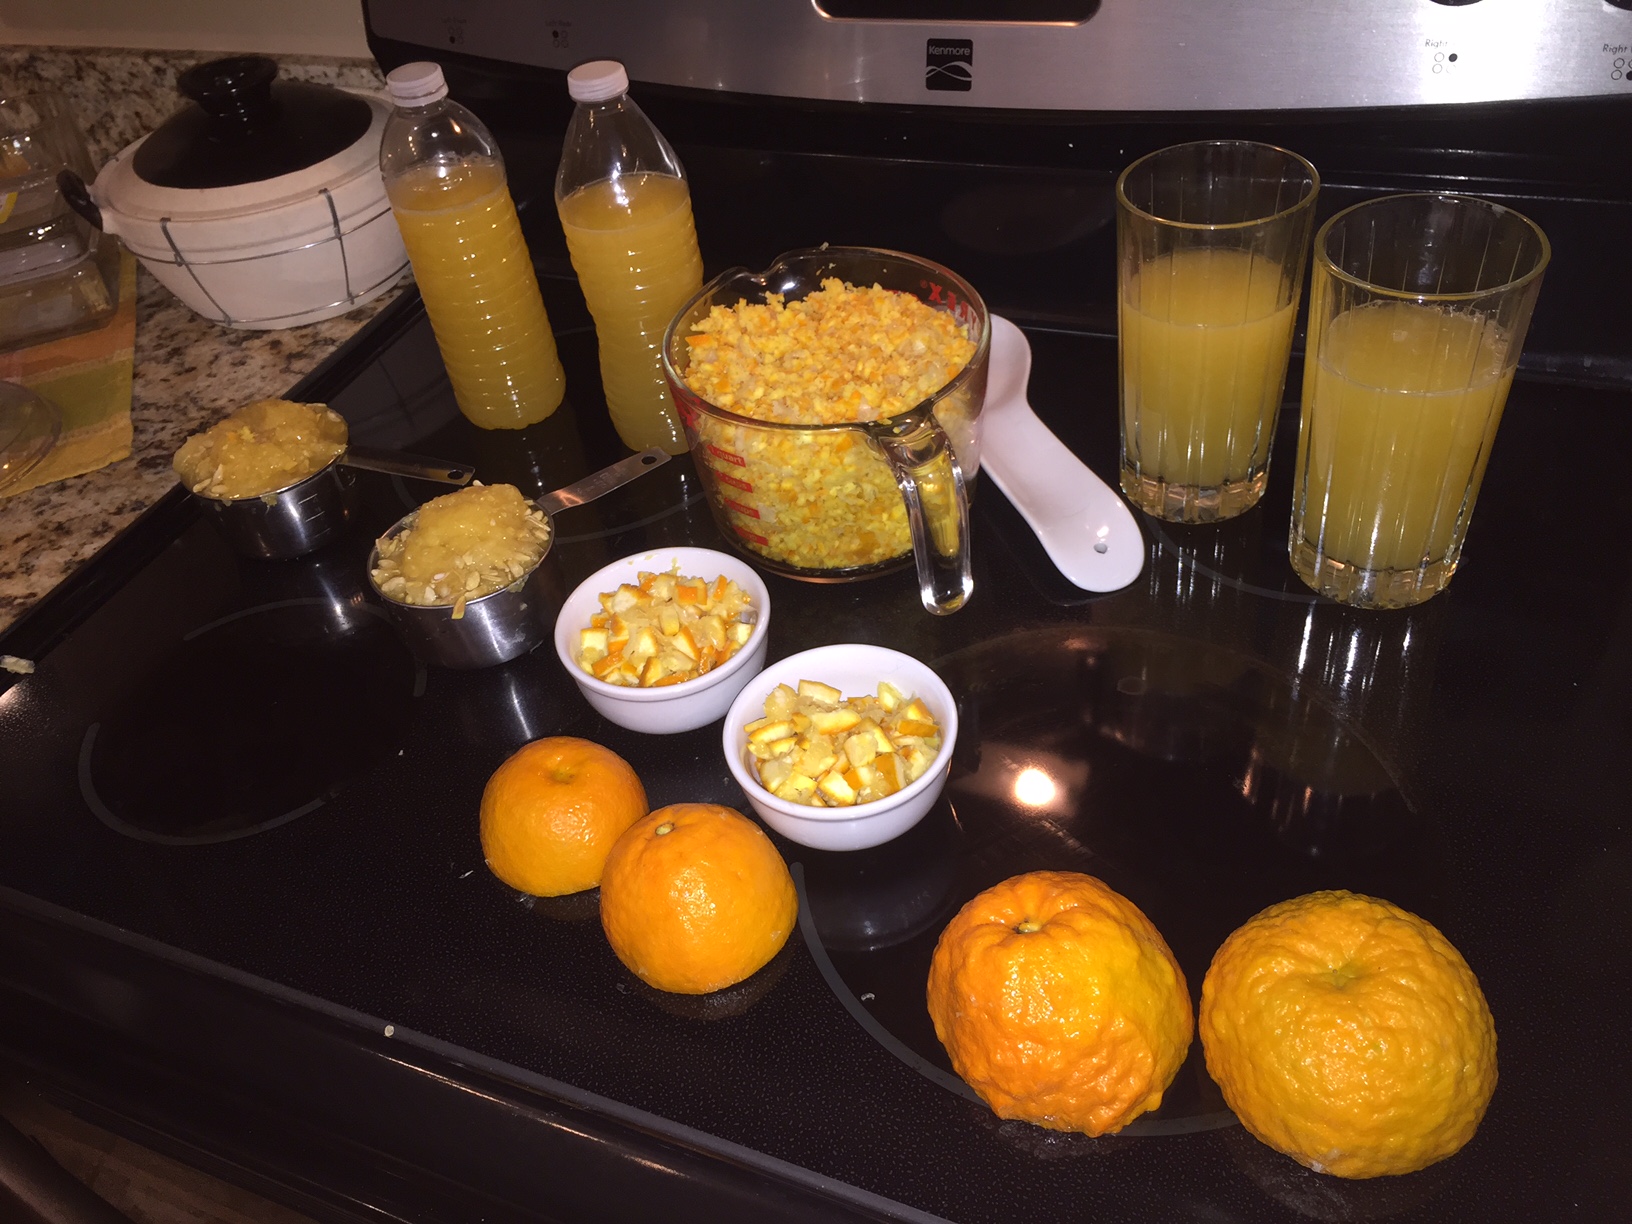
Bottom right: Some of your oranges may be older and nubbly. You will need juice from many oranges, but the peel that you want to use is from about eight oranges that have fairly smooth skin.
Top right: To get the amount of pips and pith that you need for the larger sized recipe, you will have to juice a lot more than eight, but just throw the extras into the trash.
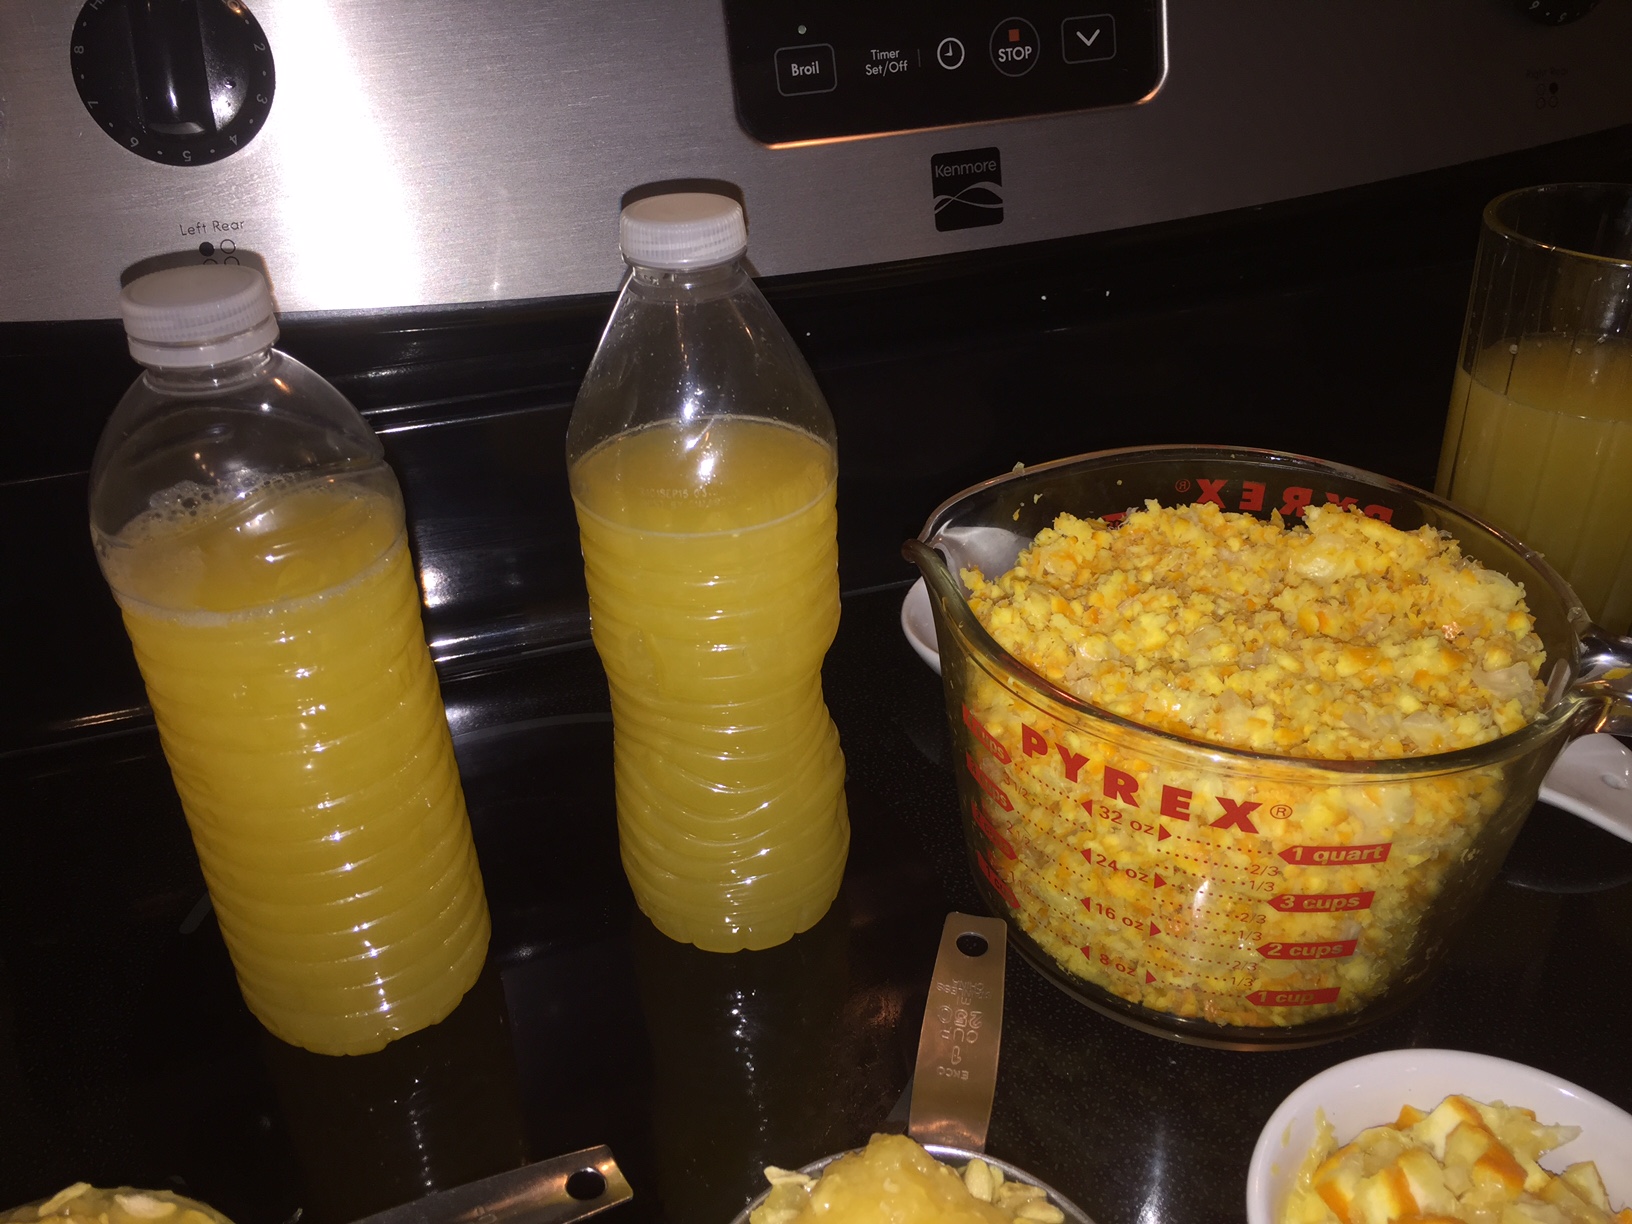 The ingredients freeze really well. Hot pack canning is another good option. If you freeze, be sure to leave an inch of headroom in your water bottles.
This photo gives you a good close up of the smoother skinned oranges and the older nubbly ones. The juice from the older oranges is perfectly usable, but the skin will be a bit more bitter than the younger oranges, so get rid of them.
I prefer just a few larger dices of orange, but most of the skin that I use is minced in a food processor.
Another good way to do it is with a zester. It takes more oranges, but you can leave the white pith behind, which actually gives you a better end product.
– Third Party Recipe: CLICK HERE
– Third Party Recipe: CLICK HERE
Ingredients
Step by Step
 Before we begin…
Mother Sauces
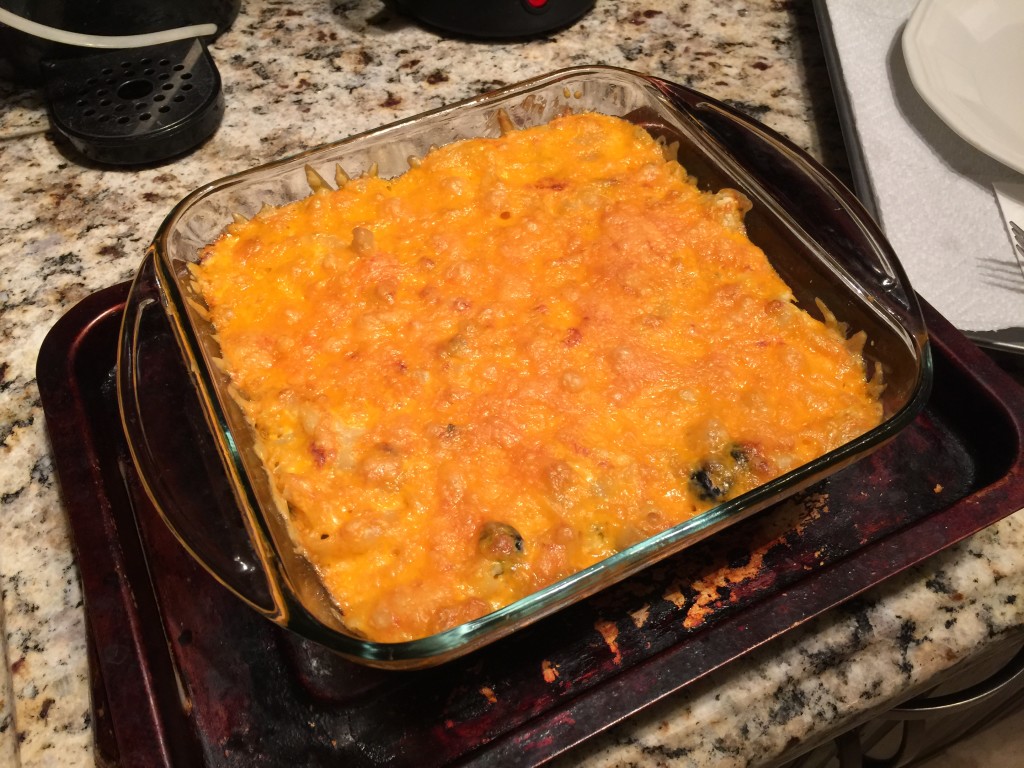
For basic Mac and Cheese mix cooked pasta in with your Mournaise
When ready to serve, top with Panko and bake at 350º for about 20 minutes
This is on a separate page. Use the above link (or click here) to view the recipe.
 Ingredients
Step by Step
INGREDIENTS
STEP BY STEP
 INGREDIENTS
STEP BY STEP
VARIATIONS
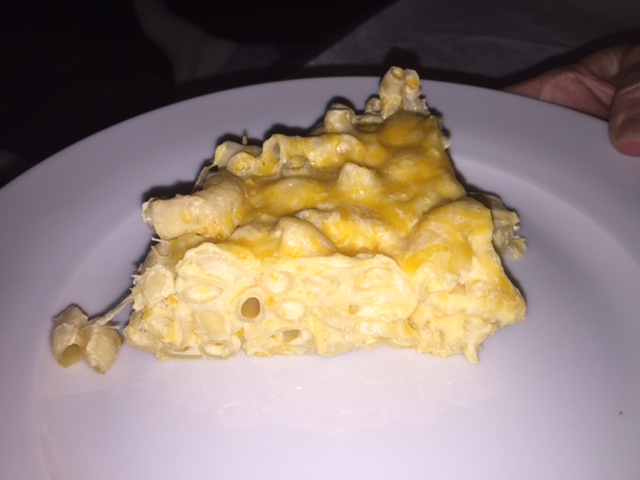
Mix together one cup each grated cheddar cheese and grated fontina cheese
Pour enough milk in to see the visible milk line through the cheese . Kind of like you would do if you were making a quiche
And several leaves of sage and one Bay leaf
Set aside for one hour
Put in stove-top / oven-safe casserole dish at low heat
start cooking in salted water big elbow macaroni or rigatoni noodles . Cook only al dentė
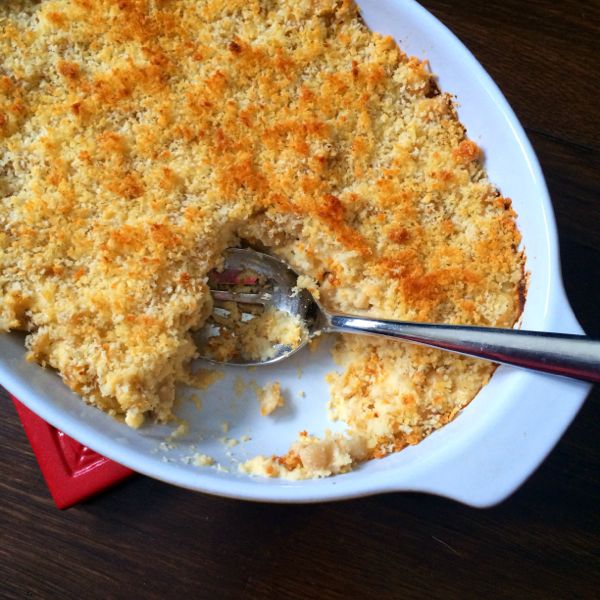
Topping
Coarsely great part of a French loaf
Melt butter in the pan
And bread crumbs to toast
Set aside to cool
Using slotted spoon or spider strainer to bring pasta into cheese mixture. Don’t worry about completely straining because you want some of the pasta water mixed in.
Cook together for a few moments stirring occasionally
Toss grated Parmesan in with the breadcrumbs
In greased baking dish, sprinkle some breadcrumb mixture in the bottom.
Spoon noodle mixture onto breadcrumbs as the next layer removing leaves
Top pasta with more breadcrumbs
Bake at 425° uncovered about 25 minutes
1 CU uncooked pasta (or 2 CU cooked)
1 CU Milk
1 CU diced French bread
Onion (diced)
¼ tsp cayenne
1/2 tsp Mustard
1 TBL SALTED Butter
2 TBL flour
Bread crumbs
1/4 CU each Cheeses (Sharp Cheddar, Mozzerella or Monterey Jack, Parmesean)
Instructions
1. Cook pasta in plenty of water to al dente.
2. Make bread crumbs with French bread,
put in blender w/ 3 tbl butter, pulse to 1/8” pieces (set aside).
3. Drain pasta. In pot add 2 TBL butter and melt till foam subsides,
add grated onion and cook until it starts to turn translucent
whisk in 2TBL flour, cook until tawny color, add ½ tsp dried mustard, scant salt, ¼ tsp cayenne and 1 cu milk.
4. Bring to boil, reduce heat and cook 3-5 min till thickened.
5. Stir into sauce – grated cheeses,
toss in pasta and cook for 6 min.
6. Transfer to baking dish, top w/ bread crumbs.
7. Bake 10 minutes at 425 degrees or until the cheese/bread starts to brown
Let set 5 min, then serve.
Ingredients
Step by Step
For another recipe CLICK HERE.
Important Update: The Coco’s Asian Chicken Salad Dressing has been discontinued. The restaurant has a replacement (that is not very good.) A comment from Sherry Leger suggests a substitute and asks our feedback. This warranted its own page, so here you are. PLEASE CLICK HERE to read the original chain about Coco’s Asian Chicken Salad Dressing.
Here is Sherry’s post:
I love Coco’s Asian Chicken dressing and was sad that I could not buy the bottles anymore. But I have found a substitute, Togo’s Asian Chicken Salad Dressing is very close (its been so long, but its got that same kick). I would love from someone to try it and tell me their thoughts.
Please comment below with your comments about Togo’s.
Here is what I found on the web and by making a few phone calls:
According to the Fooducate website, the dressing got a D grade. It has too much salt. It has too much saturated fat. It is horrendous for dieters.
My opinion about that is “Yeah, so what’s the problem?” We all know it probably has lots of calories and is bad for us, but you only go around in life once. ENJOY IT.
I gave a call to a couple of the Togos Sandwich Shops. Two of the shops offered to sell me a small Au jus container of it, but two said “Sorry.” Since it is a franchise, it is pretty much up to the owner of the franchise. The problem for you Easterners is that it is a chain located in the western half of the United States. I’ve found enough information that you might try the recipe below.
Here is a recipe that I found posted on Yahoo. I modified it a little bit. The way it was written would not allow the oil to completely emulsify, plus I changed a few things up cause that’s just what I do.
ORIENTAL CHICKEN SALAD LIKE APPLEBEE’S
 Ingredients
Step by Step
Alternate Preparation
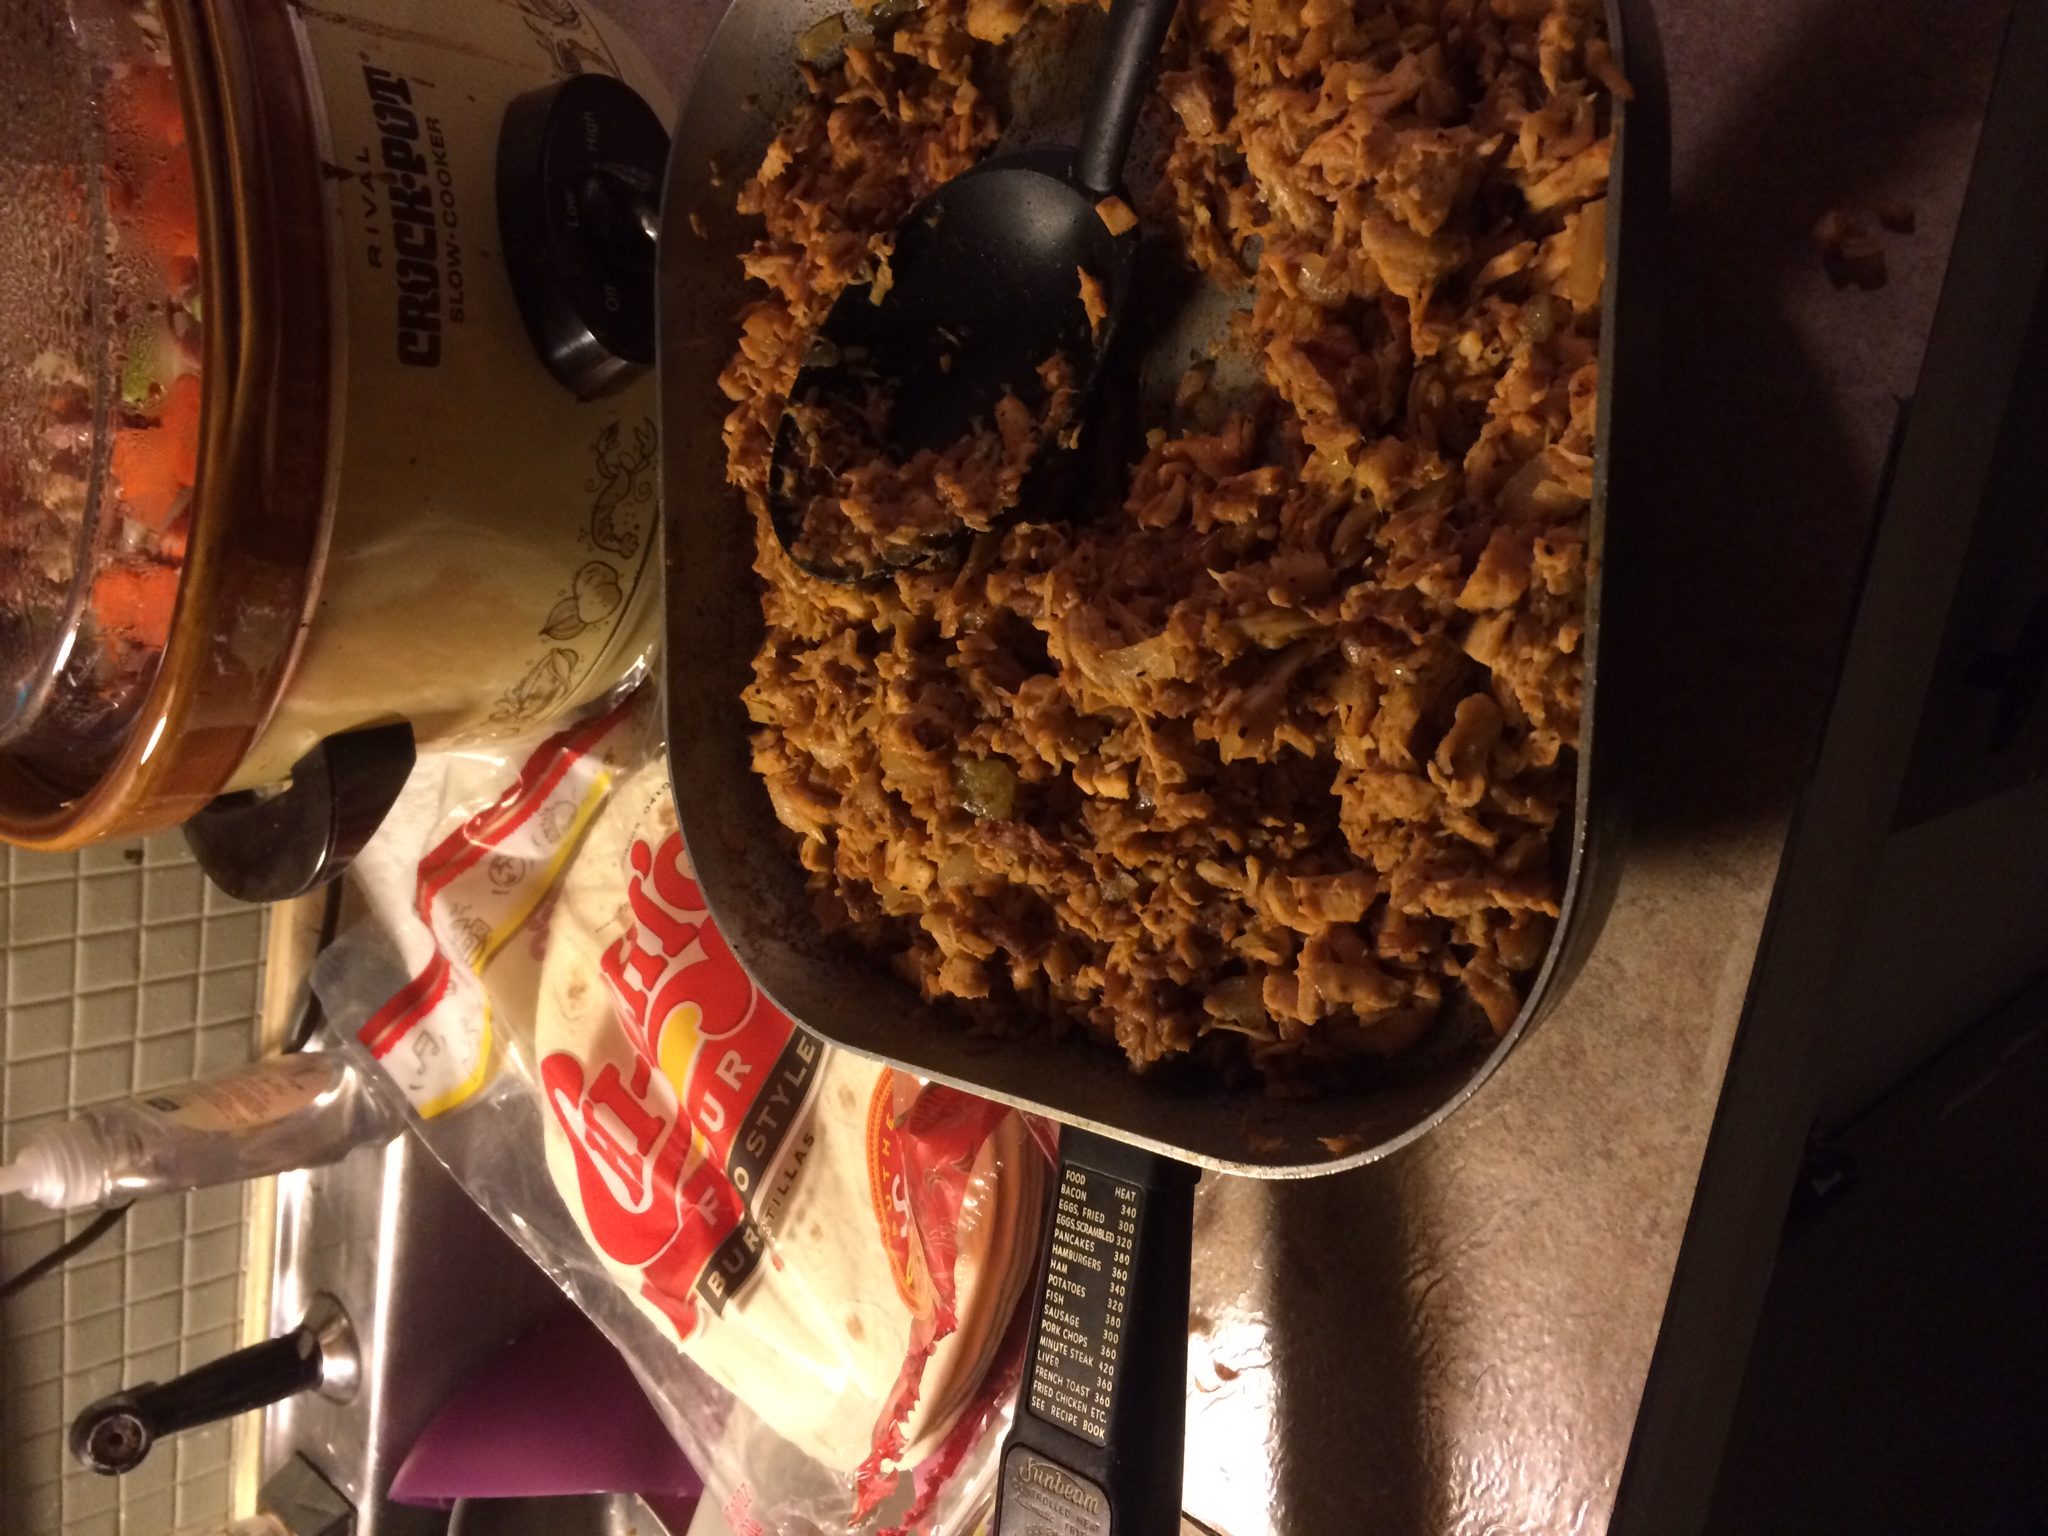
Steve used the same skillet that his dad had been using for 40 years.
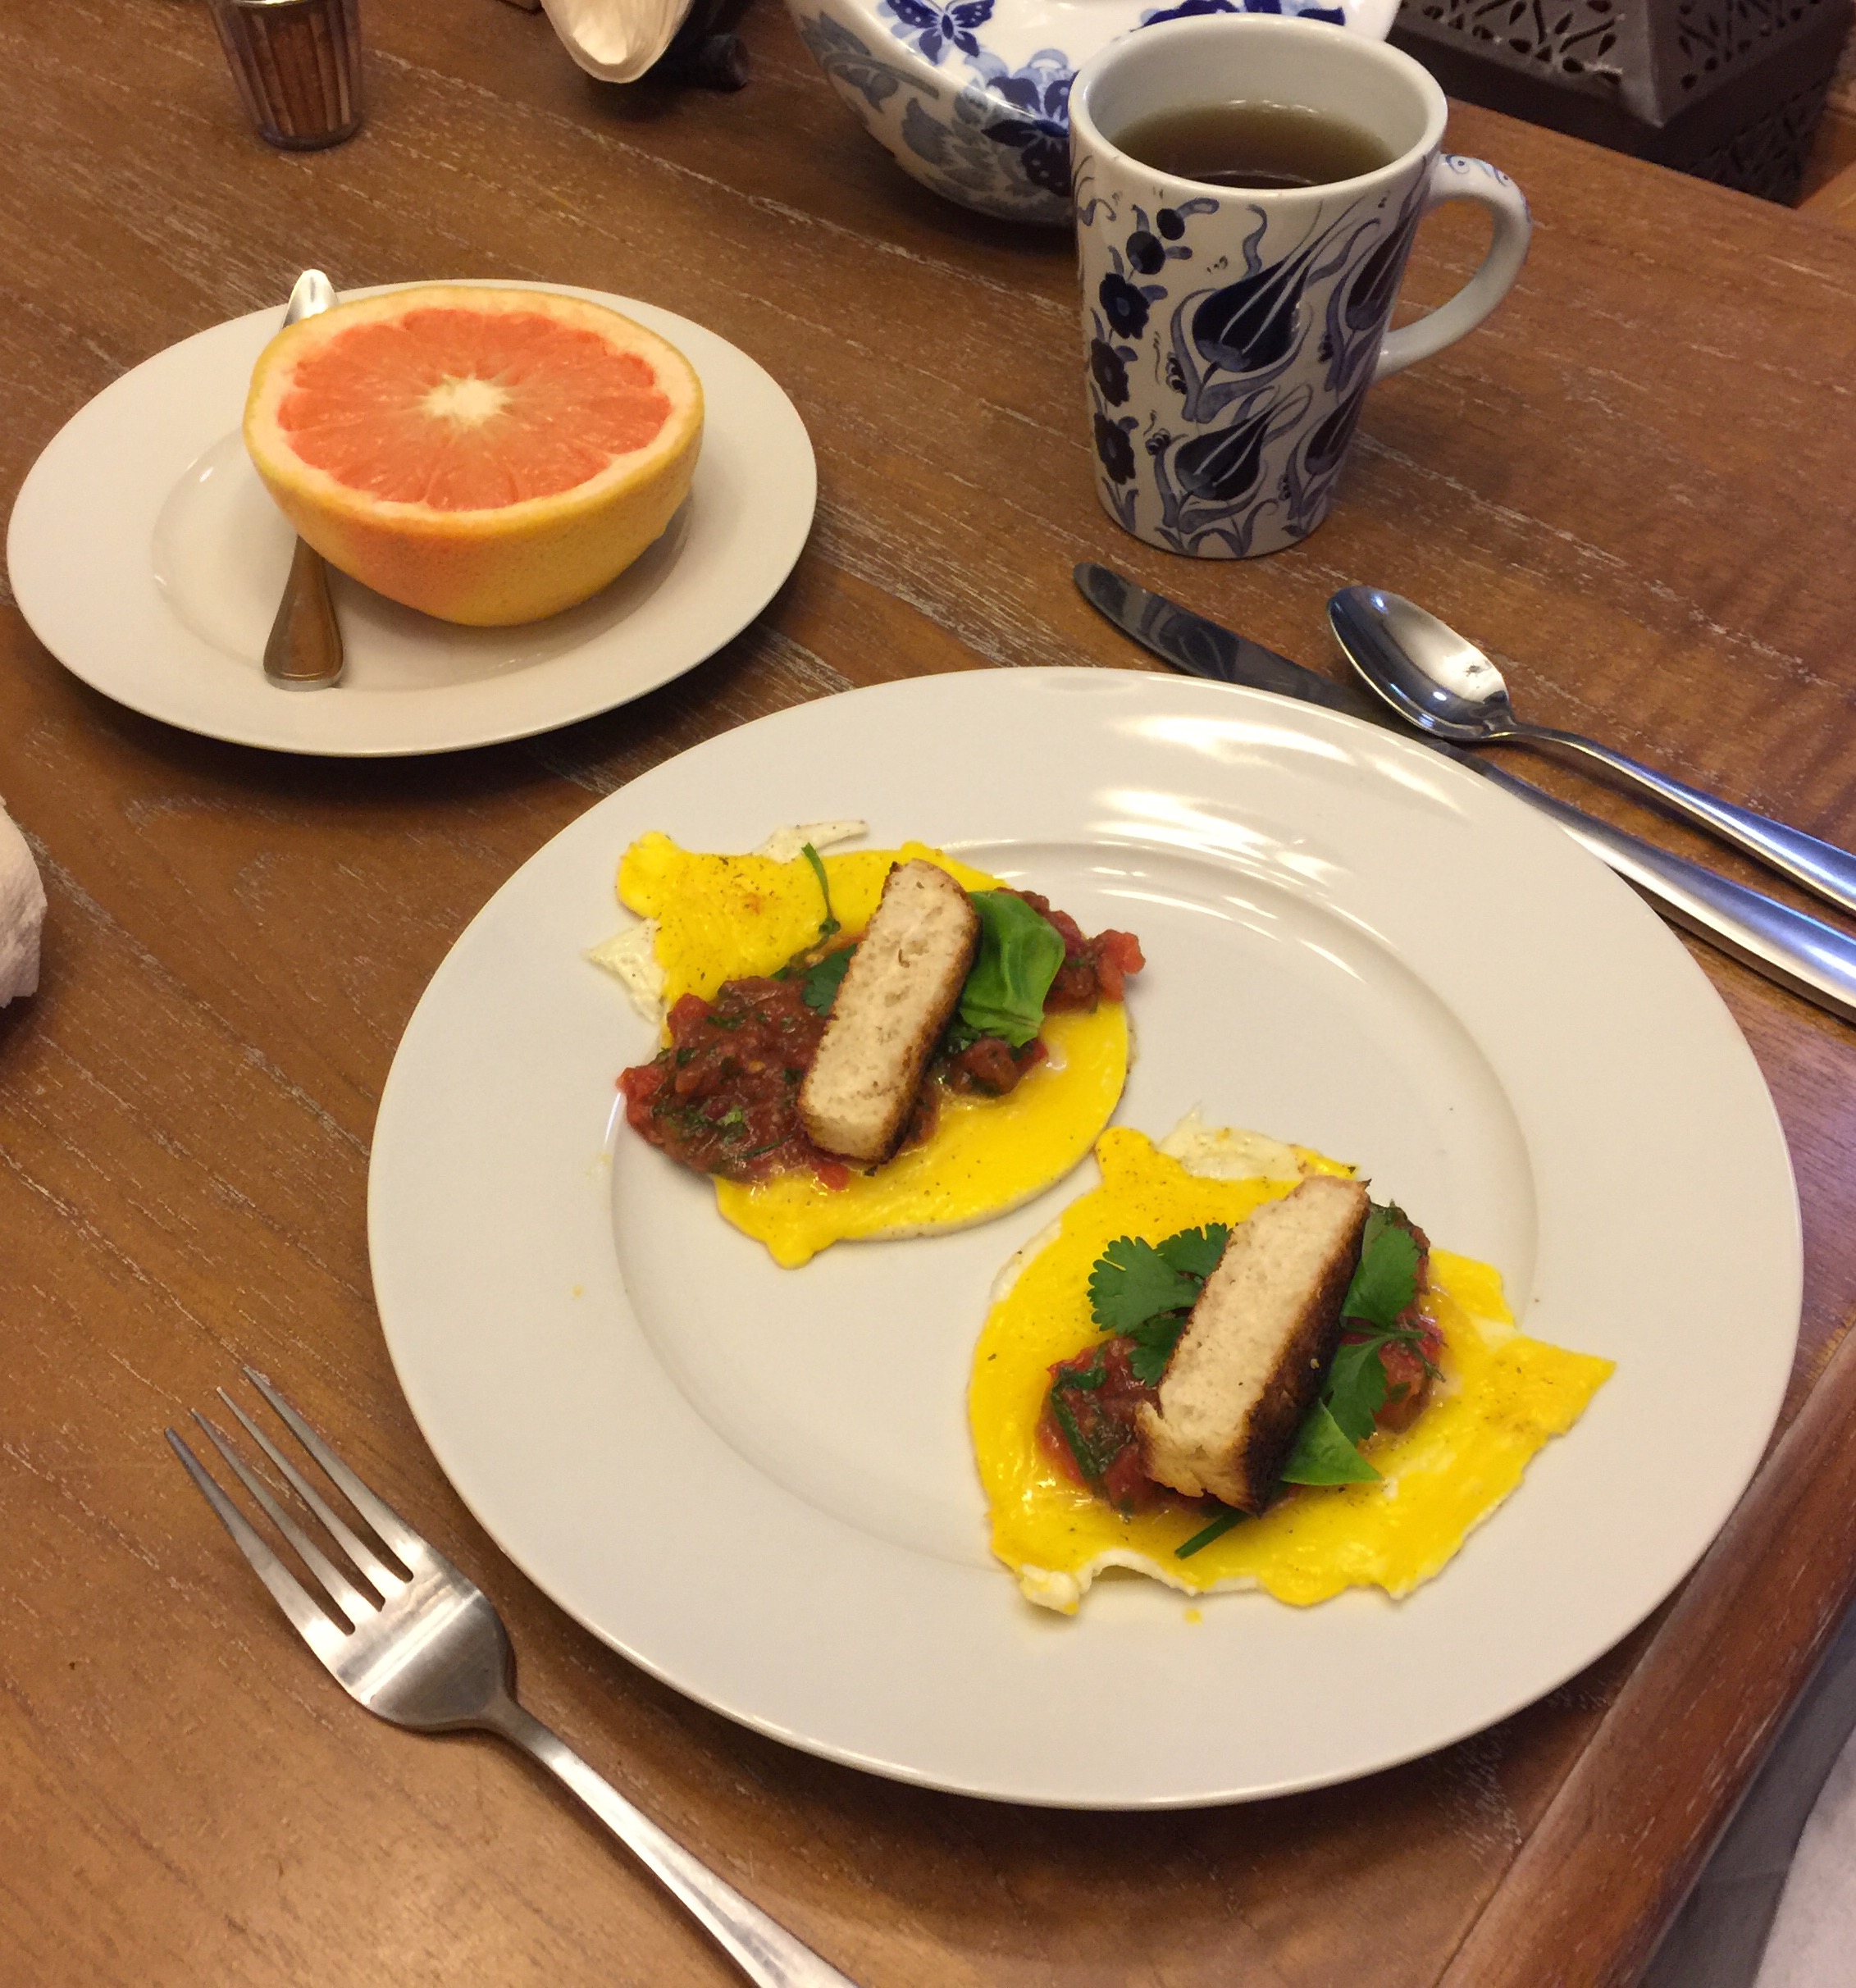
You have PROBABLY had a taco some time in your life, or at least heard of one, so are familiar with the concept. With this breakfast recipe, you eliminate the taco shell and replace it with an egg.
INGREDIENTS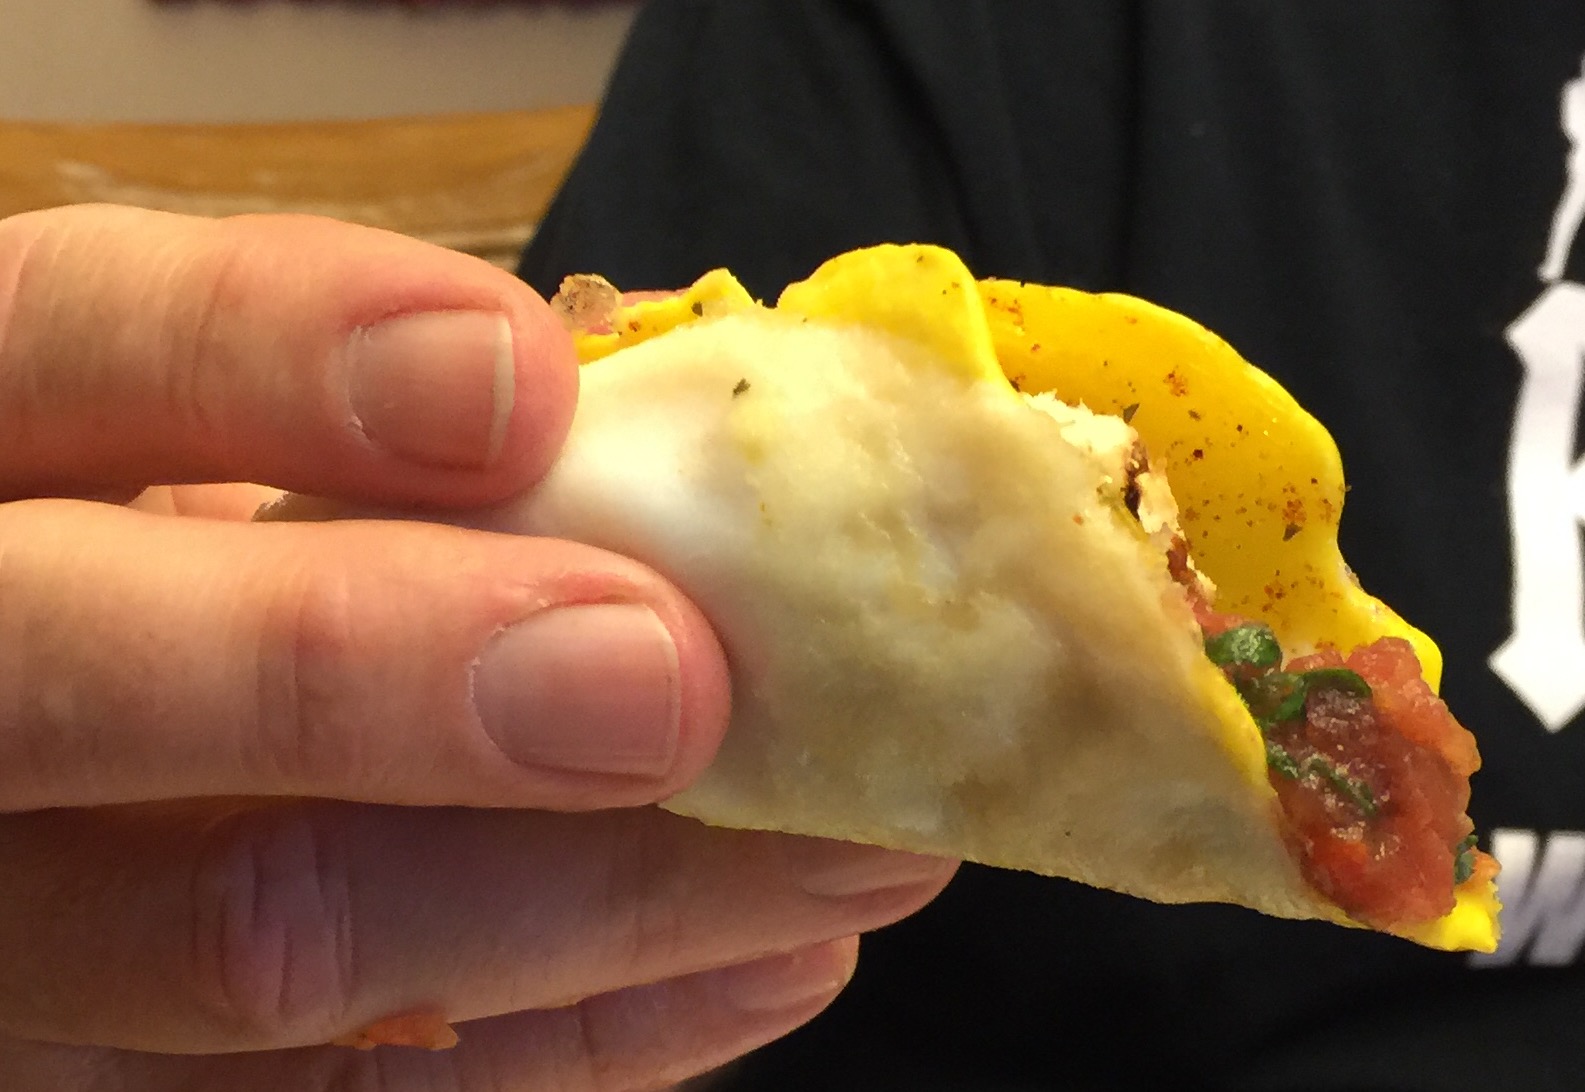
STEP BY STEP
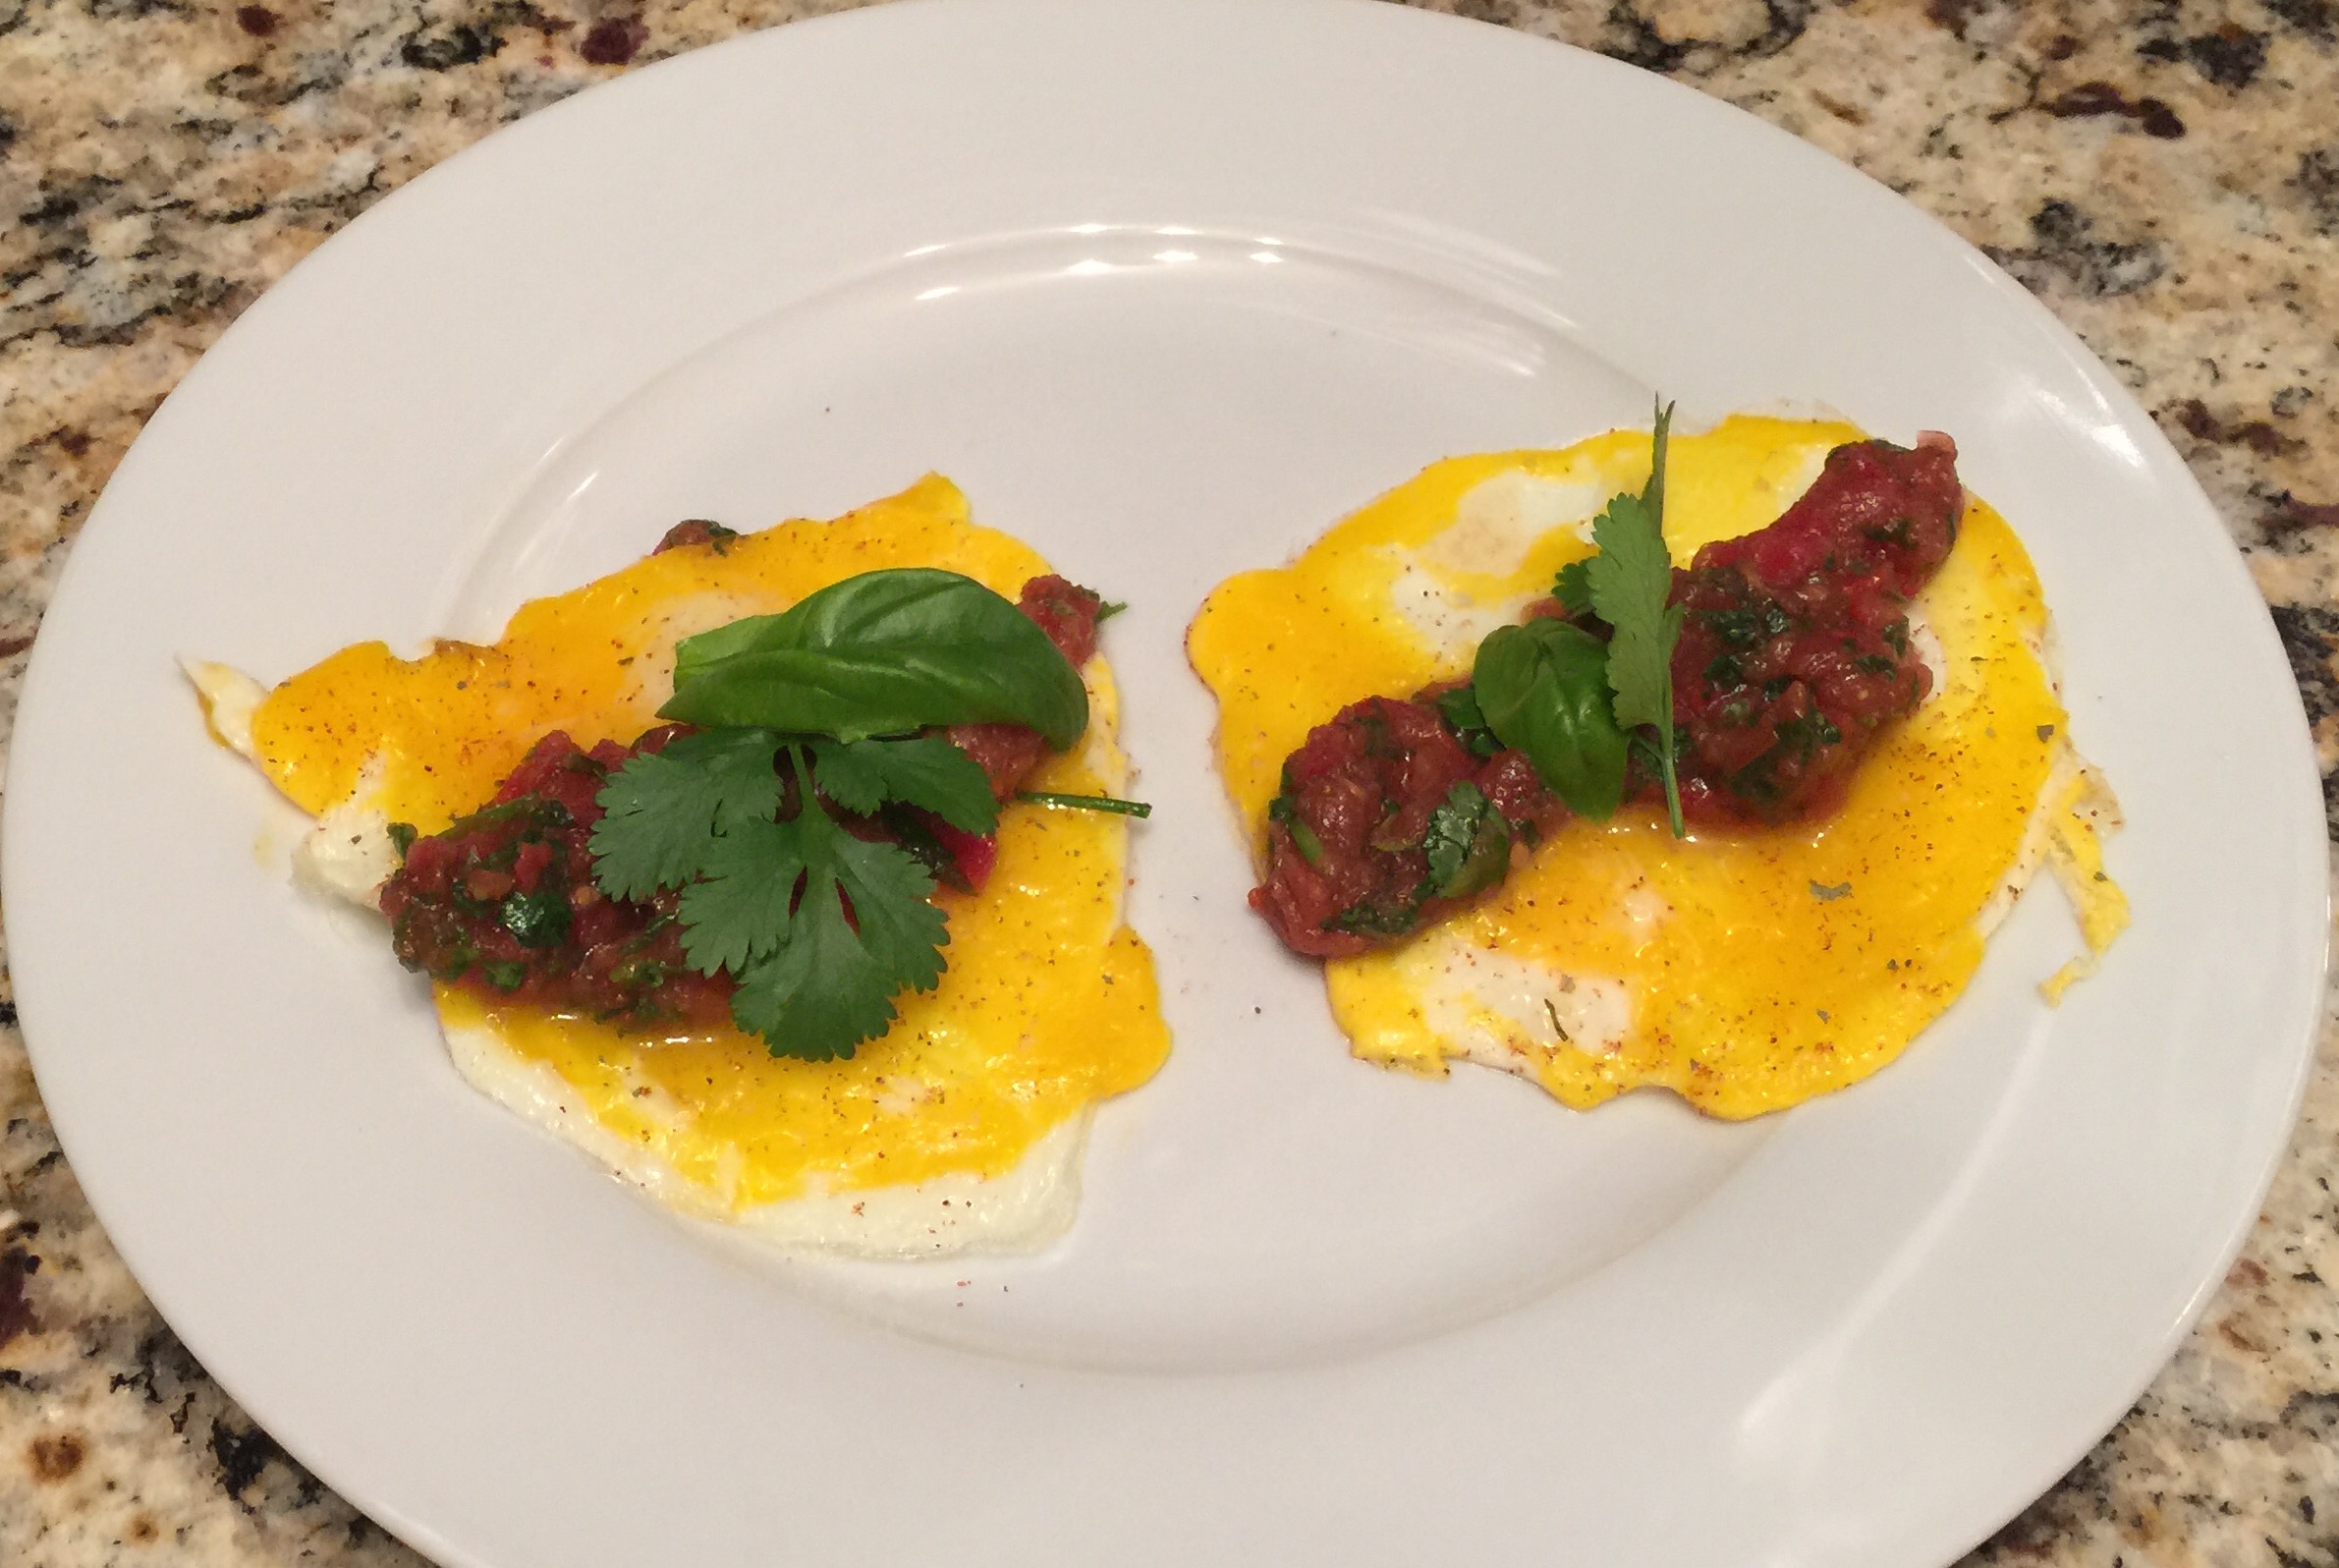
Chef Notes
Food is whatever tastes good together. Here are many things that you can put on top of a corn tortilla.
etc….
Mondongo a la Andaluza
Sofrito
Panuchos, tortas
Empanadas de queso con chaya
Kibi
2 LB black beans – 6 L of water (no salt)
Cook 1 hour
Add salt AFTER cooking
Epazote leaves – whole
1 whole onion – halved
1 pork butt – chunks
Cover with a lid – cook 2 more hours
Serve with Chiltomate – Yucatan tomato
Cilantrol, lemon, tortillas
Mango pancake
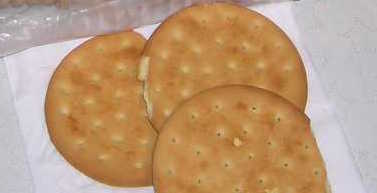 Thanks to Cousin Sue for telling me about this Alaskan Staple. Pilot Bread, also known as Survival Bread, Ship Biscuit or Sea Bread is something with a a shelf life of 2 years when stored in airtight containers. Commercial containers of Pilot Bread could last for up to 30 years. Here is a recipe (modified slightly) from the Internet.
Ingredients
Step by Step
Ingredients
Step by Step
Peanuts taste better when roasted. You can roast your own, if you have the inclination. I am not going to cover that here, but you can watch this video if you want to tackle roasting your own peanuts.
 Ingredients
Step by Step
The main thing is to use good ingredients. It really makes a difference.
Step by Step
OPTIONAL MODIFICATIONS