From Quora.com
I will tell you, but you might not like the answer.
I’m a cook, and I have cooked a lot of steaks, and everything the other answers say is true. A lot depends on the quality of the meat and the technique.
But there is one thing nobody has mentioned.
Once upon a time, I worked as a server in a restaurant that was known for the quality of their steaks. Steak night was a big deal, and always a full house.
The owner did the steaks himself, and he had a secret recipe for basting that he told me he got from a chef at a chain steakhouse. He wouldn’t tell me the recipe but I saw him add a bottle of Italian dressing, so I knew that was one of the ingredients.
We had a new cook, and one day she was filling the big stove salt shakers. She complained that the salt didn’t taste right, and wondered if it had gone bad, so I asked her where she got the salt from. She pulled a big jar off the top shelf, and showed it to me.
It said Monosodium Glutamate.
She read sodium on the label and mistook it for salt.
And instantly I knew the secret to the steaks.
So the next steak night I watched, and sure enough he reached for the MSG.
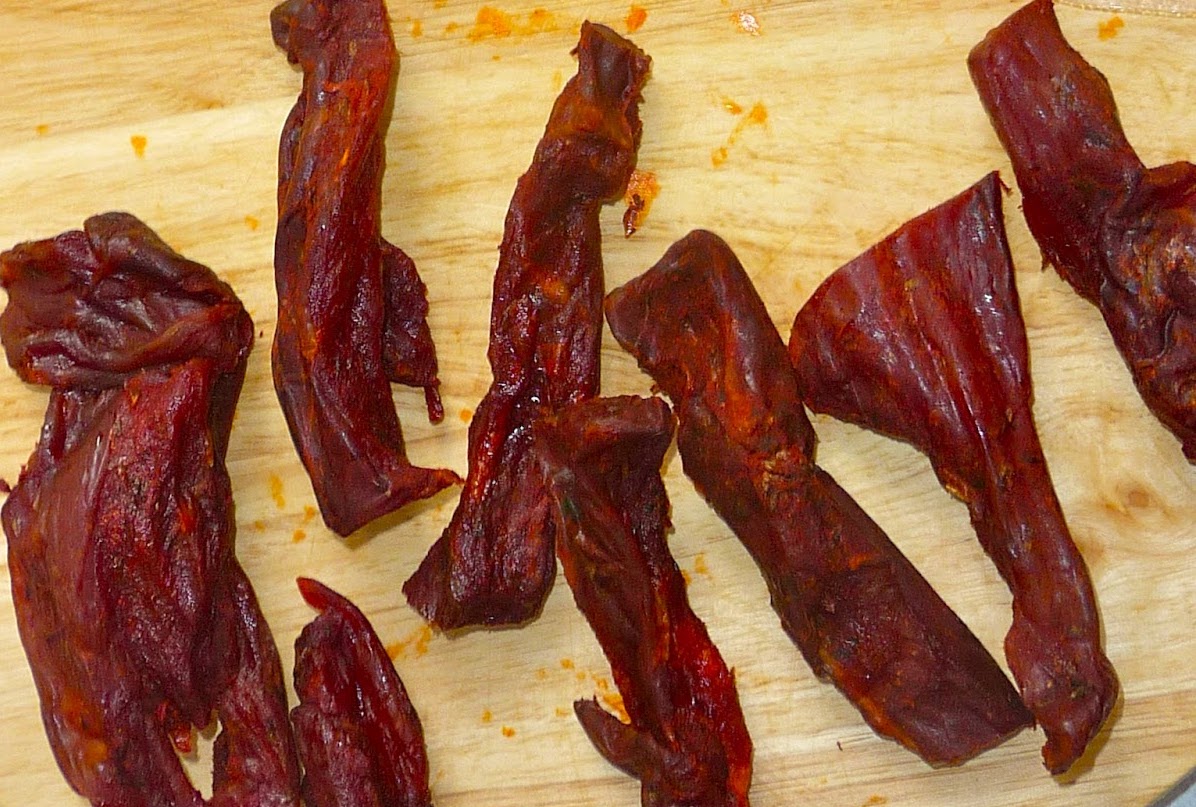
It makes a noticeable difference in the taste of meat, and it’s in a lot of prepared steak seasonings that you buy, but it might not be good for you. Personally, I don’t use it.
There are several reasons why steaks from restaurants often taste better than those cooked at home:
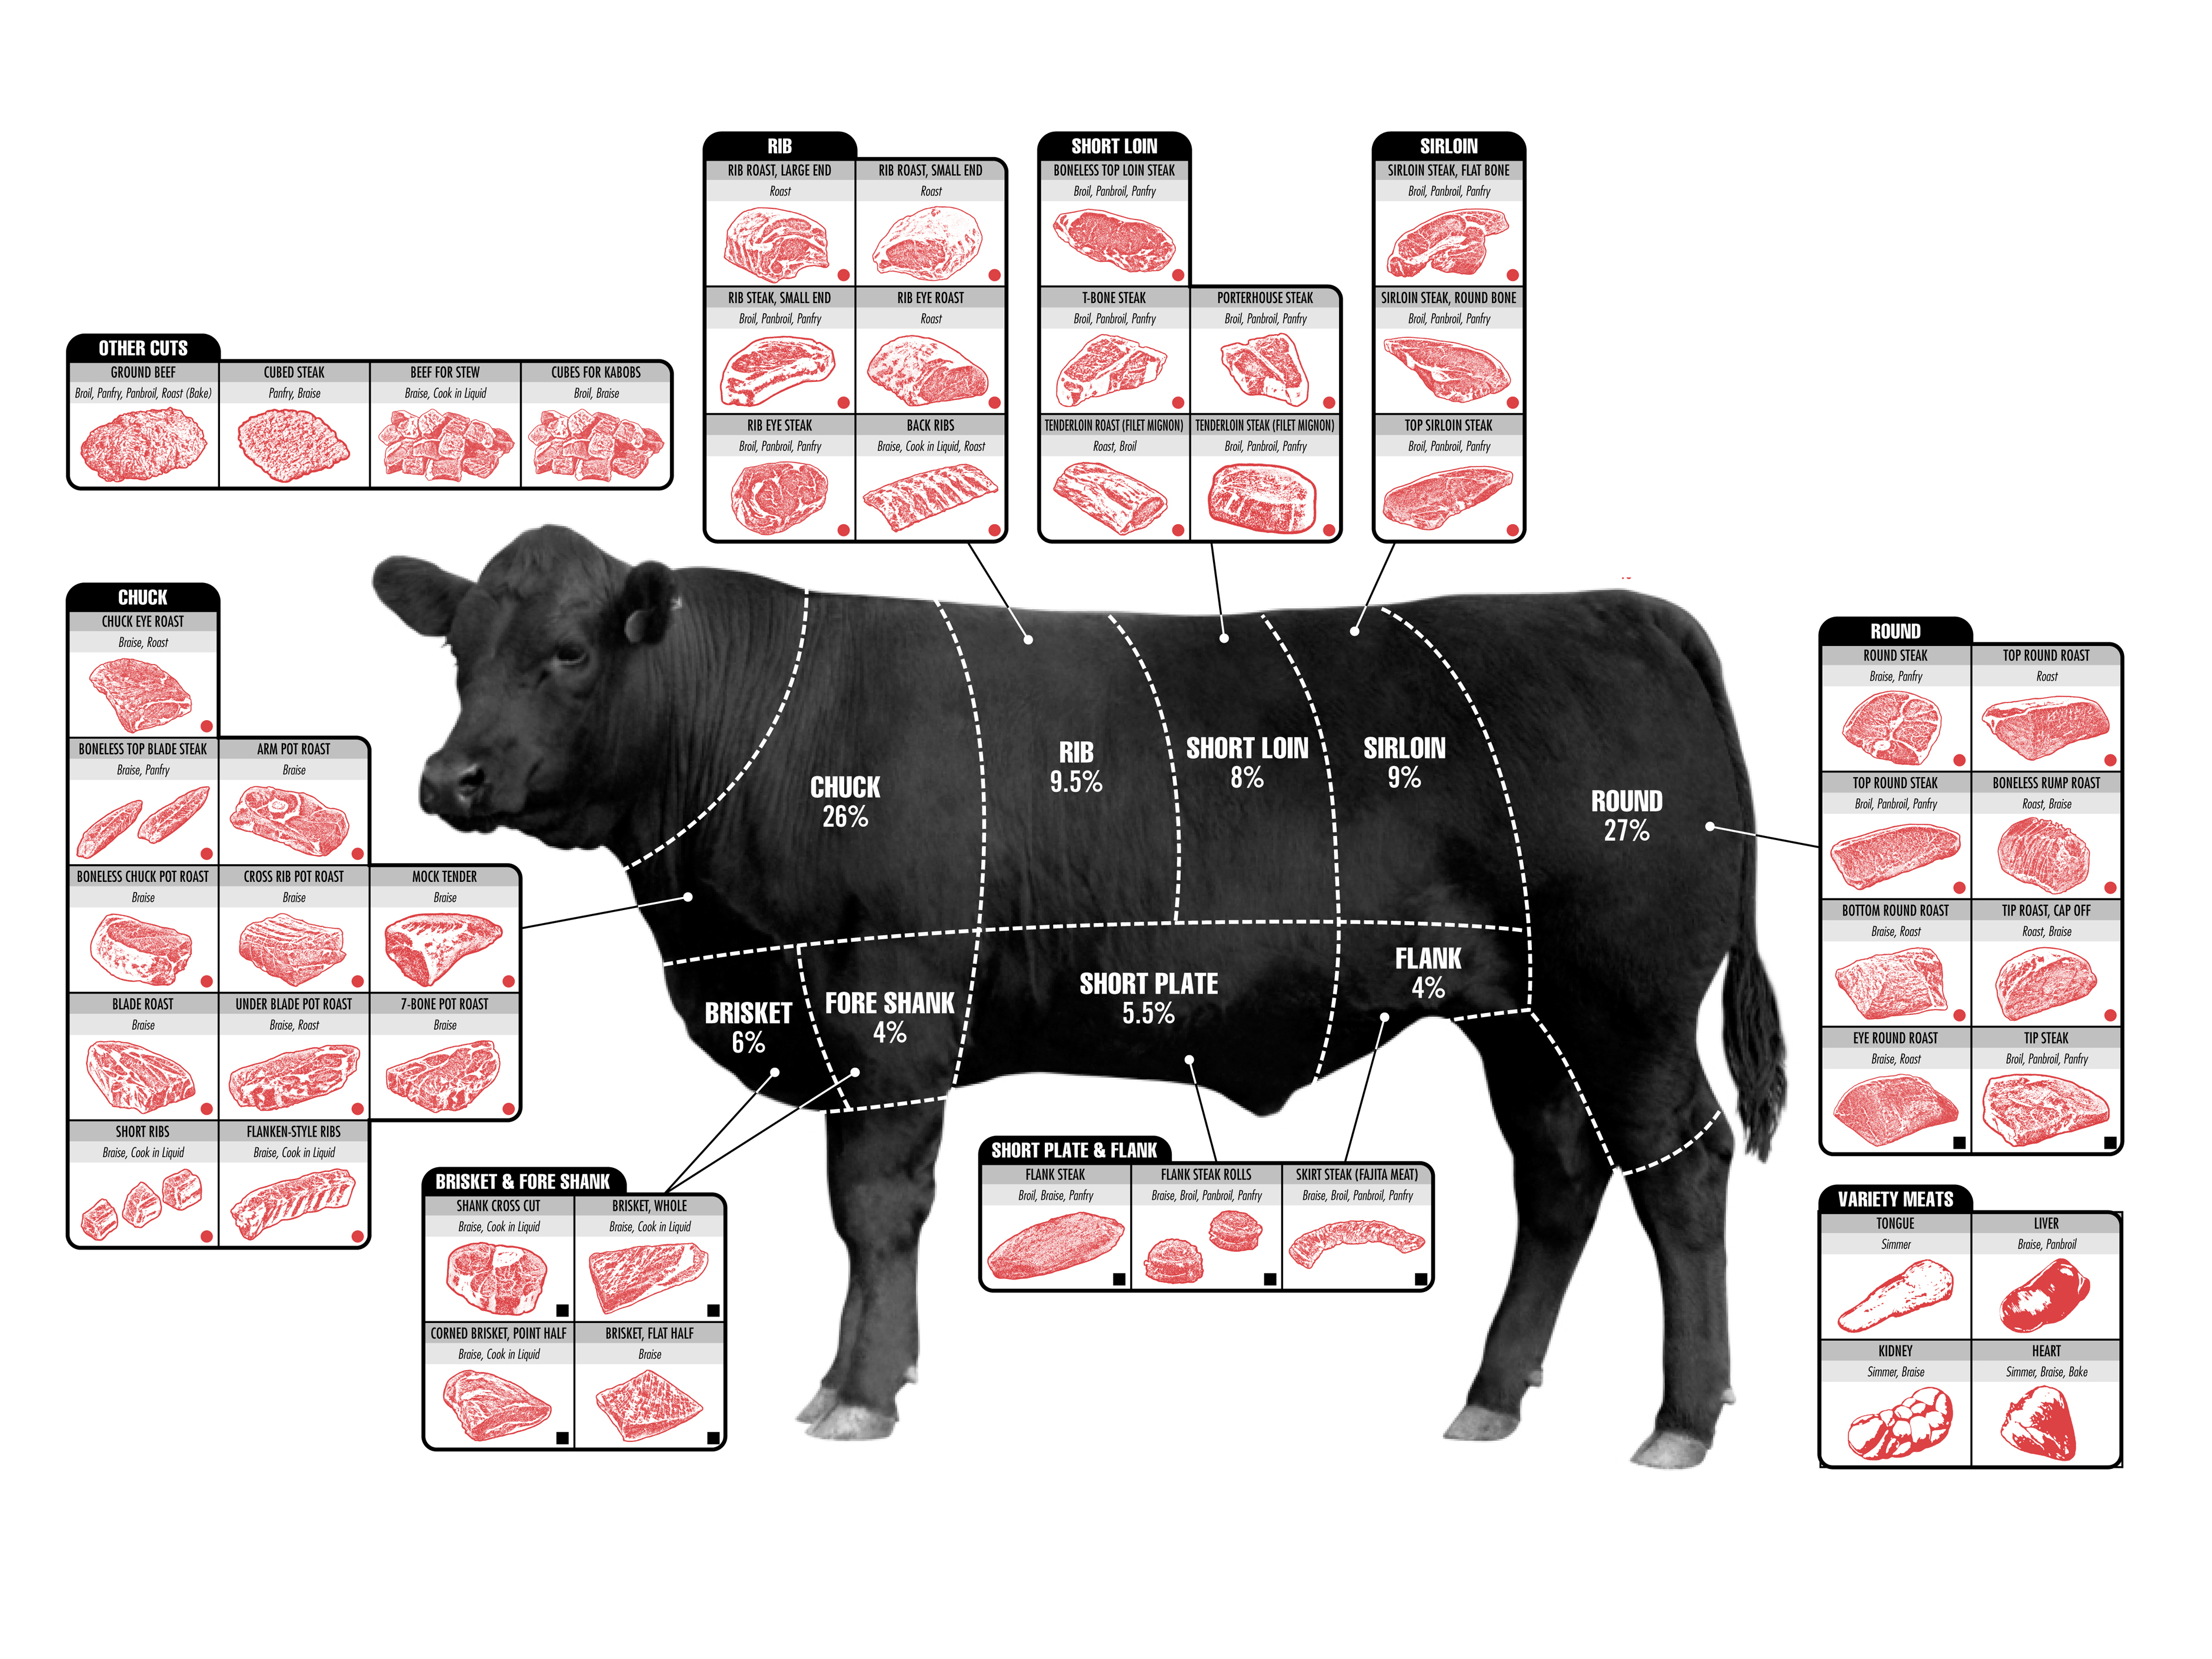
- Quality of Ingredients: Restaurants frequently source higher-quality cuts of meat, which can be more marbled and flavorful than what is typically available at home. They may also use specialty suppliers or dry-aged beef, enhancing flavor and tenderness.
- Seasoning: Restaurants often use more salt and seasoning than home cooks. Proper seasoning enhances the natural flavors of the meat. They may also marinate or brine the meat, adding depth to the flavor.
- Cooking Techniques: Professional chefs have access to commercial-grade equipment, such as high-temperature grills or broilers, which can achieve a nice sear and create a flavorful crust. They also often use techniques like reverse searing or sous-vide, which can improve tenderness and juiciness.
- Temperature Management: Restaurants usually have better temperature control, allowing them to cook steaks to the perfect doneness consistently, while home cooks might struggle with maintaining the right heat.
- Resting Time: Steaks are often allowed to rest after cooking in restaurants, which helps redistribute the juices for a more flavorful bite. Home cooks sometimes skip this step.
- Presentation and Accompaniments: The overall dining experience in restaurants includes presentation and sides that complement the steak, enhancing the overall flavor perception.
- Experience: Chefs have more experience and training in cooking techniques, flavor pairings, and timing, which can significantly affect the final product.
To replicate restaurant-quality steaks at home, consider investing in higher-quality meat, experimenting with seasoning and cooking techniques, and paying attention to details like resting time and temperature control.

Ok. Here’s what you do.
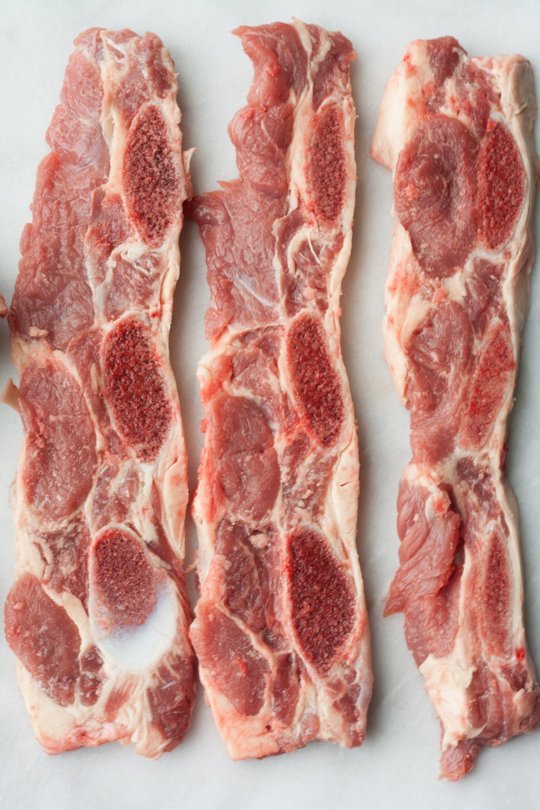
Go buy a good cut of steak like a T-bone that is approx 1” thick. Salt and pepper it and let it sit out while you prepare.
Chop some garlic and parsley and mix it up with a few tablespoons of butter. I don’t have measurements, You can’t screw this up.
Put a cast iron pan in the oven at 400 for 30 mins, get it really hot
Take it out and put it on the stove on medium
Put oil in the hot pan, like a two tablespoons
Put your steak in and set the timer for 2 mins.
Move quick, Flip to other side, 2 mins,
Flip again and cook 2 mins,
Flip again, cook for 2 mins.
Last flip, only one minute on this side.
This flipping creates the crust on the steak, the inside will still be rare/uncooked. Don’t fear.
Now, Put it on a plate and put your butter mixture on top of the steak and cover it completely with tin foil for 5 mins.
Now, time to savor….take a bite. Restaurant quality, better than restaurant quality. Yum yum yum.
Now take your heart medicine and cholesterol medicine so that you see another day.
Recipe courtesy of America’s Test Kitchen “how to cook a damn good steak” episode