The acidification of the dough by lactic acid bacteria in our sourdough starter and other physical-chemical changes during the breadmaking process help protect against premature bread firming and drying. Additionally, these acids also help prevent molding, and in my experience (and also that of the WSU Bread Lab), usually keep a loaf perfectly edible for a week or more—all without any chemical preservatives.

The Science: from baking to staling
Before we get into solutions for the best way to store bread, we should first briefly talk about stale bread: no one’s favorite, unless we’re making French toast, ribollita, bruschetta, or bread crumbs and croutons, of course. But what happens behind the scenes when the dough is baked, left to cool, and on its way to staleness?
If you’re not interested in a brief scientific basis for staling, skip to the next section.
As bread dough is baking, the starch granules (which wheat flour is primarily composed of) gelatinize. When they gelatinize, they swell from the moisture in the dough, and their rigid, crystalline structure transforms into a non-crystalline (amorphous) form (very similar to what happens when you make a tangzhong or yudane). When the baked loaf is removed from the oven, it begins to cool. From this point on, the crust and crumb begin to harden over time as starch (and most significantly, amylopectin) undergo retrogradation, a re-ordering into a crystalline form.
This retrogradation means a hardening of the crumb as moisture moves out from the starches, eventually taking a loaf of bread from soft and pliable to excessively hard and what we identify as stale. Other processes begin to take effect with the crust as well, as it begins drawing moisture out from the crumb into itself, making the crust rugged and leathery.
In general, staling can be reversed somewhat by reheating the bread to sufficient temperature (140°F / 60°C) but it can’t completely reverse the effects of staling, and the results from heating will only last a short time. You can see this directly in your kitchen: reheat a slice of stale bread in the oven or toaster and you’ll think you almost have a slice of fresh-baked bread on your plate—for a few minutes at least.
It’s also worth knowing that doughs containing some percentage of fats (lipids) will typically last longer before staling. The fat present in the dough slows the re-crystallization of the starch granules and reduces the movement of moisture between starches and proteins (de-gelatinization) which causes the crumb to harden.
Staling vs. drying
Note that staling and drying are distinctly different processes at work. Staling can result in a firm, hard loaf of bread but is not necessarily due to the evaporation or loss of water from the crumb and crust, it’s more about the retrogradation process described above. However, drying can also occur and can especially be a problem in arid climates (like where I live in New Mexico).
To avoid excessive drying, it’s important to make sure bread is stored properly (cut-side-down, using a breadbox, etc.—more on this soon, I promise) so it doesn’t prematurely dry to a bone.
Ok, enough science. So how do we put this into practice?
The Practice: Keep Bread Fresh Longer
The following steps are loosely how I take a loaf of my baked bread from the oven, to cooling, to cutting, to long term storage.
Wait to slice bread after baking
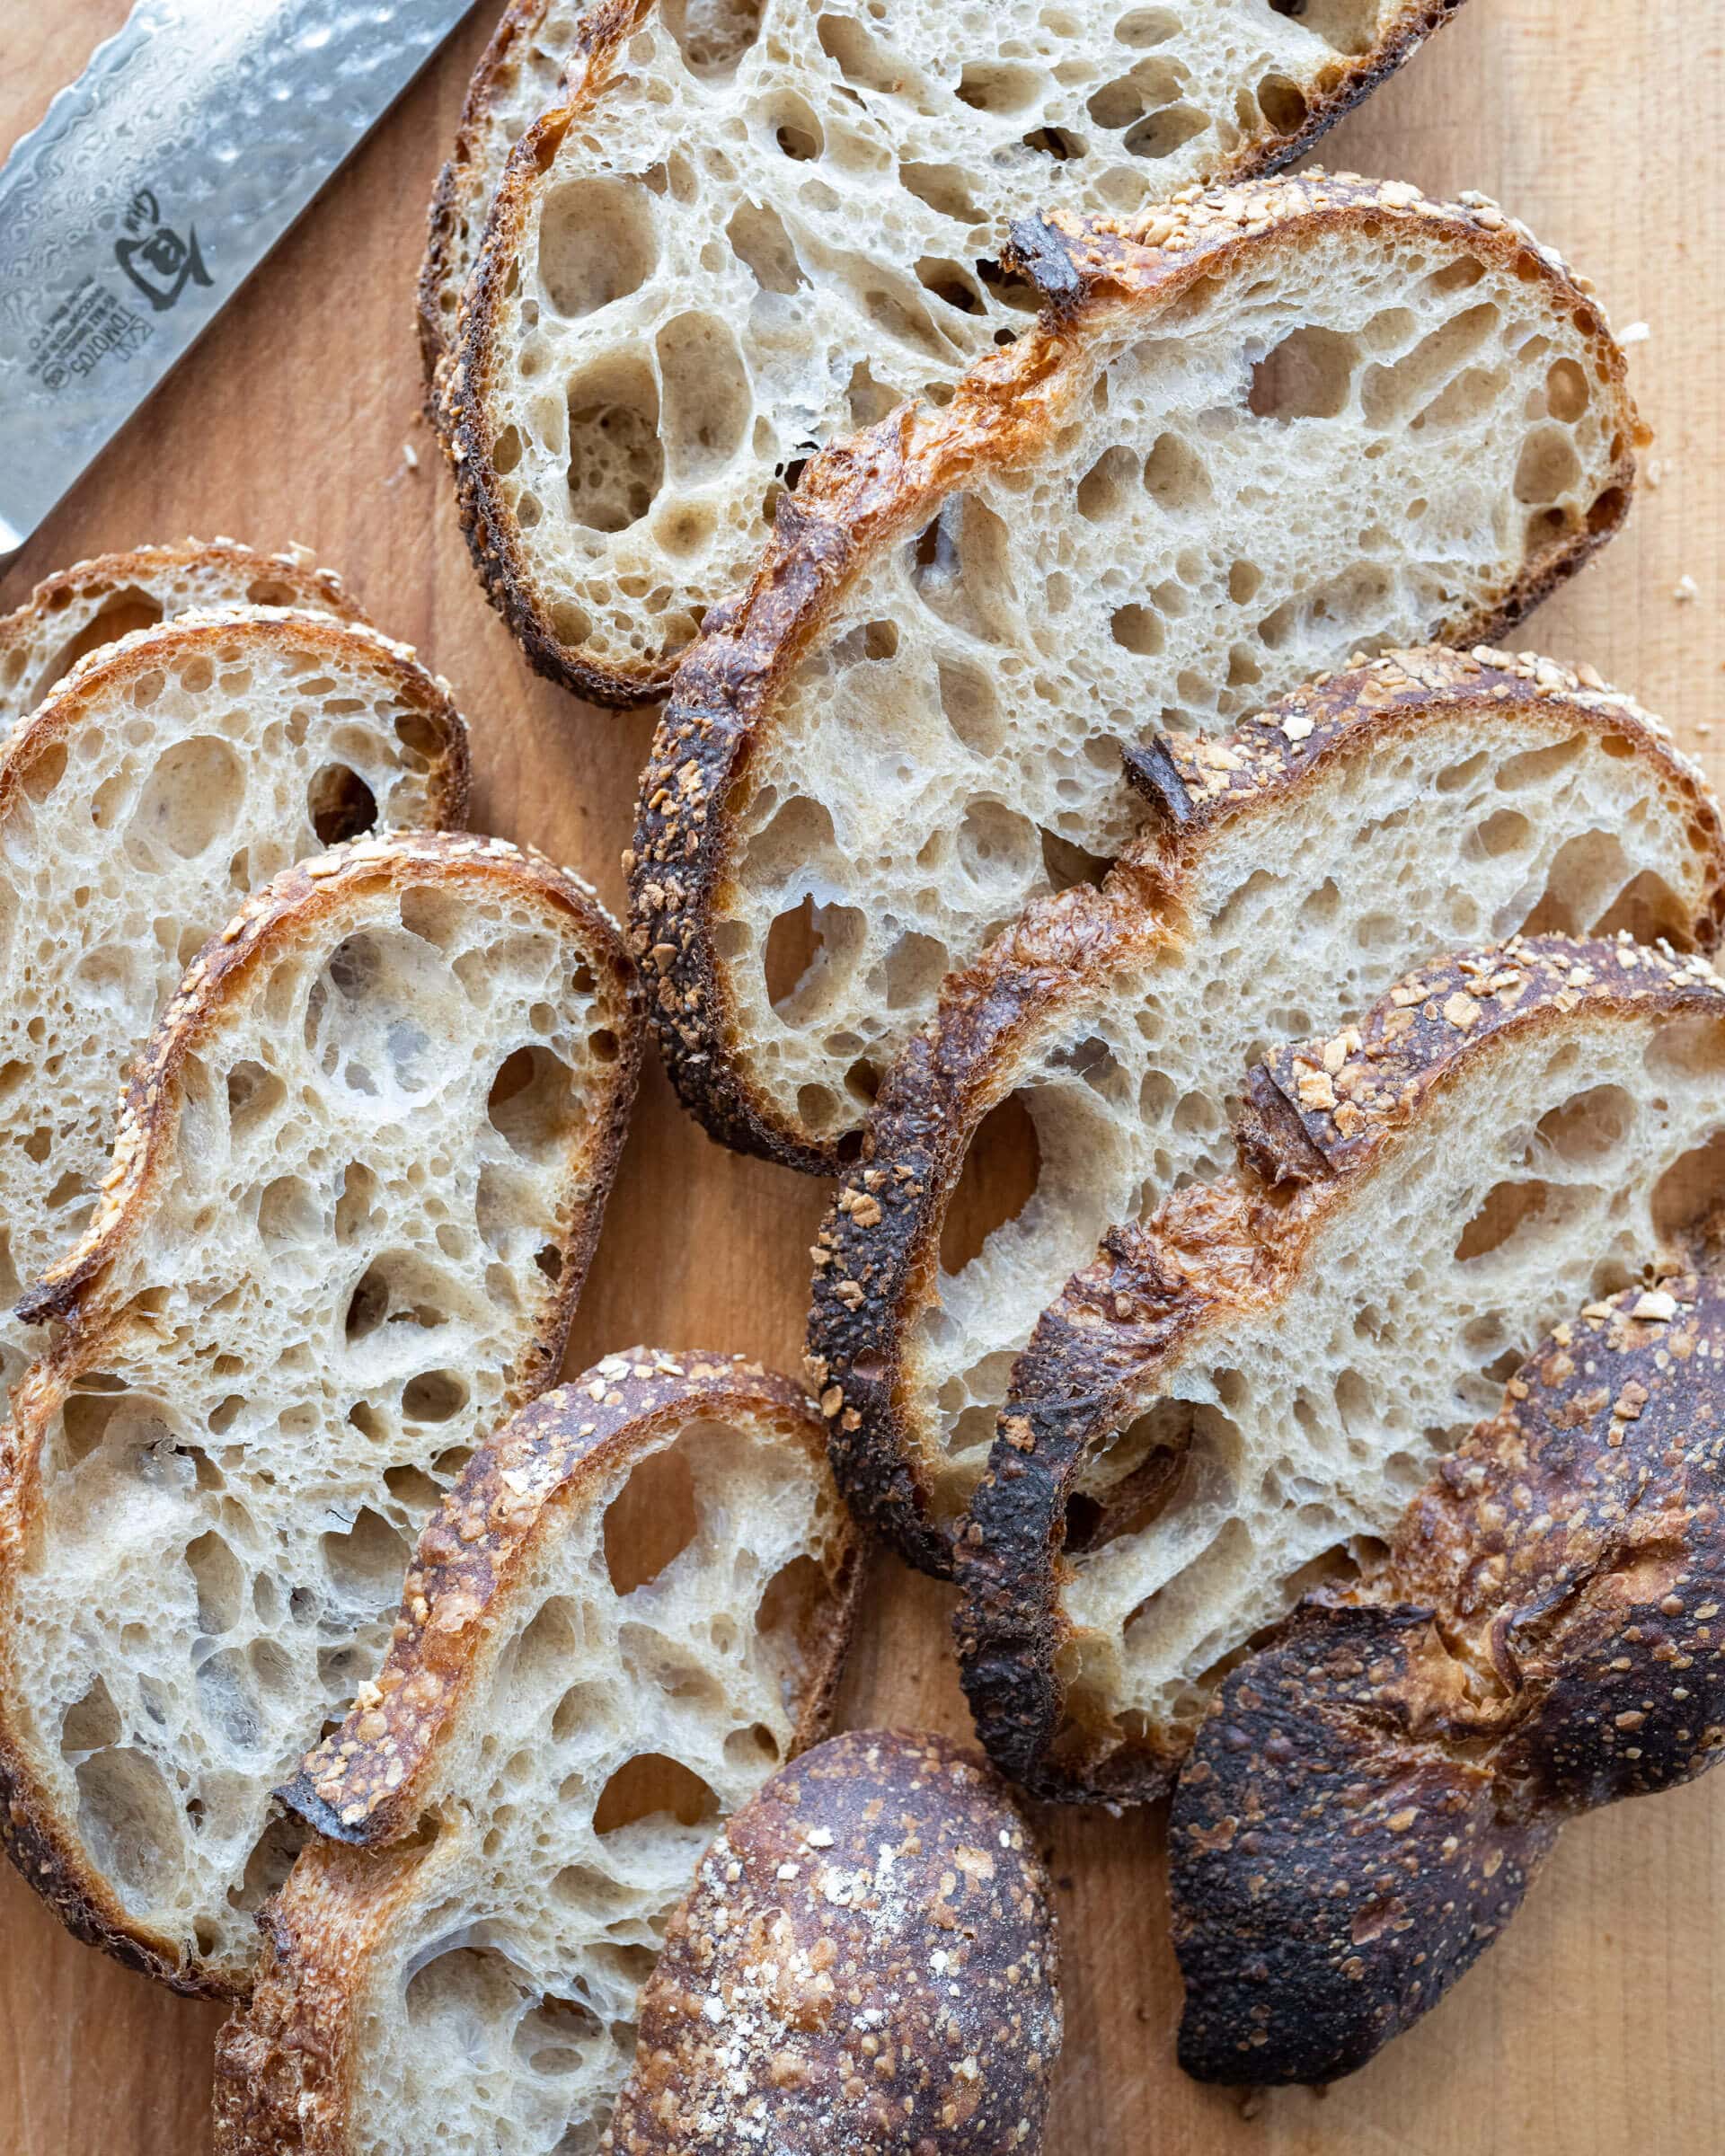
Cutting fresh-baked bread too early will result in a gummy and sticky interior .
First and foremost, it’s always best to let fresh bread rest until it’s cool and fully set before slicing. I know, fresh-from-the-oven is hard to resist, but your bread will not only taste better it will keep longer if you wait to cut it for at least an hour—I actually prefer two or more.
The reason goes back to the science behind all of this: starch retrogradation is happening right as the loaf is pulled from the oven, but it hasn’t progressed far enough to firm up and set the interior appropriately. Because of this, slicing a warm loaf of bread too early will result in a gummy and sticky interior.
Further, recipes containing a high percentage of whole grains, especially a 100% whole grain loaf (which are typically highly hydrated), or loaves that are larger (like my 1.5 kg miche), benefit from an even longer rest. In fact, with these types of breads I find their flavor improves 2-3 days after baking.
With rye bread, especially when rye is in a high percentage, it’s common to let the bread rest, wrapped in baker’s linen or a towel, for one or two days before cutting.
After the baked loaf is cooled and fully set, then it’s time to cut.
Store bread cut-side down
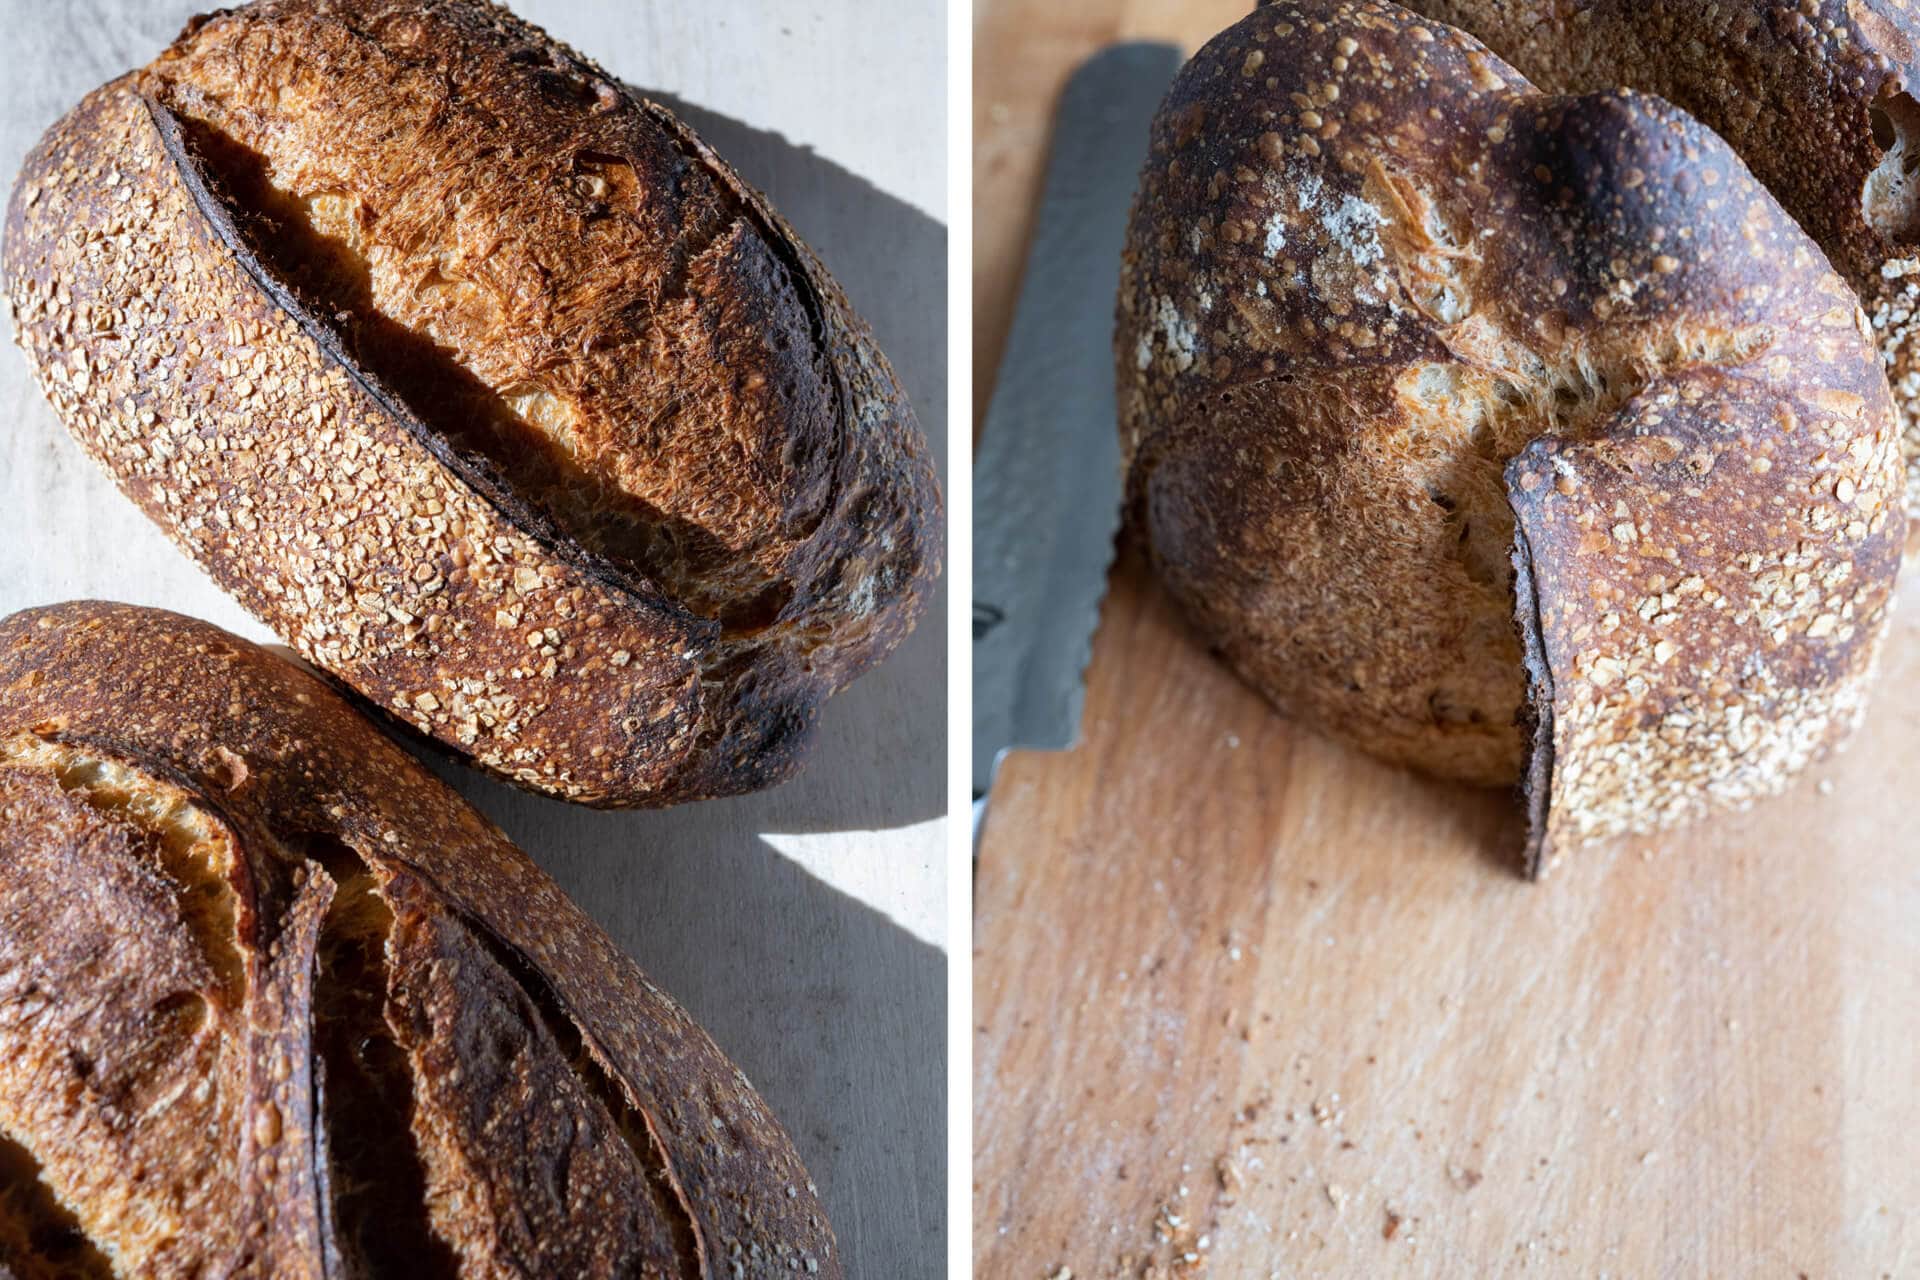
Once cool, I first cut the loaf directly down the middle creating two halves (as seen above, right). This way after slicing from the middle I can turn the halves so the crumb is facing the cutting board. This completely surrounds the interior by the (relatively) thick crust, keeping it from drying out excessively. The crust is a natural bag of sorts, keeping moisture in and dryness out.
I can typically keep my bread like this for a day or two (remember, it’s very dry here) on my cutting board, at which point I move it to a breadbox.
Use a breadbox
This is as simple as it gets: just keep your cooled loaves, cut or uncut, in a bread box, and let the box do its job. I’ve had a few different boxes over the years, and when my favorite Wesco German-made box broke (thank my kids for that one) I replaced it with the svelte stainless steel breadbox (seen below) and it works just as well if not better.
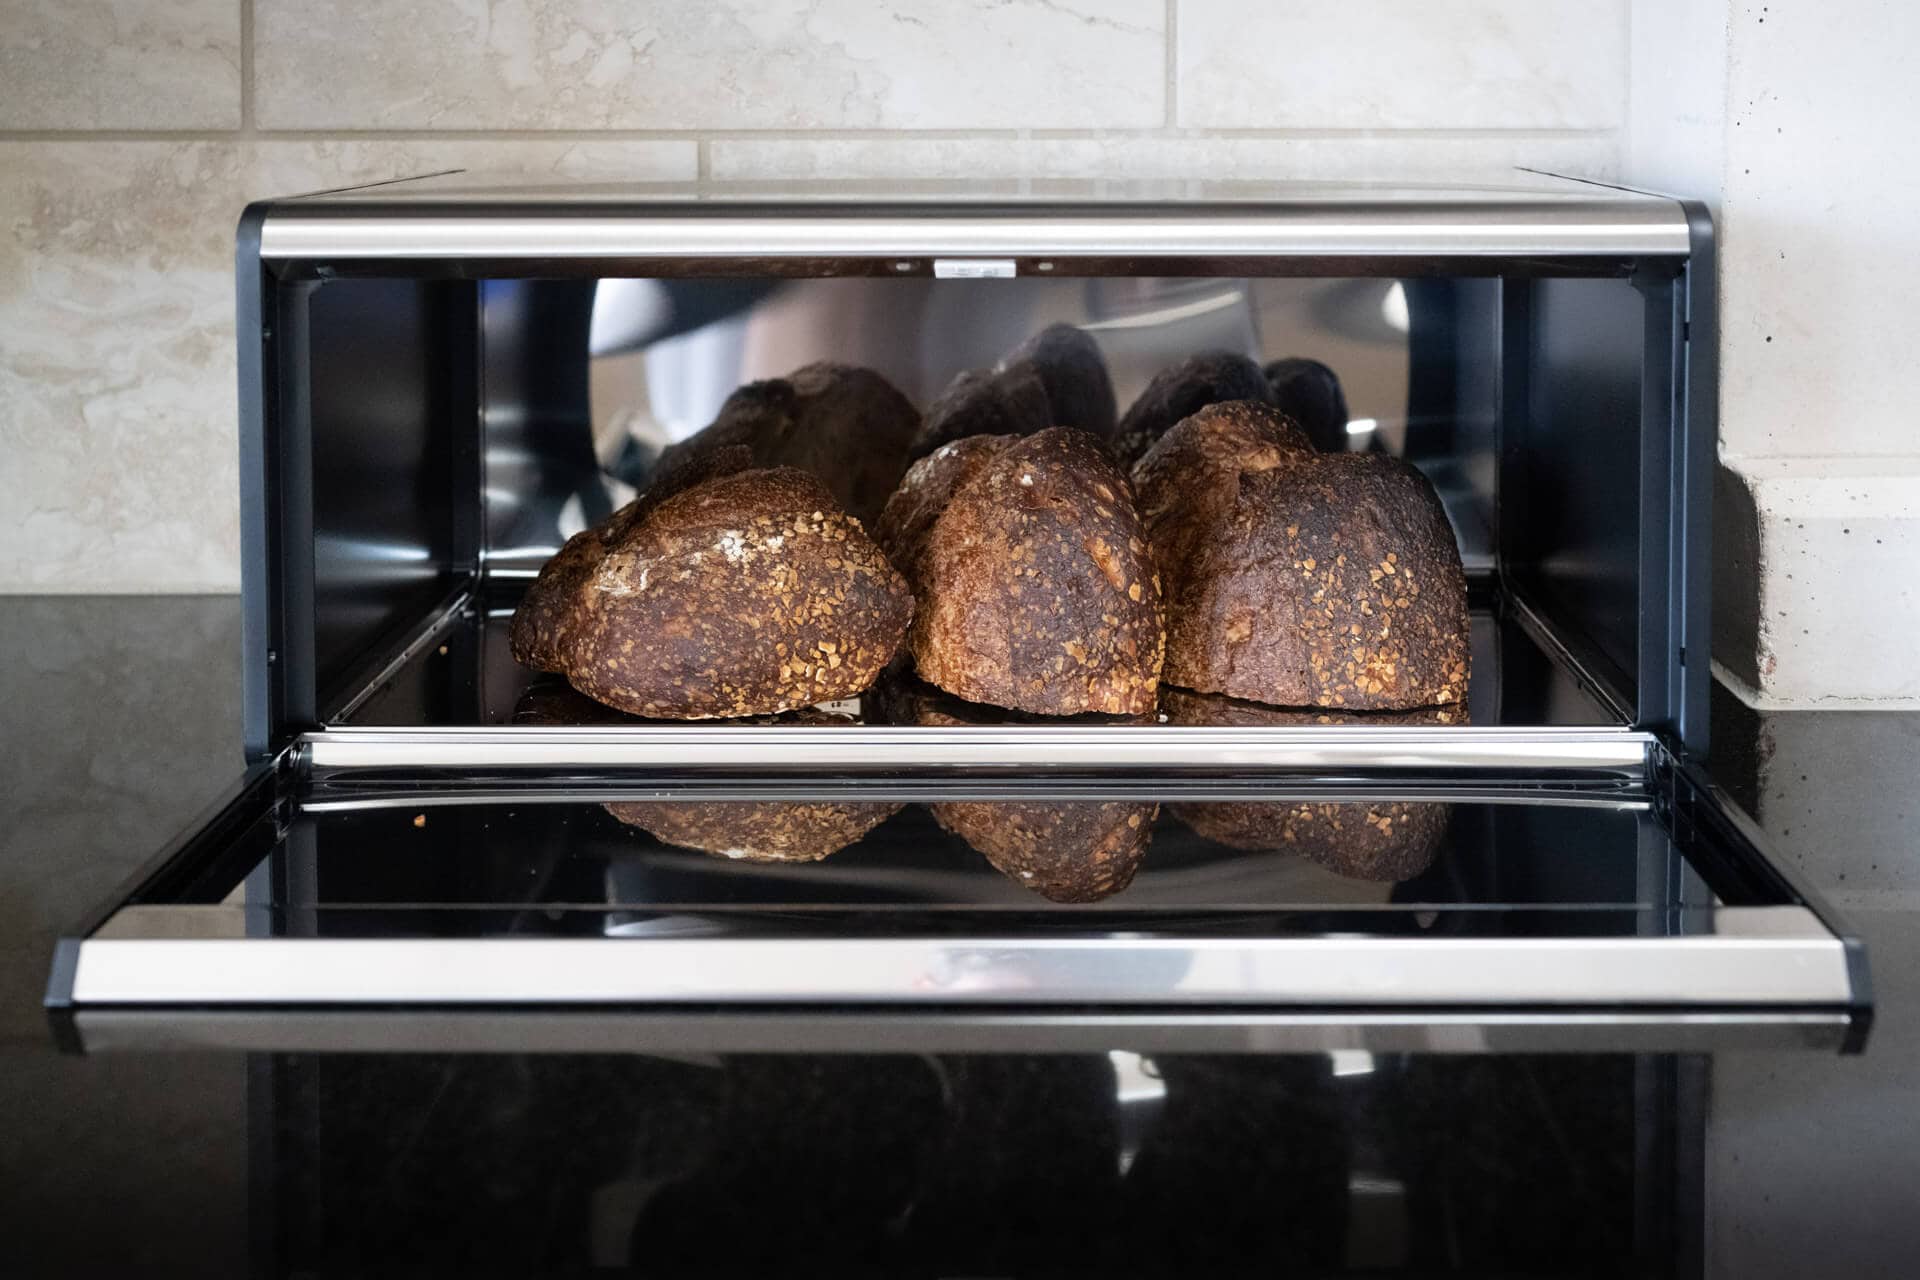
I like that it’s rather large (H: 7.3″ x W: 18.2″ x D: 9.8″), and I can easily store 2-3 whole loaves of bread in there at a time. And because I bake so often here at home, I almost always have at least one loaf of bread in the box, ready to be sliced and used straightaway.
Use reusable wrap like Bee’s Wrap
Another option is to use a reusable wrap like this bread-sized Bee’s Wrap. This is one of my favorite ways to wrap up longer loaves (like demi-baguettes) and the wrap works extremely well at keeping loaves soft but not too soft.
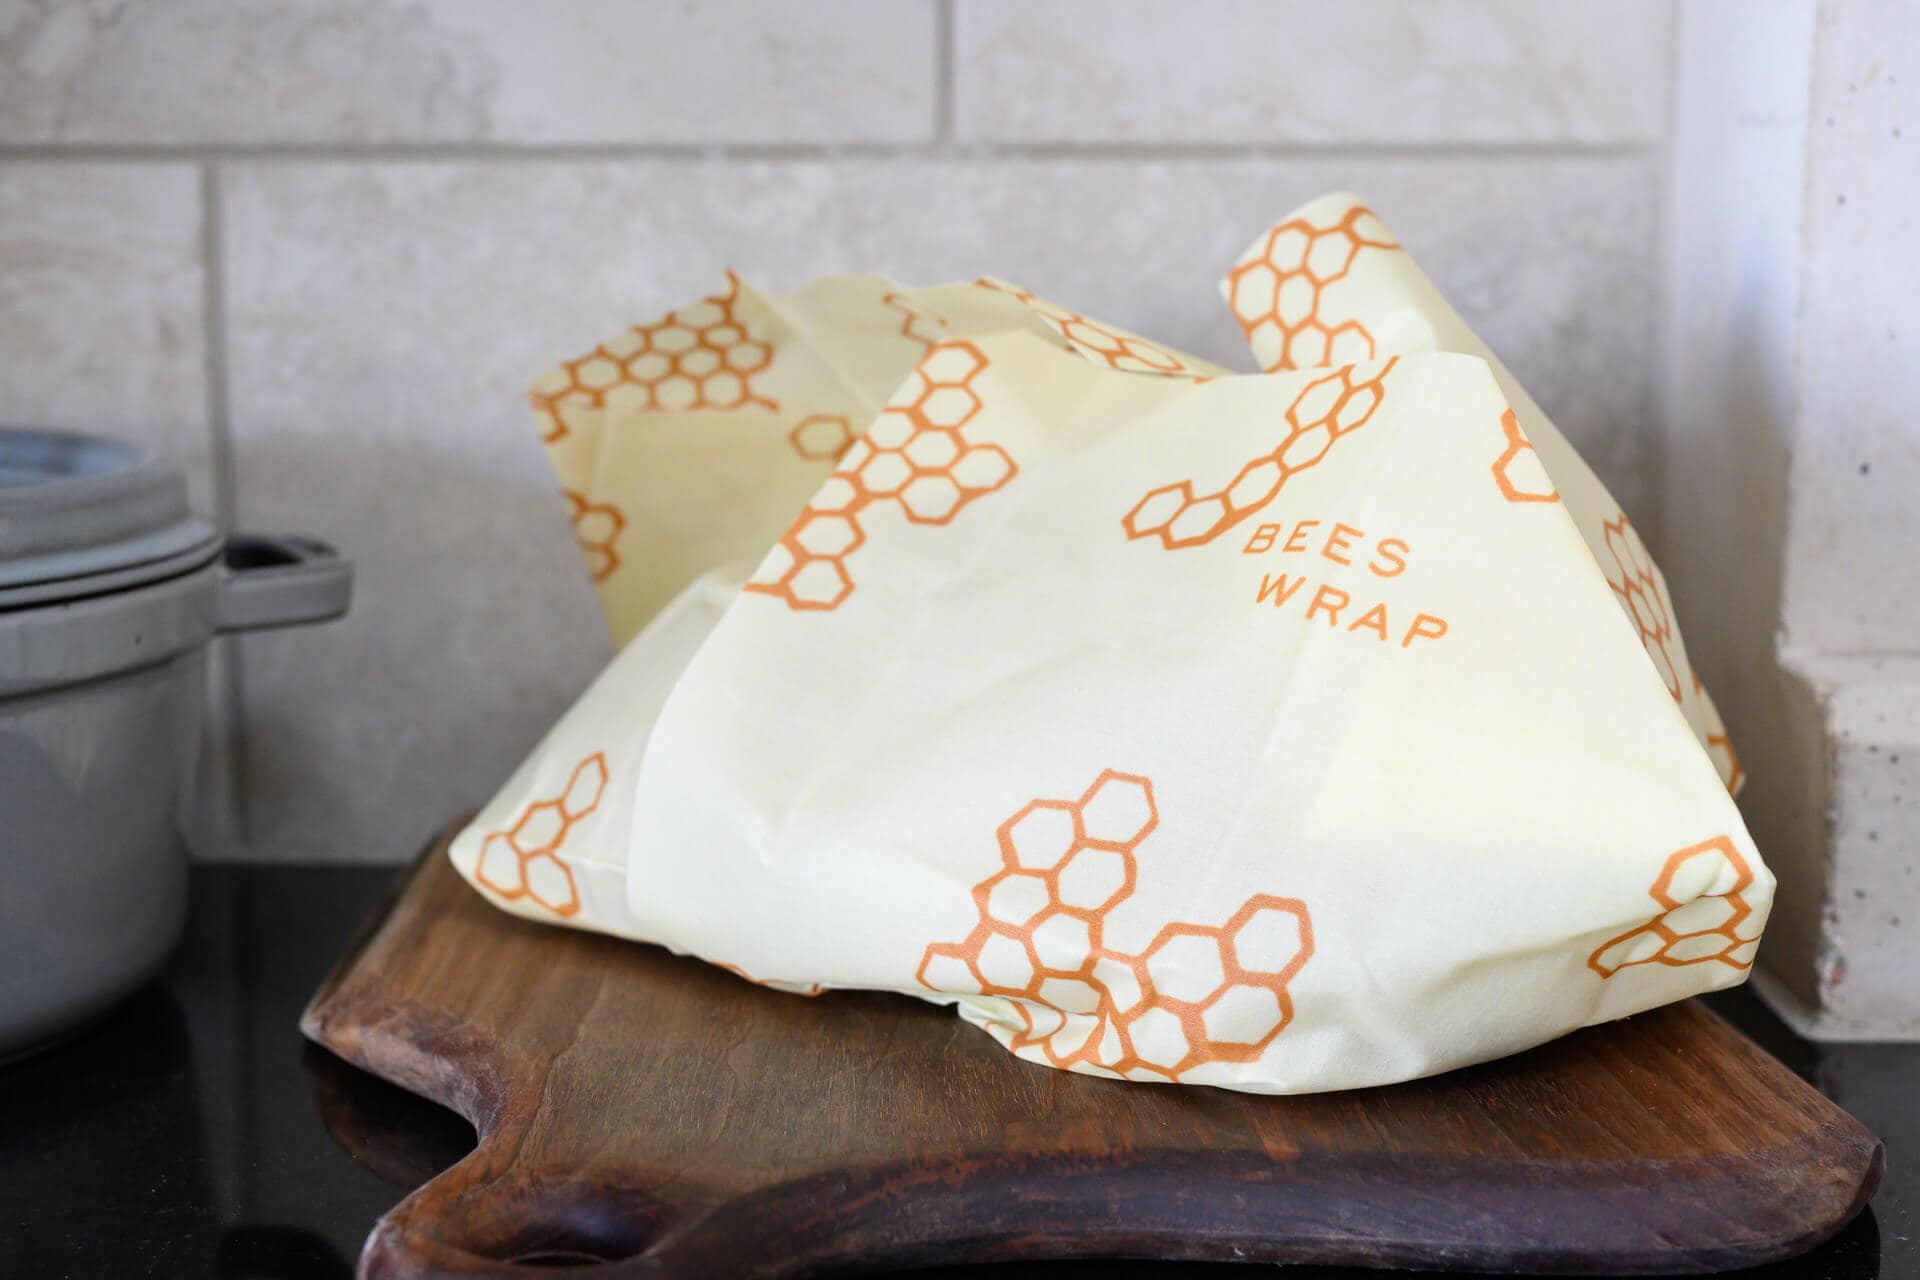
Simply place your bread in the wrap and cover tightly. The beeswax lined wrap will deform and wrap around all the nooks and crannies of your loaf as the warmth of your hands mold it to fit.
Paper bags, kitchen towels, and plastic bags
Plain paper bags and kitchen towels also work very well to keep bread from excessively drying. And while many sources say never use a plastic bag, sometimes it might be necessary, especially if your climate demands it so. In the dead of winter here in New Mexico, humidity levels drop so low my lower hydration sourdough bread almost has to be placed in a sealed plastic bag to retain some semblance of a soft texture. In this rare case, a sealed plastic bag is necessary and works well.
Don’t place bread in the refrigerator
Finally, and this is a very important one, don’t store bread in the refrigerator. It might seem counterintuitive since the refrigerator is seen as a food-preserver, but placing your homebaked loaf of bread in the refrigerator will actually cause it to stale faster than if it’s kept at room temperature.
The Practice: Freeze bread for Long Storage
For long term storage, a freezer is a handy option. By subjecting bread to very low temperatures the retrogradation process can be mostly halted, preventing the migration of moisture out of starches and their subsequent recrystallization. This means a cooled loaf can be frozen whole or sliced completely and then the slices are frozen independently (my preference).
First, let’s look at freezing slices.
Freezing Slices
In practice, freezing individual slices of bread is a great way to get the best of both worlds: conveniently sliced bread that can be reheated at a moment’s notice that also keeps for a very long time in the freezer (I’ve done a month or so, but this could probably go longer). When reheated, the bread comes out like freshly baked bread that’s perfectly toasted.

Years ago when I first started baking bread I was on the search for the perfect toaster. After going through a few, I found the Breville Smart Toaster which is the best toaster I’ve found: not only does it take extra long slices (like the ones from sourdough boules or batards) but it has a frozen function that works perfectly to reheat a frozen slice of bread to just the right amount. It’s expensive for a toaster, but the amount of bread I go through here in my kitchen easily justifies the expense.
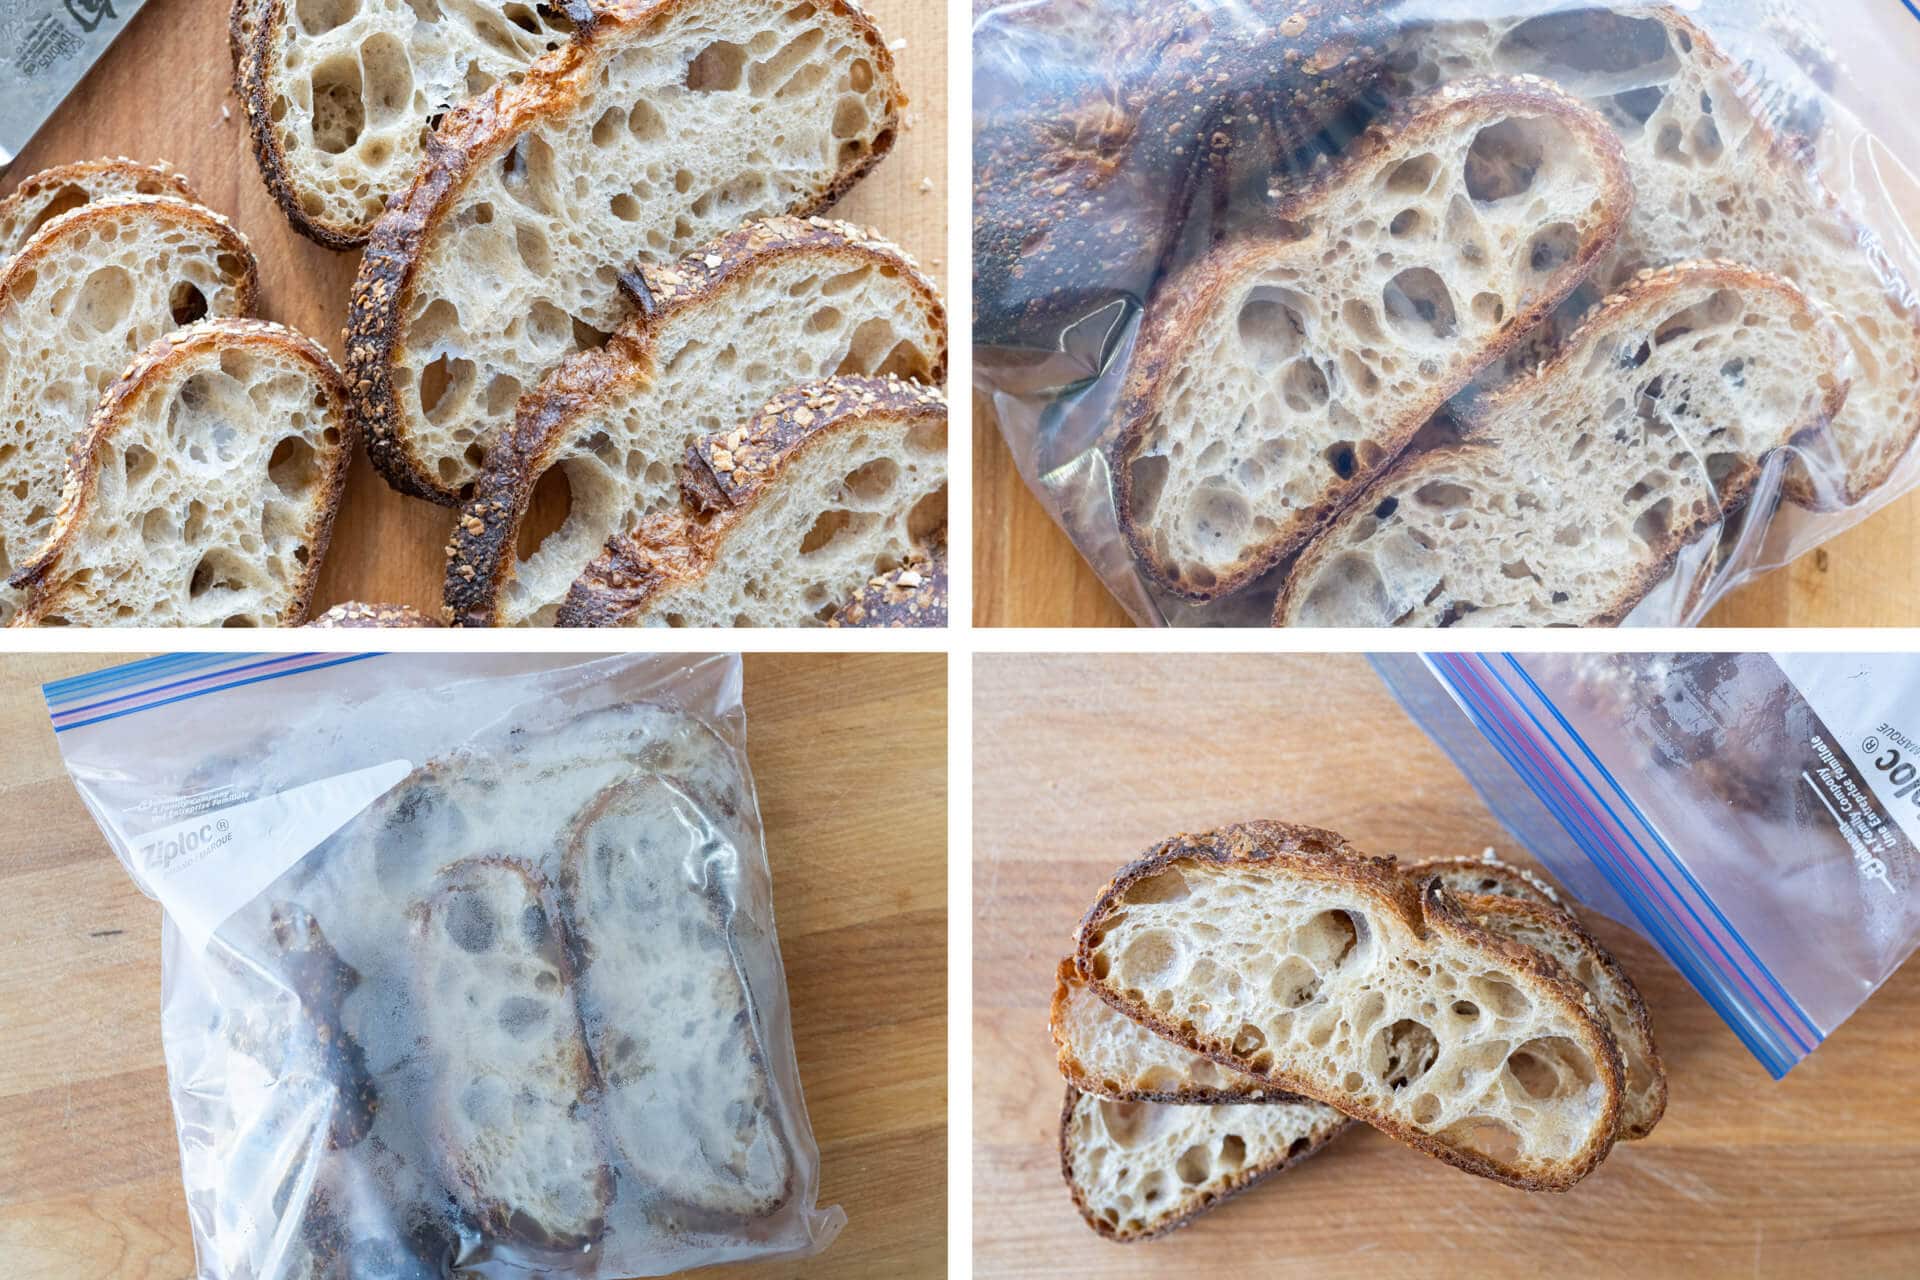
The process is simple: once your loaf of bread is cooled thoroughly, slice it completely from end-to-end. Then place the pieces in a freezer Ziploc bag, one on top of the other, in an alternating pattern (place a layer on the bottom from side to side, then place slices on top of the bottom layer turned 90°) and press out as much air as possible. Then, place the bag in the freezer until the slices are fully frozen. At this point, take one or two slices out and reheat them in the toaster to your liking. The plastic freezer bag can be used many times without discarding.
Freezing Whole Loaves
This method uses a little more material to make work, but it’s a great option if you know you’ll want an entire loaf of bread for some use in the future. A good example might be if you bake two loaves at one time, plan to eat one this coming week, but want the second loaf for the week or two after.
Once the baked bread is fully cool, wrap it completely in plastic wrap. Then, take the wrapped loaf and put it into a freezer Ziplock bag. Press out as much air as possible, then stick the bag in the freezer. When you want to eat the bread, take it out to defrost in the fridge for a few days or on the counter overnight. Once it thaws completely, store it on the counter via one of the methods described above.
What Next?
I’d love to hear if you have your own best way to store bread and keep your sourdough fresh. I know here in my kitchen, with the various options for storing and using bread, there’s hardly ever a loaf wasted—and I bake a lot of bread!
For other practical baking guides, see how to store a sourdough starter (for short and long term), and my guide to how to store flour to keep it fresh.
If you’re looking for a recipe to get started baking sourdough (and freezing!), check out my latest simple weekday sourdough bread—a delicious bread that couldn’t be easier.
Happy baking!