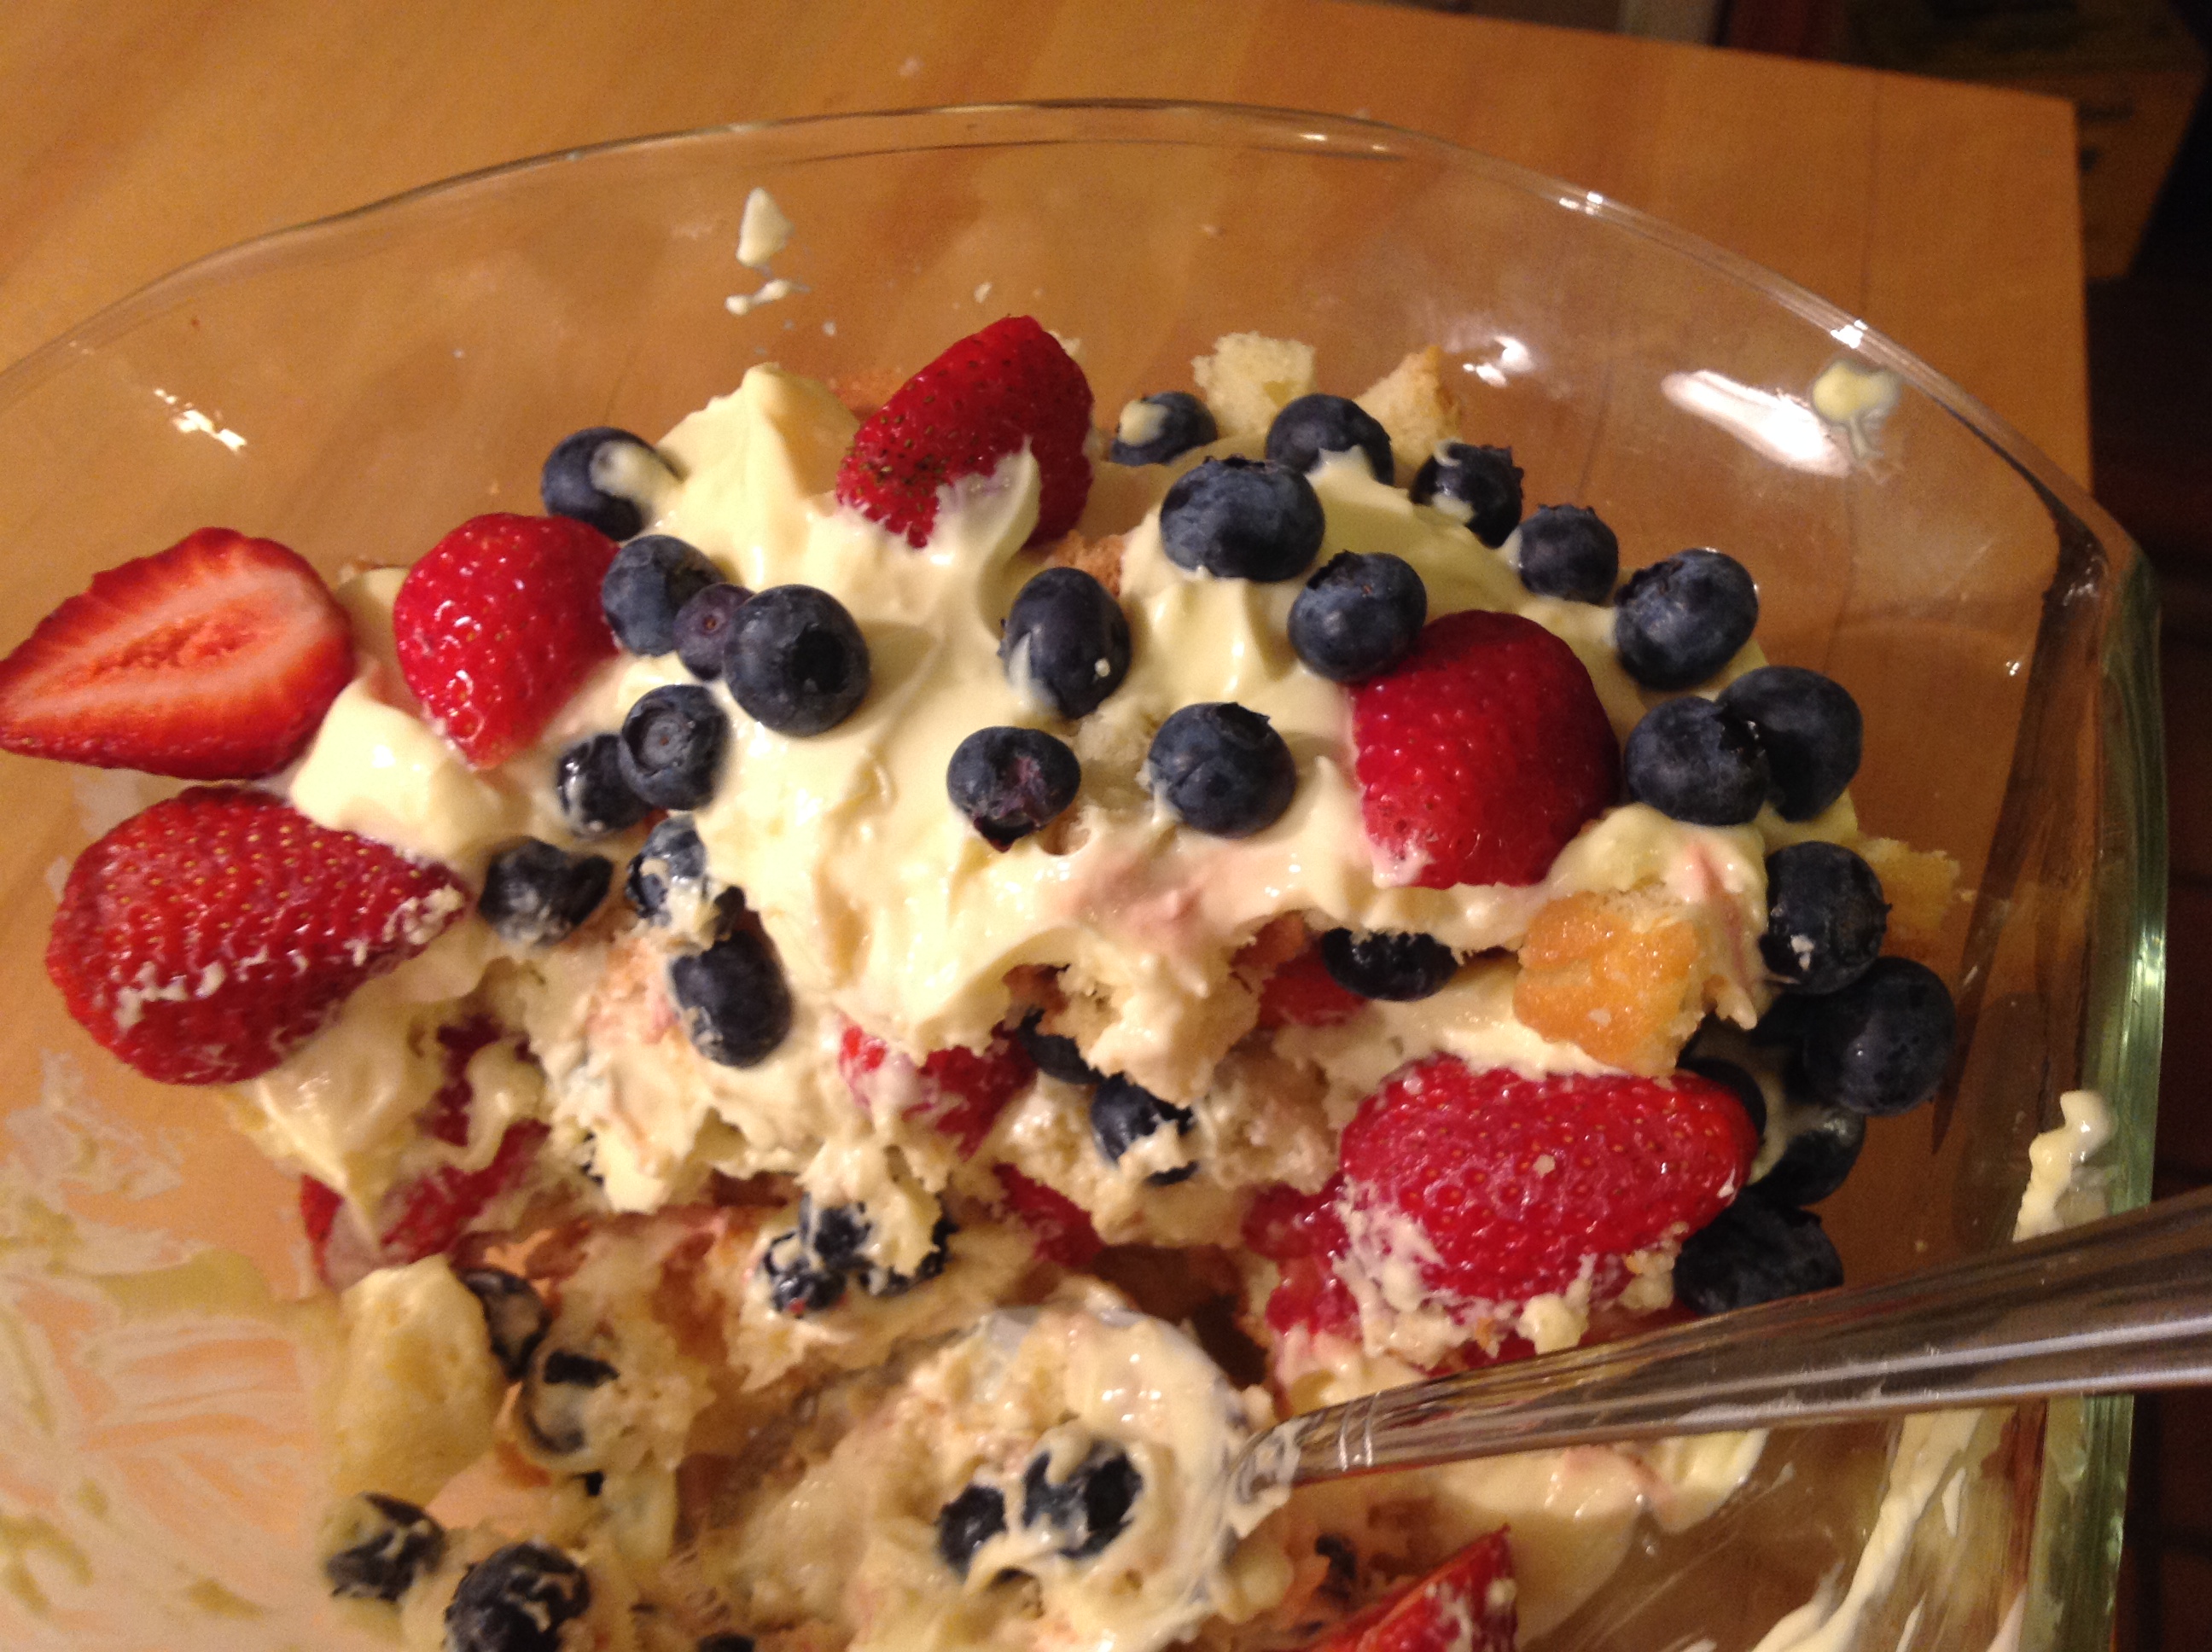
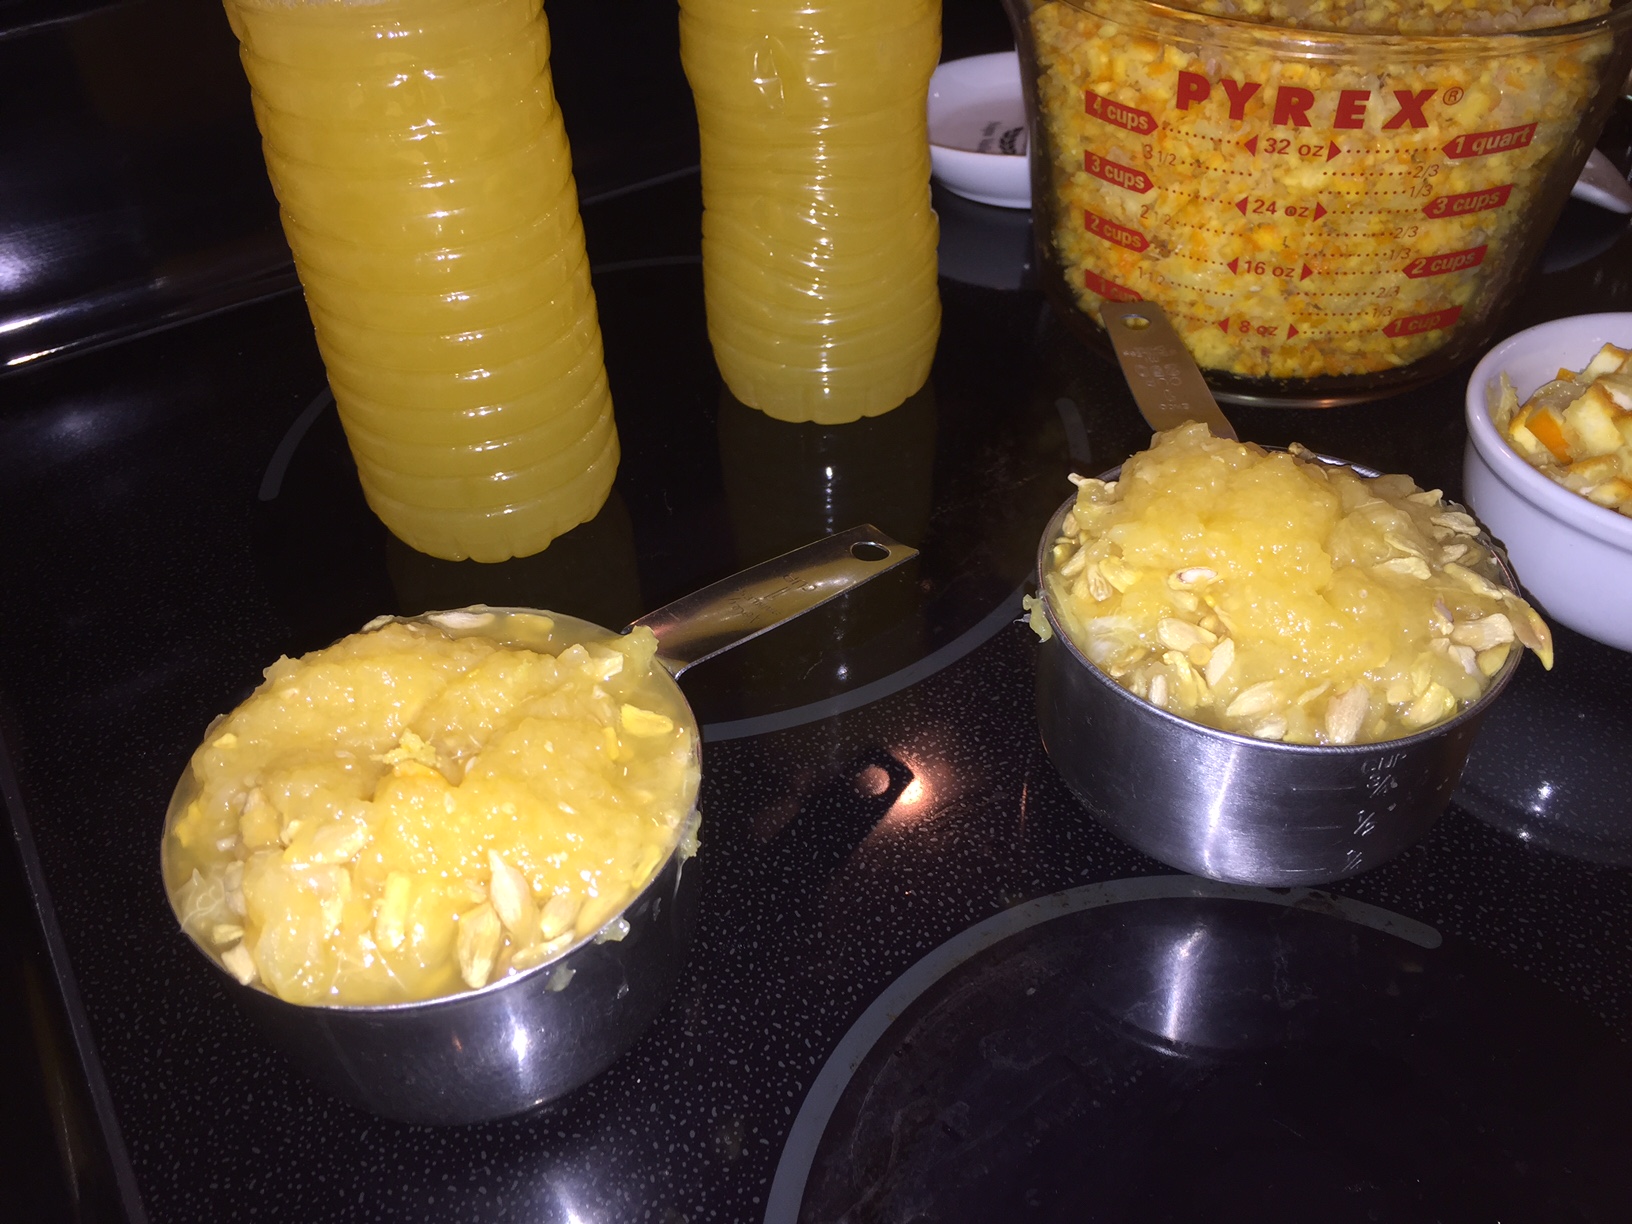
Fruitcake – Two Recipes

Recipe One

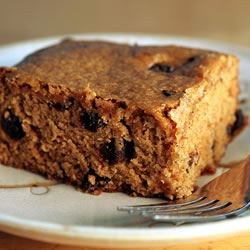
Anyone can buy a fruit cake, but did you know that you can bake your own for twice the cost?   LOL.   This is true, but when making it from scratch you are assured of the ingredients, and that is worth a lot for something that can last for up to two years.  Here is Grandma’s Recipe for Fruitcake.  This recipe will fill a 9×12 and a 9×9 baking dish.  For just one 9×9 baking dish, divide all ingredients in half.

INGREDIENTS

  • STEP ONE – Soak fruit mixture one or two days in advance
    6 C misc dried diced fruit – golden raisins, Medjool dates, prunes, Craisins, blueberries, sour cherries, apricots, dried pineapple, dried apples, dried bananas, etc.
    2 C Rum
    Let mixture meld and soften for 8-48 hours
  • STEP TWO – Prepare nuts
    Zest and juice from one orange
    Zest and juice from one lime or lemon
    1 tsp salt
    1 C chopped walnuts
    1 C slivered almonds
    1 C chopped pecans
    2 sticks ( 1 C ) butter – Melt and toss with nuts to absorb butter – set aside
  • STEP THREE – Prepare sweetener
    Cream together 3/4 C granulated white sugar and 1/2 C brown sugar
    8 eggs (one at a time)
    2 TBL molasses
    1/4 C apple cider
  • STEP FOUR – Prepare binder
    1 TBL allspice – Alternately 2 TBL Grandpa’s CinnaSugar® and 1/2 tsp clove
    Sift together several times till all one color
    3 C AP flour
    2 TBL ground ginger
    – When completely sifted together, toss with 1 C crystallized (candied) ginger
  • STEP FIVE – Combine ingredients
    Mix the fruit mixture with the nuts (From Steps 1 and 2) and stir to combine.
    Mix the fruit mixture into the sugar mixture (Step 3) and stir to combine.
    Mix the binder (flour mixture – Step 4) together all other ingredients
  • STEP SIX – Prepare for baking
    Cut aluminum foil and spread over the bottom of your greased baking dish
    Also grease the aluminum foil after it is in the bottom of the pan
    Fill pan with the mixture (3/4 of the way up) and press flat
    Place a baking dish 1/2 filled with water in the bottom of your oven
    – This will keep your cake from drying out while baking
    Bake at 275º for 3 hours
    Test with a toothpick, and if it does not come out clean, bake another 30 minutes
  • STEP SEVEN – Let flavors combine
    Spritz with brandy every hour for six hours as it cools completely
    Wrap in clean cheese cloth soaked in brandy
    Refrigerate and generously spritz with brandy every 4-8 hours for the next 24 hours
  • STEP EIGHT
    Leave the cheese cloth in place, and carefully wrap for storage using Saran Wrap or Foil
    If using foil, wrap also in Saran Wrap – freshness is key.
    Ideally, seal it in a heat-seal vacuum bag for ultimate preservation.

NOTE:  I was kidding when I said this will last for two years.  While it just might last that long in the freezer, this will keep (unopened) for several months in your refrigerator.

Recipe Two

Not your typical Fruitcake.  No baking, no aging and no mystery fruit.

      • 1 lb graham crackers – crumbled
      • 1 tsp nutmeg
      • 1/2 lb raisins – Soaked in hot water for 30 minutes
      • 16 oz jar Maraschino Cherries – Drain and halve cherries
        • Alternate fruits:  golden raisins, Medjool dates, prunes, Craisins, blueberries, sour cherries, apricots, dried pineapple, dried apples, dried bananas, etc.
      • 1/2 C brandy or rum
      • 1/4 lb pecans – Chopped
      • 1/4 lb English Walnuts – chopped
      • 1/4 lb almonds – chopped
      • 20 big marshmallows – Melted in hot milk
      • 14 oz condensed or evaporated  milk
      • Mix all ingredients together
      • Pack into regular sized loaf pan lined with plastic wrap
      • Refrigerate overnight and cut slices with a hot knife
    1. Prepare all dry ingredients, put into bowl
    2. Chop nuts and raisins, and combine with dry ingredients
    3. Crush graham crackers, and combine with dry ingredients
    4. Chop (or halve) Marashino cherries – drain and reserve juice – set juice aside, and toss fruit into dry ingredients.
    5. Combine milk and marshmallows into a medium sized sauce pan.
    6. Cook over medium-low heat stirring constantly only until melted.
    7. Add brandy into the juice
    8. Pour the marshmallow mixture over the dry ingredients
    9. Top with reserved juices, and mix slightly
    10. Pour into a casserole dish, lined with plastic wrap and lightly sprayed with Pam
    11. Dump the mixture into the dish, spread evenly and press
    12. Store in refrigerator at least 12 hours.


Chocolate Roulade with Raspberries

  • 6 egg whites
  • 6 egg yolks
  • 3 C double cream
  • 2 tbsp sugar
  • 4 tbsp cocoa
  • 2 tsp vanilla
  • 1 cup confectioner sugar
  • 2 LB frozen raspberries
  1. Pre-heat oven to 400º
  2. Line a large tray with parchment paper and oil it generously with sunflower oil.
  3. Whisk the egg whites until stiff with a balloon whisk on high speed.
  4. Whisk yolks, sifted cocoa and sugar for 2 minutes on high speed with balloon whisk.
  5. Fold egg whites into chocolate mix.
  6. Spread out and place immediately into the oven.
  7. Bake for 10 – 12 minutes.
  8. Meanwhile place a large sheet of parchment paper on a clean table surface.
  9. When done, turn out onto parchment paper
  10. Peel off first parchment paper and roll to a roulade, allowing parchment paper to be rolled up too
  11. Leave to cool for two full hours
  12. Whip up the cream together with sugar and vanilla.
  13. Unroll, and fill the roulade with still frozen raspberries and cream, reserving some cream for decoration.
  14. Now roll back up, removing parchment paper
  15. Serve sprinkled with icing sugar and some sprigs of mint from the garden.

Sticky Date and Toffee Pudding

Sticky Date and Toffee Pudding

  • For 60 people

CAKE

  • Chopped dates 1.4 kg
  • Water 1.7 l
  • Bicarbonate of Soda 2 tablespoons
  • Margarine or Butter 700 g
  • Caster Sugar 750 g
  • Eggs 12
  • Vanilla Essence 2 tablespoons
  • Self-raising flour 1.5 kg

SAUCE

  • Soft brown sugar 900 g
  • Cream 750 ml
  • Butter (NOT margarine) 700 g

PREPARATION

  • Pre-heat oven to 190 C. Oil lightly and line 2 medium sized aluminium tins.
  • Put dates and water in a pan, bring to boil. Remove from heat and stir in the soda. Leave to cool in a sink filled with cold water.
  • Beat softened butter and sugar together with balloon whisk on high speed, until pale and creamy. Add eggs, one by one, and vanilla essence.
  • Take mixing bowl off the mixer, add the cooled dates and mix in, sieve the flour into the bowl and now fold it into the butter mix with a spatula with large movements, trying not to over beat it.
  • Fill into the prepared tins. Bake in the oven for 50 min to one hour or until a skewer, inserted into the centre of the cake, comes out clean.
  • To make the sauce, put all ingredients into a pan and bring slowly to the boil . Simmer on low heat for 1 minute.
  • To serve: Serve once cake has cooled a bit, or if pre-prepared: Reheat cakes covered with aluminium foil for 20 minutes at gas 4, and heat up sauce on low heat.

From TV – Alton Brown

  • Preheat oven to 350º
  • Use popover pan
  • butter
  • cream
  • treacle – molasses and brown sugar and espresso powder
  1. Melt 150 gm butter in  a pan (11 TBL) over low heat
  2. 300 gm brown sugar
  3. 90 gm molasses
  4. 1 TBL instant coffee powder (preferably espresso)
  5. 1/2 tsp salt
    • Whisk over heat till starts to bubble
  6. Add 3/4 C heavy cream
  7. simmer for 2-3 minutes, then set aside
    • Combine to make cake
  8. 105 gm AP flour
  9. 3/4 tsp baking soda
  10. 1/2 tsp baking powder
  11. 1/2 tsp kosher salt
    • In food processor
  12. 150 gm pitted Medjool Dates
  13. 3/4 C boiling water
    • Pulse to break apart
  14. Add 1 egg, plus 1 egg yolk
  15. 85 gm melted butter
  16. 65 gm dark brown sugar
  17. 50 gm granulated sugar
  18. 1/2 tsp vanilla
  19. 1/2 tsp instant espresso powder
    1. Pulse to combine
  20. Add flour mixture plus
  21. 70 gm more pitted dates
    1. Pulse to combine
  22. Spoon in 2 tsp topping mix into popover pan
  23. #10 (2.5 oz) batter into cups – about 2/3 of the way up
  24. Bake 11 minutes
  25. Rotate pan, then tap on counter to collapse
  26. Bake 11 more minutes or 211 degrees
  27. Remove, let cool a bit, then use a chopstick to break them free of the pan
  28. Poke about 5 holes using the stick
  29. Top with 1-2 TBL more toffee
  30. Broil for 1-2 minutes when ready to serve
  31. Invert pan and tap on counter


Pâte à Choux / Croquembouche

croqBefore we begin…

  • You can make your own cream puffs, or just buy them in the grocery store.
  • Pâte à Choux is a hollow pastry that is used for éclairs, profiteroles, cream puffs, and gougères. The gougère has cheese in the dough during the last step.
  • – éclair = long and thin
  • – profiteroles, cream puffs = round
  • – gougère = add shredded cheese during step 9

Ingredients to feed 4 people

  • 1/2 cup (1 stick) unsalted butter,
    cut into 1/2-inch pieces
  • 1 teaspoon granulated sugar
  • 1/2 teaspoon salt
  • 1 cup of water
  • 1 cup all-purpose flour
  • 4 large eggs
  • 1 large egg white (set aside)
  • Turbinado Sugar for garnish
After baking has finished, you will need Pastry cream or even just pudding to squeeze into the cream puff using a piping bag

Step by Step

  1. Preheat the oven to 425° F
  2. Bring butter, sugar, salt, and 1 cup water to a boil in a medium saucepan.
  3. Remove from heat.
  4. Using a wooden spoon, quickly stir in 1 C flour. It should look like mashed potatoes.
  5. Cook over medium-high heat, stirring constantly, pushing it to the sides, then gathering it back into a ball; until mixture stops sticking to the pan, about 3 minutes. This will cook the flour.
  6. Transfer to the bowl of an electric mixer fitted with the paddle attachment.
  7. Mix on low speed until slightly cooled, about 1 minute. It’s OK if it is warm, just not hot enough to cook the eggs.
  8. Whisk together all of your eggs – well mixed
  9. Raise speed to medium; add eggs, 1/4 cup at a time, until a soft peak forms when batter is touched with your finger.
    – If peak does not form, lightly beat remaining egg white, and mix it into batter a little at a time until it does.
    – Dough will become gooey and ropey, but will come back together. That is when you will add more egg. Scrape the sides of the bowl as necessary.
  10. Once you have a firm dough, pipe onto baking sheet lined with parchment paper. Leave an inch between each piece.
  11. Brush the tops with egg white and sprinkle with Turbinado sugar
  12. Cook hot 425º for 12 minutes.
  13. Turn the oven temp down to 375º and bake another 20 minutes. Exact time will be determined by the shape and size of your puffs.
  14. Bake until the shapes are slightly puffed and golden brown.
  15. They should detach easily from the parchment and feel lightweight – kind of like a sponge or hollow egg shell.
  16. Leave the oven door closed and turn off the oven.
  17. Let them dry out in there for 15-30 minutes more
  18. Take one out and break it open.
    – It should not be wet on the inside. If it is, turn the oven back to 350 degrees and bake 5 more minutes, then turn off the oven and leave the door closed – repeating the testing process.
    – If they are not hollow, it means that you used too much flour. There is no recovery. What you CAN do, is dip them in melted chocolate and make a kind of a chocolate doughnut hole.
  19. When they have finished cooking, poke the puffs with a toothpick. This will allow steam to escape from the inside, which would make them soggy.
  20. Once completely cooled, you can fill them or freeze them for up to three months.
  21. If making a Croquembouche, fill them with creme Anglaise, and dip them in white chocolate (melted in a double boiler) or hot caramel sauce. Stack into a tower. If the tower does not seem stable, put it in the refrigerator to set up every couple of layers.

Oh, one more thing…

  • Croquembouche is traditionally garnished with glazed/spun sugar, as shown on this Food Networks Recipe.

Notes from Alton:

  • Steam pushes the pastry up, creating a cavity – or bubble.
  • The cavity can be filled with pastry cream.
  • Basically bread flour (for machines), butter, eggs
  • Start with 1 C water and 6 TBL butter 1 TBL sugar and pinch of salt
    Leave sugar out for savory puffs – (eg) chicken salad sandwich
  • Bring to a boil
  • 5 3/4 oz flour – weighed with digital scale and stir vigorously
  • Cook until slightly dried, then let cool
  • 4 eggs plus 2 egg whites – Add slowly using paddle beater
  • Use piping bag to make lazy S shapes – round on both ends
  • Preheat oven to 375º
  • Use parchment paper
  • DO NOT OPEN OVEN and cook for 15 minutes
  • Cream puffs – concentric circles about 3-4 inches
  • After 15 minutes, reduce heat to 350º and cook 10 more minutes
  • Pierce side or end to let steam escape
  • Cool – refrigerate a week
  • FILLING: Pastry cream or vanilla pudding from a box – 3/4 of liquid cause you want thick – smaller tip
  • Chocolate coating: 1  C chips and 1 tsp veg oil or melted butter – double boiler
  • Put coating on chilled eclaires

Alt: Pipe into hot oil to make funnel cakes


This is a recipe that has been created or modified by Robert (Grandpa) Andrews.
CLICK HERE for a free sample copies of Grandpa's Cookbooks. © 2016, 2017, 2018.

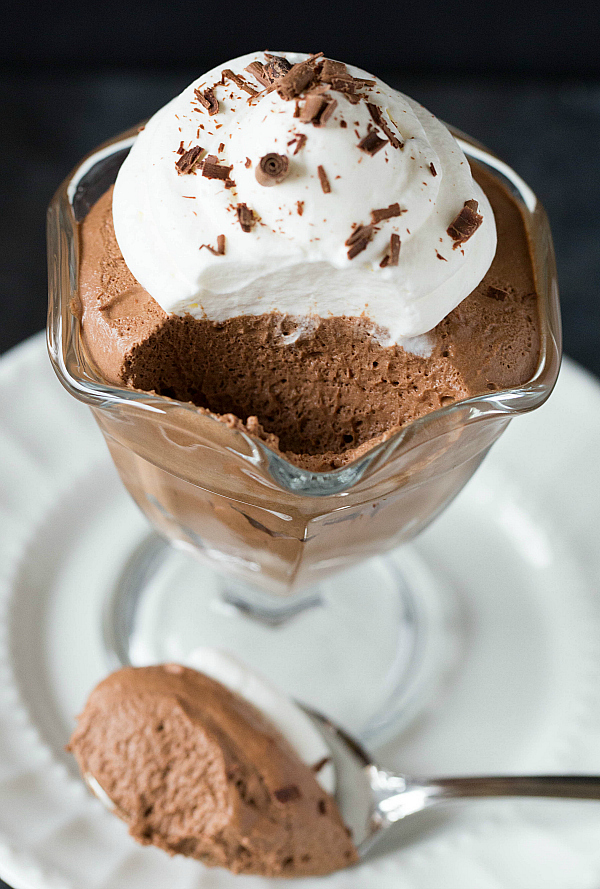
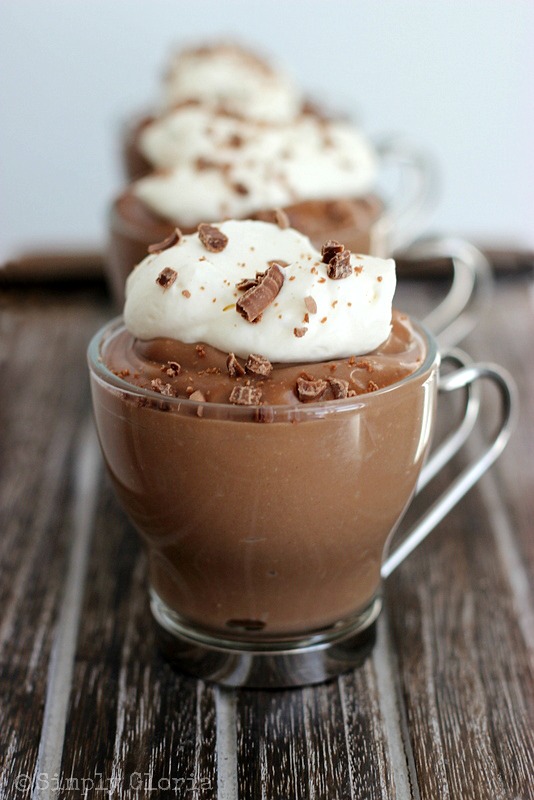
Choc-Cocoa Pudding

choc-cocoa

  1. Dissolve 1 tsp lemon gelatin in 1/4 C hot water – dissolve – place on counter to cool, but not chill.
  2. Chill your mixing bowl and beaters in the refrigerator
  3. Melt 12 oz unsweetened chocolate chips in a double boiler
  4. Bring 1.5 C heavy cream plus 1 C milk up to a near boil over medium high heat stirring frequently
  5. Mix 2/3 C sugar with a pinch of salt and 1 TBL cornstarch
  6. Mix 2 TBL melted butter in with sugar mixture
  7. Add 1 TBL cocoa and 8 large egg yolks to sugar mixture
  8. Temper into the milk mixture
  9. Add in 2 tsp vanilla
  10. Mix all back in the pot and stir only to thicken
  11. Put melted chocolate in and cook an additional 2-3 more minutes
  12. Ladle into ramekins or desert glasses
  13. Put Saran Wrap on top of the chocolate actually TOUCHING the mixture – this will prevent a skin forming
  14. Refrigerate 3 hours


  1. Mix 1/2 C sour cream with 1 TBL white sugar and 1/2 tsp vanilla
  2. Add your cooled gelatin to the sour cream mixture
  3. Using your chilled mixer bowl and beaters,  beat 1/2 C whipping cream to soft peaks
  4. Fold the sour cream mixture into the whipping cream
  5. Put a generous scoop of topping on your chocolate pudding
  6. Top with powdered cocoa or shaved chocolate curls


Kolaches for Four

Photo by Elizabeth Graham
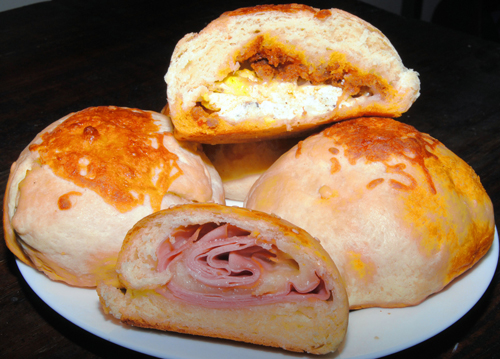
Egg, chorizo and cheese, and smoked turkey and provolone kolaches baked by Autumn Stanford of Bed-Stuy.[/caption]A traditional treat from the Czech Republic. Originally these were filled with cheese and/or fruit. As the recipe came to the United States we started to fill them with shredded meat, or ground meat with cheese, or something else to create some of the original fast food. The Kolache at this point became more of a wrap or a roll.

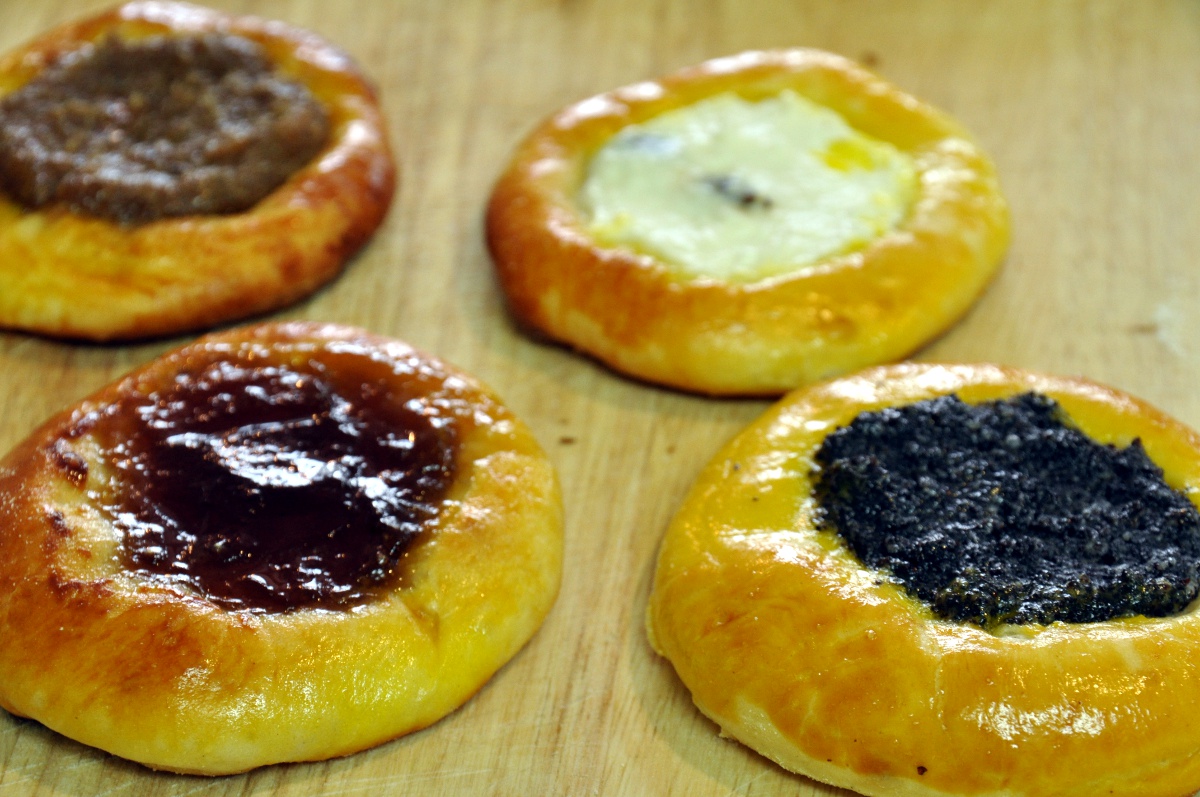
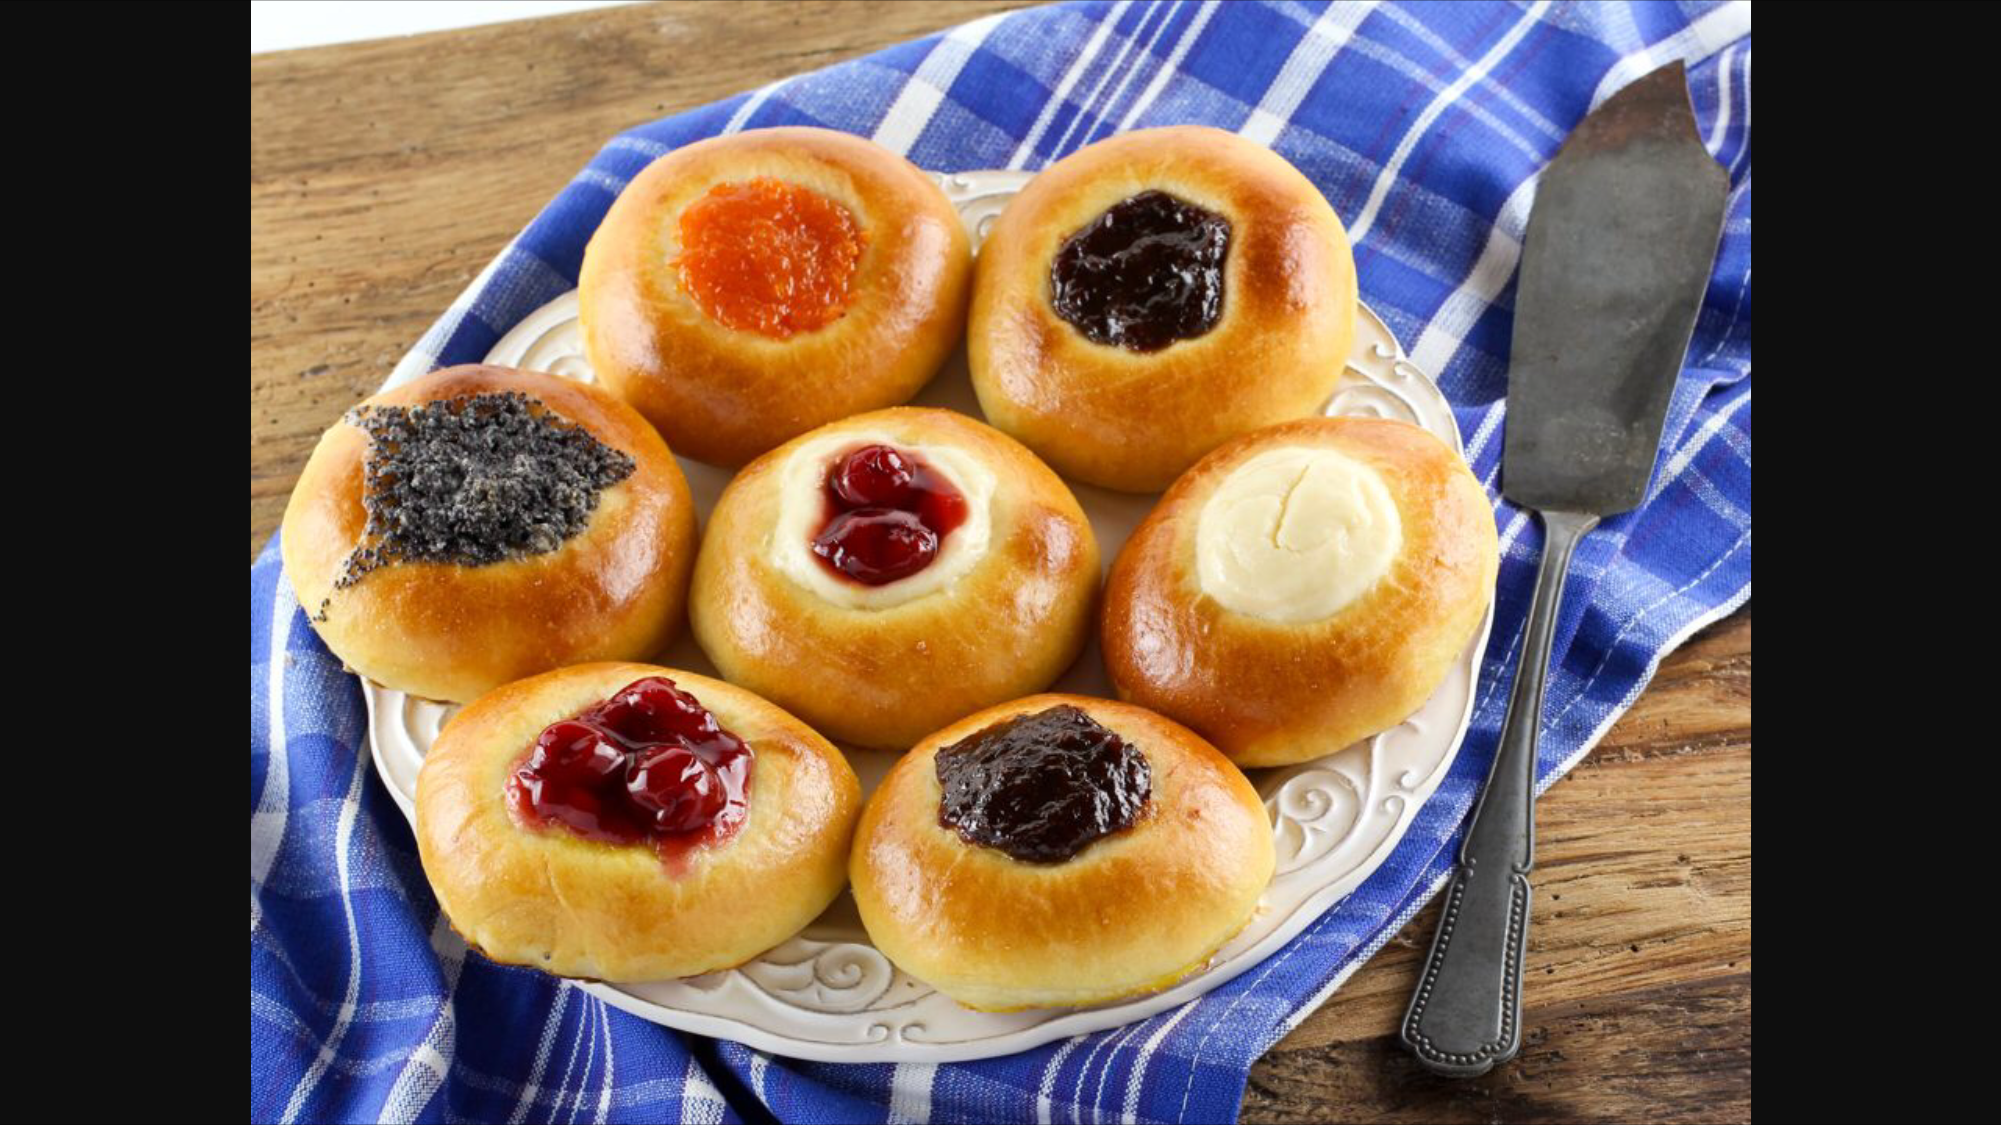
kolacheThis recipe is a dessert, and goes back to the roots.

1/4 C warmed whole milk
3 TBL melted butter
1 small egg
– whisk together above ingredients
– mix together dry ingredients in a separate bowl
1 C AP flour
1 TBL sugar
1 tsp yeast
pinch of salt
Mix everything in a food processor and mix just until the dough comes together
Add a bit of flour or milk until you get a well formed dough ball
Turn up the speed and mix for 8 minutes
Place into lightly oiled GLASS bowl and put in warm place to rise for about an hour

While this rises, make your filling
2 OZ of cream cheese
1 TBL sugar
2 tsp AP flour
zest and juice from one lemon
Mix until it all comes together
Add 2 OZ ricotta cheese
Mix again until incorporated
Set aside

Kolaches4For a nice finish, make some streusel for the edges
1 TBL AP flour
1 TBL sugar
1 tsp butter
Set aside

After an hour, dump the dough onto a floured surface
Flatten it just a bit, then cut into 4 pieces
Create four rounds
Spray very lightly with cooking spray to keep them from drying out
Set them on a baking sheet and let them rise for another 90 minutes
Flatten the center of each ball with the greased bottom of a coffee cup or large glass
Brush the top of each kolache with egg white and a TBL of water
Put filling into the center
Sprinkle with streusel
Bake at 350º for about 15 minutes
Rotate pan, and bake another 10-15 minutes or until browned
Serve warm if possible

Kolache photos from www.slovakcooking.com and Brooklyn Paper.

Christmas Cake

raisin cake1-1/2 C water
1-1/2 C sugar
1-1/2 C raisins
1/2 C butter
1/4 C chocolate chips or cocoa
1 TBL Grandpa’s CinnaSugar®
1/2 tsp salt
1/4 tsp ground clove
1/4 tsp ground nutmeg

Bring above to a boil, then cook 5 more minutes
Set aside to cool so that it is warm to the touch, but not hot.
Add 1 tsp vanilla

Sift together 2 C flour and 1 tsp soda
Mix all above and pour into greased bread loaf pan
Bake at 350° for one hour


Pavlova

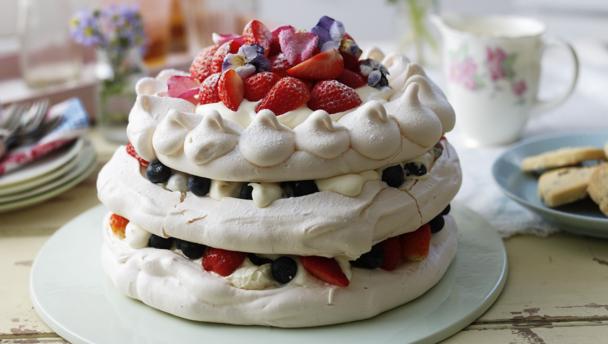
  • pavlovaSeparate 4 eggs
  • Set aside yolks for Hollandaise sauce – another recipe
  • Using a pencil, mark a serving plate sized circle on waxed paper
  • Flip over paper, so that pencil is on the bottom
  • Whip egg whites to medium peaks

Combine

  • 1/2 teaspoon cream of tartar or white vinegar
  • 1 C sugar
  • 1 tsp vanilla
  • Pinch salt
  • 1 TBL cornstarch
  • Continue whipping till you have stiff peaks

  • Gently fold in Juice and zest from 1 lemon
  • Spread the meringue into several piles so that it is about 1/4 inch disk inside the circle
  • Create an indentation in the center of each disk
  • Bake at 250° for 90 minutes
  • Turn off oven and allow to rest undisturbed for one hour

Give thought to your toppings
Lemon curd is a good topping
Another popular topping is whipped cream
After it has cooled, spread you’re topping, and top with blueberries or
strawberries.
1 C heavy whipping cream – some in each indentation
Put some passion fruit and raspberry in the center as well
– 1/2 C confectioner sugar

LG – Sour Orange Marmalade

12 Jar – Overview

This recipe makes a BUNCH of marmalade.  Enough to last you through to next season.  If you just want enough jars to last you for a couple of months, CLICK HERE for the amounts used to make a smaller batch.

Marmalade is traditionally made with Seville oranges (also called sour oranges) which are FAR too sour to eat. They do, however, have a high amount of pectin in them. With the proper amount of sugar, this makes a great marmalade base to which other fruits can be added.  Prep your oranges the day before, so they can soak overnight.  Total hand-on time for this recipe is 3 – 4 hours, so make sure that you allow yourself enough time to cook safely.

PREPARATION

  • Wash 9 Seville oranges thoroughly and two lemons.
  • Peel the orange skin using a peeler.  Don’t peel too deeply, you do not want the white (pith) which tends to be bitter.  The orange peel will remain in the marmalade after cooking.
  • Cut apart, discarding any bad spots
  • Separate the innards and pith from the outermost orange peel.  Keep the innards and tie them into a cheesecloth bag.

OVERNIGHT SOAK

  • Pulse pips and guts in food processor
  • Place 2 C Pips, guts, seeds, membrane – innards into  4 C of water
  • Pulse peel in food processor – only briefly
  • Place 2 C peel into a second bowl containing 4 C of water

You should put the cut up and pulsed skin and innards into bowls covered with water overnight in the refrigerator.  This will soften them so that the pectin is more easily released.

FIRST BOIL (90 MINUTES)

  • Strain innards, pouring the soaking water into your stock pot
  • Put innards into a cheesecloth – a bouquet garni – and secure with a string, keeping the end available for easy removal.
  • Pour water and peel into your stock pot
  • Add 1 C orange juice into your stock pot
  • Bring up to boil, then reduce heat to simmer
  • Skim foam as necessary.  Stir with a WOODEN spoon.  Metal will react with the acids in the orange
  • Simmer for 90-120 minutes over low heat – this will release much of the pectin
    If the oranges have not been soaked for at least 8 hours, go ahead and simmer for 120 minutes.

The seeds contains the pectin, and will be discarded after about 90 minutes. The outer orange peel will become the meat of the marmalade. I prefer to dice half and mince half of the rind, so that you have a variety of sizes of orange rind in your marmalade.

Definition: bouquet garni – A bag (frequently in a cheesecloth) that is used for infusions, and removed later as the recipe progresses. CLICK HERE to read more.

NOTE: DO NOT ADD SUGAR YET.  If you add sugar too early, it will freeze the production of pectin, and your jam may not set properly, so don’t add it until after the 90 minute boil.

SECOND BOIL (HEAT TO 221º F – 105º C )

  • Remove pips and pith in the mesh bag at 208º. Use a tongs to squeeze the juices from the bag back into the pot. Discard the bag.
  • Increase heat and stir to dissolve. If sugar is added too soon, peel may become tough. Wait until temperature reads at least 210º
  • BRING HEAT UP TO 210º BEFORE ADDING SUGAR
  • 5 C granulated sugar
  • 1/4 C Karo Syrup
  • 2 TBL lemon juice
  • Add the Second Boil ingredients slowly, stirring continually
  • As soon as it starts boiling, stop stirring.  Stir very infrequently.
  • IMPORTANT NOTE:  Until most of the water boils away, the sugar may stay at 215º for about 20 minutes.  Once it hits 216º it will increase about one degree per five minutes.
  • Keep heating until the temperature reaches 221º This could take up to an hour. I’ve had success with 119º but only marginally.  Be patient and wait until it reaches full jell temperature.  A few minutes will make all the difference.  If possible, use a calibrated thermometer (or a scientific thermapen) to make sure your thermometer is not off by 2-3 degrees.
  • Meanwhile, sterilize canning jars. Details not included on this page.
  • When 221º is reached, remove the pot from the heat and let rest for 10 minutes.  Skim off any scum or foam.
  • Orange rind will rise to the top.  Stir the rind back into the mixture before canning.
  • Put into canning jars and cover with a lid put into hot water for at least 60 seconds.  When properly canned and cooled, this will last you for about a year.

NOTE:
Temperature will plateau at 215 for quite awhile – for as long as 20 minutes
After that, you will get 1º increase in temperature about every 5 minutes
Be patient.

MORE INFORMATION

Alternative Recipes

There are SWEET ORANGE marmalades which do not use as much sugar as this recipe. CLICK HERE for Alton Brown’s recipe for Sweet Orange Marmalade, or USE THIS LINK for Strawberry Marmalade.

A Word of Caution

A word about POT SIZE. The first time I made this I nearly boiled over. It was a constant battle between foam and the size of my pot. This will foam up about 400% of its size.  NO KIDDING.  Make sure you use a pot large enough, or you will end up with a huge dangerous mess.  This does not ALWAYS happen, but you can be prepared if it does.

I reuse my canning lids. If they fail to seal, I eat that jar first. Put an X on the failed lid so you don’t save it after the jar is empty. If they seal, they will generally not fail after cooling.  I prefer to use the small canning jars, because once exposed to light and air, the marmalade starts to lose its flavor.

The canned jars will last longer if you process them in a water bath for 10 minutes after putting into jars.

        1. Put marmalade into sterilized canning jars
        2. Soak lids about 60 seconds in boiling water
        3. Wipe rim clean and put lids on
        4. Tighten only finger tight
        5. Submerge in water (1″ over top) and process 10 minutes
        6. Cool (undisturbed) on the counter

What is shown in the photos are quantities to make two entire large batches of marmalade.

Optional Ingredients

Optional ingredients reserved for the very end:

Minced strawberries, blueberries, rhubarb, shredded carrot, or other contrast

Chemistry

If you do not use enough sugar, the liquid will be unable to reach 221º (as water only gets 212º) and it will NEVER set. Sugar can get up to 300º   If you try to decrease the calories, and use a marginal amount of sugar, you may heat it too long and you will get inverted sugar which has a longer shelf life, but is similar to high fructose corn syrup and is not as good for you as regular sugar.

Realistically, if you don’t have a thermometer, you can test the gel level but putting glass plates in the fridge, and then dripping jam onto the plate to see if it runs or just sits there.  CLICK HERE

  1. If desired, after the temperature has reached 221º you can mix in some contrast fruit such as minced strawberry – but something that is ready to eat just as it is. Don’t use anything that needs cooking or softening.
  2. Pour into canning jars. If you completely can the marmalade, it should last for up to a year. Otherwise, refrigerate it for up to six months. I personally just put them on my shelf for up to a year, but if you do this, proceed at your own risk.

If your marmalade does not set, it is still good for steamed marmalade pudding, marmalade tarts, marmalade ice cream and much more. CLICK HERE if your marmalade did not set properly.
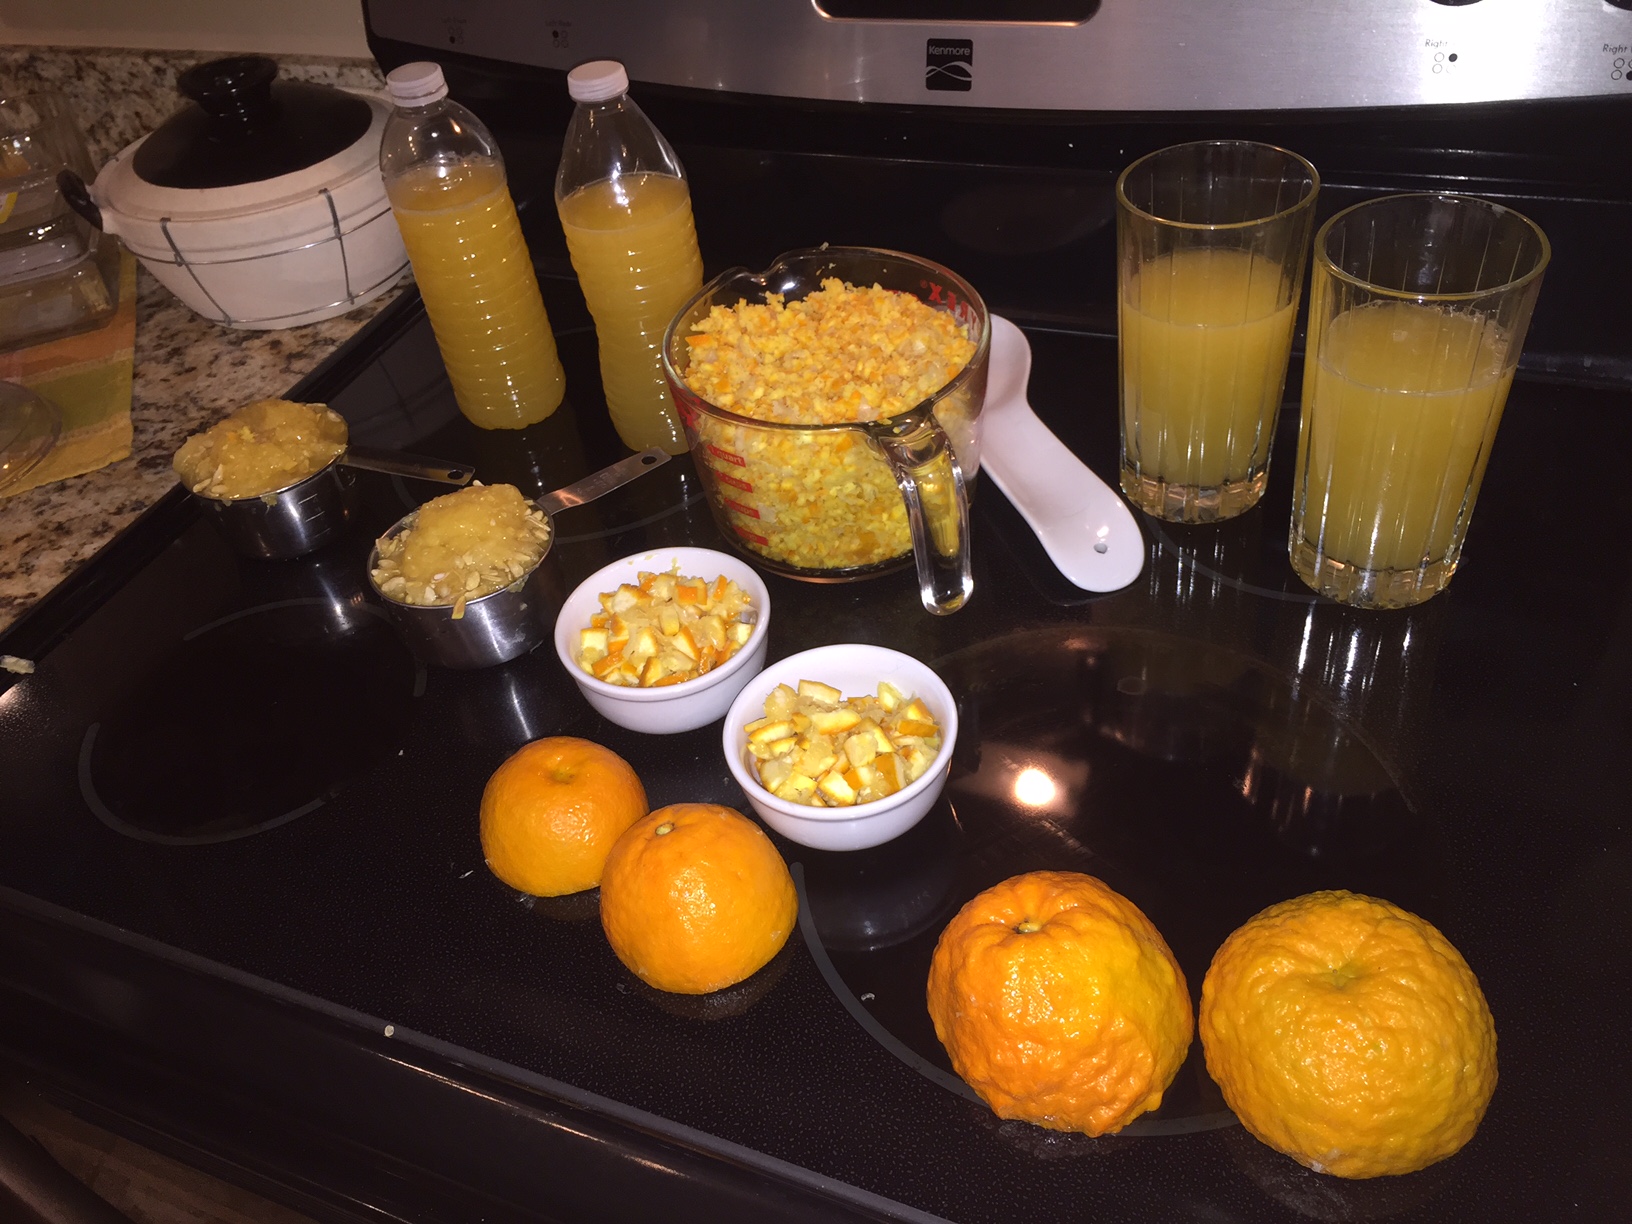
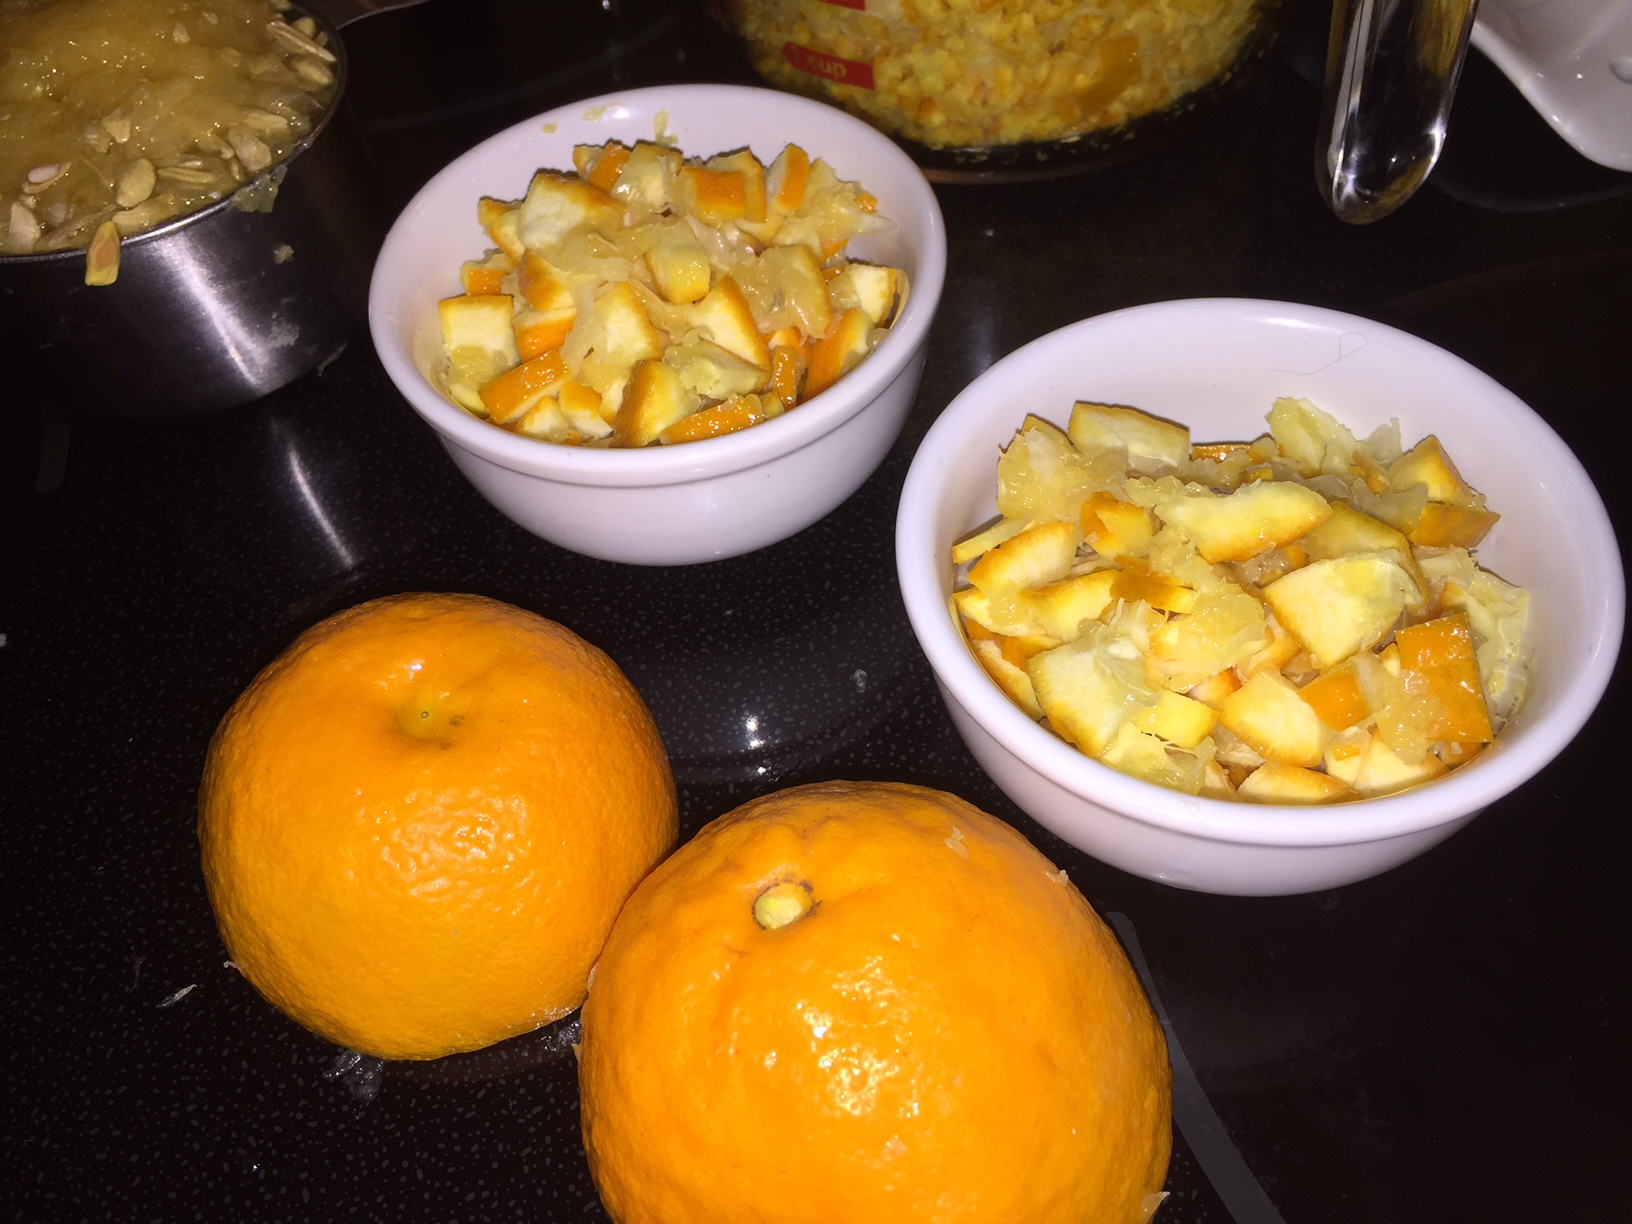
Bottom right: Some of your oranges may be older and nubbly. You will need juice from many oranges, but the peel that you want to use is from about eight oranges that have fairly smooth skin.

Top right: To get the amount of pips and pith that you need for the larger sized recipe, you will have to juice a lot more than eight, but just throw the extras into the trash.
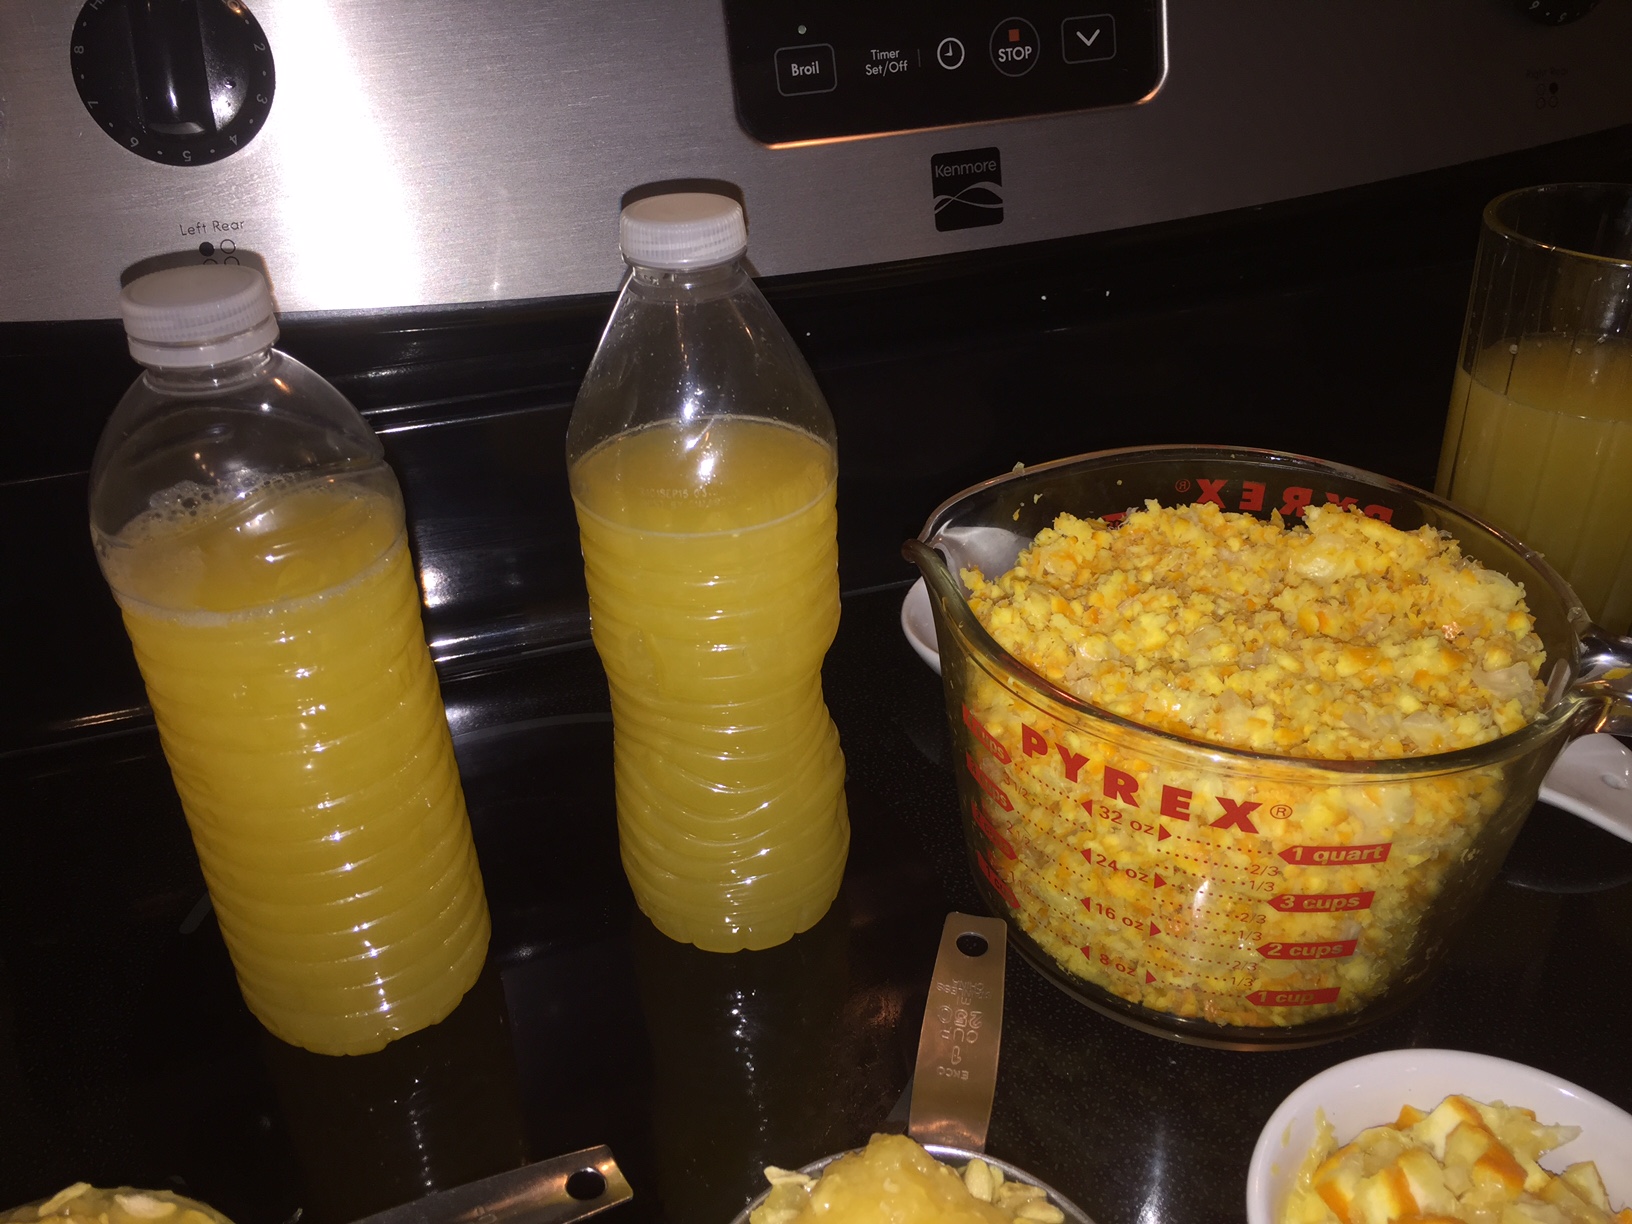

The ingredients freeze really well. Hot pack canning is another good option. If you freeze, be sure to leave an inch of headroom in your water bottles.

Another photo

This photo gives you a good close up of the smoother skinned oranges and the older nubbly ones. The juice from the older oranges is perfectly usable, but the skin will be a bit more bitter than the younger oranges, so get rid of them.

I prefer just a few larger dices of orange, but most of the skin that I use is minced in a food processor.

Another good way to do it is with a zester. It takes more oranges, but you can leave the white pith behind, which actually gives you a better end product.

( Previously called 903 Sour Orange Marmalade)
Blueberry Hand Pie

Easy Method

    • FILLING
  • Cook 1 C blueberries in 1/2 C sugar
  • 2 TBL cornstarch slurry in 1/4 C water
  • 1 tsp lemon zest and juice
  • splash of vanilla
  • Simmer till thickened, then set aside to cool
    • ASSEMBLY
  • Use storebought puff pastry or pie crust – let thaw and then “push” into one big square, then cut in 4 squares or use 4-5 inch biscuit cutter
  • Put 1/4 of the filling in the center
  • Egg wash the edges of the puff pastry
  • Fold over to create a triangle
  • Crimp the edges very lightly with the tines of a fork
  • Put finished pies on parchment paper on a baking sheet
  • Brush the tops with remaining egg wash
    • BAKE at 400º for 20 minutes
  • Sprinkle with powdered sugar or icing made with 1/2 C confectioner sugar and dash of vanilla – use the merest splash of water if needed for consistency
  • Cool 5 minutes before removing or serving

Better Method

After assembly, these can be frozen (unbaked) for 1 month, and then put into the oven for 25 minutes at 350º F.

Dough

  • 2 C AP flour
  • 2 tsp baking powder
  • 1/2 C confectioner sugar
  • 3/4 tsp salt
  • Pulse above ingredients in  food processor
  • Add 8 TBL melted butter
    Pulse until mixed
  • Add 1/2 C whole milk or 3/4 buttermilk
    Mix 8-10 seconds
  • Knead on a floured surface until it comes together.
  • Cut dough into eight pieces, roll into balls, and flatten them slightly.
  • Put onto a baking tray, cover with plastic and refrigerate for 20-30 minutes.

Filling

  • 3 C frozen peaches, apples, blueberries or strawberries.
  • 1 C granulated sugar
  • 2 TBL AP flour
  • 1 large beaten egg
  • 1 TBL lemon juice
  • 1/8 tsp salt
    Cook in skillet over low heat for 15-18 minutes.
  • Mash coarsely, then simmer to reduce.
  • Add 2 tsp lemon juice and chill filling for two hours.

Egg Wash

  • 2 egg whites and 2 tsp water

Assembling the Pies

  1. Roll a dough disk to about 6-8 inches in diameter.
  2. Put 3 TBL of filling in the center.
    You can make smaller pies with smaller circles and less filling.
  3. Brush the edge with egg wash.
  4. Fold and seal – removing as much air from the body as possible.
  5. Trim the edges, then secure by crimping with a fork.
  6. Refrigerate for 30 minutes.
    At this point, they can be frozen or prepared.
  7. If preparing frozen pies, let them come up to room temperature for 30 minutes before cooking.
  8. Heat 1 QT of safflower oil to 375º or bake at 400º for 18-20 minutes.
  9. If frying, fry about 90-120 seconds on each side.
  10. While still very hot, brush lightly with melted butter and sprinkle with Turbinado sugar.
  11. Cool on a rack for at least 10 minutes before serving.

Baked Messy Apple Pie


Smaller Portion

  1. Pulse together 2/3 C flour, 1 tsp sugar, 1/2 tsp salt.
  2. Pulse in 6 TBL COLD butter.
  3. Pulse in 3 TBL ice water and 1 TBL sour cream
  4. Pour out on floured surface.
  5. Mix by hand to thick 6 inch circle.
  6. Wrap in plastic and refrigerate 2 hours.
  7. Roll out to a 10-12 inch circle.
  8. Cut into strips.
  9. Cover and refrigerate 30 minutes.
  10. Peel and core 6 Golden Delicious apples.
  11. Cut into thin wedges.
  12. Brown in a large skillet with 1/4 C brown sugar, 2 TBL butter, 1 tsp Apple Pie Spice and 1/4 tsp salt.
  13. Simmer 6-10 minutes.
  14. Pour into greased baking dish.
  15. Mix together 2/3 C apple cider, 1 TBL corn starch, 3 TBL melted butter and juice and zest from one lemon.
  16. Pour over top of apples, then press down.
  17. Lace dough strips over top (loose weave)
  18. Brush with egg wash – 1 beaten egg and 1 tsp water.
  19. Sprinkle with CinnaSugar.
  20. Bake at 400º for 15 minutes.
  21. Push down crust so that filling oozes up.
  22. Bake another 15 minutes.

Dulce de Leche

DIY from scratch

This is a great topping for cakes and ice cream.

Place a can of sweetened condensed milk (with the label removed) on its side in the bottom of a stockpot filled with water, and covering the can completely with water, plus about an inch. Replenishing the water as necessary to keep the can totally submerged.   This prevents the can from bursting.

LONG AND SLOW METHOD – CONSISTENT RESULTS

Keep the closed can at a low simmer for 3-4 hours.

Using tongs, transfer the can to a wire rack and let cool completely before opening.

Drizzle the caramel over the ice cream or use it as a filling for sandwich cookies.

Leftover dulce de leche can be stored in the refrigerator in an airtight tight container and re-warmed in a double boiler or microwave.


FASTER DULCE de LECHE

If you are in a hurry, pour the condensed milk into a casserole, then put the casserole into a larger baking pan with hot water coming up about halfway.  Cover the casserole with foil and bake at 350º for 90 minutes.


Here is another recipe

Alternate Recipe

  • Step 1: Heat the sugar over medium heat in a non-stick frying pan or 2-quart saucepan. Stir constantly using a rubber spatula. Within a few minutes the sugar will start to liquify and turn amber in color. Keep stirring until the sugar fully dissolves into a brown-colored syrup.
  • Step 2: Turn the flame down low and add the sweetened condensed milk (keep stirring as you’re adding it) and then add the butter and vanilla extract. The caramelized sugar will start to harden and bubble when you add the ingredients. Keep stirring, the mixture will become smooth again after 5-7 minutes. 
  • Step 3: Carefully transfer the dulce de leche to a small bowl or mason jar. Let it cool slightly.

Cranberry Bread

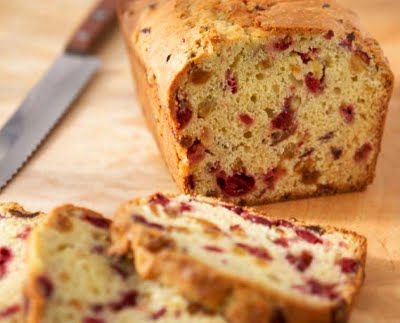
cran-breadINGREDIENTS

  • 2 C cranberries
  • 1/2 C walnuts
  • 1 tart apple
  • 2 C flour
  • 1 C granulated sugar
  • 1-1/2 tsp baking powder
  • 1/2 tsp baking soda
  • 1 tsp vanilla extract
  • 1 tsp cinnamon
  • 1/2 tsp salt
  • 6 TBL butter – softened, but not melted
  • Zest and juice from two oranges
  • 1 egg

STEP BY STEP

  1. Coarsely chop cranberries, nuts and apple – Set aside
  2. Sift together flour, sugar, baking powder, baking soda and salt
  3. Cut butter into flour mixture until it is like coarse corn meal – Set aside
  4. Mix together egg, peel and juice
  5. Combine flour mixture and egg mixture
  6. Add the fruit mixture and nuts
  7. Mix well, but do not over-mix
  8. Spoon into buttered and floured small loaf pans or cupcake pan
  9. Bake on the middle shelf at 350º for 1 hour (45 minutes if using cupcake pan)
  10. Top should be golden brown and inserted knife should come out clean – if knife has batter on it, bake another 20 minutes.
  11. Let rest 5 minutes before cutting

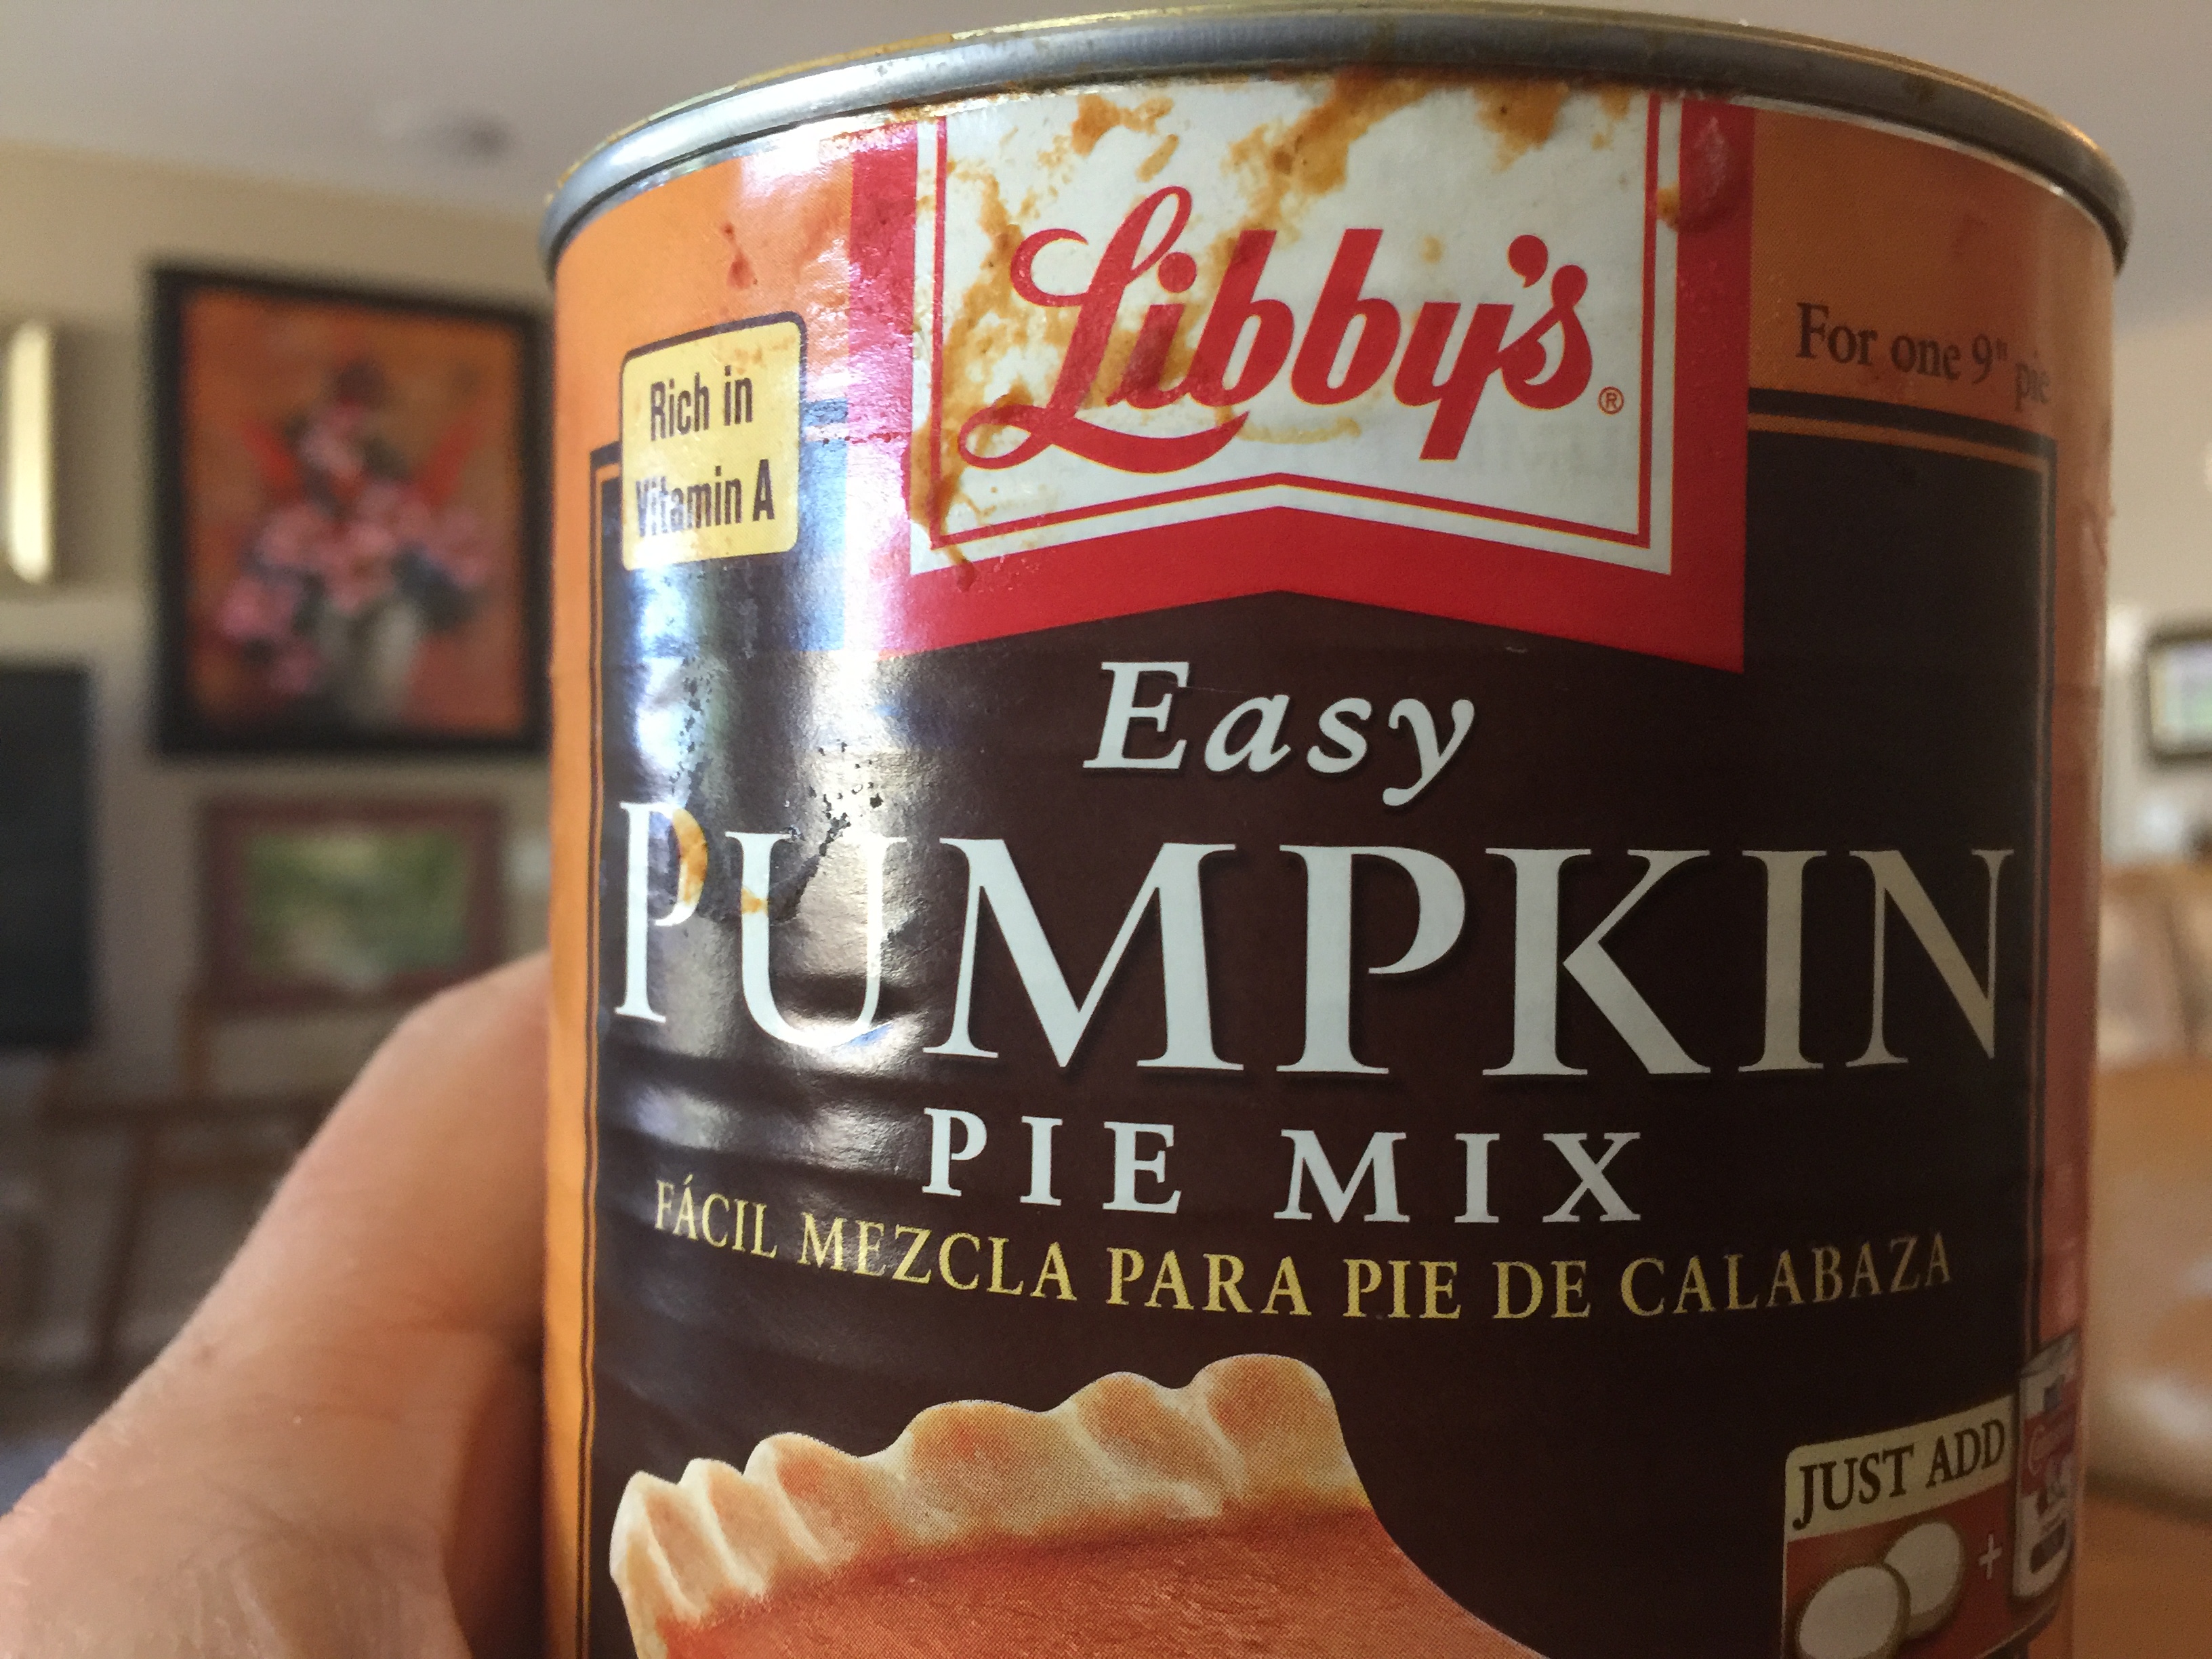
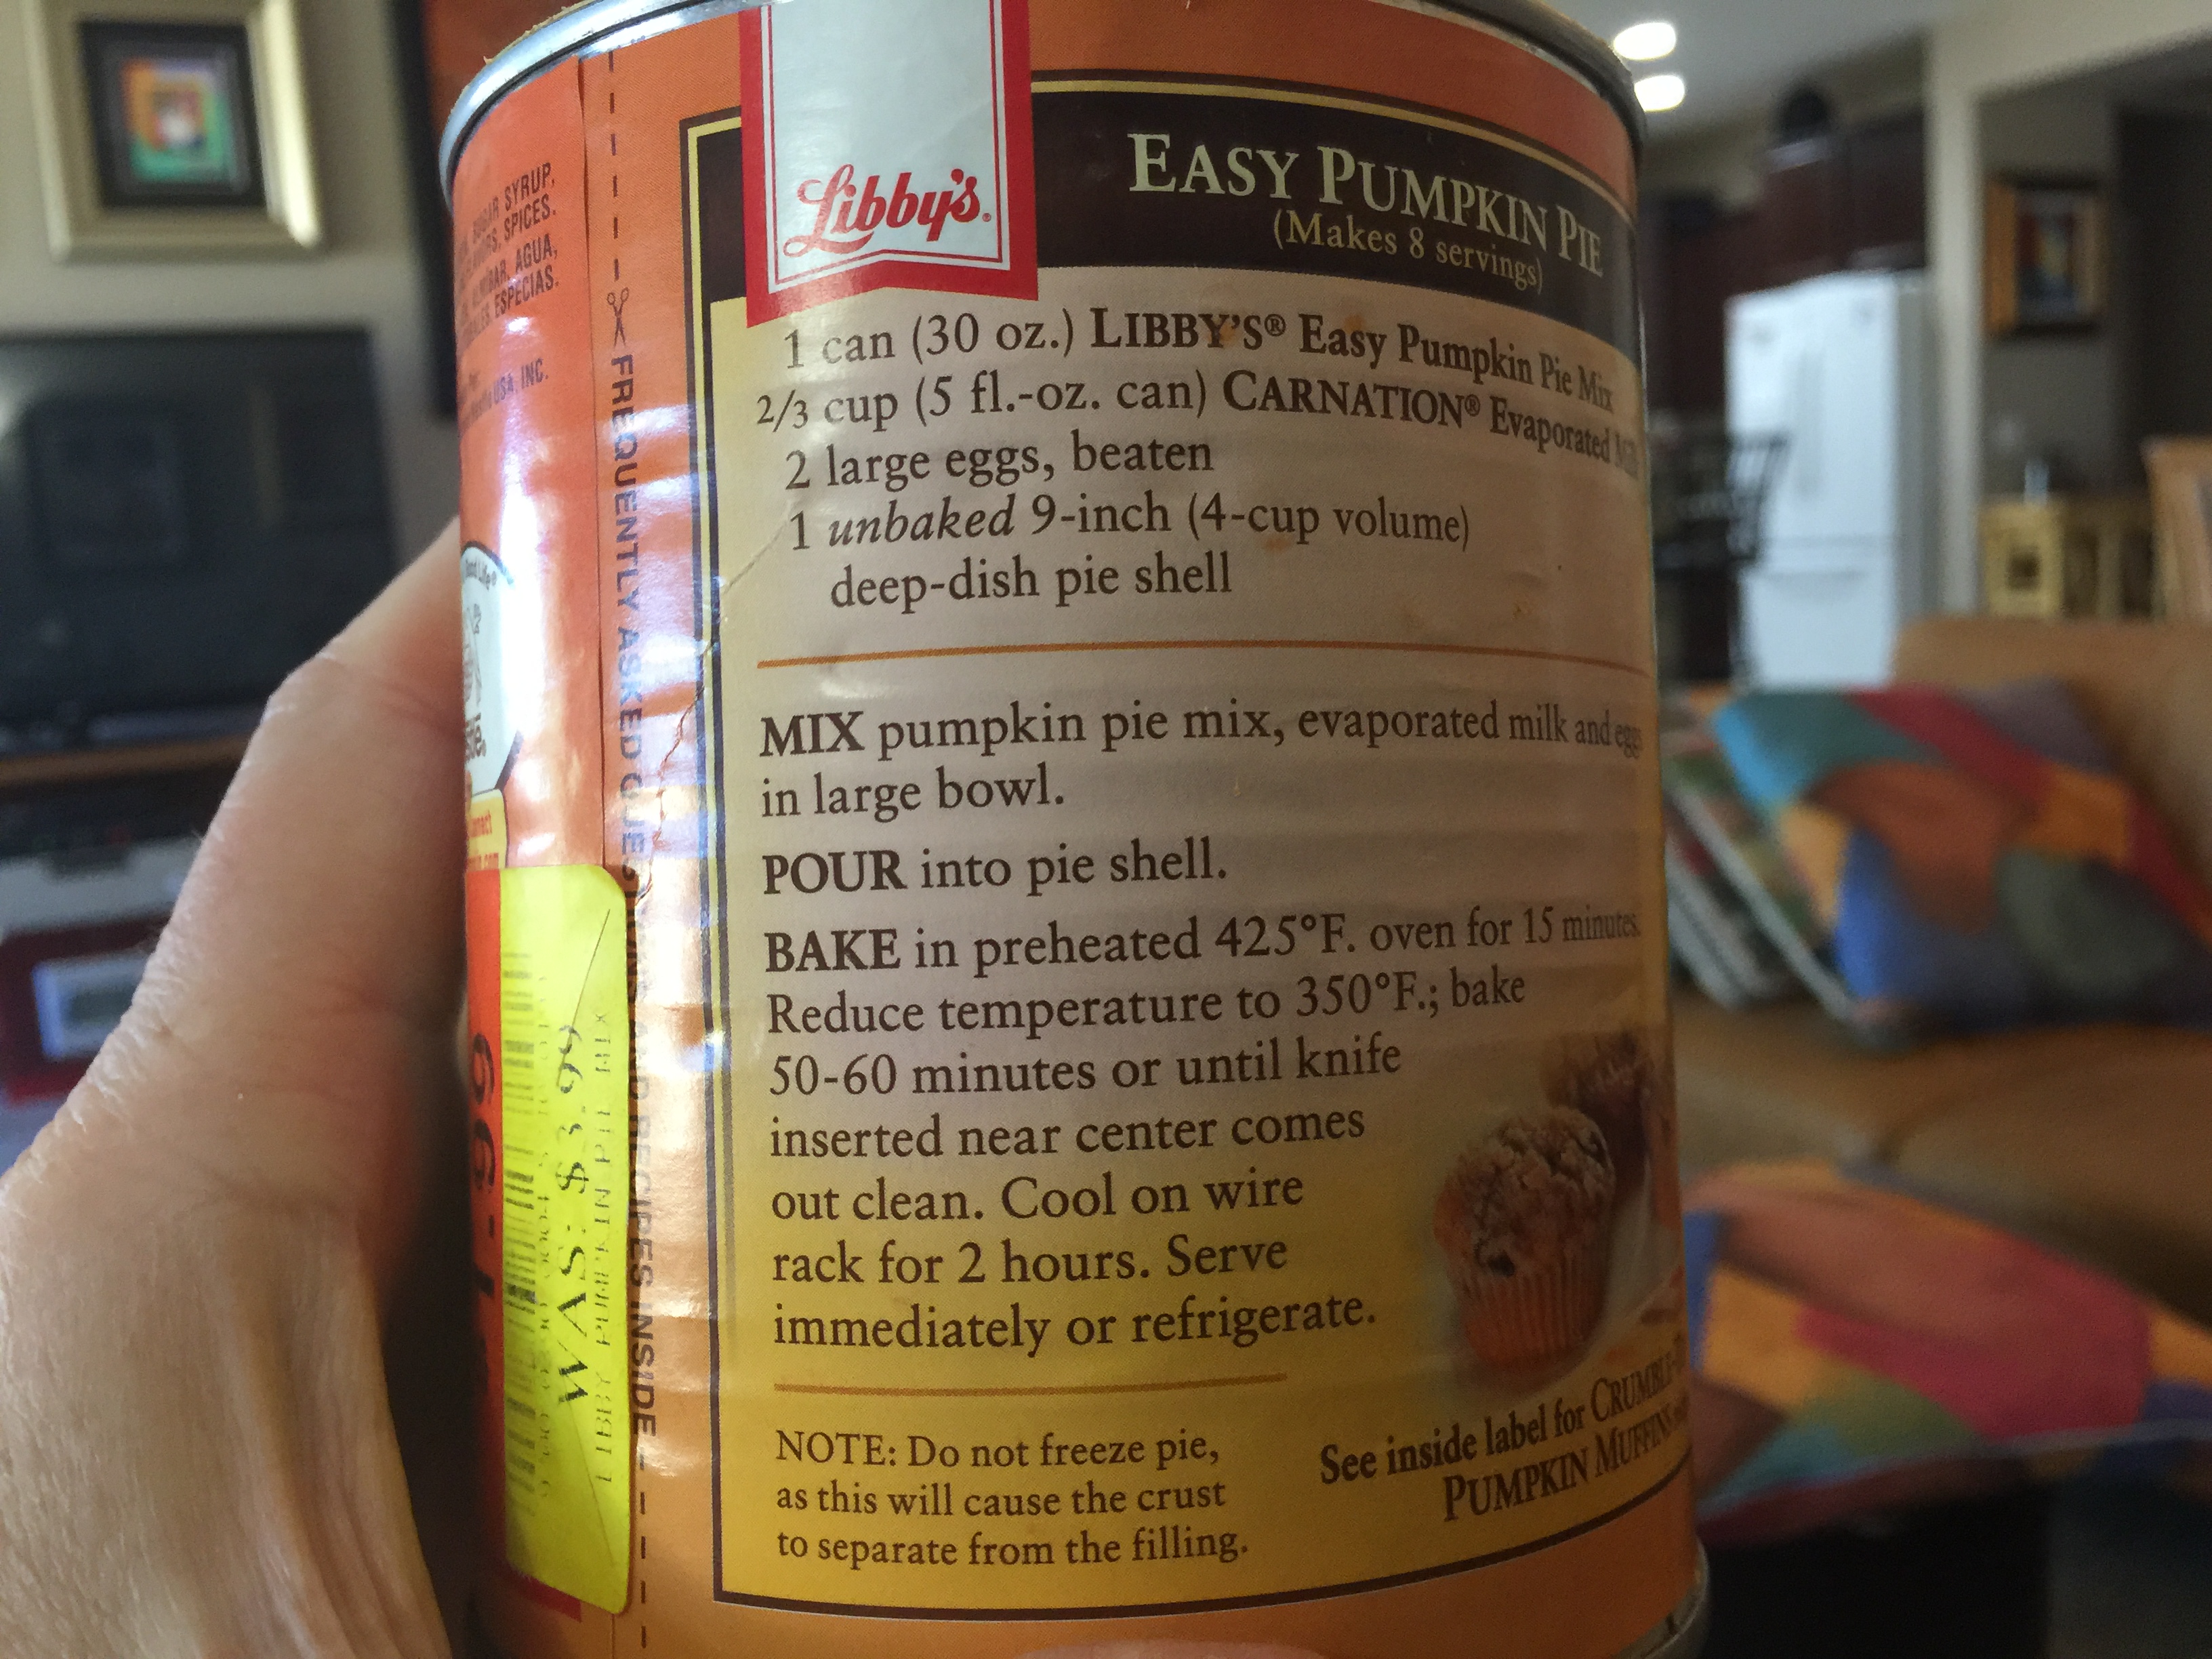
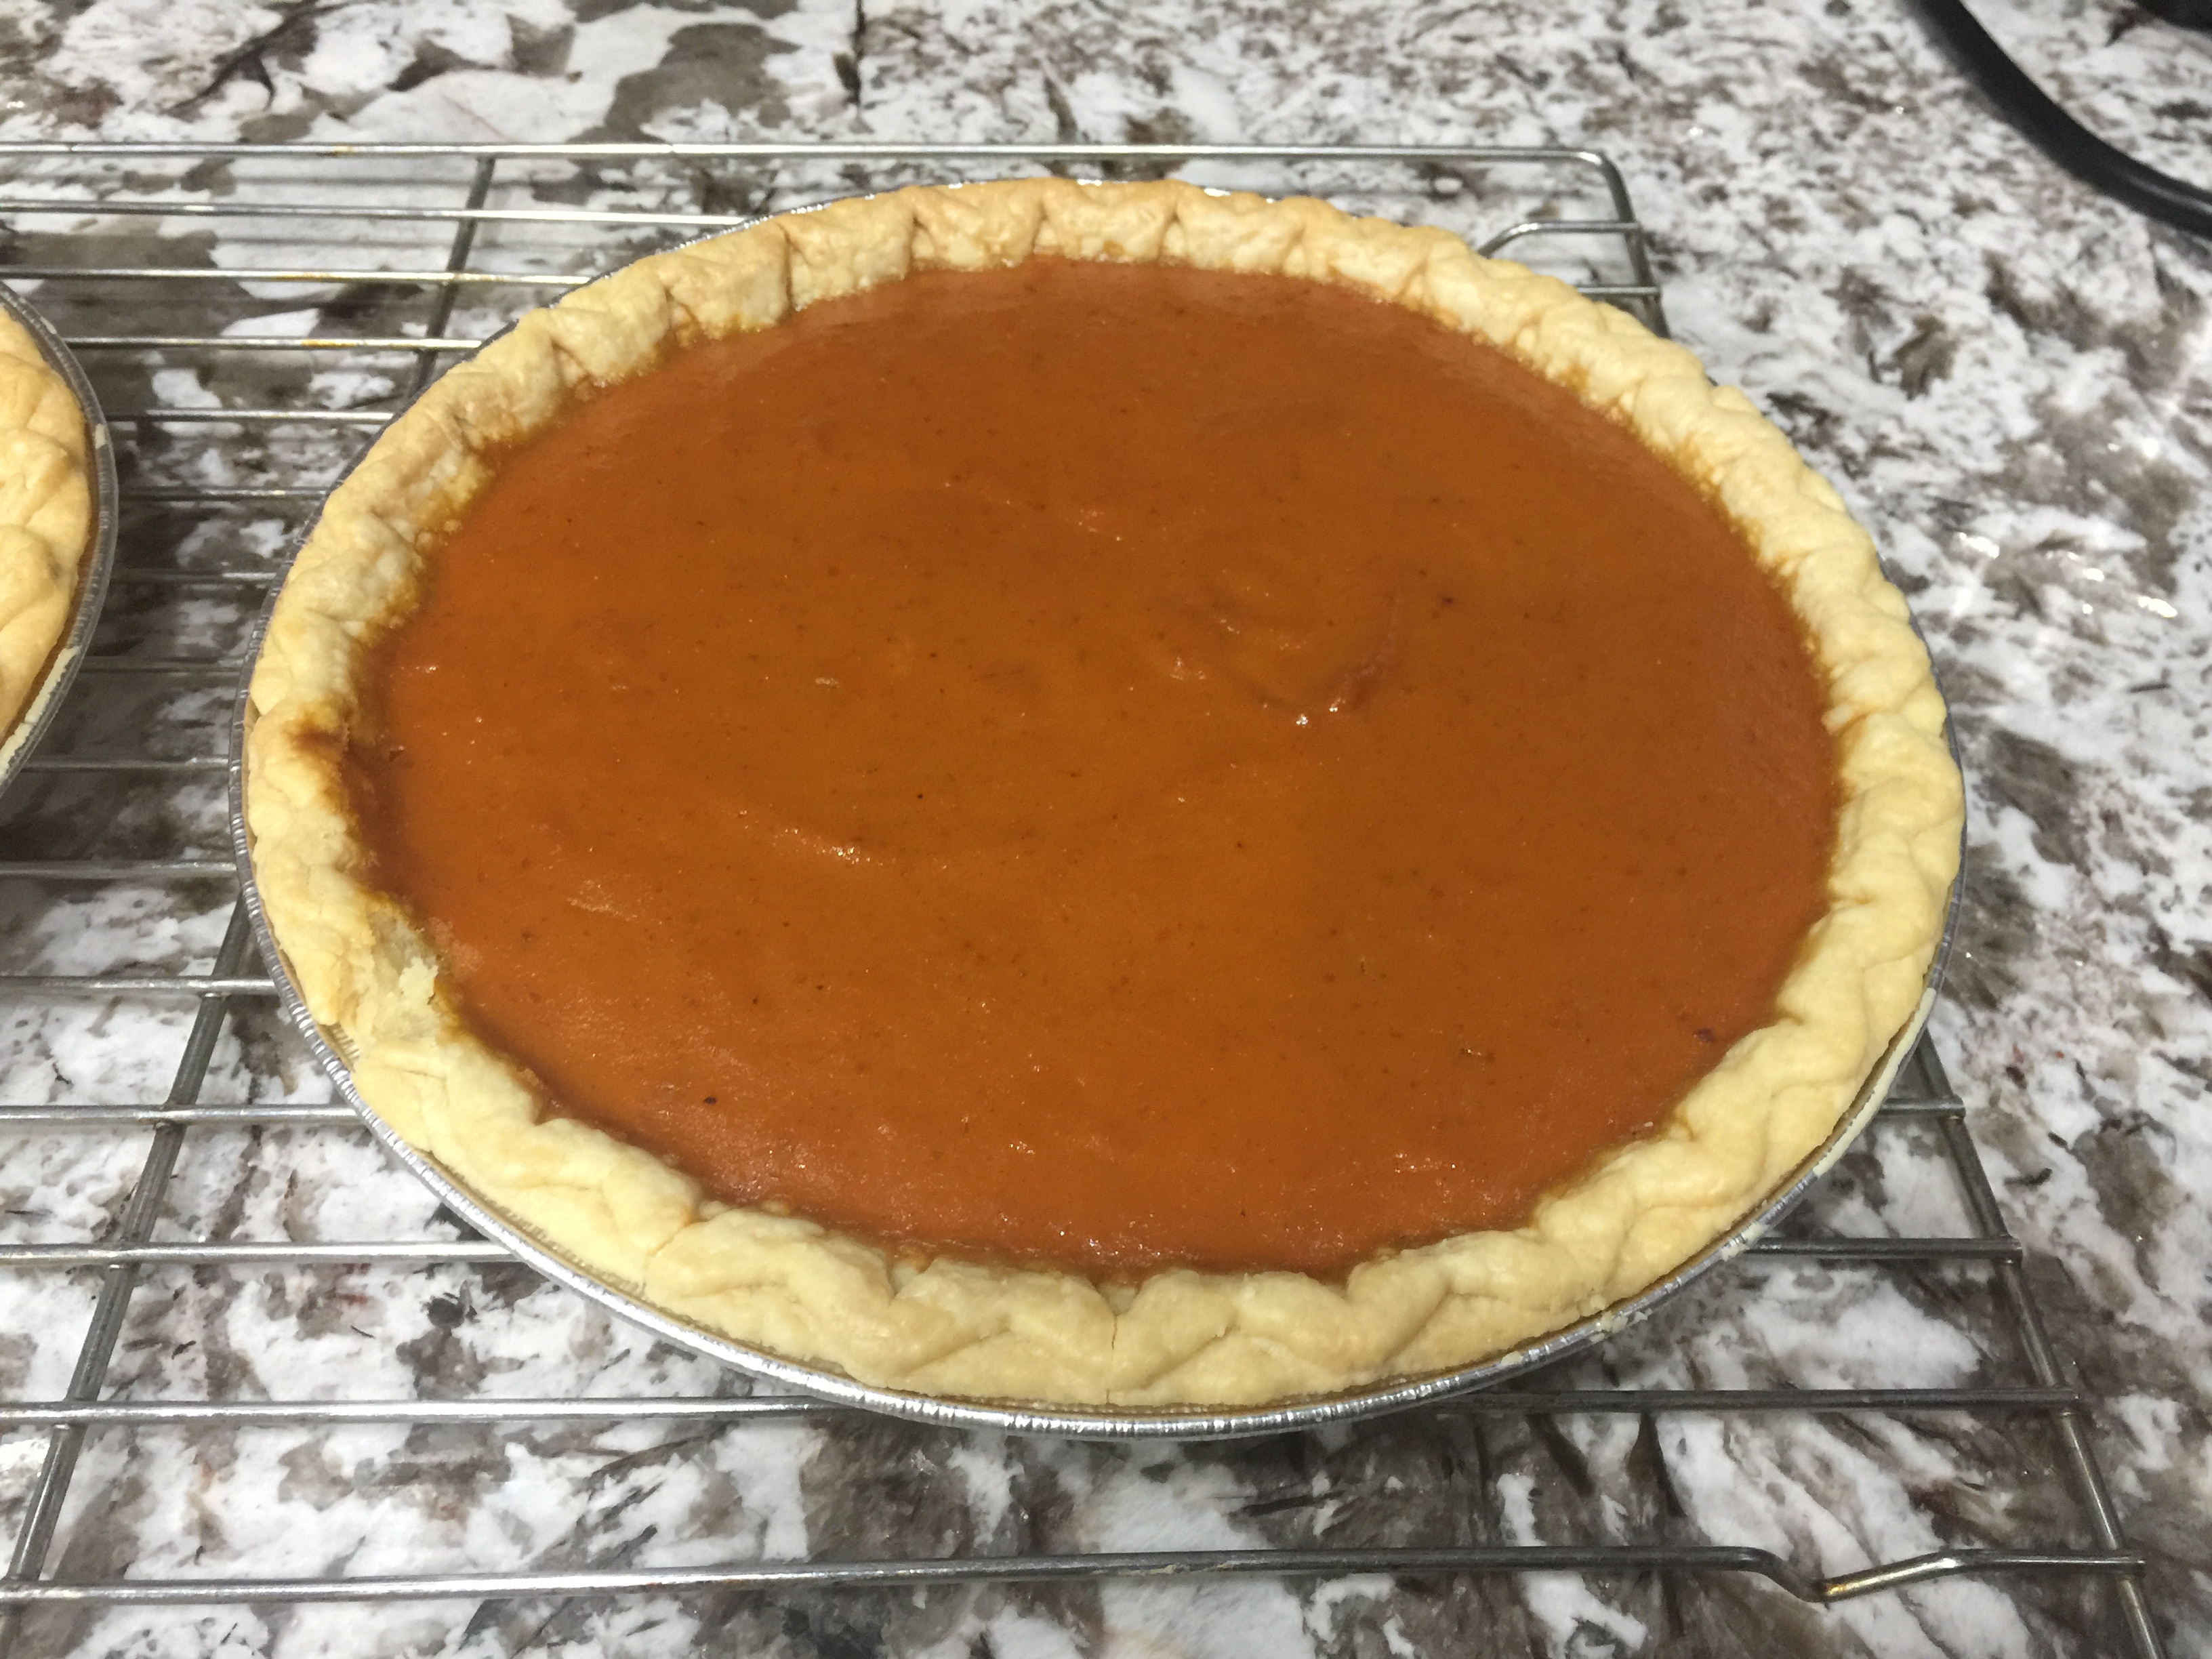
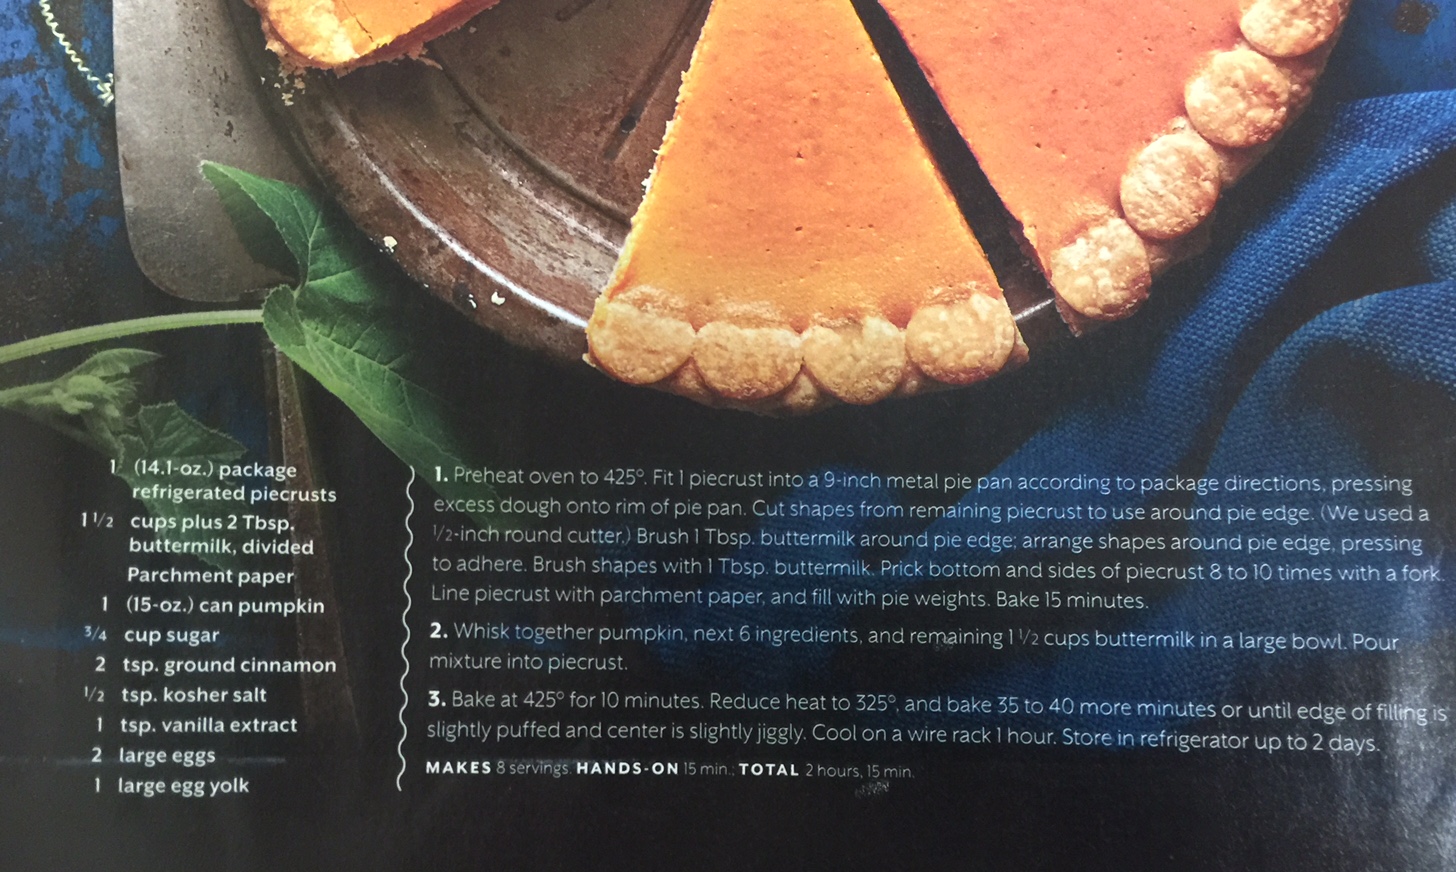
Pumpkin Pie

Cindy’s Pumpkin Pie (two pies)

To avoid cracks, cook to internal temp of 170º
  • 16 0z Pumpkin Pureé – PURE – not Pumpkin Pie Mix
  • 1 TBL Grandpa’s CinnaSugar®
  • 1/2 tsp ground ginger
  • 2 eggs
  • 1/4 C milk
  • 1/4 C corn syrup
  • 1/2 C sugar
  • 2 C flour – or until a thick pourable custard
  • Bake @ 350º till browning starts – approx 40 minutes
  • Turn off oven, but leave pie in to cook with residual heat

BASIC PIE CRUST

  • 10 oz AP flour – approx 2 C
  • 6.5 oz cold butter
  • 1 tsp sugar
  • 1/2 tsp salt
  • Pulse in food processor
  • 1/2 C ice cold water – add more if necessary to bring together
  • Should be moist, but not wet – DO NOT OVERWORK
  • Good for pot pies, pumpkin pies, etc
  • Refrigerate dough ball 1 hour, then roll out


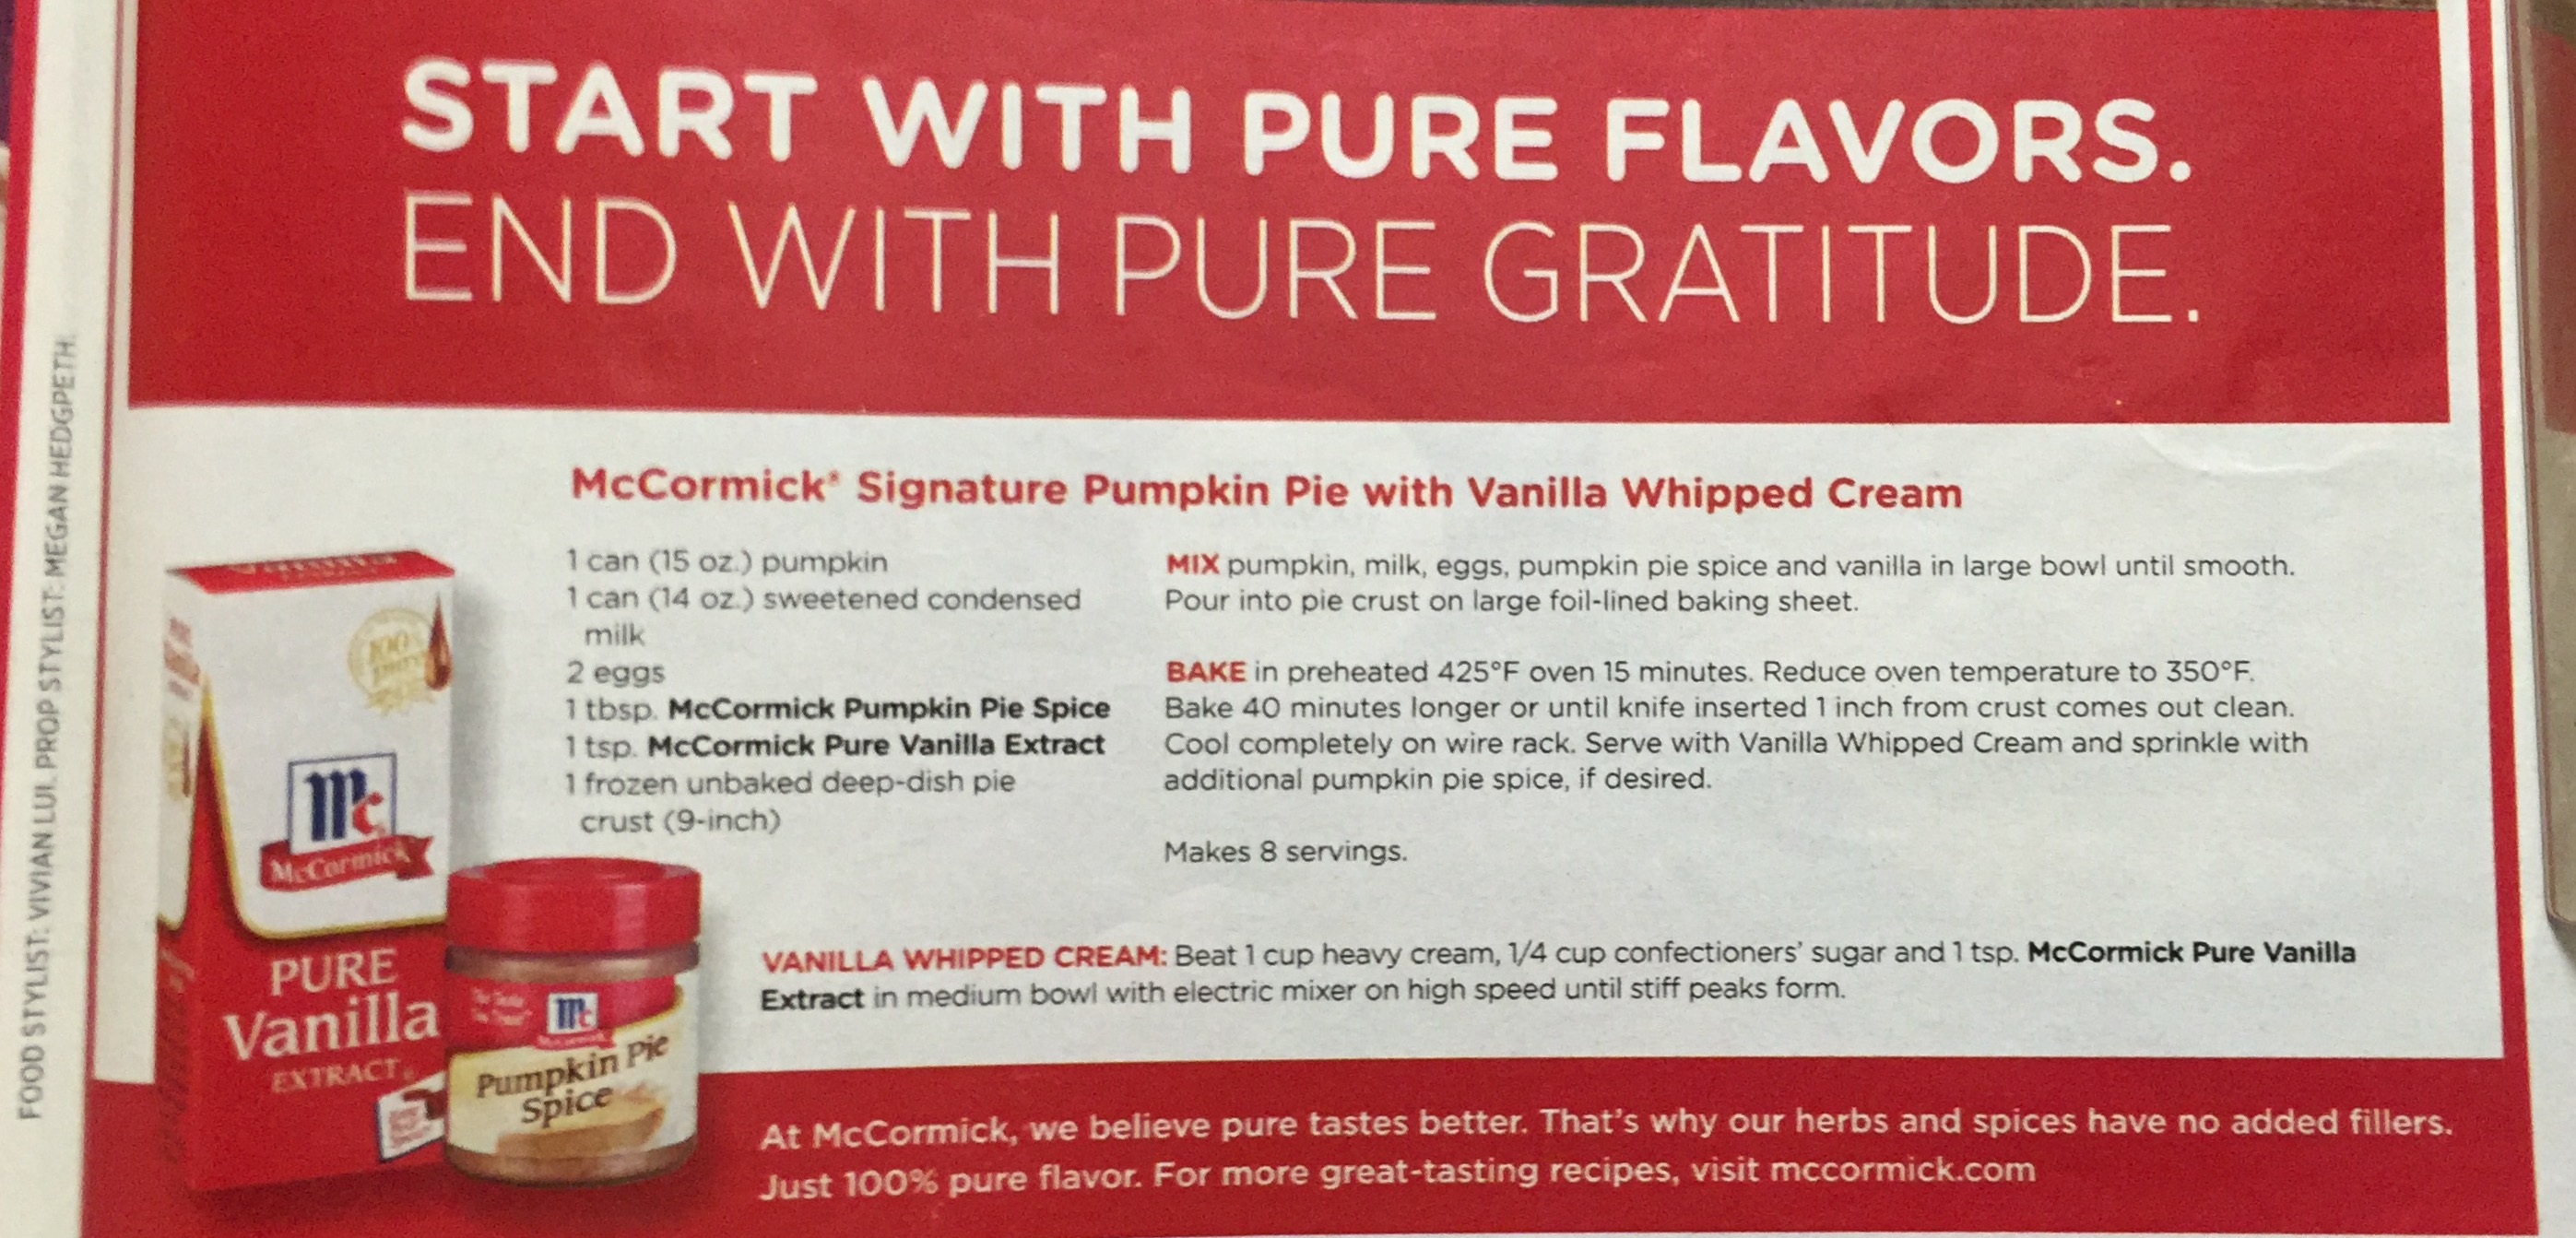
Here is McCormick’s take on this classic Thanksgiving dessert:

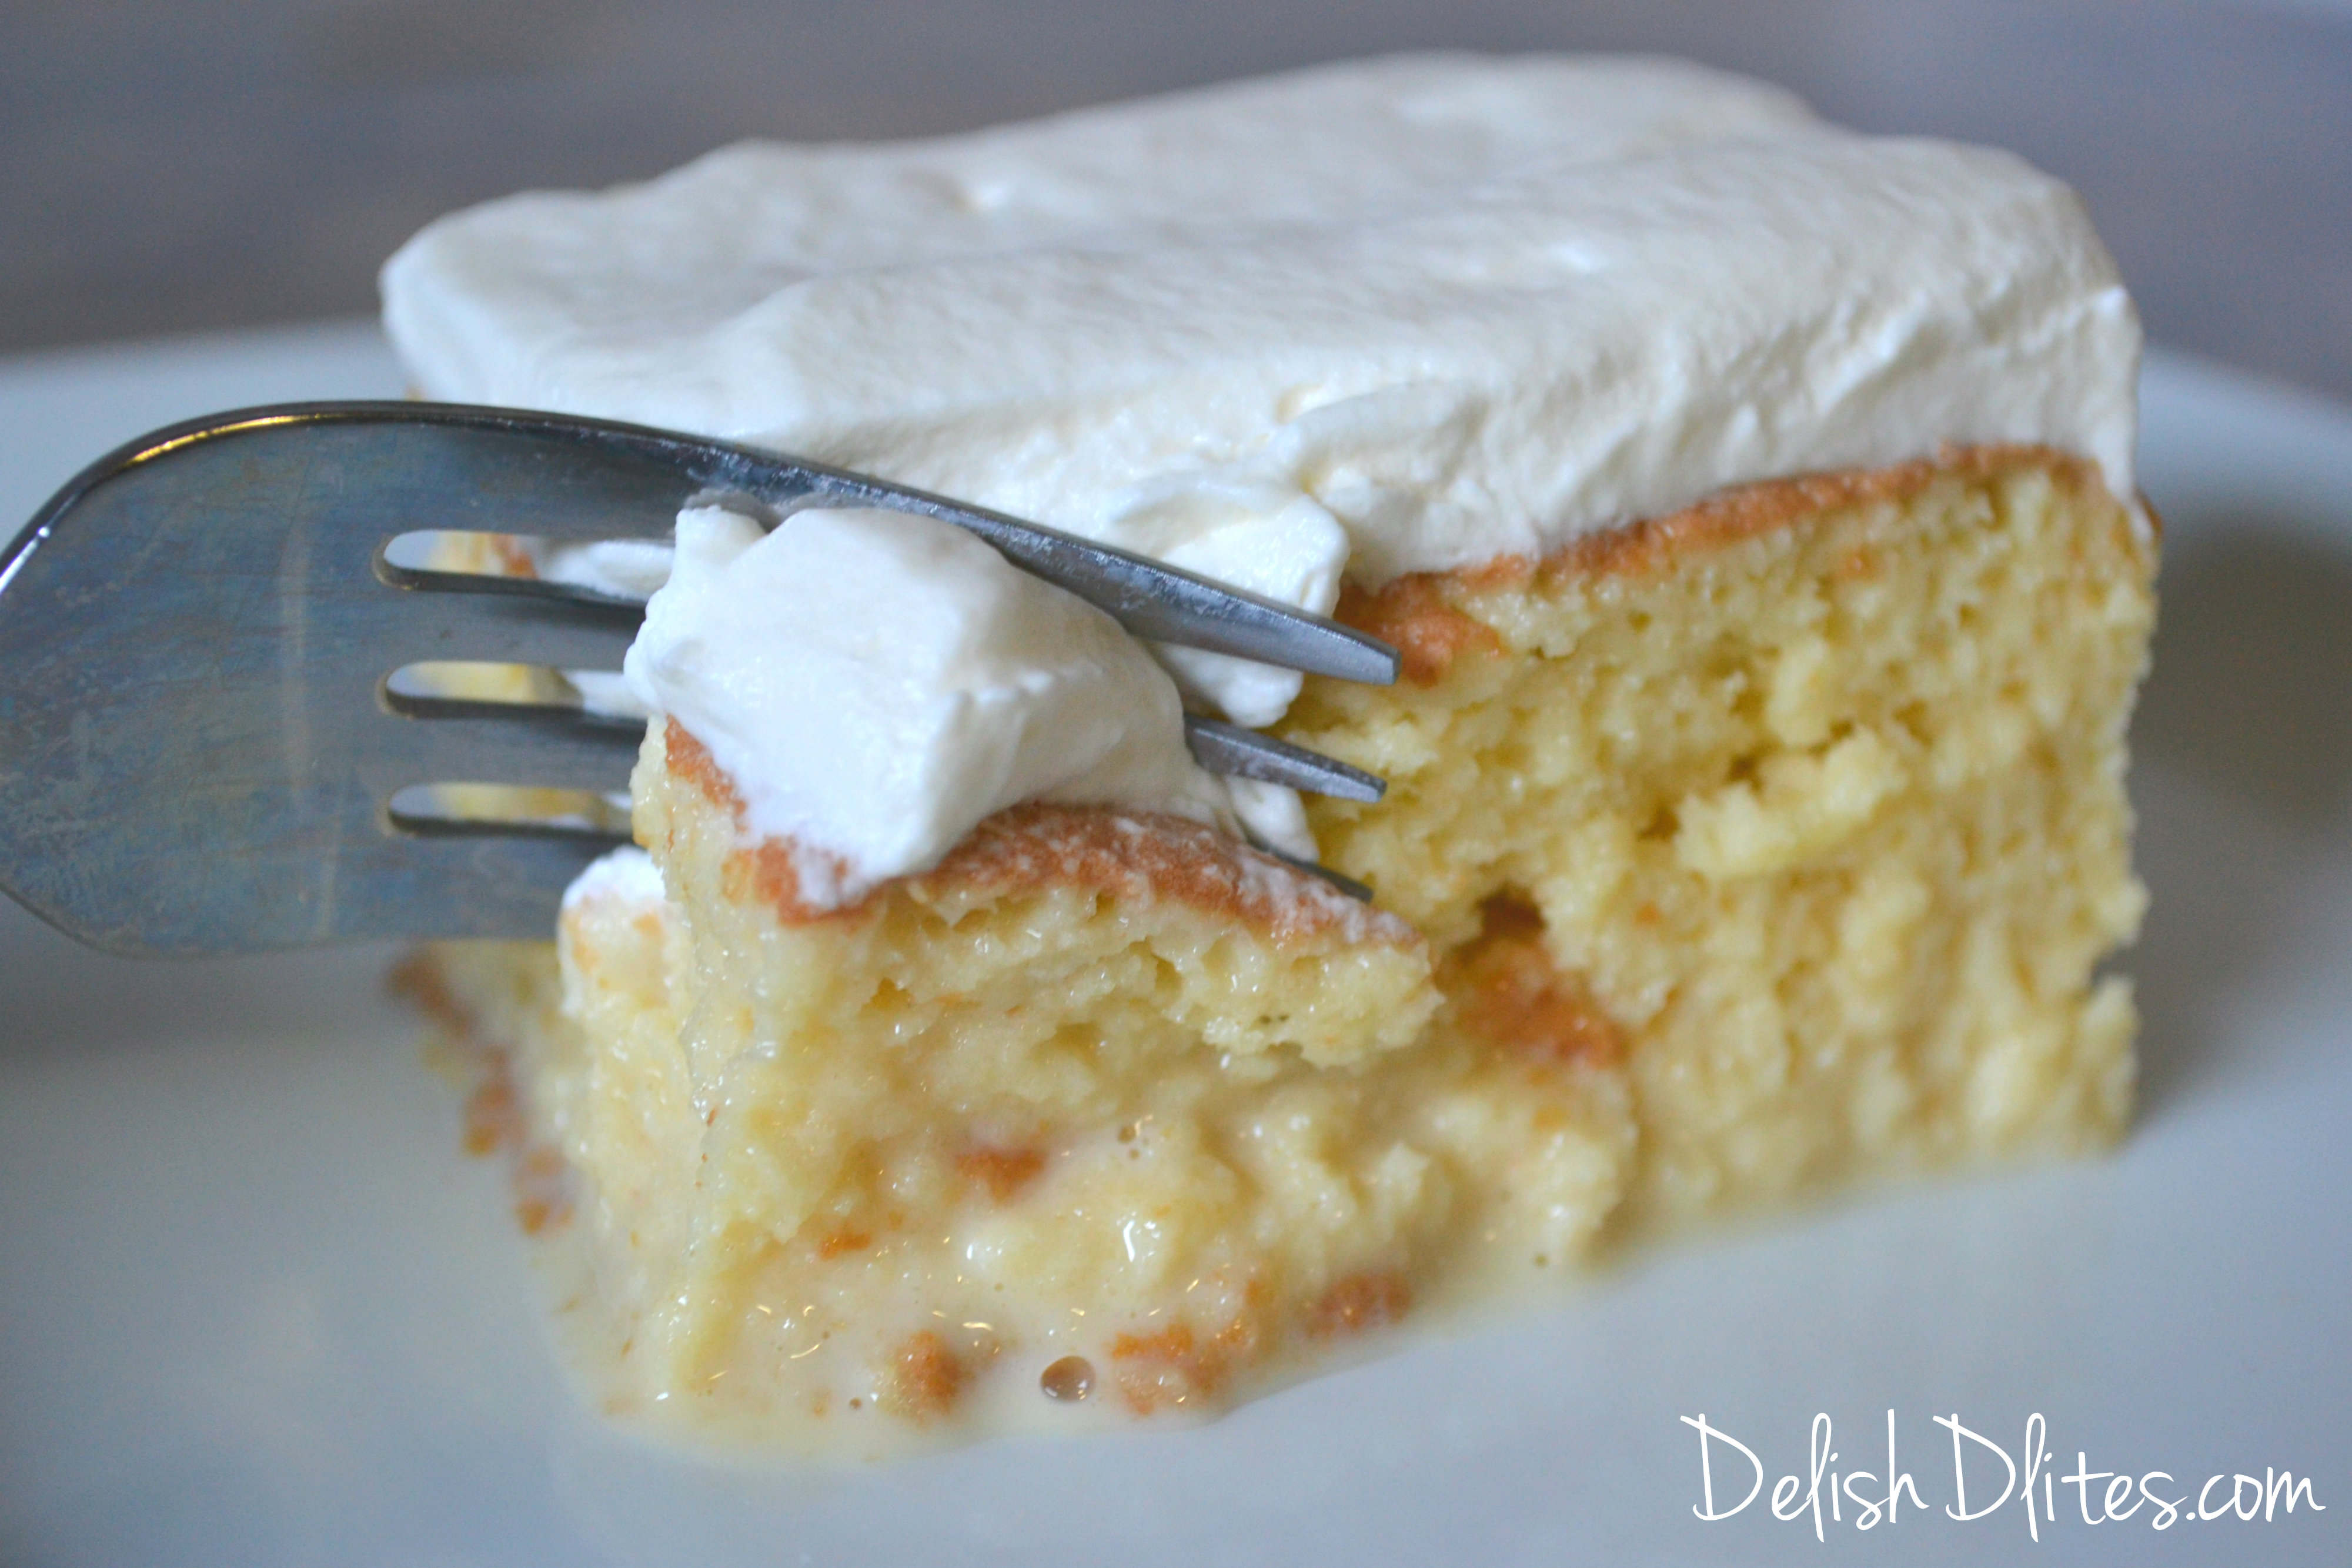
Tres Leches Cake

tres-leches

  • 14 oz can of Sweetened Condensed Milk
  • 12 oz can of Evaporated Milk
  • 1 C heavy cream or creme frache

Evaporated Milk invented by Gail Bordon in the 1856

  • Eagle Brand Evaporated milk came up with shelf-stable milk in the 1880’s
  • Carnation Company came up with the basis for this recipe
  • Sweetened Condensed Milk is 60% evaporated with sugar added; and is used for Key Lime Pie, Flan and must be thick enough to NOT flatten out and be runny, so America’s Test Kitchen ran a few tests and discovered that the best overall products were Eagle Brand and Carnation Sweetened Condensed Milks.
  1. Pour condensed milk into a glass bowl and cover with plastic wrap
  2. Microwave for 9-15 minutes – Stir about every 2-3 minutes
    – Microwave until milk starts to deepen in color
  3. Mix in Evaporated Milk and heavy cream
  4. Also 1 tsp vanilla extract
  5. Whisk all together

For the cake

  1. 2 C AP flour
  2. 2 tsp baking powder
  3. 1 tsp each of salt and ground cinnamon
  4. Whisk together
  5. To 1 C warm milk add 8 TBL butter
    Continue to heat until butter melts
  6. Crack 4 eggs into your stand mixer bowl with whisk attachment
  7. Beat until the eggs are fairly well beaten
  8. Add 2 C granulated sugar gradually
  9. Increase mixer to high – Beat 5-7 minutes until glossy
  10. turn machine to low, then start adding in your hot milk mixture
  11. Add another 2 tsp vanilla extract
  12. Add 3 C AP flour – one at a time – beating between each
  13. Pour into greased and floured 9×12 inch baking disk
  14. Bake at 325 degrees for 30-35 minutes
  15. Let rest about ten minutes

… or use Angel Food Cake or similar

  1. Poke holes liberally into the top of your cake with a chopstick or end of a mixing spoon.
  2. VERY SLOWLY Pour liquid mixture onto the cake
  3. Cool for another 15 minutes, then refrigerate at least 3 hours, preferably overnight
  4. DO NOT COVER or the condensation will make the topping gummy
  5. Take out of fridge about an hour before eating
  6. Top with whipped cream (recipe below)
  7. Garnish top lightly with cinnamon

Whipped Cream Topping

  • 1 C Heavy Whipping cream
  • 3 TBL corn syrup
  • 1 tsp Vanilla
  • Beat with a whisk attachment for about 2-3 minutes


HTML Snippets Powered By : XYZScripts.com