Mix together all of the above – Put through blender
Oil and season a chicken breast.
Grill chicken breast for about 60 seconds each side.
Spread chimichurri sauce on top and serve
Super tasty and incredibly easy to make, this recipe features fresh parsley, cilantro, garlic, and tangy vinegar. It gets an extra kick from crushed red pepper.
Left-over chicken parts from a whole chicken
Keep out breast, thighs and wings for eating
Use left over rib bones, spine, chicken hearts, liver, etc.
1 onion – quartered
3 stalks celery – chopped
4 carrots – chopped
2 large leeks – rough chopped and then cleaned in standing water
3 QT distilled or filtered water
8-10 black peppercorns
3 bay leaves
finger full of dried mushrooms
You always want to use filtered water, because as the steam escapes, the impurities concentrate. This is usually a bad thing. For veggie stock add more of your favorite vegetables, and eliminate the animal bones
STEP BY STEP
Chop or break bones into smaller pieces if necessary
Add whatever veggies you have available
– onion, garlic, celery, carrot, turnip, ginger, bay leaves, peppercorns, broccoli stems
Start with ROOM TEMPERATURE WATER, then bring to a boil
Reduce heat and simmer for 4-8 hours to about 1-2 QT water
– or until reduced to about 1/4 of original size
STRAIN: First through a colander, secondly through a strainer lined with cheese cloth.
You can prolong its refrigerator life by ladling it directly into canning jars through a sieve
Make sure all your equipment is clean
PLEASE NOTE: THIS IS NOT CANNING. This does not prolong the broth for as long as pressure canning, but it will allow it last for up to two weeks in your refrigerator.
If you will be freezing the broth, strain liquid into metal bowl
Ladle into canning jars leaving a full inch of headroom
Let cool on the counter or in an ice bath, then place in refrigerator overnight.
The next day, place into freezer.
The jars will keep a week in the refrigerator, or up to six months in the freezer.
Use the chicken pieces for shredded chicken soup
VARIATIONS
Use any bones: ribs, t-Bone, turkey, etc.
The more scrap veggies you put in, the better it will be.
This is the recipe we created in 2013. CLICK HERE for our recipe that we created in 2012.
INGREDIENTS
4 C pitted and halved apricots – chop in food processor (or peeled apples)
1 C distilled or RO water
1/2 C apple cider vinegar
1.5 C brown sugar
1/2 C honey
1 tsp pectin
1 TBL cinnamon
At the last minute, you will add
1 TBL vanilla
Juice and zest from one lemon
STEP BY STEP
Apricot Butter usually is done on the stove top, but that takes a lot of standing up. We do it in the oven, so we can sit down and put our feet up.
Mix all of the above ingredients (diced) together in a pan and heat on stove top to 180-190º.
Let simmer for 2 hours
You can double or triple this recipe easily without any special modifications.
Press hot mixture through colander or food mill to remove large pieces of pulp.
Pulse the pulp in a food processor and set aside.
Take 1/2 of the strained mixture and put into glass casserole dish, crock pot basin, or some other NON-METALIC and oven-safe cooking container.
This will create our smooth apple butter.
Take the other half of the strained mixture, and put into a second container
Mix the pulp back into this second container.
NOTE: This will create a smooth apricot butter for Grandpa, and a rustic apricot preserve butter for Grandma.
Preheat the oven to 300 degrees
Put the two containers (smooth and rustic) into the oven and note the time on paper.
Write down a timeline every half hour for the next three hours.
(EG) 2:00 – 2:30 – 3:00 – 3:30 – 4:00 – 4:30 – 5:00
Put a checkmark next to the first one, case that task has been done.
At each 1/2 hour point, remove the pot and use a silicon spatula or wooden spoon to stir the mixture
Put the pots back in the oven and put a checkmark next to the time showing that you have completed that step.
Somewhere halfway through your cooking time, start your canning water starting to boil. When it boils, turn it to low.
Put your empty jars into the canning water. This will sterilize your jars. Water should cover an upright jar by about an inch.
At the three hour mark, remove the pots and put near your canning area. The Oven Butter should be nicely darkened by this point.
Stir 1/2 TBL vanilla and lemon into your cooked mixture
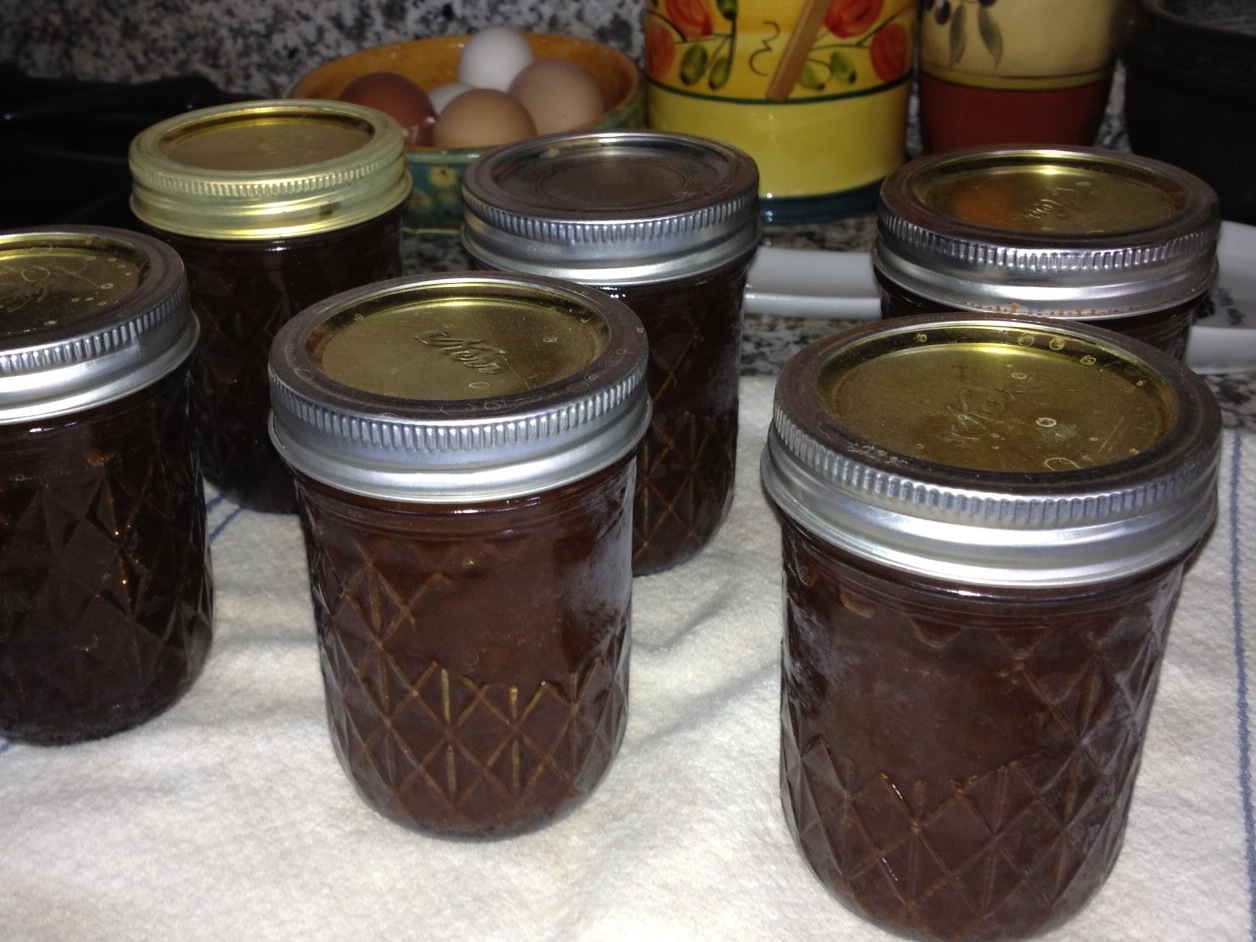
CANNING YOUR APRICOT BUTTER / APPLE BUTTER
Sterilize your jars, canning funnel and ladle in the hot water
Remove a jar and place near the pots. Drop a lid into the water.
Ladle your jars full just to where it touches the bottom of your canning funnel – about 1/2 inch from the top
Wipe the rim clean.
Remove the lid from the hot water bath and cover the jar of butter. Tighten very firmly, but do not bear down.
Repeat until all jars are filled.
Place jars in hot water bath, completely covering the top of the jar.
Bring the temperature of water to over 190°. Simmer at 190° or higher for 20 minutes. DO NOT bring up to a full boil.
Remove and wait for the happy little PING.
Butter can be stored in a cool dark place for about a year.
Just for pretty, after the cans cool you can remove the ring, put a piece of nice fabric over the top and put the ring back on.
The information below this section is from a third party. It is part of Grandpa's Personal Recipe box. Feel free to browse, but know that this information is from someone else.
You can easily double any of these recipes and can the extra. Put canning jars (not lids) through the dishwasher and time the cycle so that it finishes just when you finish your enchilada sauce. When sauce is finished, put the lids into a bowl of nearly boiling hot water for 30 seconds. Pour hot sauce into “sterile” jars, and put the lid on. For those jars that “PING” the sauce will stay on the shelf for up to a month. PLEASE NOTE: YOU MUST ELIMINATE THE MEAT if you are planning to can your sauce in this manner, otherwise leave one inch head space and freeze the sauce.
You can grow your own jalapeños if you life in a warm climate
If you don’t, you can buy some at any Mexican grocery or even on Amazon.
Any time you are blending the peppers, it will create a toxic gas cloud, so make sure you are in a well-ventilated environment
Ingredients to feed 4 people
A whole bunch of jalapeños – red, green, it doesn’t matter Have some Thai chilies, throw them in there too; as well as your serranos and habañeros if you wish hotter sauce. If you want a milder Chili Sauce, use Poblano, Anaheim, Bell or Banana peppers.
You will also need water, white vinegar, sugar, cumin, tomato paste, garlic powder, onion powder and salt.
Step by Step
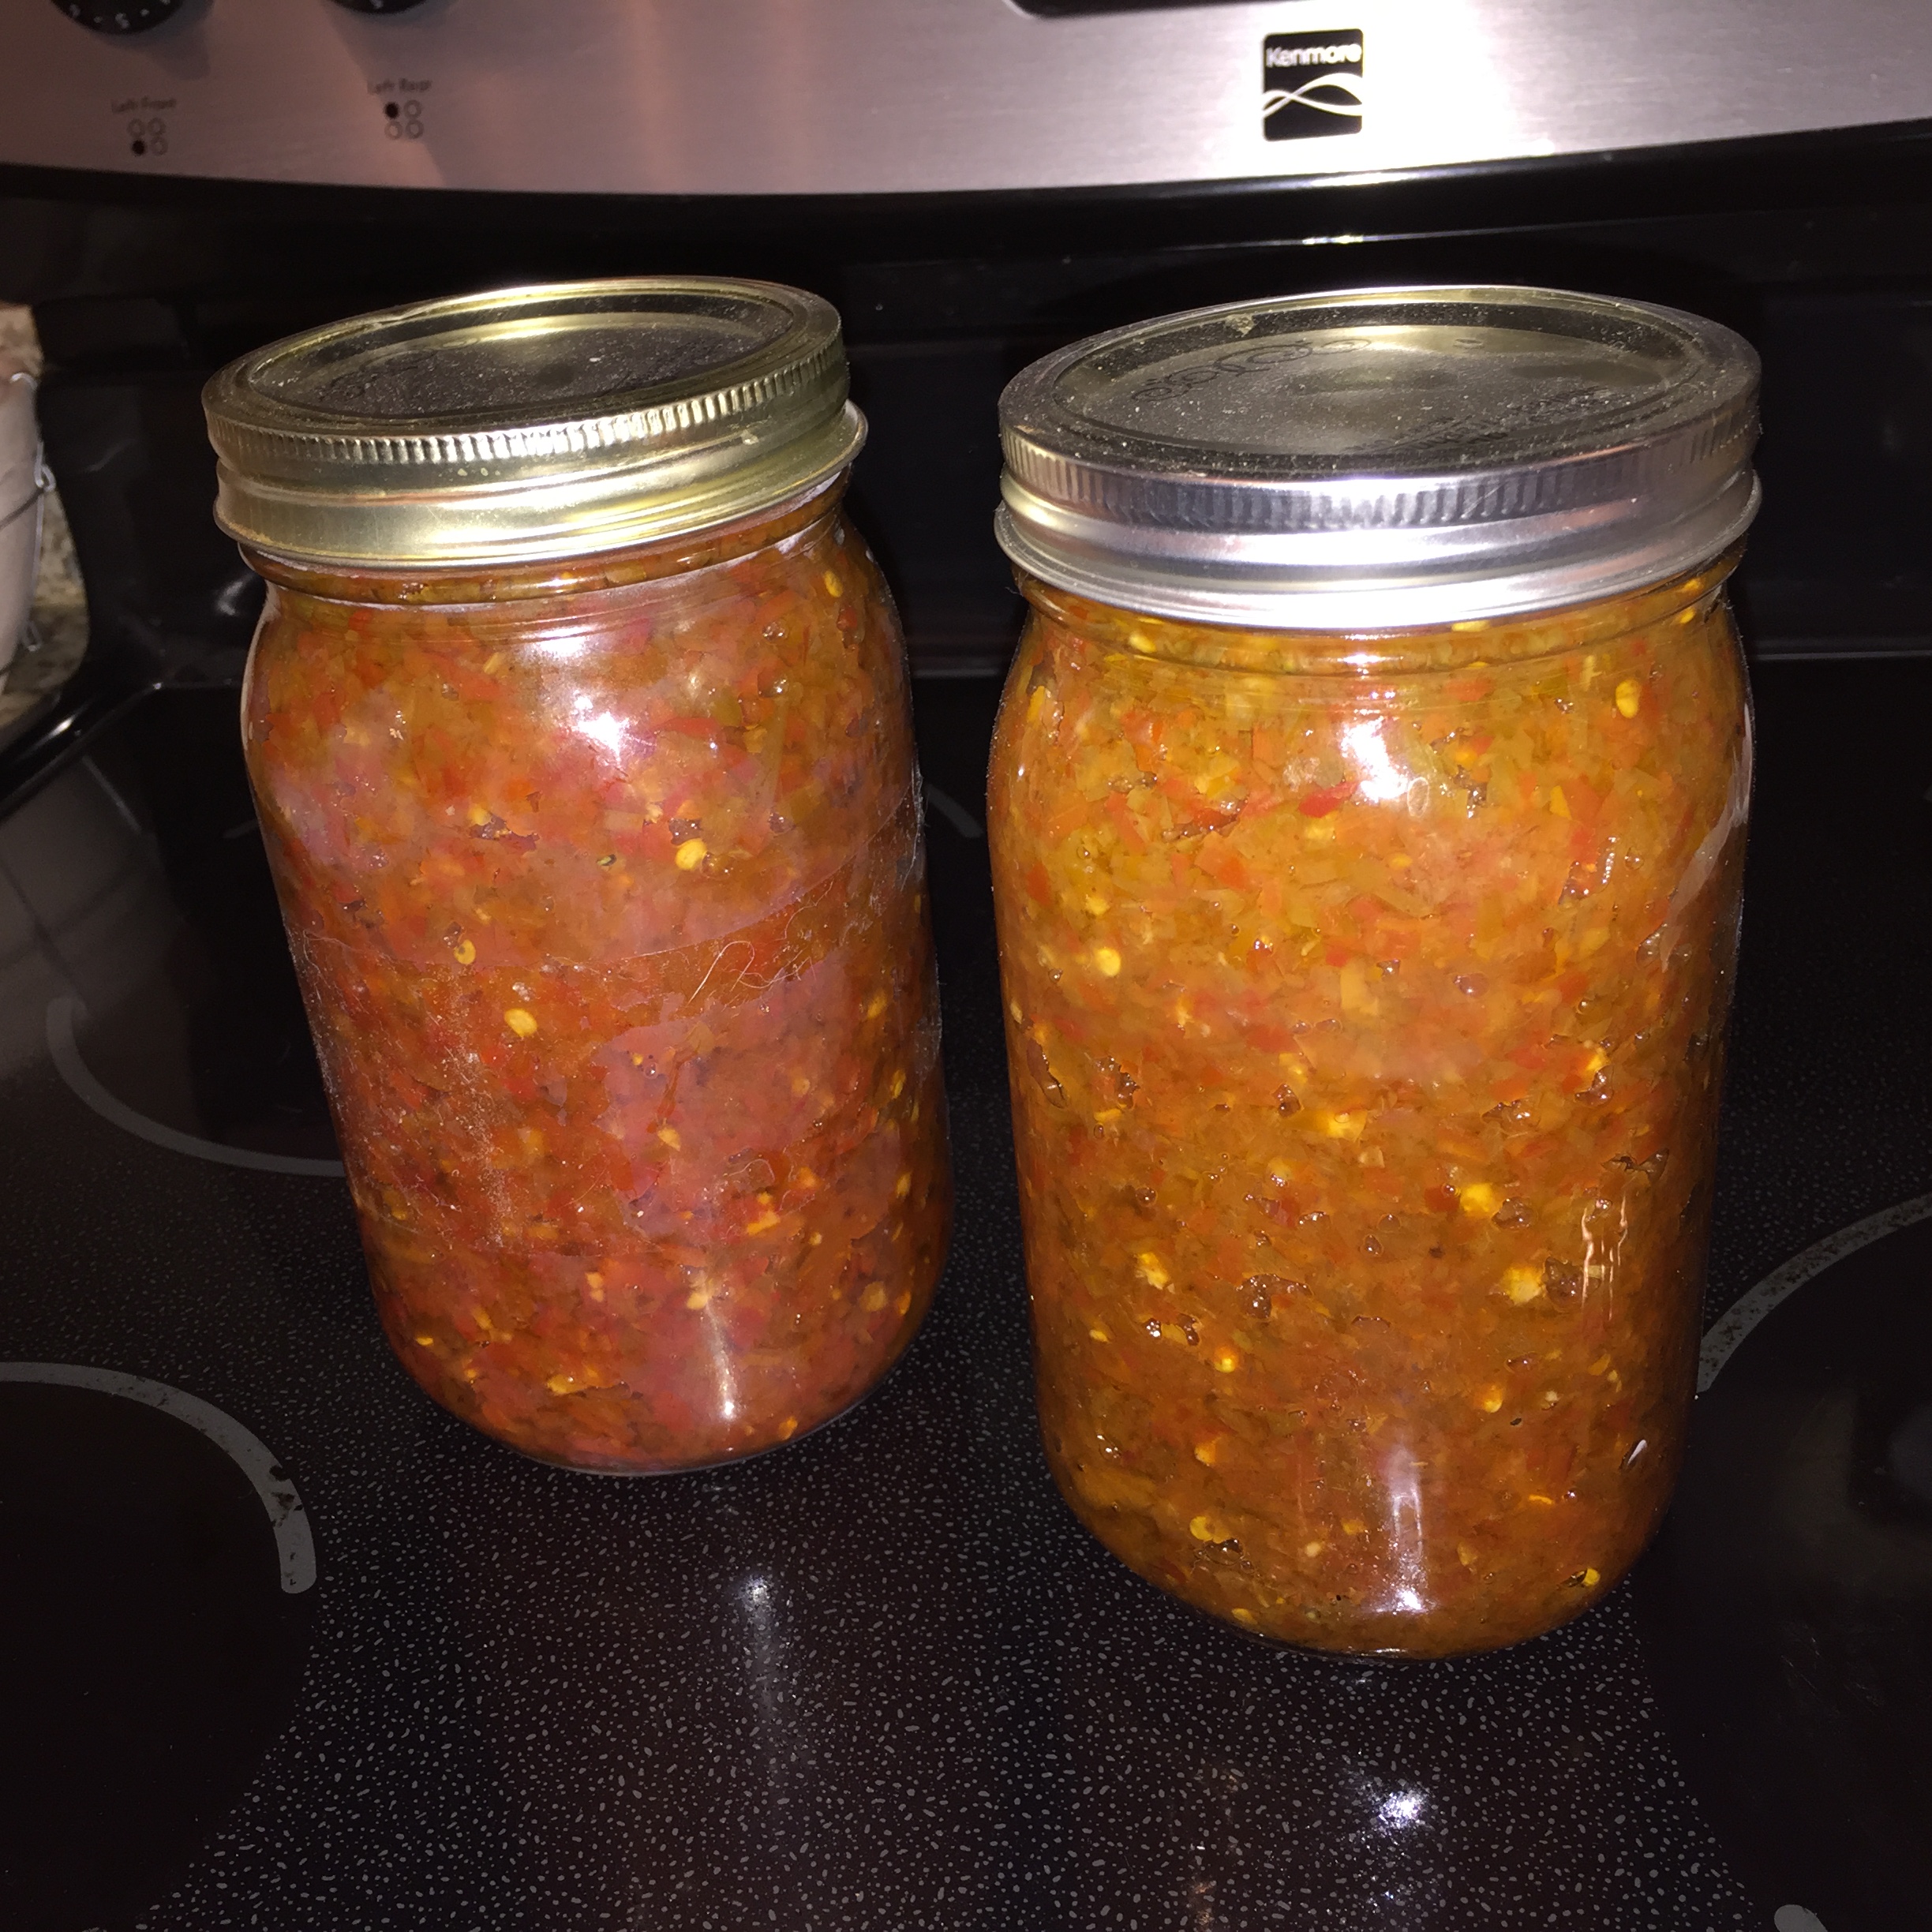
Fill quart mason jars with minced jalapeños
Remove seeds before mincing for milder sauce, leave them in for hotter sauce
Put into mason jar filling about one inch from the top
Place in mixing cup 1/2 C water, 1 C vinegar
Microwave about 2 minutes
Add 1 TBL salt
Add 1 tsp cumin
Mix all mixing cup ingredients to incorporate and dissolve
Pour liquid into mason jars covering peppers
Put the lid on and place jar on counter for a month or two or three – mine just finished eight months
AFTER IT HAS CURED
Puree in blender – watch out for vapors they are TOXIC
Push pulp through a strainer using a spatula into jars – discard solids
Add tomato paste, garlic powder, onion powder and sugar
Using standard canning procedures, cold pack and hot water batch for 20 minutes
Oh, one more thing…
My niece uses this full strength. That is a bit too hot for me. This is hotter than Tabasco, and has a lot more flavor. You don’t need to use too much.
If you are not good with doing things to taste, for each quart jar that you are aging and processing, Once you have pushed the pulp through a strainer, add 1 tsp salt, garlic powder and onion powder and 1/4 C tomato paste.
If you don’t know how to can things, here is a ketchup canning site. Just follow the same procedure for your chili sauce
Shortcut Chili Sauce
1/2 CU Heintz Ketchup
1/2 CU diced jalapenos (from can)
2 TBL cayenne sauce (Frank’s Red Hot or Durkee)
1 TBL rice vinegar
1 tsp garlic powder
1 tsp onion powder
1 TBL sesame oil
1 tsp cumin
1 tsp oregano
1 tsp salt
1. Blend all ingredients until somewhat smooth.
2. Press through a sieve
3. Store in something like an old Tabasco bottle
4. Refrigerate
Because chicken breast is lean, it gets dry when it is cooked properly. The problem is that it can be unsafe if you don’t cook it properly. If you BRINE it prior to cooking, it infuses the meat with more moisture and will stay moister while it finishes cooking.
INGREDIENTS
1 C kosher salt
3/4 C brown sugar
3/4 C apple cider vinegar
1/2 gallon HOT water
2 bay leaves
3 large sprigs of rosemary
3 large sprigs of thyme
2 cloves of crushed garlic
OPTIONAL: 1 tsp red chili flakes
STEP BY STEP
Mix all ingredients
Let cool to room temperature
Place chicken in zip-lock bag (if possible)
Place bag in a bowl, and the bowl into the fridge for an hour soak
Agitate about every 15 minutes
After an hour soak, prepare the breasts as you normally would
NOTES
Amounts listed are for a four chicken breasts, but just use what you need and store the rest in the refrigerator for up to a month.
DO NOT reuse brining liquid after it has been used
The waiter explained it as he prepared it right at our table. I made a few modifications. They used ketchup. I used canned tomatoes and Heintz Chili Sauce.
Ingredients
1/2 C Heintz Prepared Chili Sauce
8 oz canned tomatoes (drained)
2 TBL Morehouse prepared horseradish
1 TBL lemon juice
1 tsp Worcestershire sauce
1/2 tsp salt
1 tsp Karo syrup
Dash of pepper
Step by Step
Stir together ketchup, horseradish, lemon juice, Worcestershire sauce, salt and pepper.
Chill if desired and serve with precooked shrimp that is peeled and deveined.
This is the recipe we created in 2012. CLICK HERE for our recipe that we created in 2013.
This same process can be used for making Apple Butter
We made apricot butter, but you can make apple butter, pear butter, or whatever spread you want using the same recipe.
INGREDIENTS
1 cup fruit pulp
1/2 cup + 1 TBL sugar
1/4 cup water or fruit juice
Optional – Fruit Fresh or Spices
Zest and juice from one lemon
EITHER
1 teaspoon Fruit Fresh, or
1/2 tsp each cinnamon, cloves, and/or Ginger
STEP BY STEP
Multiply or decrease other items based on how much fruit pulp you have.
Do not try to process more than 8 cups of fruit pulp
Mix pulp, sugar, and water and heat over low heat until mixture starts to simmer
Raise temperature on stove, and bring mixture to boil stirring frequently
Continue gentle boiling until mixture thickens – stirring constantly
Note: this took us about 45 minutes. Unfortunately this can take as long as 60 minutes.
Mix in Fruit Fresh or spices plus the lemon
CANNING YOUR APRICOT BUTTER / APPLE BUTTER
Sterilize your jars, canning funnel and ladle in the hot water
Remove a jar and place near the pots. Drop a lid into the water.
Ladle your jars full just to where it touches the bottom of your canning funnel – about 1/2 inch from the top
Wipe the rim clean.
Remove the lid from the hot water bath and cover the jar of butter. Tighten very firmly, but do not bear down.
Repeat until all jars are filled.
Place jars in hot water bath, completely covering the top of the jar.
Bring the temperature of water to over 190°. Simmer at 190° or higher for 20 minutes. DO NOT bring up to a full boil.
Remove and wait for the happy little PING.
Butter can be stored in a cool dark place for about a year.
Just for pretty, after the cans cool you can remove the ring, put a piece of nice fabric over the top and put the ring back on.
Actual Injera is made with teff, which is a flour common to Ethiopia. Read more about why teff is so amazing at the bottom of this page. This is Grandpa’s American adaptation of injera, the bread used as a utensil in Ethiopian dining.
INGREDIENTS
1 C spelt – Ideally use teff, next try half whole wheat and half AP flour DO THIS FIRST THING IN THE MORNING
1-1/2 cup water
a pinch of yeast
two pinches of sugar
a GLASS mixing bowl DO THIS IN THE LATE AFTERNOON OR EVENING
1 tsp peanut oil – optional canola oil
a pinch of salt
a VERY nonstick pan
STEP BY STEP
Put the flour in the bottom of a mixing bowl with sugar and dry yeast
Mix or sift together
Slowly add the water, stirring to avoid lumps.
Put the batter aside for 4-10 hours to ferment.
You will see your injera batter will start to bubble and acquire the slight tanginess for which it’s known.
Fold in the salt and the oil.
Heat a nonstick pan or lightly oiled cast-iron skillet until a water drop dances on the surface – about 350º
Make sure the surface of the pan is smooth, otherwise, your injera might fall apart when you try to remove it.
Coat the pan with a thin layer of batter. Injera should be thicker than a crêpe, but not as thick as a traditional pancake. It will rise slightly when it heats.
Cooking Injera
Cook until holes appear on the surface of the bread. DO NOT FLIP.
Once the surface is dry, remove the bread from the pan and let it cool.
Traditionally, fold twice with the cooked surface on the outside
Injera is made with teff, a tiny, round grain that flourishes in the highlands of Ethiopia.
While teff is very nutritious, it contains practically no gluten. This makes teff ill-suited for making raised bread, however injera still takes advantage of the special properties of yeast. A short period of fermentation gives it an airy, bubbly texture, and also a slightly sour taste.
Teff is extremely high in fiber, iron, and calcium.
Teff is the smallest grain in the world. It takes about 150 teff seeds to equal the weight of a kernel of wheat!
Many Ethiopians in America use square-shaped, electric, nonstick pans. These heat evenly and make it easy to remove the injera once it is cooked.
Injera is not only a kind of bread—it’s also an eating utensil.
In Ethiopia and Eritrea, this spongy, sour flatbread is used to scoop up meat and vegetable stews.
Injera frequently lines the tray on which the stews are served, soaking up their juices as the meal progresses. When this edible tablecloth is eaten, the meal is officially over.
Ethiopian and Eritrean immigrants have modified their recipes after moving to the United States or Europe, depending on what grains are available to them.
The injera you find in many East African restaurants in the United States includes both teff and wheat flours. Most injera made in Ethiopia and Eritrea, on the other hand, is made solely with teff.
Tip: Depending on where you live, teff flour can be difficult to come by. Try a well-stocked health food store.
If you have teff grain instead of flour, first grind it in a clean coffee grinder, or with a mortar and pestle.
If you’ve ever cooked pancakes, making injera might seem familiar. In both cases, tiny bubbles form on top as the batter cooks. Keeping an eye on these bubbles is a great way to see how close the pancake or injera is to being ready without peeking underneath.
These bubbles come from the carbon-dioxide produced by the leavener—usually baking powder or soda in the case of pancakes, “wild” yeast in the case of injera. Neither batter contains much gluten.
Because of the gluten, most pancake recipes tell you not to mix the batter too much: If you do, gluten will develop, making them too chewy. Teff, the grain used to make injera, contains very little gluten to begin with. In both cases, the result is the same: With no gummy substance to “blow up,” most of the carbon-dioxide from the leaveners rapidly escapes into the air, leaving the little popped bubbles that contribute to the distinctive textures of these breads.
Put 1 C distilled water into a soup pan and bring up to boil.
Reduce water in soup pan to active simmer and place a large metal mixing bowl onto the soup pan, creating a double boiler
– WARNING: Don’t heat the Hollandaise too quickly or let temperature of liquid rise above 175 degrees or eggs may congeal. It may also separate and once that happens there is no recovery. Your sauce will still taste the same, it will just not be as creamy looking. 160 degrees is ideal.
Alternate: to a double boiler
A double boiler helps guarantee success, but you can do this in a mixing bowl right on the stove top. Put in three yolks and three tabs of COL butter. Put on and take off of the heat – never letting it get really hot. When ribbons start to appear, take it off the heat and whisk in a splash of lemon.
https://www.grandpacooks.com/recipes/basic-hollandaise/
–
While this is technically a good recipe (more technically accurate than mine) I still prefer my recipe, but here it is for your reference.
https://www.grandpacooks.com/recipes/blender-hollandaise/
–
Here is an alternate recipe that does not require cooking. You are forewarned about the whole raw egg stuff.
The information below this section is from a third party. It is part of Grandpa's Personal Recipe box. Feel free to browse, but know that this information is from someone else.
–
A YouTube video from a Third Party, but a nice recipe. Also includes Oysters and Pumpkin Cheesecake.
https://www.grandpacooks.com/recipes/microwave-hollandaise/
–
This is actually a pretty good recipe. It is easier than a double boiler, but actually takes about as much time as real Hollandaise.
Indonesian or Tahitian – Decent, but a little bland
Mexican – Cheap producers may use Tonka Beans, which taste like vanilla, but contain carcinogens
Madagascar – Deeper flavor and more vanillin in the bean (crystals) on the surface
Alternatives
Imitation Vanilla Extract – Completly a shot in the dark. May have been made from wood pulp – very inexpensive – marginally OK for baked things like brownies, where it is just a flavor enhancer, and not subjected to very high heat.
Imitation Vanilla Flavoring :: Contains who knows what ?!? – AVOID
Natural vanilla flavoring contains no alcohol – doesn’t evaporate
Pure Vanilla Extract – legally allowed to contain corn sweeteners and coloring :: 35% alcohol :: 13-14 beans per gallon
Best Vanilla Extract will contain vanilla bean and alcohol and water with no other additives
Gila Farm Cooperative CSA Delivery Newsletter April 3rd 2012
Pick up produce Tuesdays at 5227 N. 7th St. between 4:00 and 5:30pm
Week three of ten week CSA Spring Season.
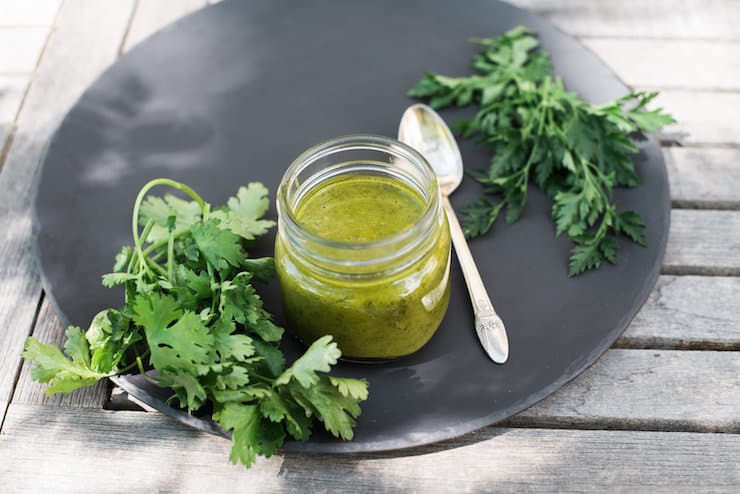
Grandpa’s Cilantro Sauce
Cilantro Sauce is a great way to preserve your CSA cilantro for up to two months in the refrigerator.
Use this on your sandwich or with your scrambled eggs. It’s also great to add to salsa.
INGREDIENTS
For each 1 CUP of chopped cilantro add the following:
2 TBL olive oil
1 TBL white vinegar
1 tsp salt
zest and juice from 1 lime or 1 lemon
1 tsp Tabasco (optional)
STEP BY STEP
Take an entire bunch of cilantro (see note) and chop it as small as possible. A food processor helps a lot.
How much cilantro you have, dictates how much of the other ingredients you need.
Mix well and put in container. Store in refrigerator.
Note: The bottle shown is a cleaned and recycled Heinz 57 Chili Sauce bottle. The wide mouth makes it easy to fill, and it acts as a great dispenser too.
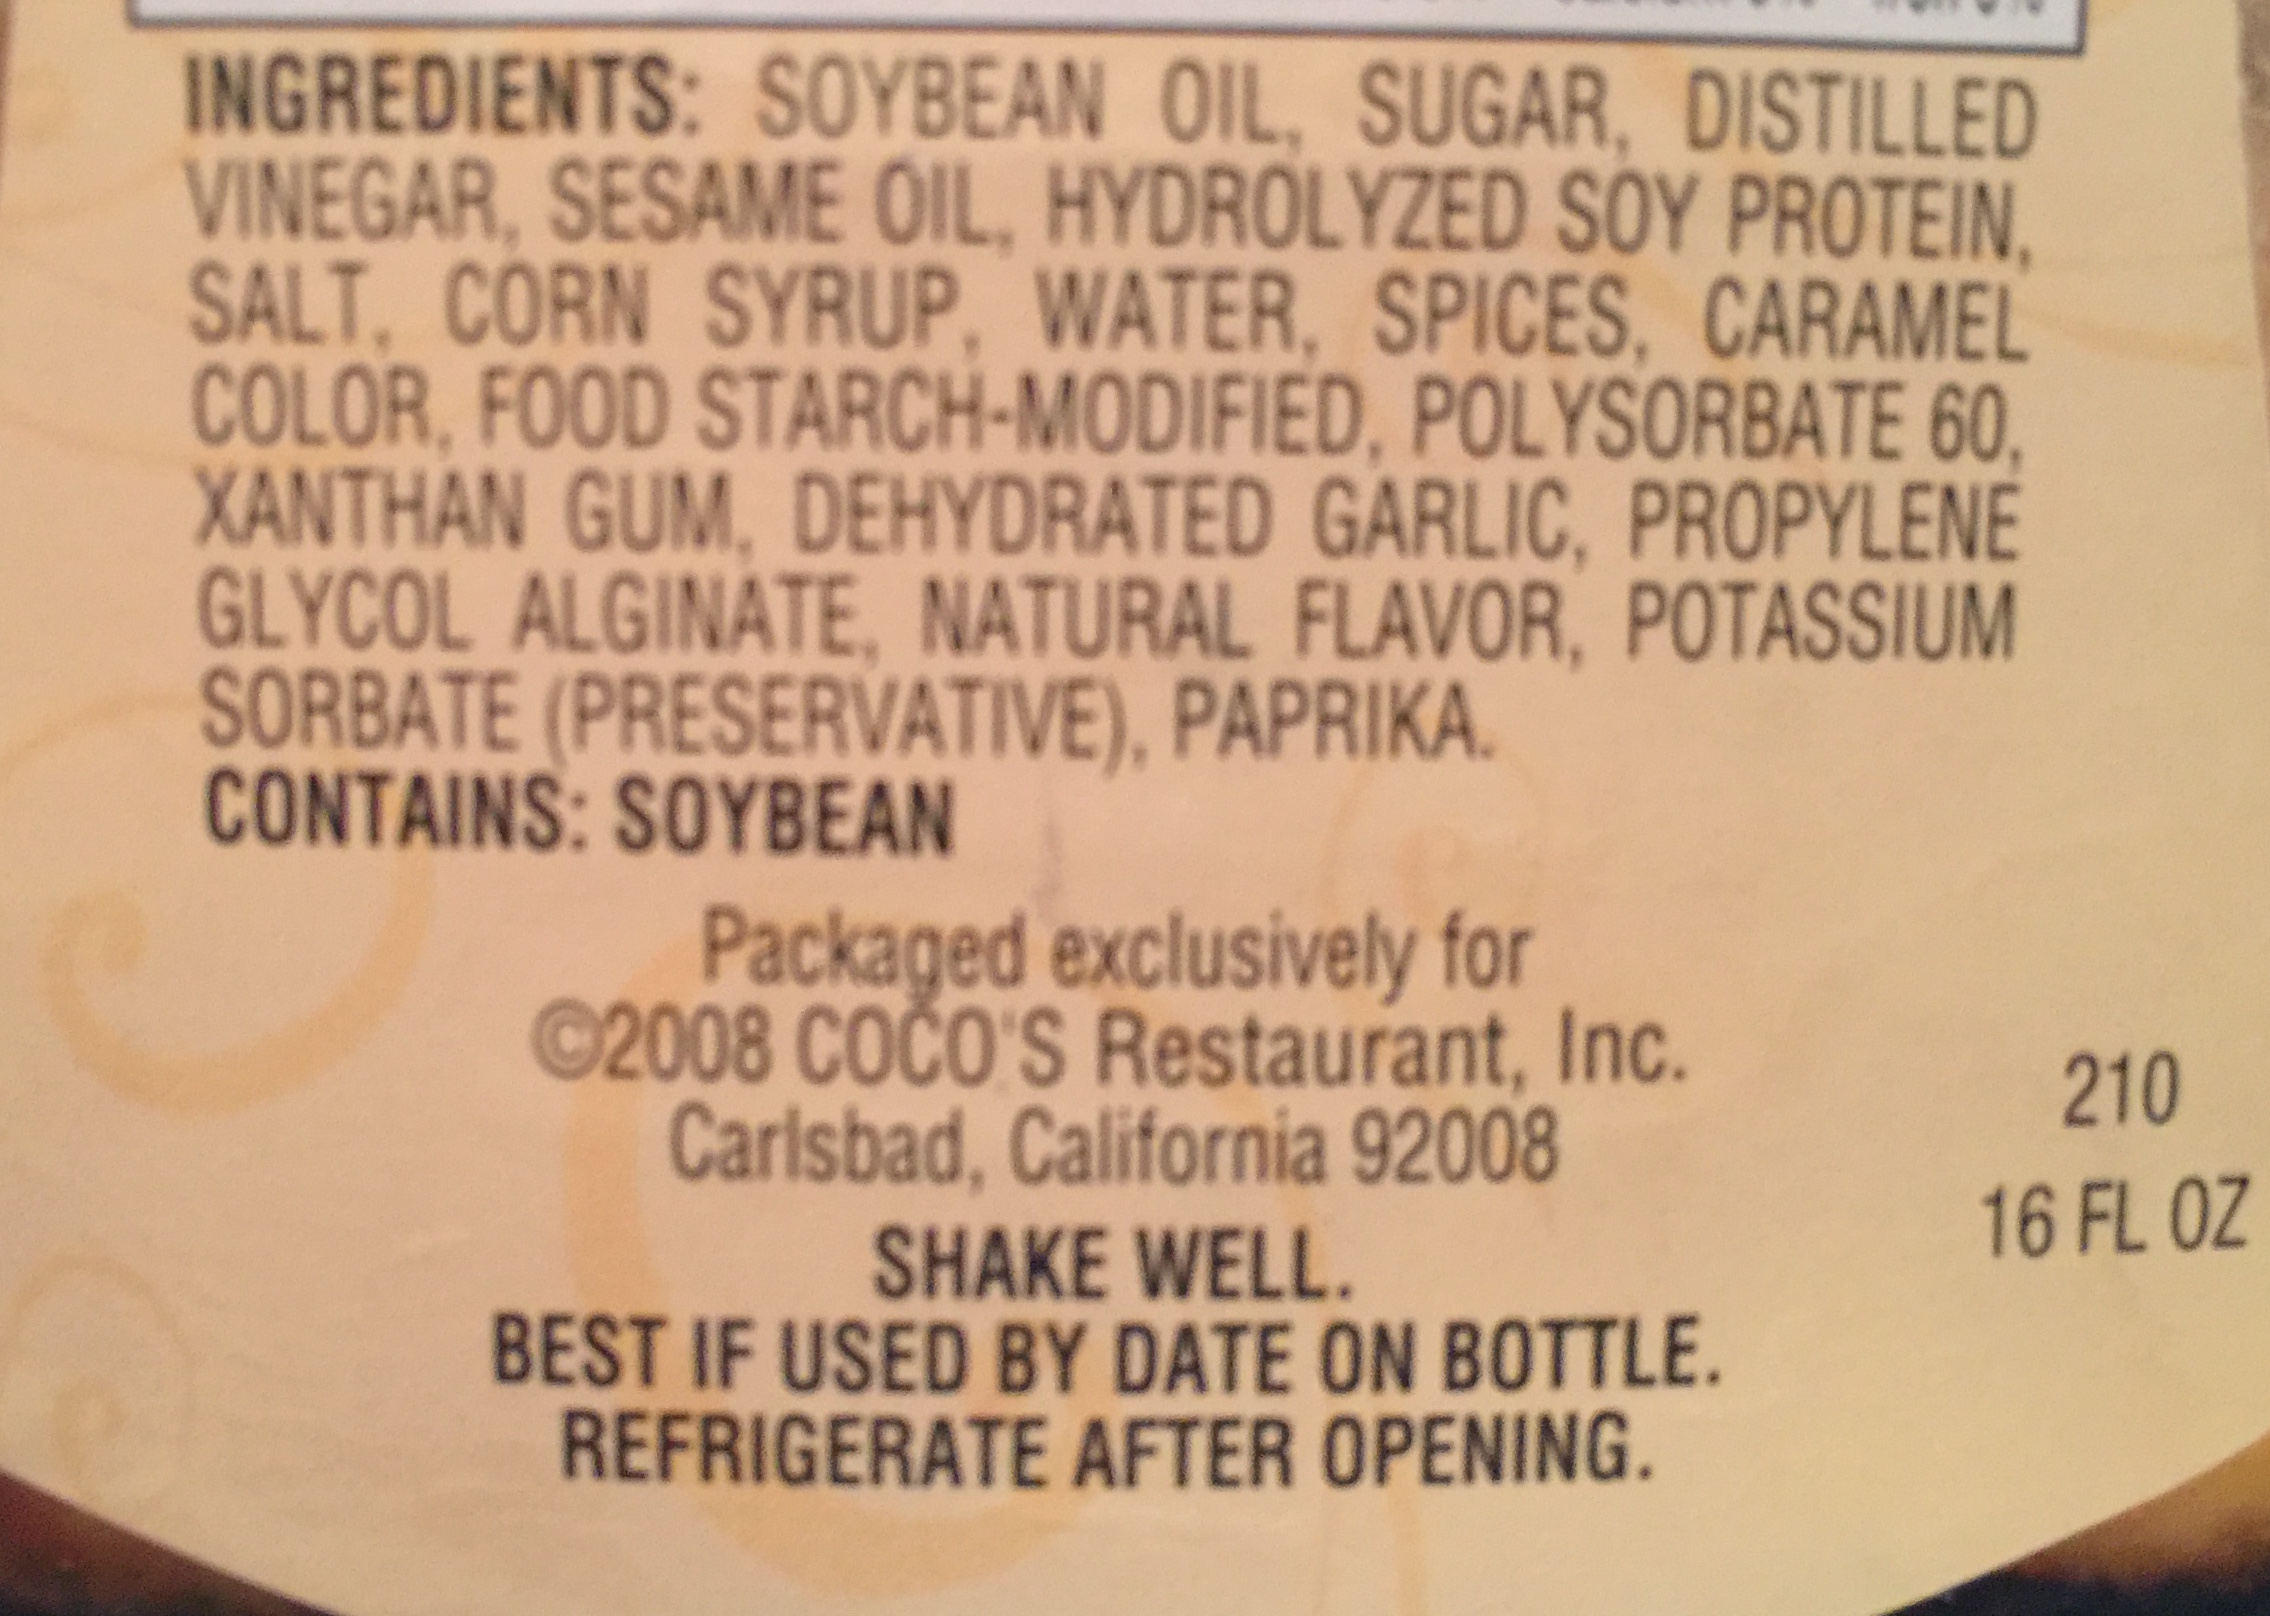
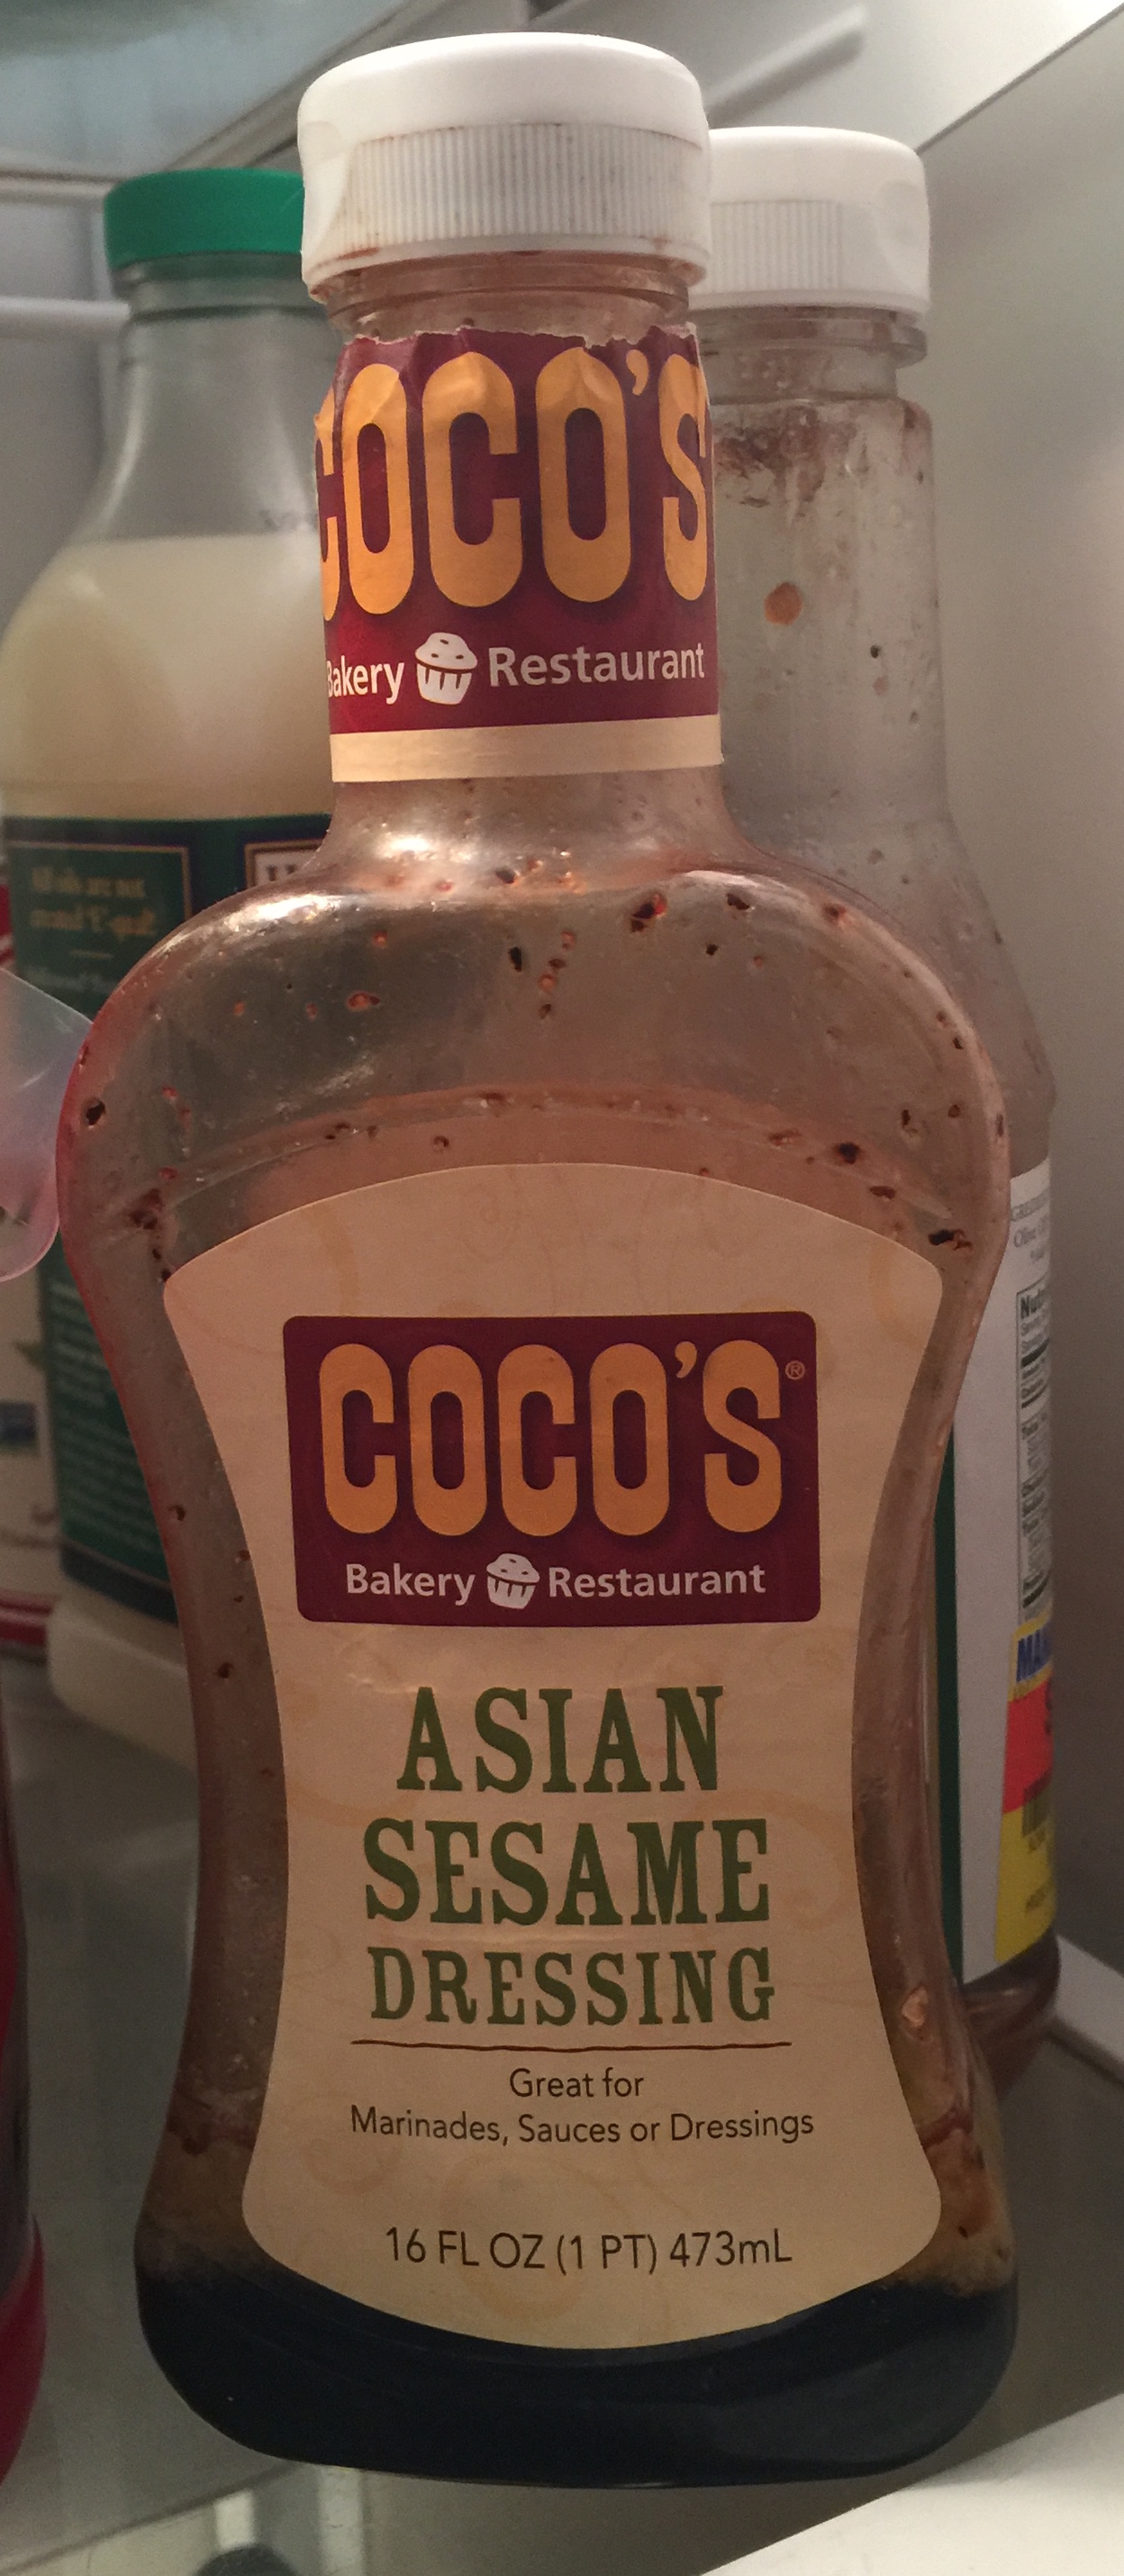
This is the label from Coco’s bottled Asian Sesame Dressing
* To emulsify an oil into a liquid requires constant whisking of the liquid as the oil is VERY SLOWLYdrizzled into the liquid.
So in the emails with Coco’s Corporate, I told them “there is no contender.”
I have, however, found a contender!
The Asian Chicken Salad here at Beatitudes has an incredible dressing. I was sure that it was made from scratch, so I had tried to re-create it.
CLICK HERE FOR MY COPY-CAT RECIPE.
It’s not too bad, but still fell short of the mark.
I finally asked them for the recipe, and they told me it was Ken’s Asian Dressing. Click here for a link. I think you will like it.
This is perfect when you want about a quart of salsa.
Just buy the ingredients, process, and you are done!
The video above is Grandpa showing you just how easy this recipe is.
INGREDIENTS: Shopping List:
2 Tomatoes
1 Green chili pepper
1 Jalapano pepper(optional)
1 Serano chili pepper (optional)
1 Sweet onion
1 Orange bellpPepper
1 Bunch cilantro
2 Green onions
3 Garlic cloves
1 tsp salt
STEP BY STEP
Remove skin from tomatoes (Optional) See below
Pulse onion and garlic until chopped – about 5 x
Add bell pepper pulse 3 x
Add jalapeno and serrano peppers pulse 3 x
Cut tomato into large pieces and ** process until blended but chunky
Cut all other ingredients into pieces and *** pulse until chunky (not too small though)
Add salt to taste
Pour into mixing bowl, mix and store in refrigerator
NOTES
To remove skin from tomatoes, bring pot of water to boiling. Put a small X on the top of the tomato. Put tomatoes in boiling water for about 60 seconds. Remove and put into cold water for another 60 seconds. The skin should easily peel off.
Process – means blender or food processor. If you have neither chop the heck out of it with a knife. Goodwill though, has blenders for just a couple of dollars.
Pulse – means run your processor in short bursts until the ingredients are “chopped” into small pieces.
Chili Tomato Sauce is good on sandwiches and pizza. On pasta, it can be a bit overwhelming, but if you are looking for that rush of endorphins; OK, yes… even pasta.
INGREDIENTS
1 large red bell pepper
1-3 fresh habañero peppers, depending on how hot you like it.
1 small onion
4 garlic cloves
1 cup water
1/3 cup of red wine vinegar
1 tablespoon paprika
1 teaspoon cumin
1 teaspoon salt
6 oz. tomato sauce
STEP BY STEP
Roughly chop the bell and habanero peppers, onion and garlic. Remove seeds.
Combine all of the ingredients except the tomato sauce in a pan, bring to a boil, and simmer, covered, for 8 minutes.
Puree the mixture in a blender. DO NOT put lid on blender, or it will literally explode. Use a paper towel over the top
Add the tomato sauce to complete.
If you don’t want any heat, just eliminate the habaneros, and you will have a good flavorful chili sauce.
Or if you prefer it just a little spicy, use jalapeños instead. Seeds removed.