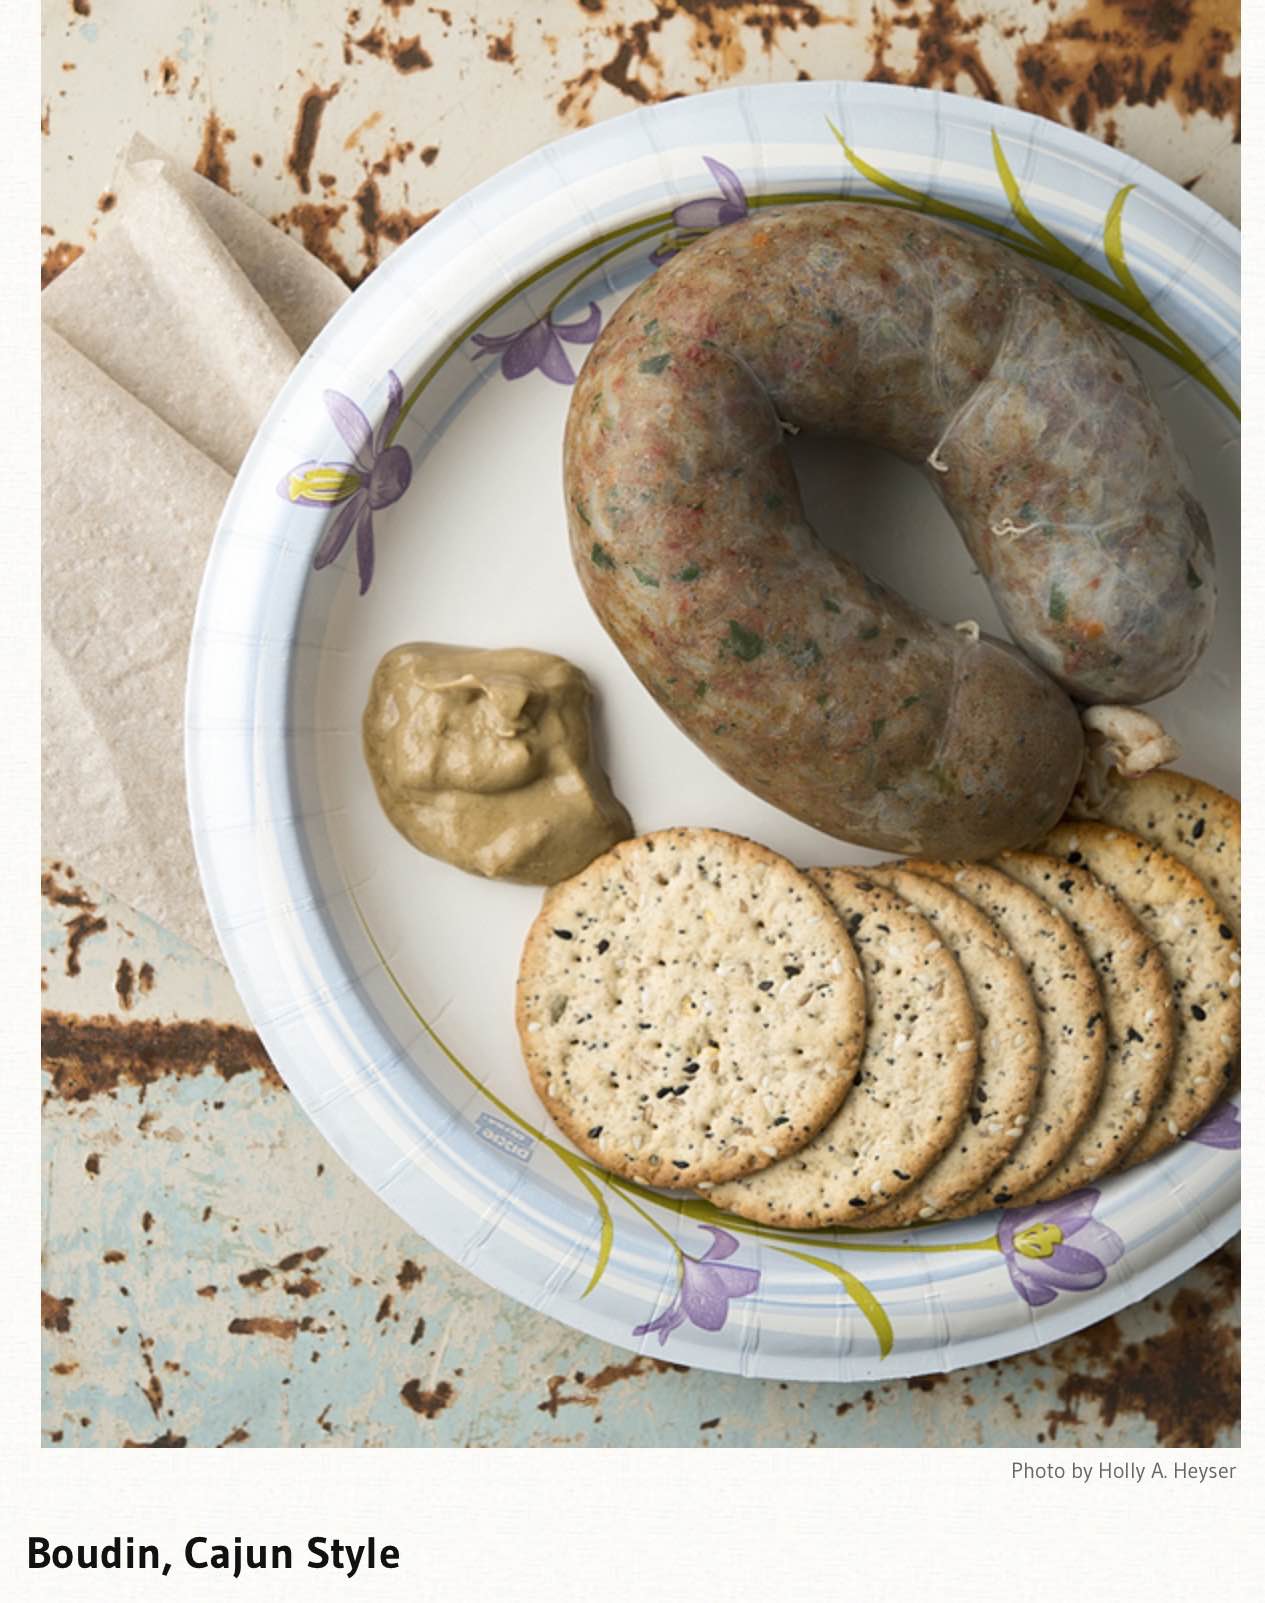
http://honest-food.net/2014/06/09/cajun-boudin-sausage-recipe/
Author: Robert Andrews
Potato Peel Pie
Drop potato peels into salted boiling water and cook for 10 minutes
Drain, pat dry, and make crust with potato peels – cut side up
Mix one large cooked beet ( mashed and strained ) with 2 cups mashed potatoes
Spread across bottom
Spread next layer with 2 cups mashed potatoes
Grate one carrot lightly over top
Sprinkle with grated cheese
Bake at 350° 60 minutes
Watermelon Salad
Toss together:
Watermelon pieces. Seedless (toss separately in lime juice)
Yellow tomato . Skinned and seeded
Red tomato . Skinned and seeded
Chervil or Parsley
Dill
Chives
Tarragon
Sea Salt
Pepper
EVOO
Reduced balsamic syrup drizzle on plate
Plate mixture
Top with spring greens
Drizzle with EVOO
Top with grated Parmesan cheese
Granita Parfait
- Cut watermelon into 1/2 inch perfect squares and set aside
- Put imperfect pieces into the blender
- Add 2 TBL honey and zest and juice from one lime into a blender
- Blend till smooth
- Dump into a Ziplock bag
- Pop into the freezer until it is frozen
- Pulverize right in the bag and put back into the freezer
- Take your cubes and sprinkle with coarse salt and sugar
- Sprinkle lightly with Tajin (a Mexican lime-spice)
- Mix whipped cream and lemon sorbet
- In little clear glasses layer first 1/8 with watermelon cubes
- Add 1/8 layer of lemon sorbet
- Add 1/8 whipped cream
- Top last 1/8 with the granita
- Add a few more watermelon cubes, sorbet and whipped cream
- Top with a single blueberry
Quick and Elegant Ice Cream
Quick: Caramel syrup
Elegant: Salted caramel
Paint on the bottom of dessert bowl
Quick: Crushed graham crackers or Vanilla Wafers
Elegant: Cocoa nib and carob
Sprinkle on bottom
Quick and Elegant: Cut the top and bottom off of an orange. Set it flat on a cutting board and shave the sides off. Cut into sections and place on top of the sprinkles.
Quick and Elegant: Put a scoop of high quality ice cream on the orange slices.
Quick and Elegant: merest sprinkle of crumbs over the top
The Humble Lemon
Amazing frozen lemons
All it is…..is a frozen lemon
Many professionals in restaurants and eateries are using or consuming
the entire lemon and nothing is wasted. How can you use the whole
lemon without waste?
Simple.. Place the washed lemon in the freezer section of your
refrigerator. Once the lemon is frozen, get your grater, and shred the
whole lemon (no need to peel it) and sprinkle it on top of your foods.
Sprinkle it to your vegetable salad, ice cream, soup, cereals,
noodles, spaghetti sauce, rice, sushi, fish dishes, whisky…. The
list is endless.
All of the foods will unexpectedly have a wonderful taste, something
that you may have never tasted before. Most likely, you only think of
lemon juice and vitamin C. Not anymore.
Now that you’ve learned this lemon secret, you can use lemon even in
instant cup noodles.
What’s the major advantage of using the whole lemon other than
preventing waste and adding new taste to your dishes?
Well, you see lemon peels contain as much as 5 to 10 times more
vitamins than the lemon juice itself. And yes, that’s what you’ve
been wasting.
But from now on, by following this simple procedure of freezing the
whole lemon, then grating it on top of your dishes, you can consume
all of those nutrients and get even healthier.
It’s also good that lemon peels are health rejuvenators in eradicating
toxic elements in the body.
So place your washed lemon in your freezer, and then grate it on your
meal every day. It is a key to make your foods tastier and you get to
live healthier and longer! That’s the lemon secret! Better late than
never, right? The surprising benefits of lemon!
Lemon (Citrus) is a miraculous product to kill cancer cells. It is
10,000 times stronger than chemotherapy.
Why do we not know about that? Because there are laboratories
interested in making a synthetic version that will bring them huge
profits.
You can now help a friend in need by letting him/her know that lemon
juice is beneficial in preventing the disease. Its taste is pleasant
and it does not produce the horrific effects of chemotherapy.
How many people will die while this closely guarded secret is kept, so
as not to jeopardize the beneficial multimillionaires large
corporations?
As you know, the lemon tree is known for its varieties of lemons and limes.
You can eat the fruit in different ways: you can eat the pulp, juice
press, prepare drinks, sorbets, pastries, etc… It is credited with
many virtues, but the most interesting is the effect it produces on
cysts and tumors.
This plant is a proven remedy against cancers of all types. Some say
it is very useful in all variants of cancer. It is considered also as
an anti microbial spectrum against bacterial infections and fungi,
effective against internal parasites and worms, it regulates blood
pressure which is too high and an antidepressant, combats stress and
nervous disorders.
The source of this information is fascinating: it comes from one of
the largest drug manufacturers in the world, says that after more than
20 laboratory tests since 1970, the extracts revealed that It destroys
the malignant cells in 12 cancers, including colon, breast, prostate,
lung and pancreas…
The compounds of this tree showed 10,000 times better than the product
Adriamycin, a drug normally used chemotherapeutic in the world,
slowing the growth of cancer cells.
And what is even more astonishing: this type of therapy with lemon
extract only destroys malignant cancer cells and it does not affect
healthy cells.
So, give those lemons a good wash, freeze them and grate them. Your
whole body will benefit from it!!!!!
<hr>
Robert’s Jalapeño Ketchup
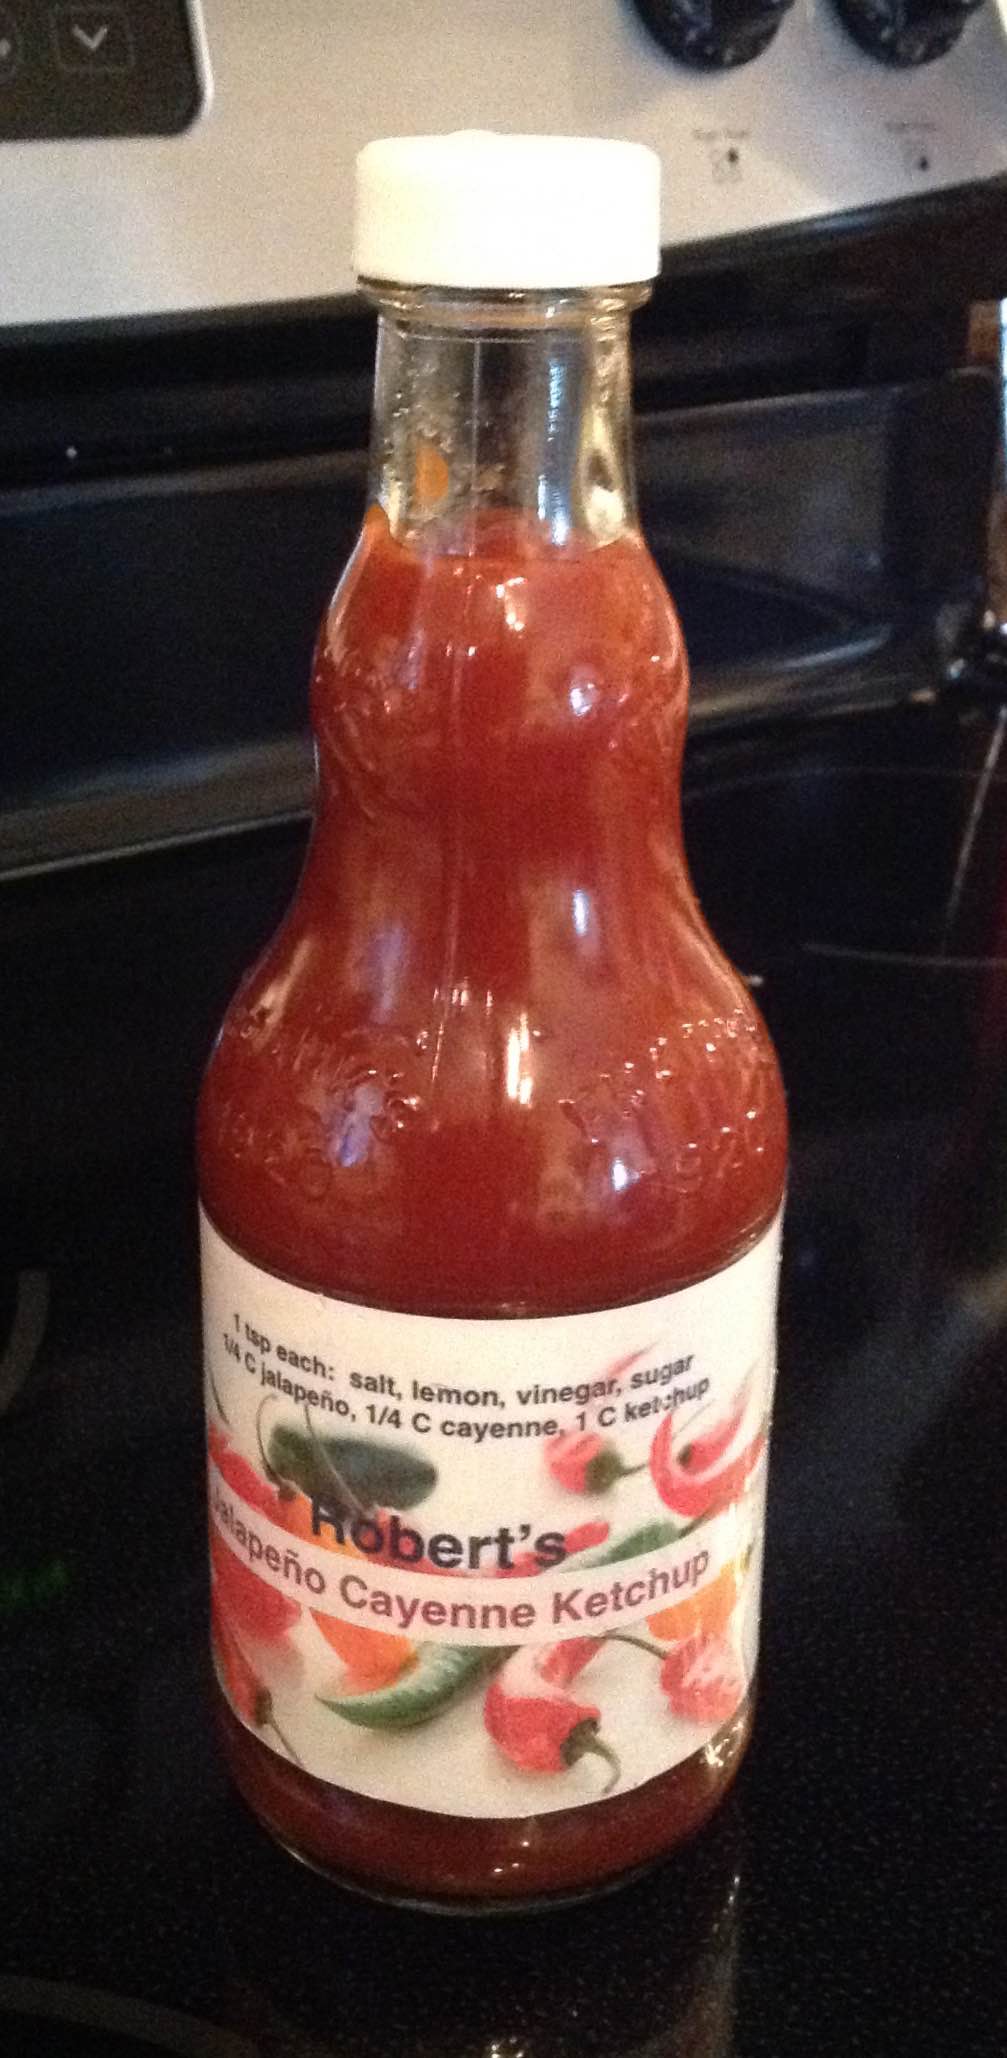 Before we begin…
- The Jalapeño Puree (aka Chili Sauce) takes about six months to age, so you might want to make several jars of the puree. This will can very well.
This condiment will last you a few months
1/4 cup Franks Red Hot Cayenne Pepper Sauce
1/4 cup of Grandpa’s Jalapeño Chili Sauce
1 cup Heinz Ketchup
Consider MAKING YOUR OWN KETCHUP
Step by Step
- Mix well and bottle it up
- Keeps for a couple of months in the fridge
Oh, one more thing…
-
If you want REALLY HOT puree, just cut the stem off and use the whole pepper, seeds and all, for your chili sauce. If you want good jalapeno flavor, but not quite as much heat, remove the seeds and veins from the pepper.
- Be sure you wear gloves cause if you rub your eyes afterward it will hurt… A LOT.
CLICK HERE for a free sample copies of Grandpa's Cookbooks. © 2016, 2017, 2018.
Huevos Rancheros
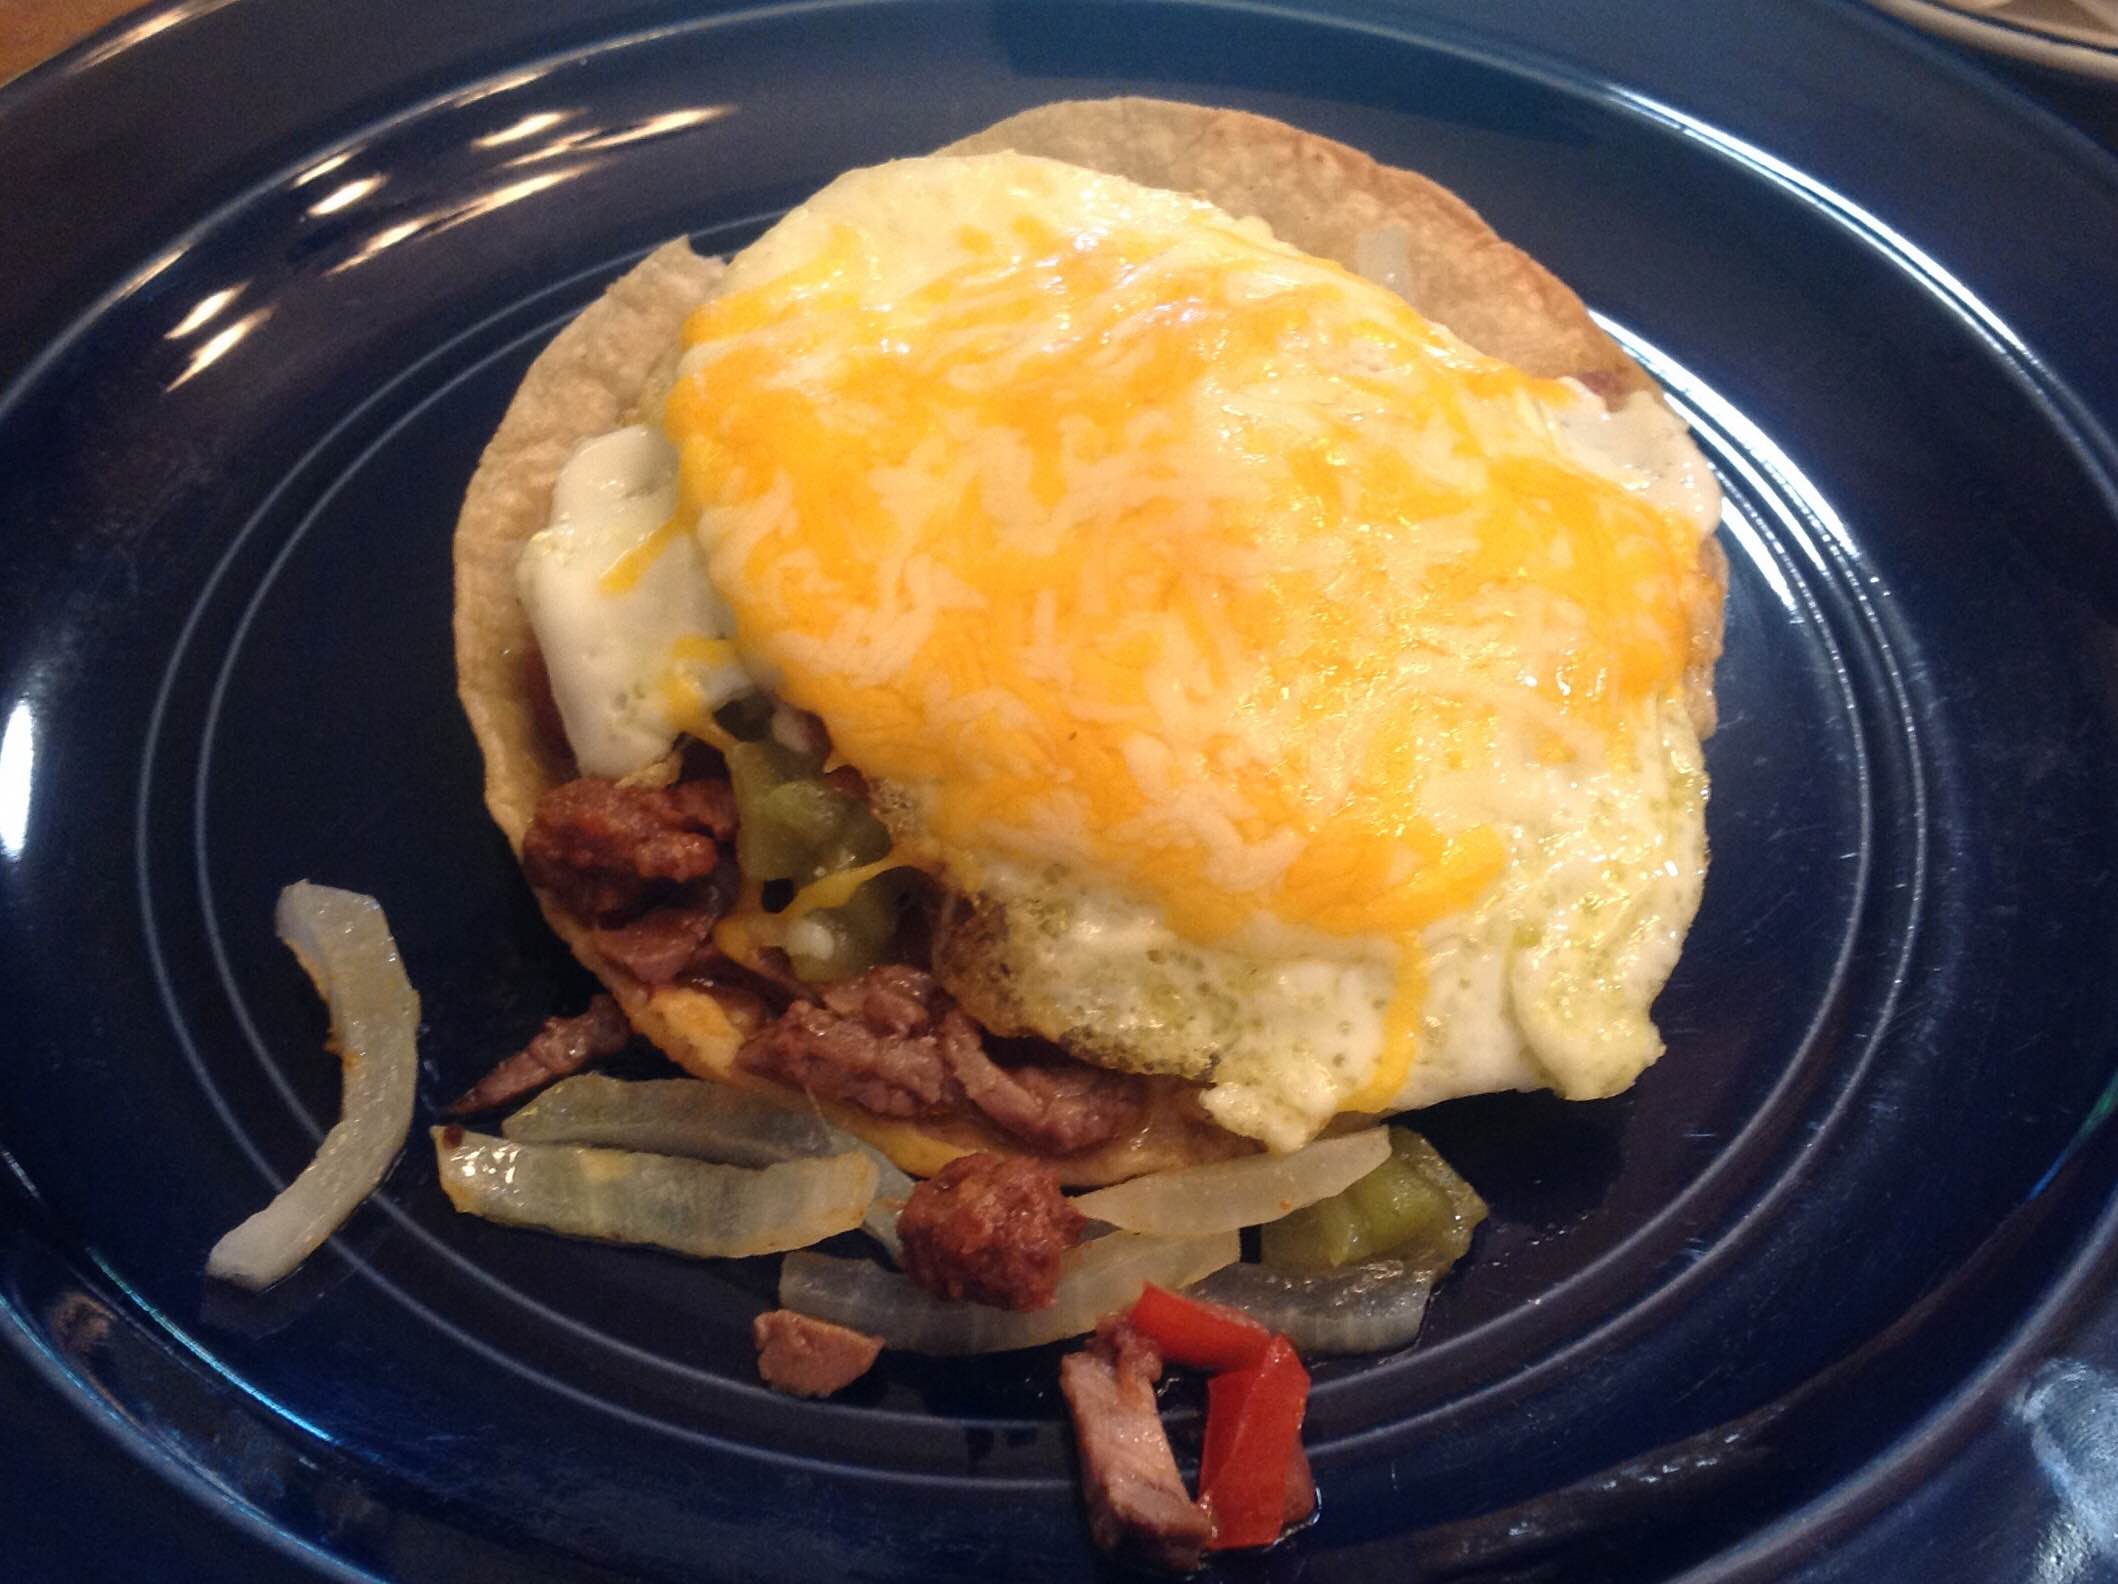
INGREDIENTS
- Corn tortillas
- Leftover chopped steak (julienne strips)
- Onion
- Chili
- Green chilies
- Salsa
- One egg per person
- Shredded cheese
STEP BY STEP
- Put a corn tortilla in a baking dish and cook at 350º it till it just starts to brown
- Slivered onion, drizzled with EV00, and then microwave (Separately) for 30 seconds – Set aside
- Top browned tortilla with – in order:
- Leftover chopped steak Julian strips
- Microwaved onion
- Leftover chili
- Leftover green chilies
- One spoon of salsa
- Top with a undercooked lightly fried (or poached) egg
- Top with cheese and put into oven until cheese melts
- Turn out of cooking dish on the plate before serving
Cauliflower Pizza Crust
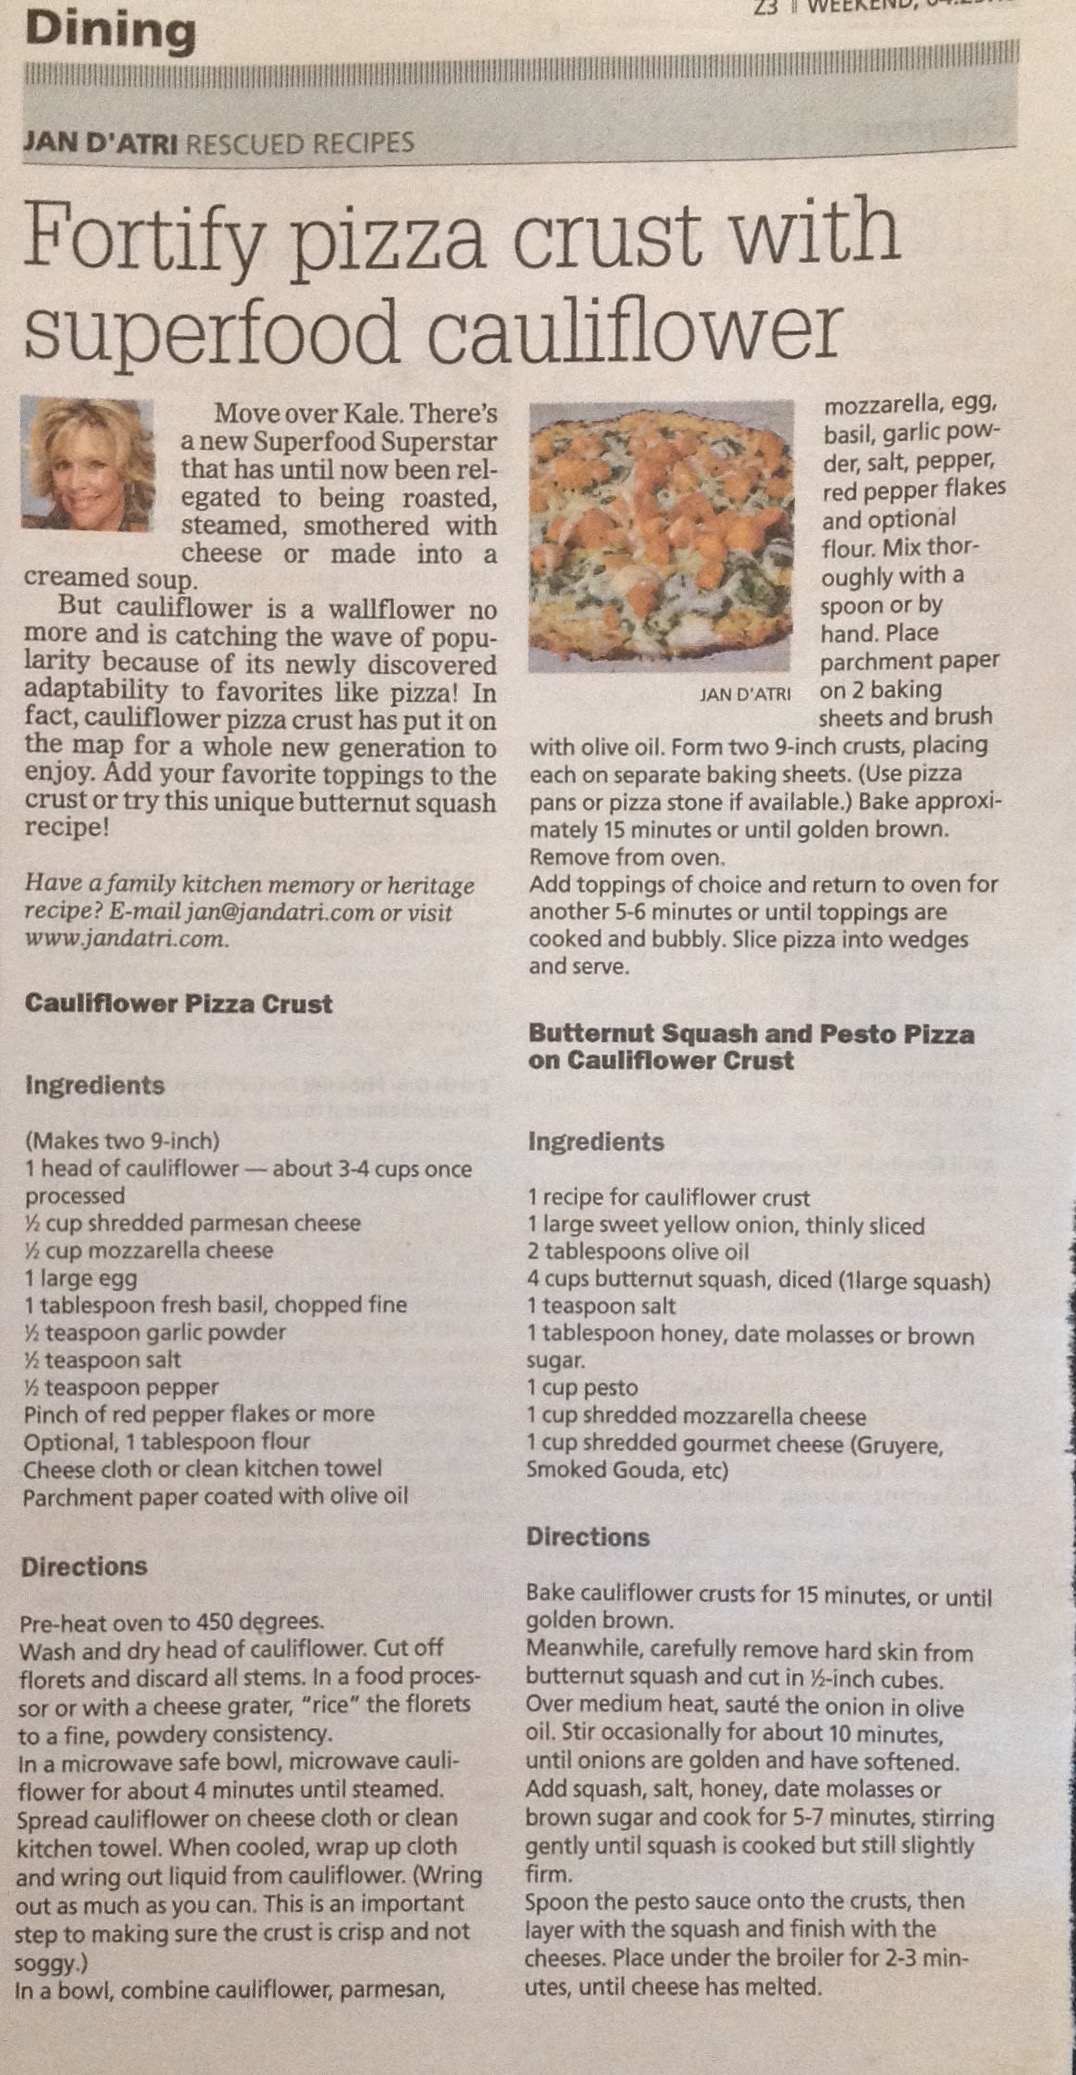
Cauliflower can be used to make a Super Food pizza crust, without sacrificing any of the flavor or texture.
Click the image to view a readable sized image of this recipe from Arizona Republic.
Pork Milonaise
Pork Milonaise
Alt: veal
Pound pork chop (or loin) flat and very thin
. Use butterflied, bone in if possible . Elefante
Season with salt and pepper
Dredging mixtures:
First: Flour
Then: Eggs
Finally: Bread crumbs, parmesan cheese, parsley
Hot well-oiled fry pan
Both sides, then the oven @ 375° for six minutes
Caramelized fresh onions pieces
A touch of balsamic in hot skillet
Add figs just to heat, not to cook
Put in arugula just to wilt
Put onto plated pork chop
Top with gorgonzola or bleu cheese
Drizzle with EVOO
Two Easy Dips
 Two Easy Dips
Suzanne Bissette
and Kyle Unfug
from AZ Family
Really though, all jokes aside, if you live in Arizona, be sure to watch this weekday morning show. Lots of good local information plus some of my favorite recipes from chefs from around the Valley. Sorry Suzanne and Kyle for the joke. I love you two!
Suzanne
- 4 Green scallions – chopped on the bias in small pieces
- 1 C Mayo (see Grandpa’s recipe) or Miracle Whip,
- 1 C Shredded cheddar cheese,
- 3 pieces Crumbled crisp bacon
Opt: jalapeños
Kyle
- 2 sticks Cream cheese smear on bottom of pan
- 1-2 cups pesto sauce
- Heat oven to broil till the merest bubble
- Serve with crackers or pita or French bread
Spinach Pies
These terrific little pastries, stuffed with spinach and two cheeses, are made throughout the town of Chaniá in Crete. Every cook has a version (some use onions; some don’t). Chef Evelina Makrinaki adds a splash of brandy to the dough, making it a little fluffy.
DOUGH
2 cups all-purpose flour, plus more for dusting
1 1/2 teaspoons kosher salt
1/2 cup water
2 tablespoons extra-virgin olive oil
FILLING
5 ounces curly spinach, stemmed and finely chopped
1/4 pound Greek feta cheese, finely crumbled
1/4 pound manouri or mild feta cheese, finely crumbled
1/2 small onion, finely grated
1/2 cup finely chopped parsley
1/2 cup finely chopped mint
1/2 cup finely chopped fennel fronds or dill
2 tablespoons extra-virgin olive oil
Salt
Pepper
1 large egg beaten with 1 teaspoon water
Sesame seeds, for sprinkling
- Make the dough In a bowl, whisk the 2 cups of flour with the salt.
- Make a well in the center and pour in the water and oil,
- using a wooden spoon to gradually incorporate them into the flour until a shaggy dough starts to form.
- Turn the dough out onto a lightly floured work surface and knead until a soft dough forms, about 2 minutes.
- Wrap the dough in plastic and let rest at room temperature for 30 minutes.
- Make the filling In a bowl, combine all of the ingredients except the egg wash and sesame seeds and mix well.
- Preheat the oven to 450°.
- On a lightly floured surface, roll out the dough to a 12-by-16-inch rectangle, a scant 1/4 inch thick.
- Cut the dough into twelve 4-inch squares.
- Spoon 2 tablespoons of the filling into the center of each square; bring up the 4 corners to meet in the center, then pinch together to seal.
- Arrange the pies on a parchment paper–lined baking sheet.
- Brush with the egg wash and sprinkle with sesame seeds.
- Bake the pies for about 30 minutes, until lightly browned and the filling is hot.
- Let cool for at least 5 minutes, then serve warm or at room temperature.
Make Ahead
The pies can be baked early in the day.
Suggested Pairing
Try this dish with a vibrant, orange peel-scented white from Crete.
Ohio Buckeyes
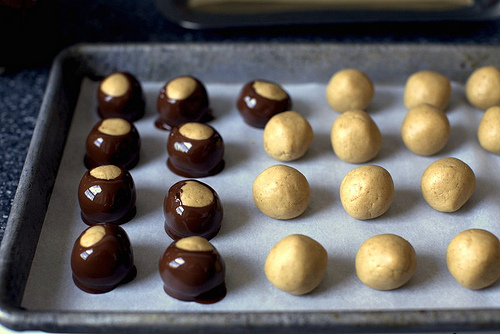 CHILL TIME – 1 Hr
This is such an easy desert recipe:
2 cups smooth peanut butter
1 cup (2 sticks) butter, softened
1 1/2 pounds confectioners’ sugar
1 (12-ounce) package semisweet chocolate chips
1/3 cake paraffin wax (see Note)
- In a large bowl, combine peanut butter and butter; mix until smooth.
- Gradually add confectioners’ sugar, stirring until thoroughly mixed.
- Form mixture into 1-inch balls, place on a waxed paper-lined rimmed baking sheet, and chill for 1 hour.
- In a double boiler over medium heat, or in a saucepan over low heat, melt chocolate chips and paraffin wax, stirring until smooth.
- Stick a toothpick in the center of each peanut butter ball and dip each three-quarters of the way into the chocolate mixture, coating all sides except the top quarter.
- Place on the prepared baking sheet and remove toothpick.
- Using your finger, fill in the hole left by the toothpick.
- After dipping all the peanut butter balls, cover, and chill, or freeze until ready to serve.
- Makes about 5 dozen treats.
Notes
Cake paraffin wax is commonly used in chocolate to assist in the process of melting and keep it solid at room temperature. You should be able to find paraffin wax at your grocery store in the aisle where canning supplies and jars are sold. You may also find it in the aisle where baking supplies are sold.
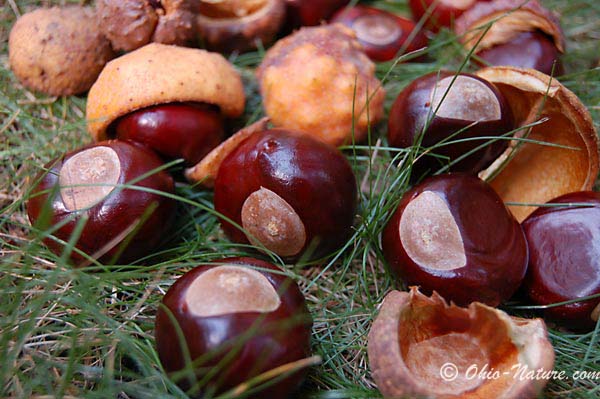
See photos of real buckeyes (left) and confectionery buckeyes (right).

Here is a recipe from Sam the Cooking Guy.
2 C creamy peanut butter
1 C salted butter
16 oz (box) powdered sugar
Blend all together and shape into small golf balls or large marbles… however you envision it.
Place on a small baking sheet and freeze for one hour, or refrigerate for 3-4 hours.
In a double boiler, melt
2 C Nestle chocolate morsals
2 TBL vegetable shortening
2 TBL paraffin wax (also sometimes called baker’s wax or canning wax)
After balls are cooled, use toothpicks to hold them while you dip them ALMOST all the way into the chocolate.
Refrigerate at least one hour before serving.
Six Layer Decadence
aka Sex in a Pan – from http://www.bakingglory.com/cakes/sex-in-a-pan/
Prep Time: 45 minutes
Prep Time: 45 minutes
Cook Time: 20 minutes
Yield: 10 servings
Ingredients
Crust (first layer)
- 1 cup pecans, chopped
- 3 tbsp white sugar
- ½ cup butter
- 1 cup flour
Cream cheese (second layer)
- 8oz (225g) package cream cheese
- 1 cup powdered sugar
- 1 cup whipped cream or cool whip
Vanilla pudding (third layer)
- 1 package of instant vanilla pudding (5.1 oz or 144 g)
- 2 cups milk
Chocolate Pudding (fourth layer)
- 1 package of instant chocolate pudding (5.1 oz or 144 g)
- 2 cups milk
Whipped Cream (fifth layer)
- 2 cups whipped cream or cool whip
Chocolate (sixth layer)
- shaved chocolate
Preparation Instructions
- Preheat oven to 350° F / 175° C.
- Oil/spray a 9×13 inch (23x34cm) baking dish.
- Mix chopped pecans or whatever you want to use, with some sugar, butter and flour then press it into your baking dish.
- Bake it for about 20 minutes, let it cool down completely before you add the second layer.
- Prepare your vanilla and chocolate puddings as per instructions on their packages.
- Mix cream cheese, powdered sugar and whipped cream until light and fluffy.
- Let them cool for a while then place it evenly over the crust.
- On with the next layers now, evenly spread vanilla pudding.
- Add the chocolate pudding layer as well.
- Fifth layer is whipped cream spread over entire surface.
- Shave a lot of dark chocolate on top of your cake and enjoy!
- I would refrigerate over night but two hours might just be enough.
Chiles Rellenos
RECIPE FROM AllRecipes.com is below.
Overview
Makes: 4 servings
- Roasted poblano chiles stuffed with loads of cheese, battered with an airy egg coating, and fried until crispy equate to the Mexican version of comfort food. Chiles rellenos fillings can range from ground or stewed meats to a medley of vegetables, but this recipe sticks to classic cheese. Our spicy roasted tomato salsa is the perfect foil to all of the fatty goodness here, but a Smooth Salsa Verde would also be tasty.
- Game plan: Separate the eggs while they’re still cold, which will make them easier to handle; then let them come to room temperature. And make sure there are no traces of yolk in the whites, or the whites will not whip properly.
- Coring and removing the seeds from the peppers is easier before roasting and keeps the peppers from tearing while stuffing in the cheese. Roasting over a gas flame keeps the peppers’ shape and texture intact during frying, but if you don’t have a gas stove, use the broiler in your oven (instructions below).
- This recipe was featured as part of our No-Fail Mexican Favorites for Cinco de Mayo. by Christine Gallary
Instructions
For the salsa:
- Heat the broiler to high and arrange a rack in the upper third of the oven.
- Place the tomato halves skin-side up on a baking sheet. Scatter the onion, garlic, and serrano around the tomatoes.
- Broil until the tomato skins start to blacken and blister, about 7 minutes.
- Transfer the vegetables to a blender, add the measured lime juice and salt, and blend into a smooth purée.
- Taste and season with additional salt and lime juice as needed.
- Transfer to a small saucepan and keep warm over low heat.
For the chiles rellenos:
-
- Lay 1 chile on a work surface so that it sits flat naturally without rolling.
- Using a paring knife, make two cuts forming a “T” by first slicing down the middle of the chile lengthwise from stem to tip, then making a second cut perpendicular to the first about a 1/2 inch from the stem, slicing only halfway through the chile (be careful not to cut off the stem end completely).
- Carefully open the flaps to expose the interior of the chile and, using the paring knife, carefully cut out and remove the core.
- Scrape the inside with a small spoon to remove the seeds, ribs, and any remaining core.
- Repeat with the remaining peppers.
- Turn 2 gas burners to medium-high heat.
- Place 1 chile directly on each burner and roast, turning occasionally with tongs, until blackened and blistered on all sides, about 5 to 7 minutes.
(Alternatively, heat the broiler to high and arrange a rack in the upper third of the oven. - Place all of the chiles directly on the rack.
- Broil, turning occasionally with tongs, until the chiles blacken and blister on all sides, about 8 to 10 minutes.
- The chiles will be softer using the broiler rather than a direct flame, so be careful not to tear them while stuffing.)
- Remove to a large heatproof bowl; repeat with the remaining 2 chiles.
- Cover the bowl tightly with plastic wrap or a baking sheet and let the chiles steam until cool enough to handle, about 15 minutes.
- Using a butter knife, scrape away and discard the chile skins, being careful not to tear the chiles; set the chiles aside.
- Heat the oven to 250°F and arrange a rack in the middle.
- Place a wire rack over a baking sheet and set aside.
- Season the inside and outside of the chiles with salt and pepper.
- Stuff each chile, being careful not to tear them, with a quarter of the cheese (about a heaping 2/3 cup) and close the flaps over the cheese; set the chiles aside.
- Whisk the egg yolks in a medium bowl until lightened in color and frothy, about 2 minutes; set aside.
- Place the egg whites and measured salt in the clean, dry bowl of a stand mixer fitted with a whisk attachment. Beat on high speed until stiff peaks form, about 1 1/2 minutes.
- Remove the bowl from the mixer, add the egg yolks, and fold with a rubber spatula until just combined (do not deflate the egg whites); set aside.
- Heat the oil in a large frying pan over medium-high heat until hot, about 4 minutes.
- Check to see if the oil is hot by submerging the handle of a wooden spoon or a wooden chopstick until it touches the bottom of the pan—the oil should bubble vigorously.
- Working with 1 chile at a time, drop 1/2 cup of the egg batter into the oil and use a rubber spatula to spread it to about the same size as the stuffed chile.
- Lay the chile seam-side down on top of the mound of batter.
- Drop another 1/2 cup of batter on top of the chile, spreading it with the rubber spatula to cover the sides and encase the chile.
- Cook without disturbing until the bottom of the chile relleno is golden brown, about 2 to 3 minutes.
- Using a flat spatula and a fork, carefully flip the chile relleno over and cook until the other side is golden brown, about 2 to 3 minutes. (If the sides of the chile are not brown, use a spatula or tongs to turn it onto each side to brown.)
- Transfer the chile relleno to the rack set over the baking sheet, season with salt, and place in the oven to keep warm.
- Repeat with the remaining stuffed chiles.
- To serve, spread 1/3 cup of the roasted tomato salsa on each plate and top with a chile relleno.
- Serve immediately, passing the remaining salsa on the side.
From All Recipes
Authentic Mexican Chile Rellenos
Authentic chile relleno recipe handed down for generations in my family.
Prep Time: 25 mins
Cook Time: 20 mins
Additional Time: 15 mins
Total Time: 1 hr
Servings: 6
How to Make Chile Rellenos
You’ll find the full, step-by-step recipe below — but here’s a brief overview of what you can expect when you make this chile relleno recipe:
- Broil the peppers until charred, then steam them in a covered bowl until cooled.
- Remove the skins, seeds, and cores. Rinse and pat dry.
- Stuff peppers with strips of cheese.
- Whisk egg yolks and baking powder, then beat the egg whites until stiff peaks form.
- Gently fold the beaten whites into the yolk mixture.
- Roll each pepper in flour, then dip them into the egg mixture.
- Fry in vegetable shortening until golden and crispy.
Ingredients
- 6 fresh Anaheim chile peppers
- 1 (8 ounce) package queso asadero (white Mexican cheese), cut into 3/4-inch thick strips
- 2 large eggs, separated
- 1 teaspoon baking powder
- ¾ cup all-purpose flour
- 1 cup vegetable shortening for frying
Directions
-
- Gather all ingredients.
- Preheat the oven broiler; set the oven rack about 6 inches below the heat source. Line a baking sheet with aluminum foil.
- Place peppers onto the prepared baking sheet and broil until skins are blackened and blistered, about 10 minutes. Use tongs to rotate peppers often to char all sides. Place blackened peppers into a bowl and tightly seal with plastic wrap. Allow peppers to steam as they cool, about 15 minutes.
- Remove skin from peppers, then cut a slit down the long side of each one to remove seeds and core.
- Rinse peppers inside and our and pat dry with paper towels. Stuff peppers with strips of cheese.
- Whisk egg yolks and baking powder in a bowl until combined.
- Beat egg whites with an electric mixer in a separate bowl until stiff peaks form.
- Gently fold beaten whites into the yolk mixture. Place flour into a separate shallow bowl.
- Melt vegetable shortening in a skillet over medium heat. Roll each stuffed pepper in flour, tap off excess flour, and dip into the egg mixture to coat both sides. Gently lay coated peppers into the hot shortening. Fry peppers until lightly golden brown and cheese has melted, about 5 minutes per side.
- Serve and enjoy!
More About This Recipe:
This restaurant-worthy chile relleno recipe is easy, cheesy, and full of Mexican flavor.
What Is a Chile Relleno?
Chile relleno is a Mexican dish that means “stuffed chile.” A chile pepper (such as a poblano or an Anaheim) is broiled, peeled, then stuffed with cheese and fried to golden and crispy perfection. Chile rellenos are served alone or topped with a tomato sauce.
What to Serve With Chile Rellenos
Explore the entire All Recipes collection of Mexican Side Dishes for delicious serving inspiration. Here are a few of the top-rated recipes you’ll find:
How to Store Chile Rellenos
Store leftover fried chile rellenos in an airtight container in the refrigerator for up to three days. Reheat on a baking sheet in the oven.
Can You Freeze Chile Rellenos?
You can freeze chile rellenos for up to two months. Thaw in the refrigerator overnight, then reheat in the oven.
Allrecipes Community Tips and Praise
- “Absolute best chile relleno recipe,” raves Cindy M. Thomason. “The rellenos came out nice and fluffy.”
- “This is my go-to recipe since the first time I made them,” says Vicki Page. “Delicious, easy, and authentic. I don’t change anything, usually. I may put some taco seasonings in the flour on occasion, and a spicy tomato sauce on top.”
- “Awesome,” according to Leslie Tau-Holzhausen. “I never made them before and they came out perfect. I used poblanos because that’s what I had on hand. I charred them over an open flame on the stove and followed the rest of the recipe as indicated. This is a no-fail recipe.”
Editorial contributions by Corey Williams
Copycat Recipes
There are a lot of copycat sites out there (this one included) but here is one of my favorites:
http://www.allfreecopycatrecipes.com
Ultimate Chopper – Ultimate Recipe Book
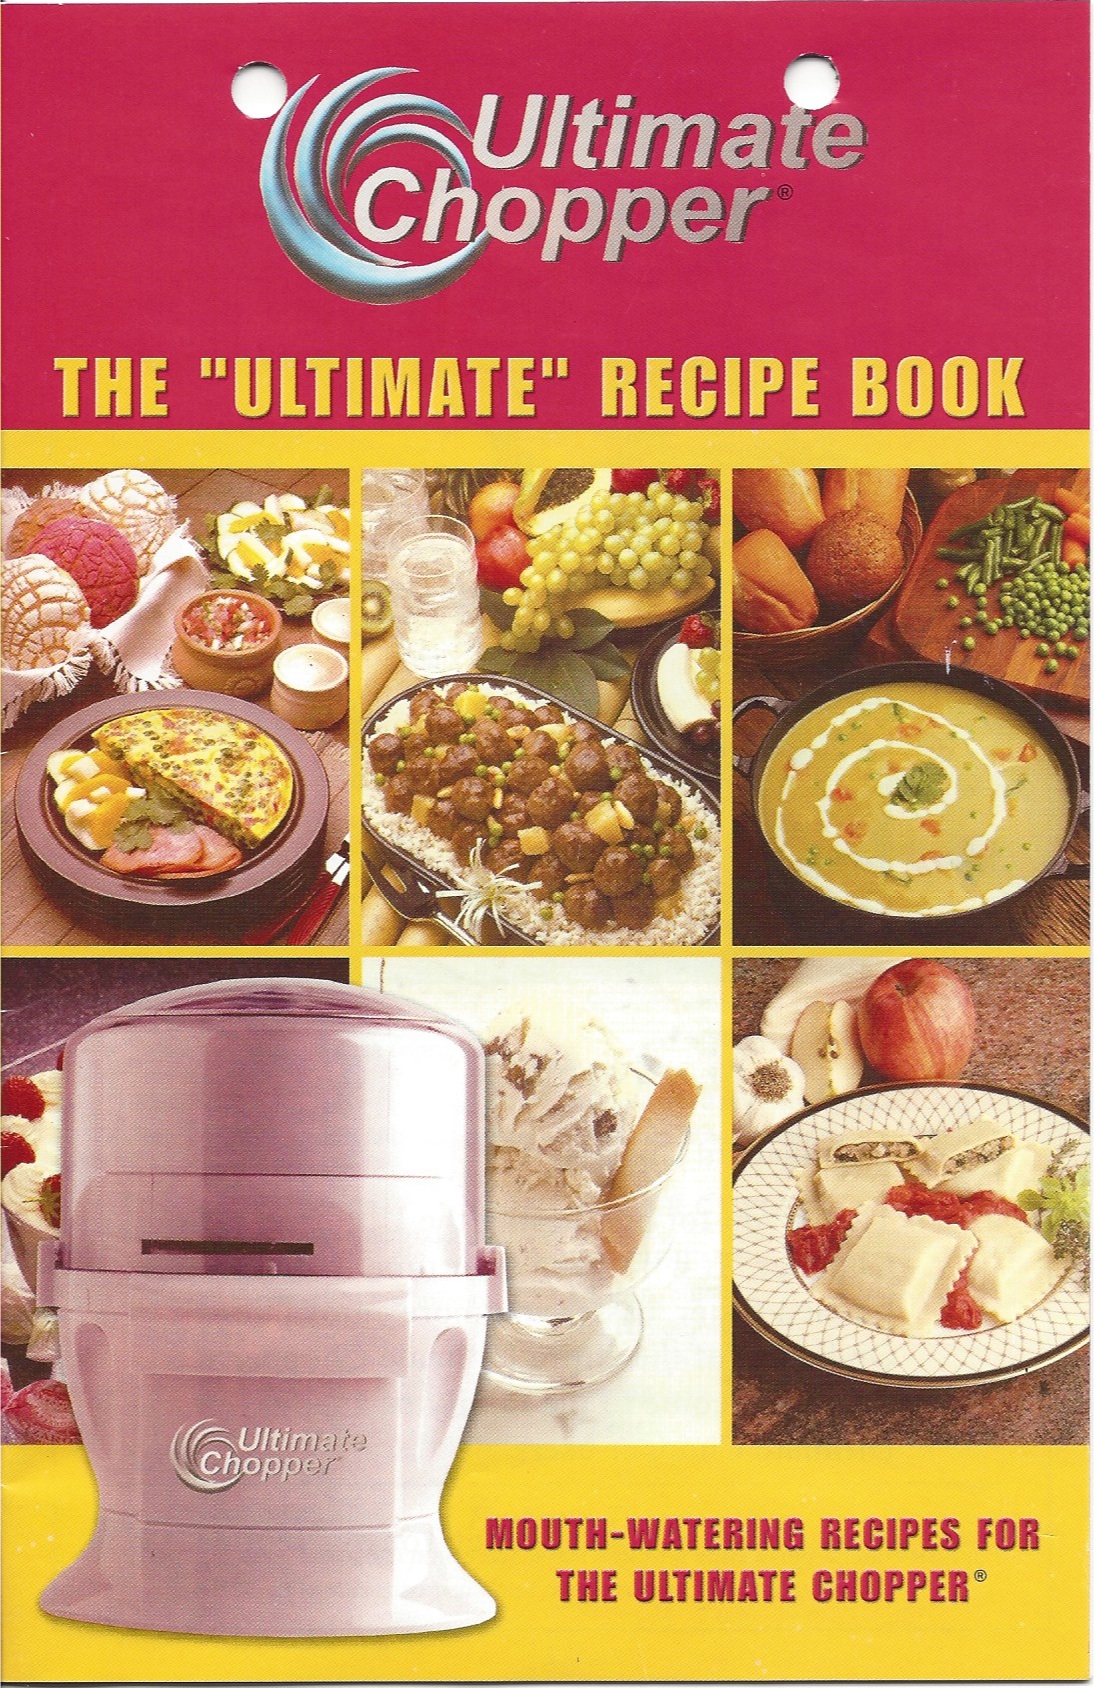
Yep, I was sipping the cooking sherry one night, and this InfoMercial came up. It looked GREAT. But wait, there’s more. I received not one, but TWO of this marvelous miniature kitchen food processor/chopper. Too good to be true? No. I’ve worn the first one out, and I am still happy while wearing the second one out. GET IT HERE directly from the manufacturer, or order it from Amazon Either way, it is about $60.
| Page 1 | Page 2 | Page 3 | Page 4 | Page 5 |
| Page 6 | Page 7 | Page 8 | Page 9 | Page 10 |
| Page 11 | Page 12 | Page 13 | Page 14 | Page 15 |


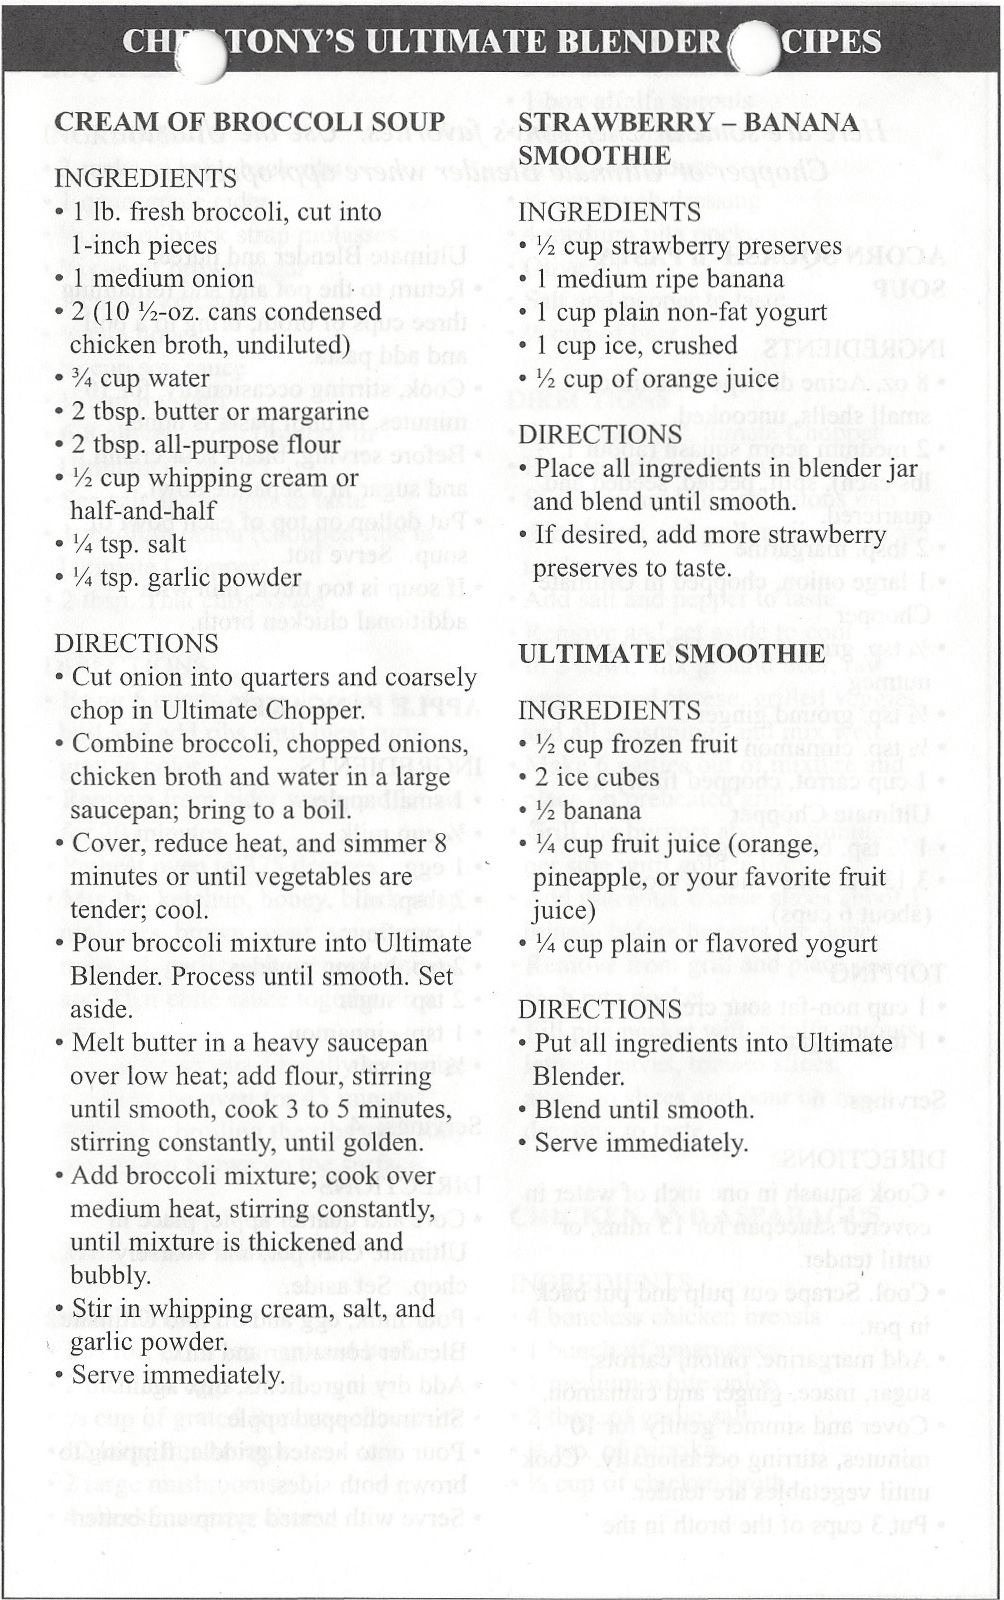


The recipe book IS NOT laid out very well. Many recipes finish on the NEXT page, so be sure to keep that in mind. Also, the blender is powerful, and liquids tend to sneak out the top, so I prefer usually to use it for chopping dry ingredients like cheese, nuts, etc.
| Page 1 Baba Ghannouj Hamburger/Cheeseburger Chicken Salad Chocolate Mousse Denver Omelet Page 2 Page 3 Page 4 Page 5 Page 6 Page 7 |
Page 8 Acorn Squash Soup Apple Pancakes Page 9 Page 10 Page 11 Page 12 Page 13 Page 14 Page 15 |
QT: Quick Taco – Table of Contents
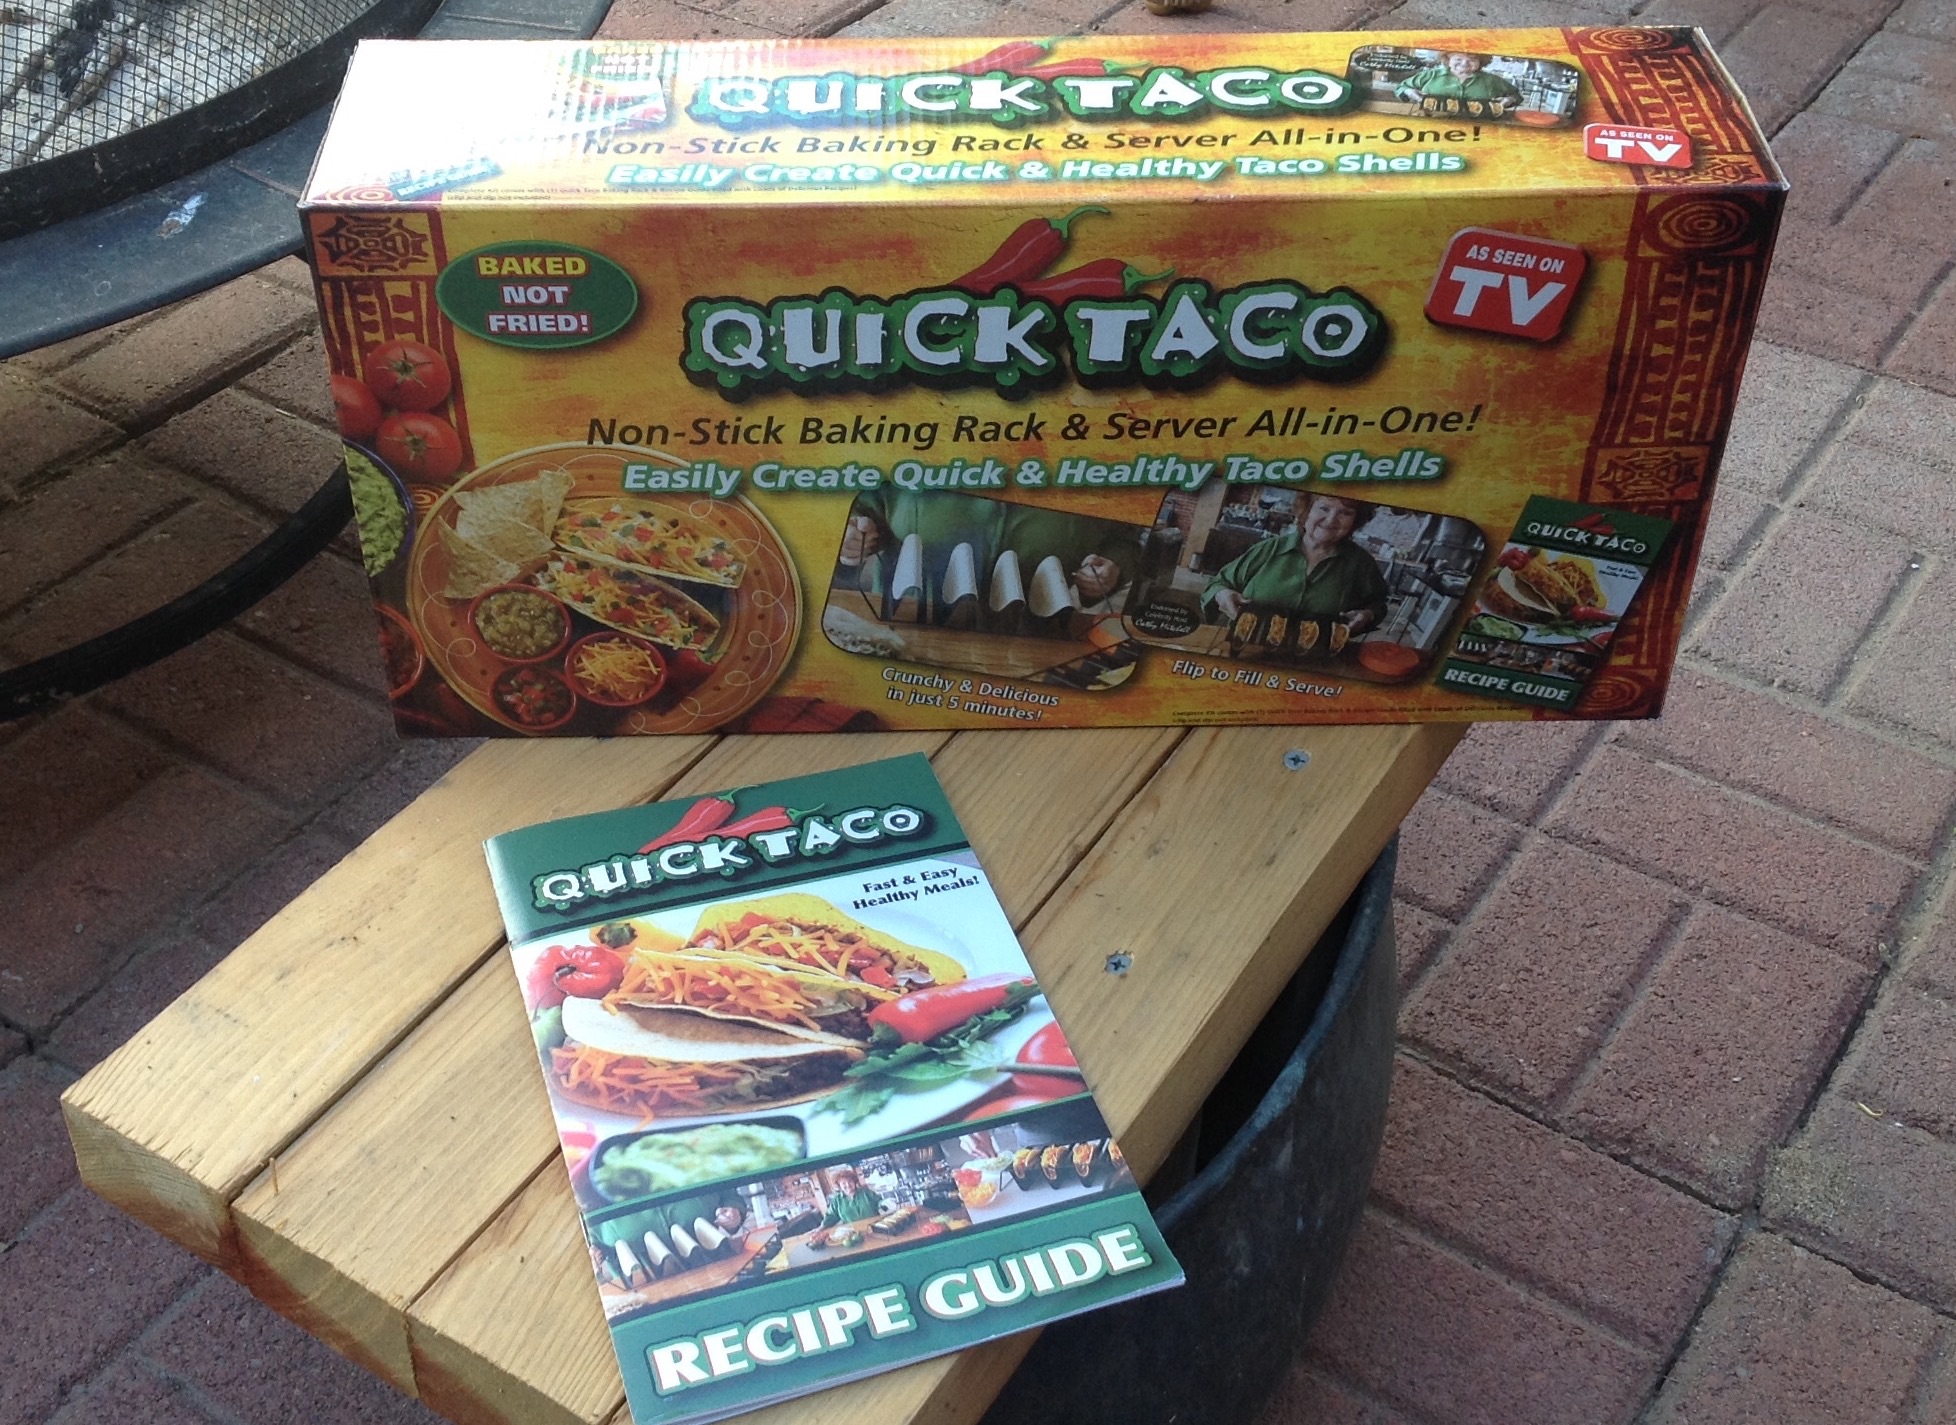
Quick Taco Instructions – To buy your own CLICK HERE.
As seen on tv. Available from …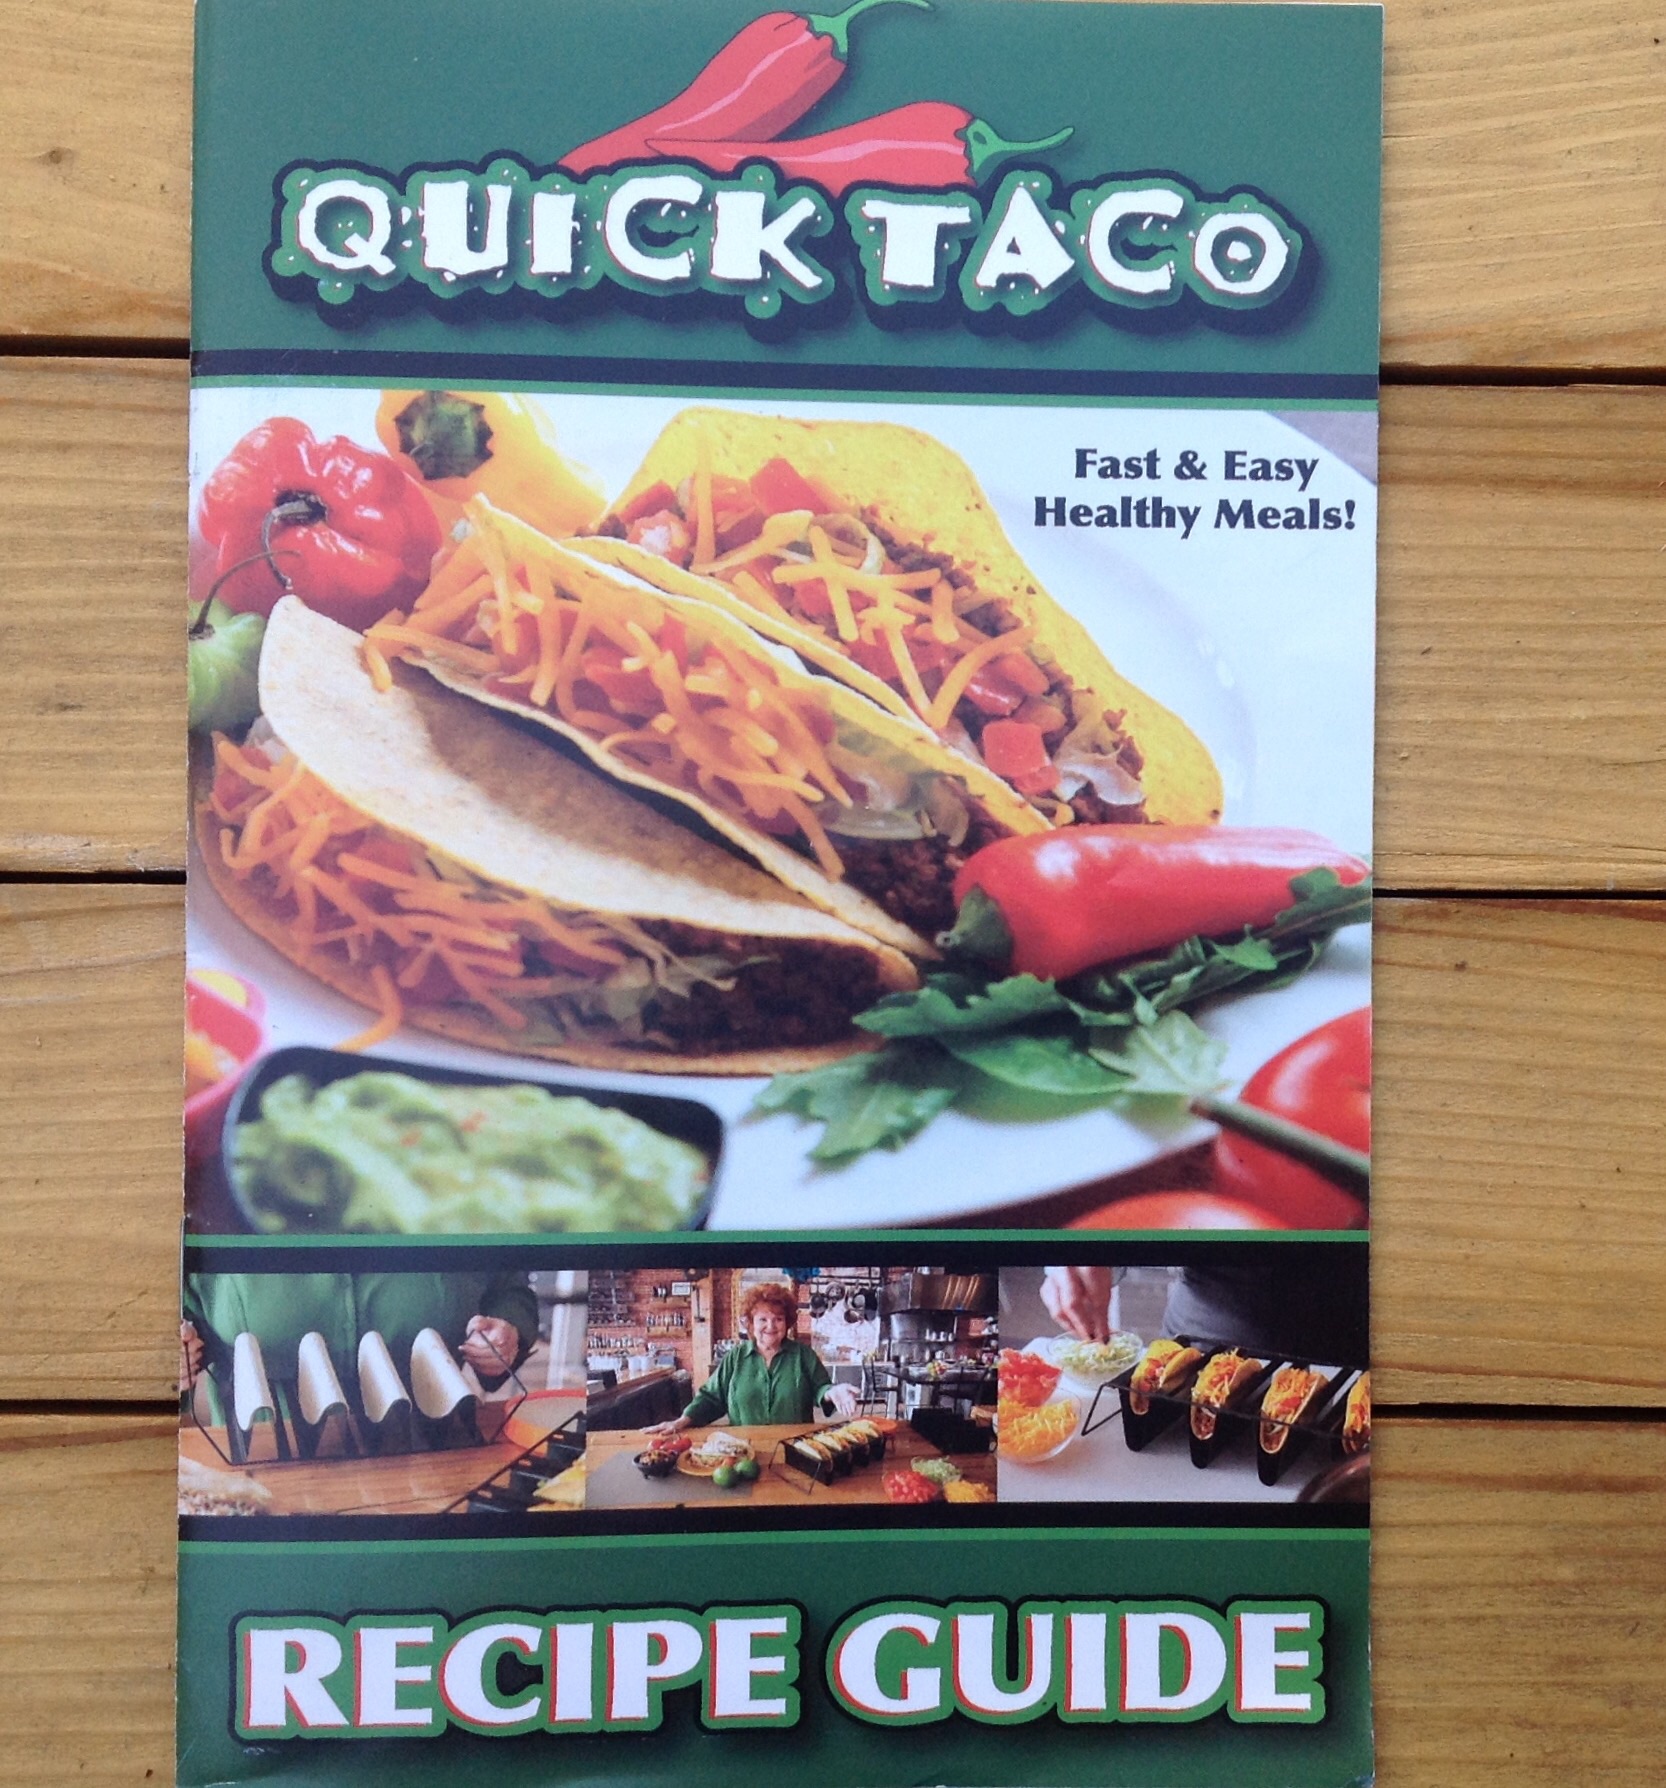
Please use the list below to find recipes within the Quick Taco Recipe Guide
Seasonings and Sauces
Taco Seasoning
Fajita Seasoning
Simple Fresh Salsa
Guacamole
Tomatillo Sauce
Salsa Verde
Cilantro Crema

Meal Recipes
Ground Beef Tacos – BASIC
Carne Asada Tacos
Pork Carnitas
Chicken Tomatillo
Shredded Chicken
Shrimp Tomatillo
Nacho Tacos
Double Decker Tacos
Chicken Fajitas
Beef Fajitas
Fish Tacos
Turn the baking rack upside down for a serving stand.
Alternatives and Out of the Box Ideas
Using Canned Biscuits
Breakfast Pockets
Using Crescent Rolls
Not so Sloppy Joes
Cheese-Steak Sandwiches
Double Meat Pizzas
Dessert Creations
Basic Instructions
Banana Split
Tropical Taco Delight
Chocolate Delight
Strawberry Shortcake
Grandpa’s Healthy Happy Pancakes
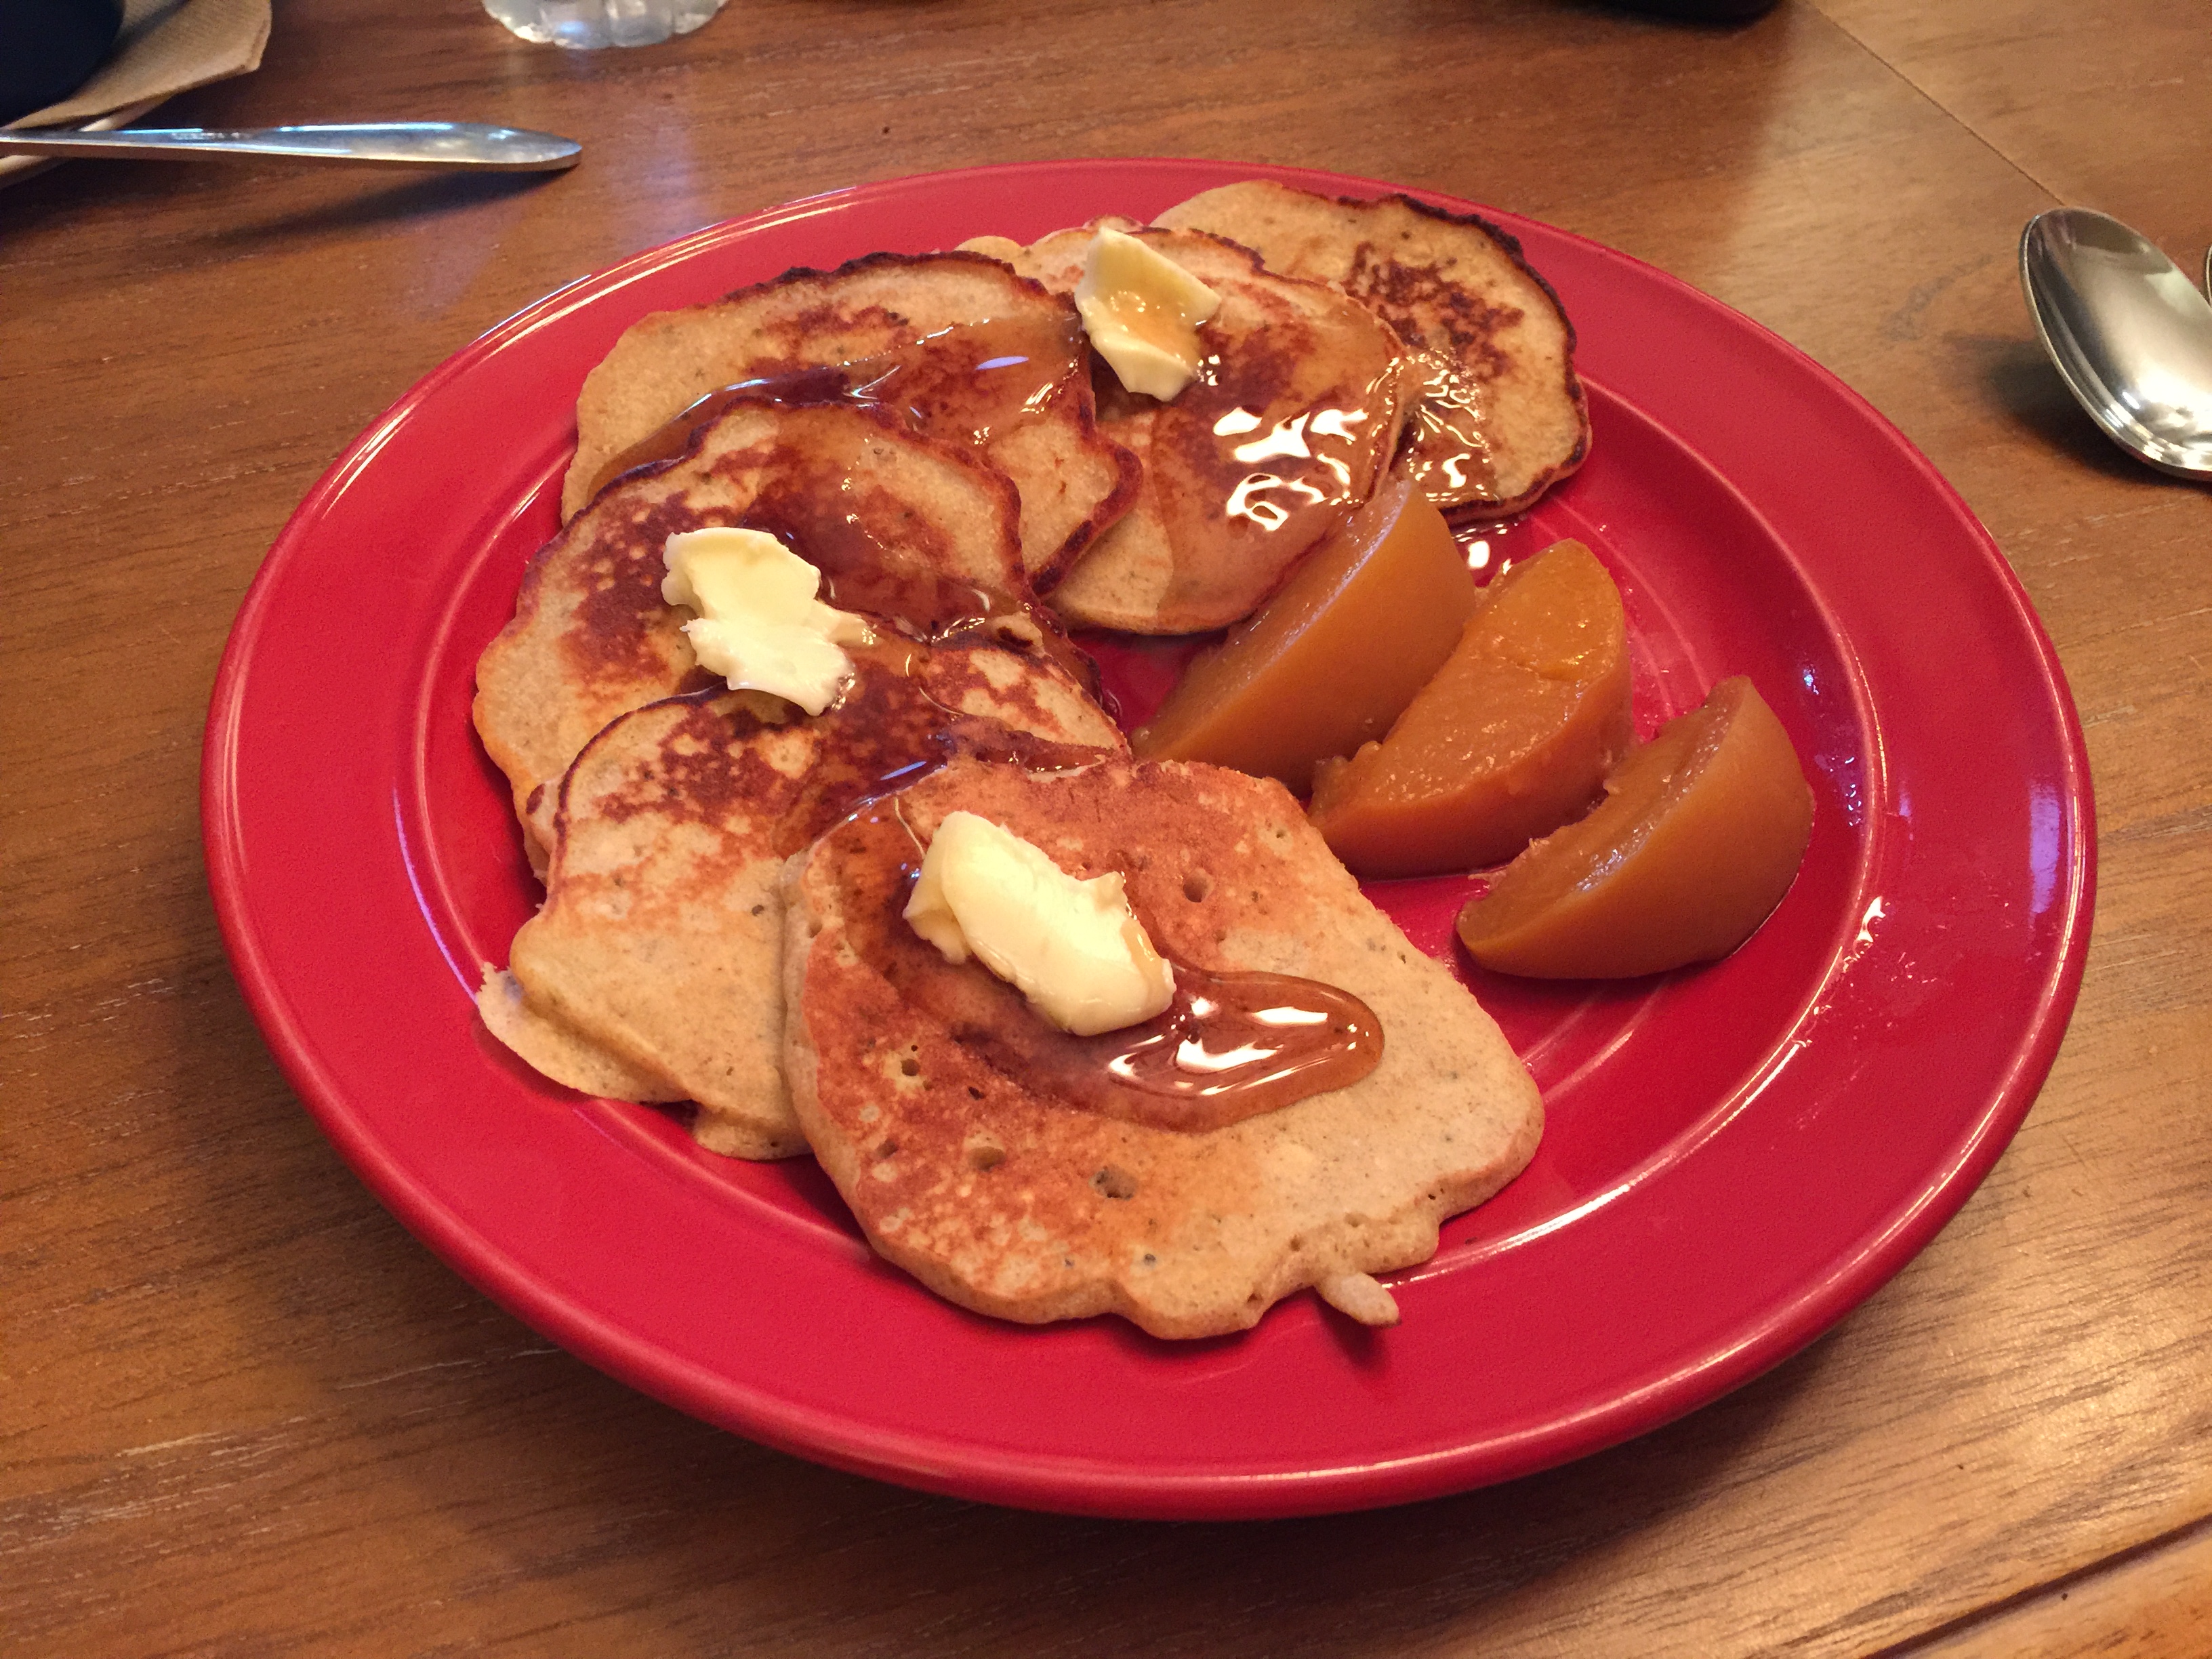 To make pancakes for two people
1 TBL sugar
1 egg (beaten)
scant salt
2 TBL Melted butter (cooled)
1/2 C buttermilk
1 CU Pre-Mix – GET MY RECIPE HERE
About 1-2 TBL Canola oil for step 5
Canola oil (for pan)
If you like puffier pancakes, add an additional 1/4 C of pancake pre-mix before step 6
1. Preheat your skillet to between 350 and 400º degrees
2. Mix egg, sugar, salt and (cooled) melted butter
3. Beat to uniform consistency
4. Drizzle in buttermilk, and mix
5. Drizzle in oil
6. Add liquid mixture to Pre-Mix all at once
7. Stir only to moisten MOST particles. It doesn’t have to be completely moistened
– DO NOT OVER-MIX. – Over-mixing will result in tough pancakes
8. Let batter stand for two minutes to “rest”
9. Drizzle oil into pan
10. Add uniform amounts of batter to the pan
11. Cook until bubbles appear and edges start to cook
12. Flip to cook other side
13. Repeat
Just for fun, when you serve, you can use a biscuit cutter to cut out a circle, then flip it over and put it back into the pancake. It just looks cool. It doesn’t do anything to the taste.
New York Cheesecake
Per Philadelphia Cream Cheese
This one is the real deal.

Six Bean Salad
Robert’s Six Bean Salad
We would usually call this Three Bean Salad, but this recipe has a few extra ingredients.
INGREDIENTS
- 1 can Black beans, drained
- 1 can (short cut) green beans, drained
- 1 can Kidney beans, drained
- 1 can Pinto beans, drained
- 1 can white beans, drained
- 1 can Garbanzo beans, drained
- 1/4 red onion, sliced as thinly as possible
- 1 red bell pepper, sliced thin
- 3 cloves of garlic, minced small
- 1 packet of crushed red pepper
- Juice and zest from one lemon
- 1 tsp dried paprika
- 1 TBL Dijon mustard
- 1 tsp dried cumin
- 1 bunch of cilantro, minced
- 2 tsp fresh oregano, minced
- 2 TBL chives
- NO SALT – because you did not rinse the beans
If you rinsed the beans, add 1/2 tsp salt - 1/2 tsp black pepper
- 1/2 C EVOO
- 2 TBL Karo Syrup
- 1/4 C fresh lime juice
- 1/4 C Red wine vinegar
- White vinegar to top after all else combined
STEP BY STEP
- In a large bowl mix first fourteen ingredients (1-14)
- Whisk all remaining ingredients (15-24 ) together
- Combine GENTLY with the first bowl
- Transfer to a large canning jar
- If necessary, top off jar with white vinegar
- Best if allowed to meld in the refrigerator for one hour before serving
- Will keep up to 2 weeks
Dan’s Three Bean Salad
INGREDIENTS
- 1 LB fresh green beans (ends trimmed)
- 1 TBL salt (for the water)
- 3 scallions – greens and whites – cut into 1/2 inch pieces
- 1 TBL olive oil
- 2 cloves garlic – minced
- 1 tsp orange zest – plus juice
- 1 tsp lime zest – plus juice
- 1 TBL white wine vinegar
- 2 tsp sesame oil
- 15 oz canned chickpeas (garbanzo beans) – rinsed
- 15 oz canned cannelloni beans – rinsed
- 15 oz canned kidney beans – rinsed
- 1 TBL toasted sesame seeds
- 1/2 tsp sea salt
STEP BY STEP
- Bring large pot of water to a boil
- Add 1 TBL salt – do not add until boiling
- Add trimmed green beans and blanche for 3-4 minutes
if you like beans crisp cook 3 minutes, cook 4 if you like soft - Drain and put into cold water – let rest 5-10 minutes
- Drain again, and place on a towel to continue draining
- Meanwhile, heat oil in a large skillet to shimmering
- Add garlic and cook 30 seconds, then add garbanzo beans
- Cook 3-4 minutes
- Add citrus juices and stir 1 minute
- Remove from heat and add vinegar, sesame oil, sesame seeds and citrus zests
- In a large bowl, gently stir together green beans, cannelloni beans, kidney beans and scallions
- Toss with vinegar mixture and 1/2 tsp salt