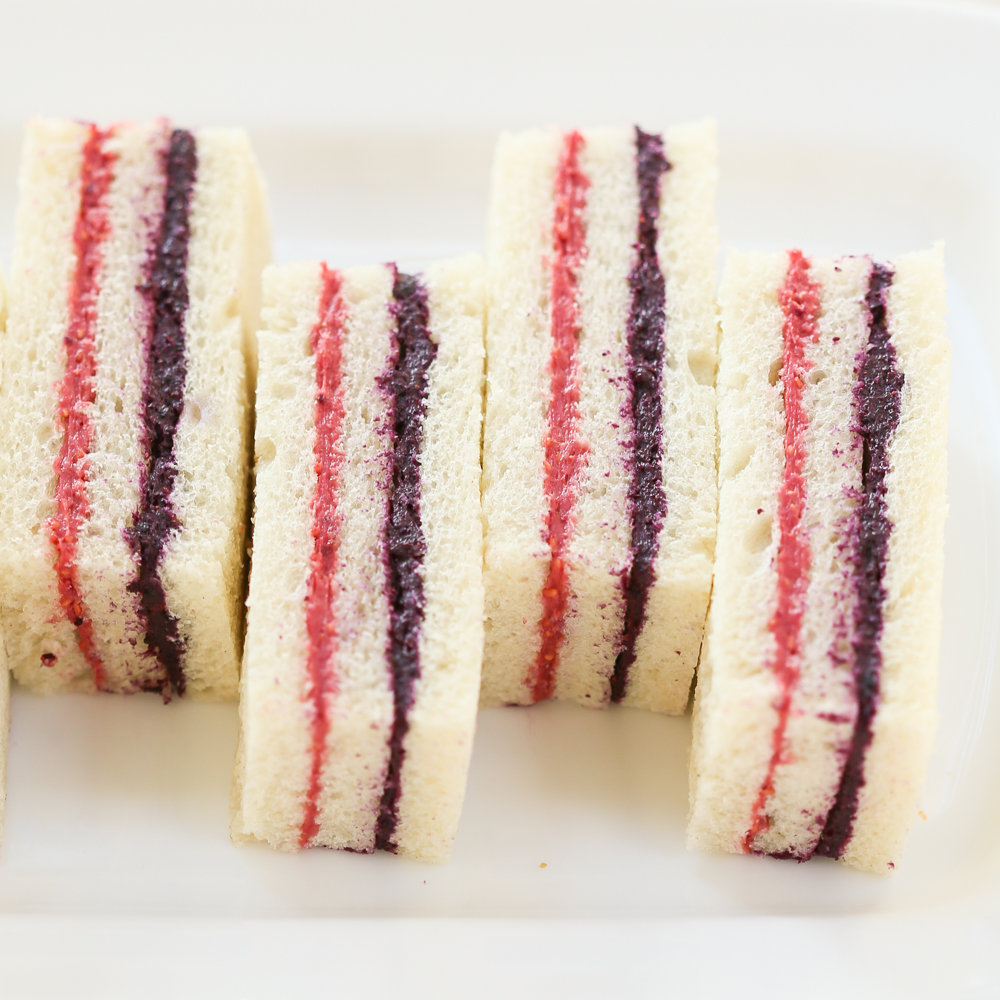
I was asked to create appetizers for my son and daughter’s wedding. Here they are:

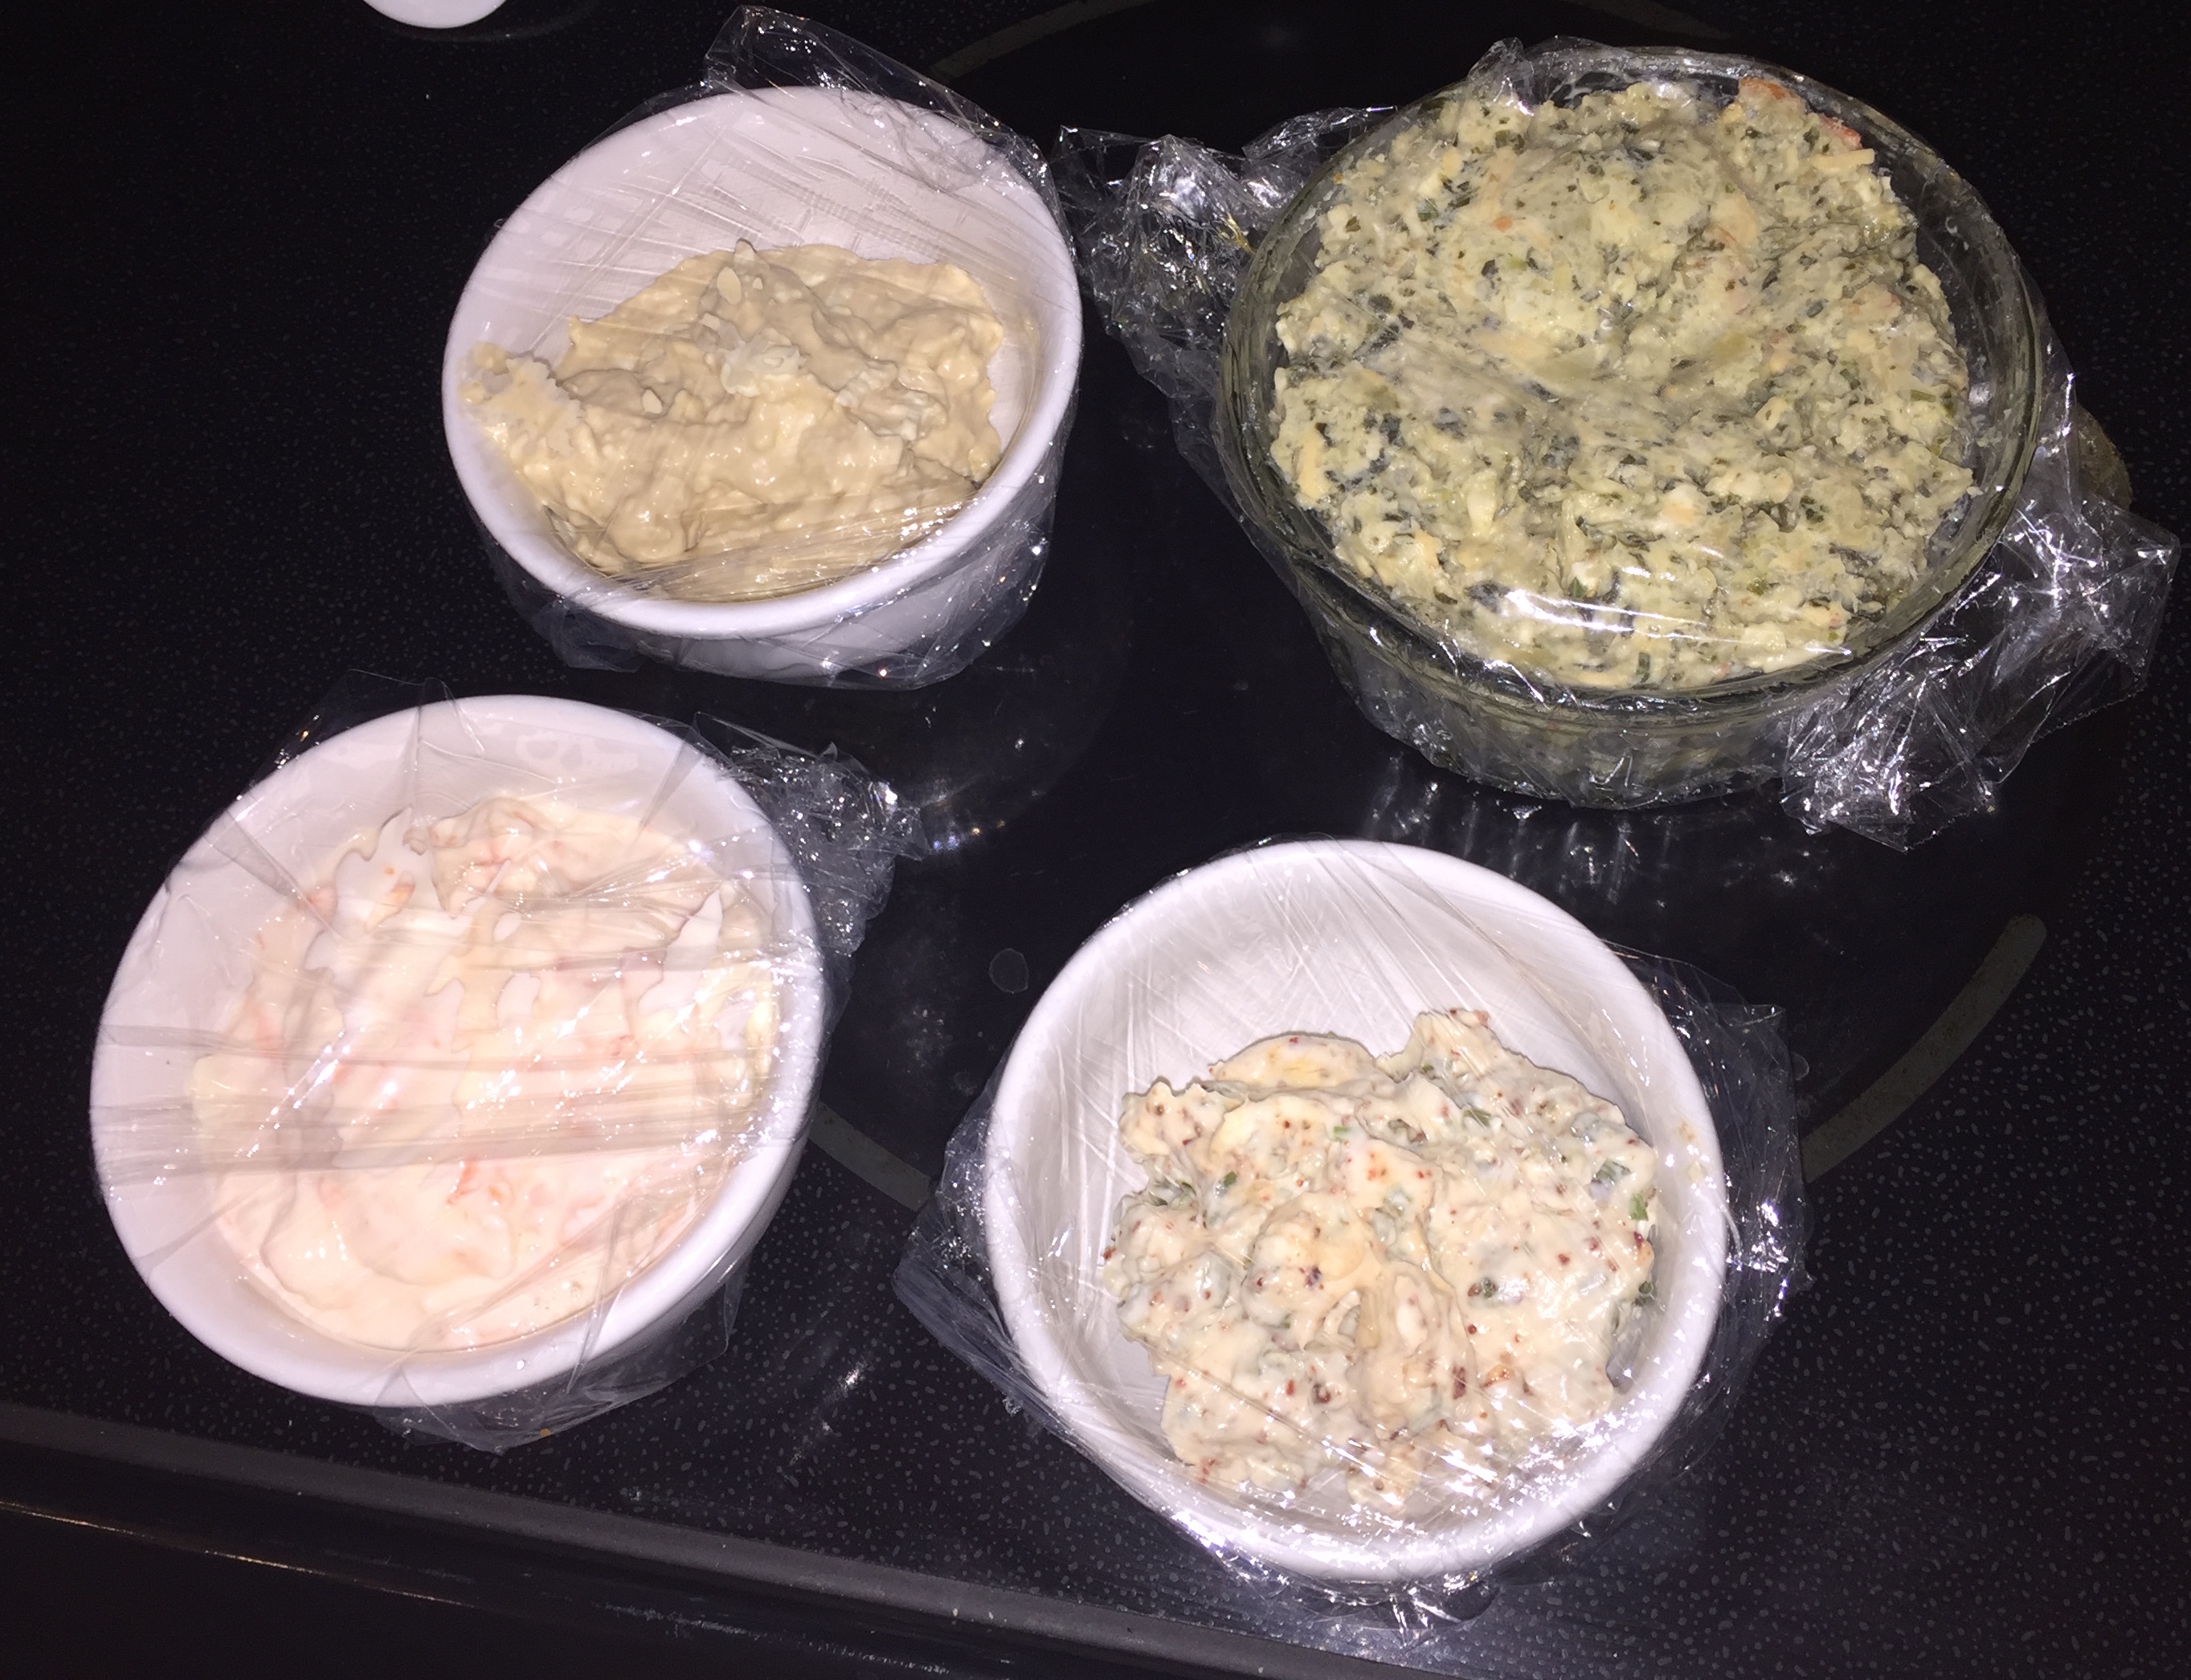


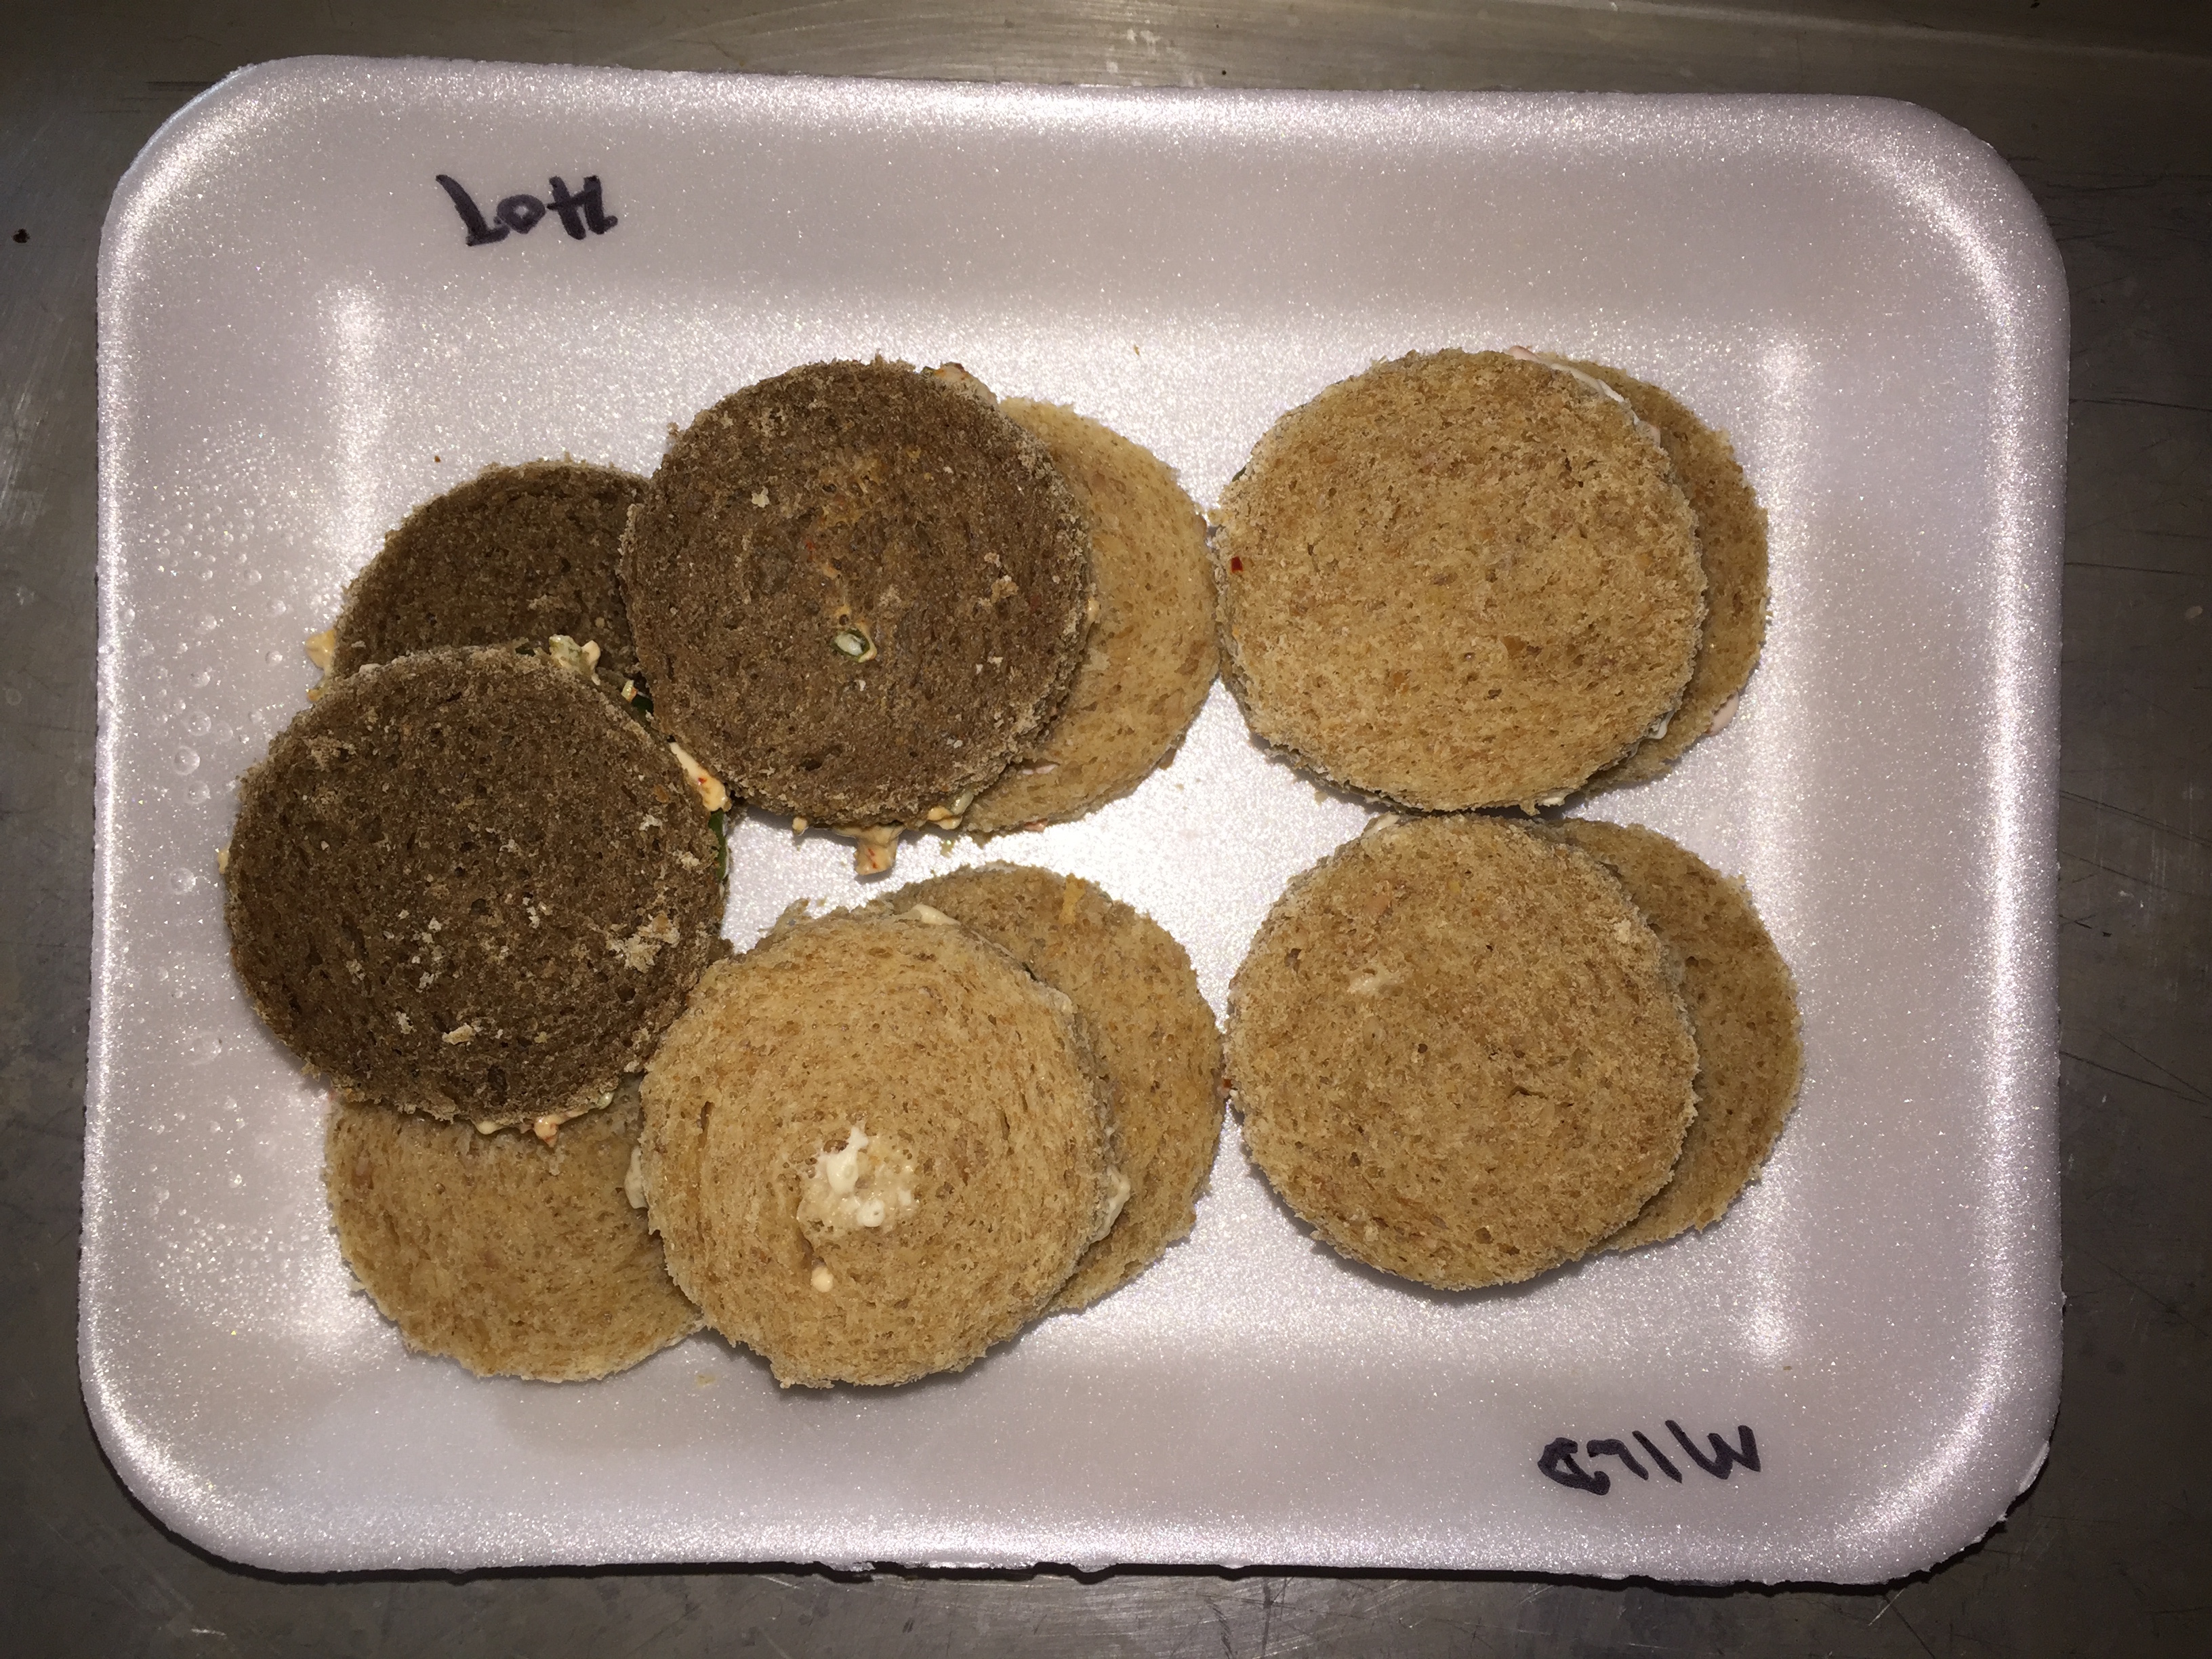


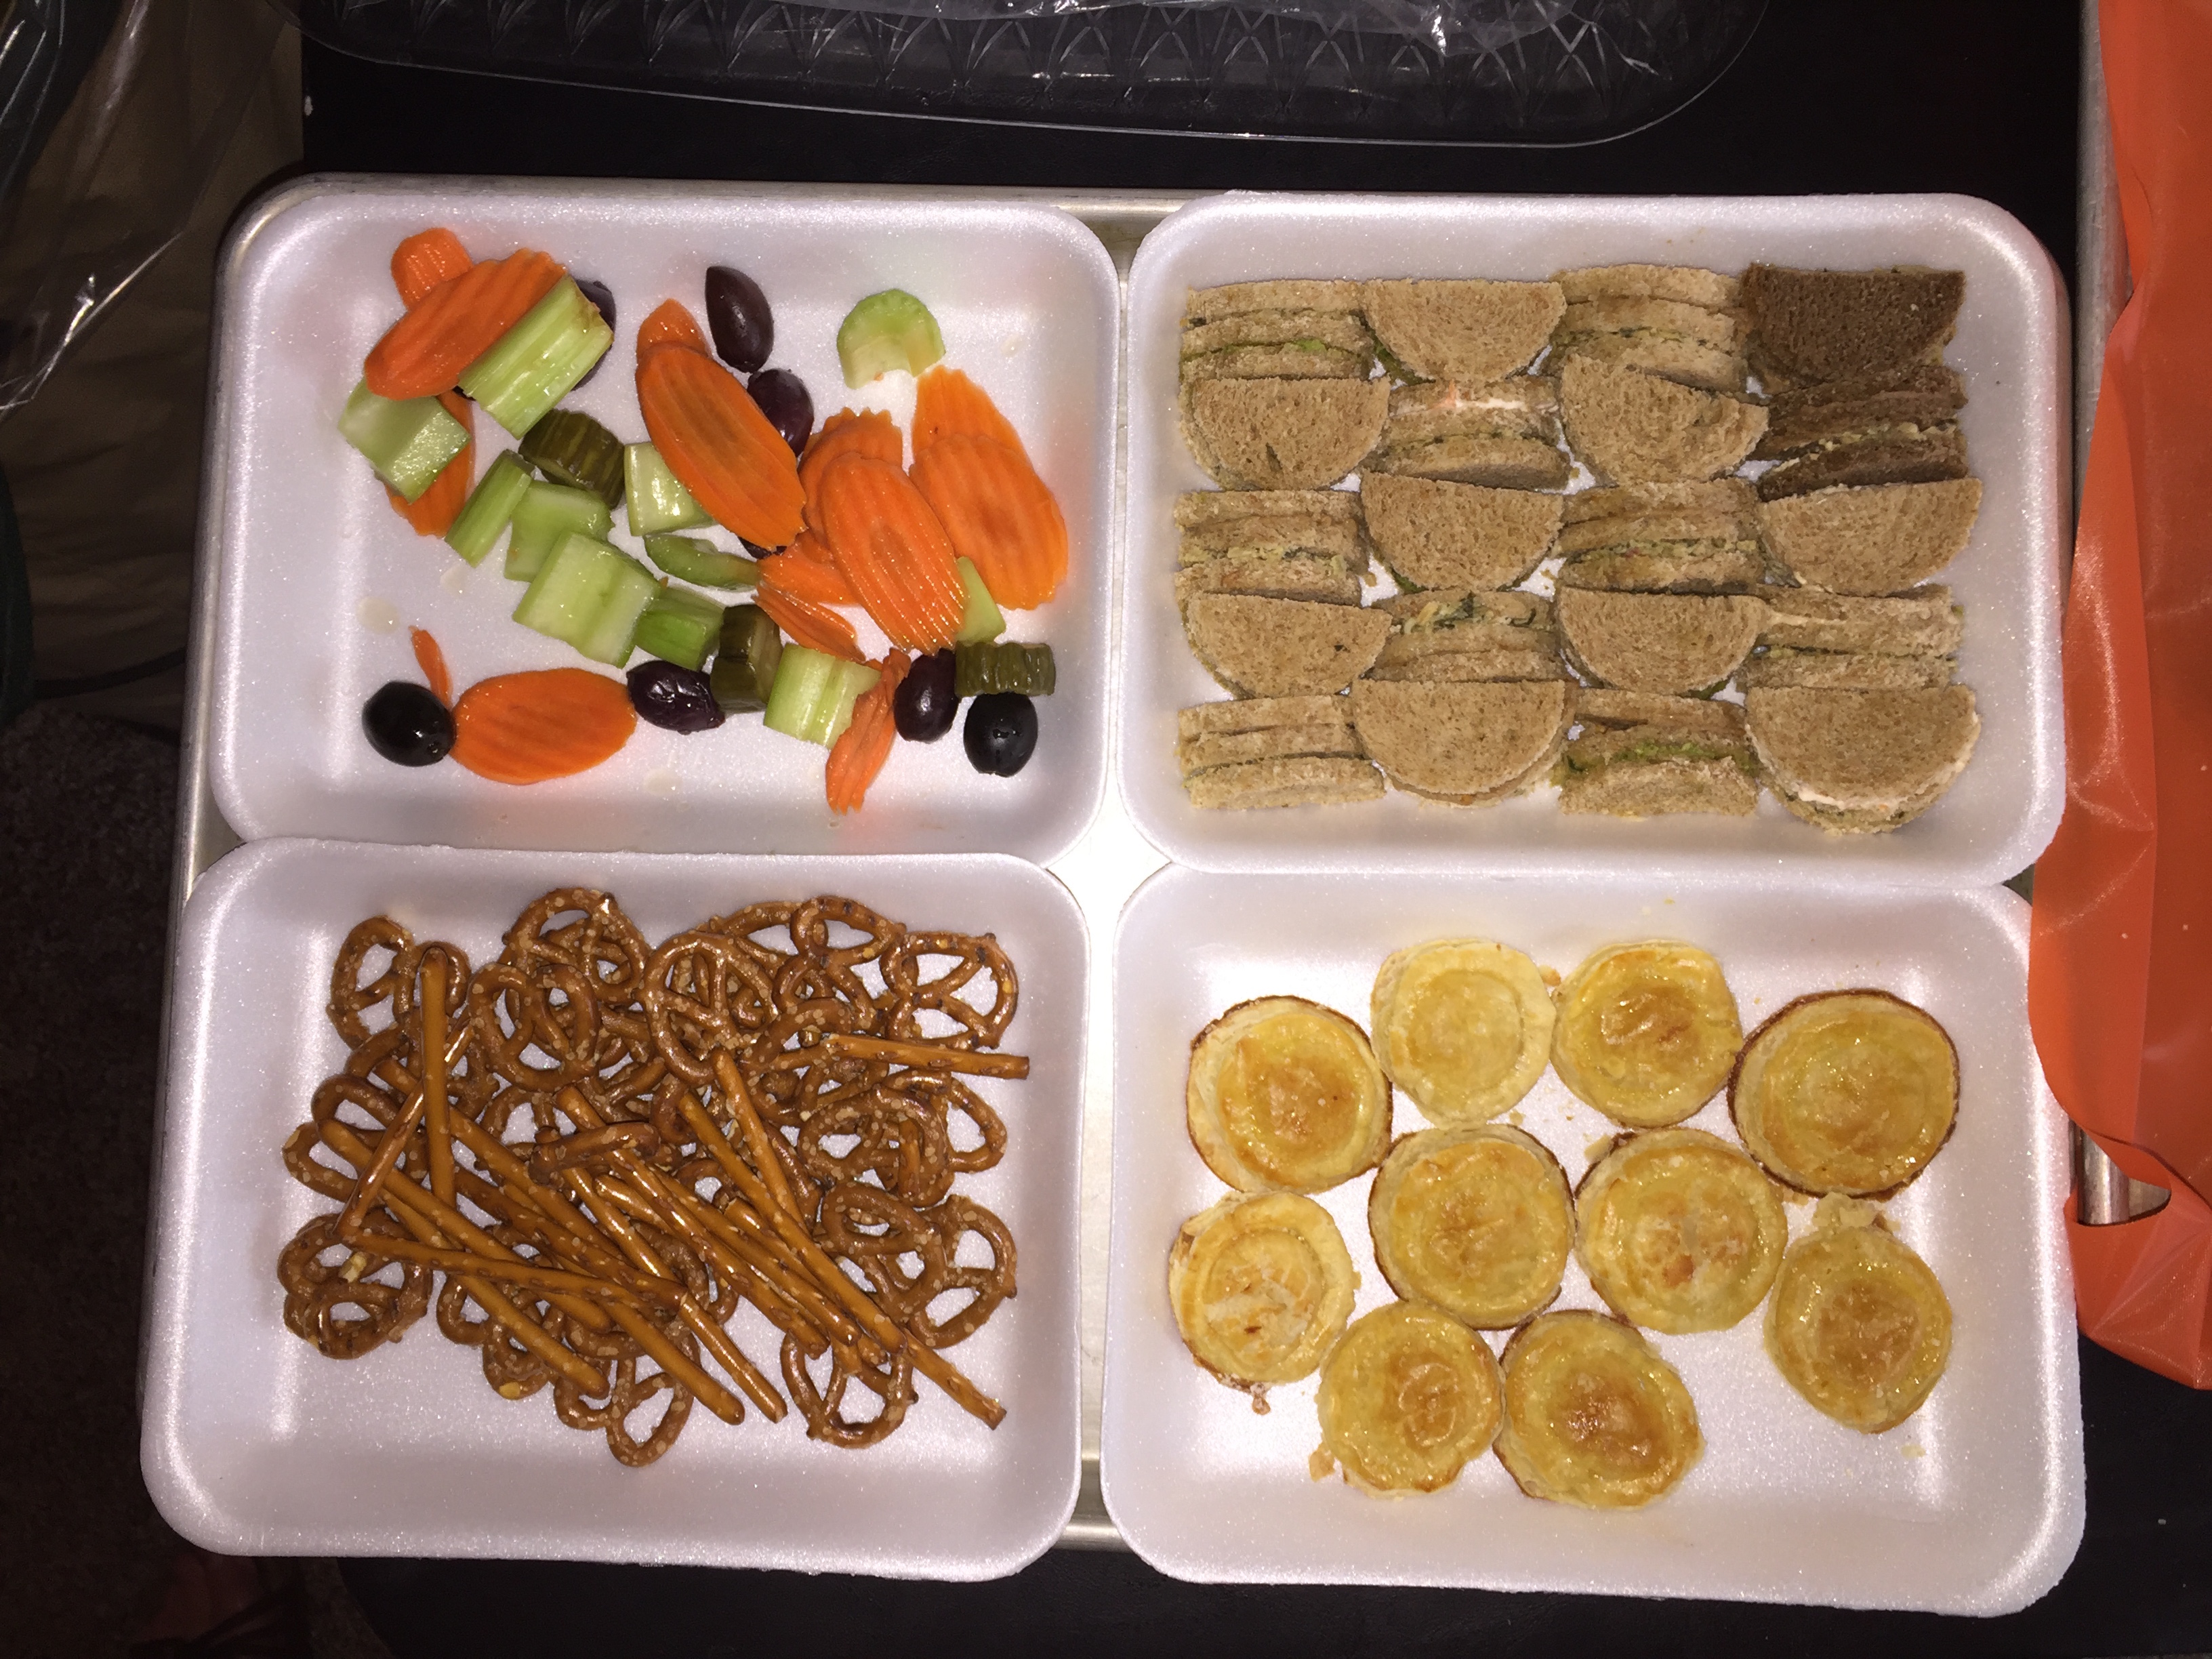

Feel free to browse.
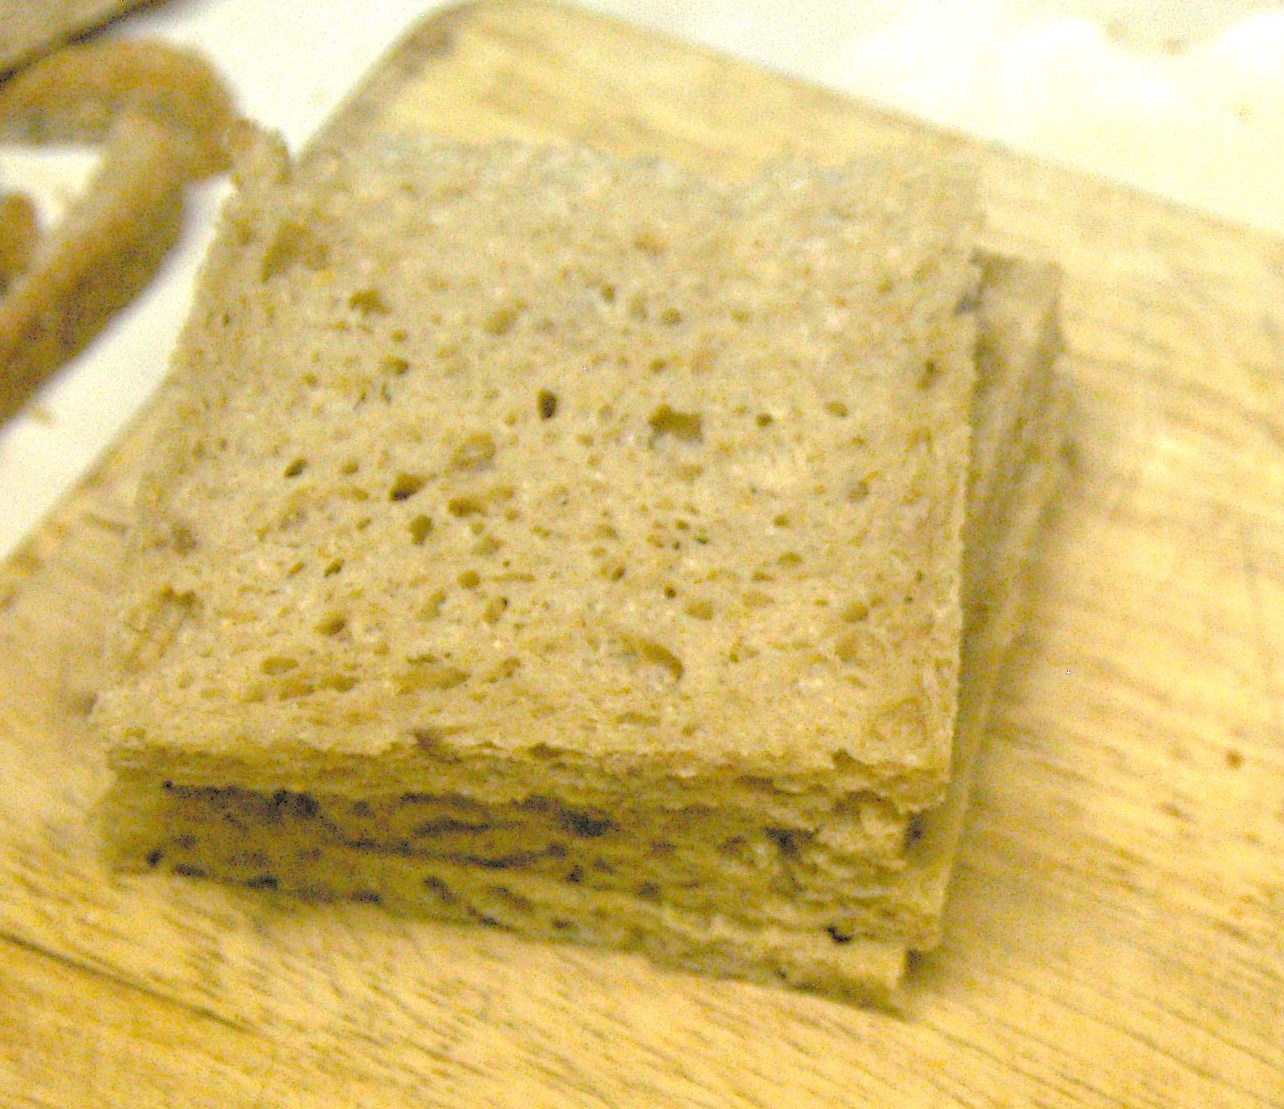
I was asked to create appetizers for my son and daughter’s wedding. Here they are:
INGREDIENTS
 STEP BY STEP
INGREDIENTS
STEP BY STEP
INGREDIENTS
STEP BY STEP
INGREDIENTS
STEP BY STEP
https://www.grandpacooks.com/recipes/bread-and-butter-pickles
https://www.grandpacooks.com/recipes/simple-picked-cucumber-slices
https://www.grandpacooks.com/recipes/quick-pickle
https://www.grandpacooks.com/recipes/sunomono-cucumber-salad
https://www.grandpacooks.com/recipes/pickled-beets
https://www.grandpacooks.com/recipes/pickled-chiles
https://www.grandpacooks.com/recipes/pickled-eggplant
https://www.grandpacooks.com/recipes/quick-pickled-vegetables
https://www.grandpacooks.com/recipes/a-partial-peck-of-pickled-peppers-2
https://www.grandpacooks.com/recipes/watermelon-pickles
https://www.grandpacooks.com/recipes/pickled-onions
https://www.grandpacooks.com/recipes/red-onion-pickles
https://www.grandpacooks.com/recipes/scandinavian-style-pickled-breakfast-herring/
https://www.grandpacooks.com/recipes/scandinavian-style-pickled-breakfast-herring/
INGREDIENTS
STEP BY STEP

Making cornmeal and grits is a lot easier than you might think. If you have access to, or grow your own dent corn (also known as field corn) or flint corn (Indian corn), you have the ingredients to make your own meal and grits.
Home ground cornmeal makes some of the best tasting cornbread you’ll ever find. And grits? well…grits are one of those things that you either love or you hate them. I’ve never met anyone who is undecided about grits. Personally I love them, and grinding your own, makes them all the better.
In my opinion, Indian (flint) corn makes better tasting and better textured cornmeal and grits, but if you have field (dent) corn available, it will do just fine. Many people think Indian Corn is purely ornamental, but nothing could be further from the truth.
We grow a row or two in our garden every summer especially for grinding into meal and grits. The corn in the pictures on this page is a dent variety called “Earth Tones”…very pretty to look at, but also very tasty. If you can spare a row in your corn patch for it, why not try growing a little of your own flint or dent corn and grind your own meal.
The most important piece of equipment you will need for making cornmeal and grits is a grain mill. You can find lots of different kinds of grain mills from simple hand cranked models, all the way up to big electric powered models. Mills can cost a little as around $25.00 to several hundred dollars. They all get the job done, it’s simply a matter of how much grinding you’re planning to do, and how much you are willing to spend.
My mill is a hand cranked model that I have converted with an old washing machine motor and pulleys. If I have a little bit to grind, I’ll attach the hand crank do it by hand. If I have a lot to grind, I’ll hook up the pulleys and belts and let it run in automatic.
You can also mill your own flour if you can get your hands on Hard Red Wheat.

If you grow your own dent or flint corn, don’t pick it until the stalks and shucks are almost completely dry. If the shucks still have a little bit of green left at the base of the ear, you’re ready to pick. Click here to learn more about growing your own corn.
Pull back the shucks, but don’t break them off. You will have to hang the corn in a cool dry place for at least a couple of weeks after you pick it. This allows the corn to finish drying. I’ll pick mine in early October and let it hang until I have some time off at Thanksgiving.
Use twine or light rope to tie 5 to 6 ears together in a bundle and hang them up 5 to 6 bundles in a string. Remember not all ears will be perfectly shaped, some will be short, and some may not have fully developed, but you should be able to collect some grain from every ear.

Once your corn is dry enough to use, you have to shell the corn from the cobs. You’ll want to shell into a large pan or bucket. You can shell the corn by hand (which is what I do), or you can find hand shellers, or even hand cranked antique shellers at auctions or antique stores. For the small amount that I grow, I can’t justify buying a sheller, so I just shell it by hand.
After the corn has been shelled, you will have to winnow the chaff away from the kernels. The easiest way that I have found to accomplish this is by pouring the corn from one container into another – back and forth several times. Wait to do this outside on a windy day.


The wind will carry the chaff away, leaving the clean grain ready for making cornmeal and grits. Fortunately here in Southern Indiana, nearly any fall day that is fit to be outdoors, is also windy.
In addition to a grain mill, if you want to make grits, you will need three bowls and a couple of screen type strainers. One of the strainers has to have 1/16 inch screen and the other 1/32 inch screen. This will allow you to screen away the larger pieces and re-grind them, as well as separate the grits size pieces from the meal sized pieces.


My number one assistant…
helping grind cornmeal for a class project.
If you are going to use a hand cranked mill like we’re demonstrating here, it’s best to accomplish the task in 3-4 passes. Set the mill very coarse on the first pass. All you really want to do is crack the corn.
On the second pass, you want to set the mill plates tighter so you’re generating roughly 1/8 inch pieces.
The 3rd pass will be finer still and ready to screen with the 1/16 inch screen strainer. Put 1-2 cups of meal in the strainer at a time. Shake the strainer side to side until meal stops coming through. Anything that doesn’t pass through the strainer will have to go back through the mill again at the same setting. This may take 2-3 cycles, but each pass will leave less big pieces in the screen.


Once the meal has all passed through the 1/16 screen, you then have to separate the meal from the grits by using the 1/32 inch screen strainer. Everything that shakes through the strainer will be cornmeal, and everything that remains in the screen will be your grits. In my experience, you will wind up with about a 50/50 split between cornmeal and girts.
Unless you like coarse cornmeal, it will have to go through the mill one last time at a finer setting to produce the correct consistency. Home ground cornmeal should have roughly the same consistency as what you would buy in the store.

If you’re only interested in making cornmeal and not grits, then you don’t have to go through the screening process. Just process all of the meal through a 4th time to get the fine consistency for cornmeal.

Proper storage of cornmeal, grits or flour should accomplish two things. First it keeps insect pests from getting in. Second it should slow the natural oils in the grains from becoming rancid and spoiling it. Both allowing you a longer period of use.
Many people store bulk flour and cornmeal in their freezer to keep it fresh. Home ground cornmeal and grits definitely can be stored in in your freezer, but in my opinion, they take up way too much space.
I prefer to store it in quart or half gallon canning jars, using my vacuum sealer to draw out excess air. My Food Saver vacuum sealer came with a jar attachment that I thought I’d never use when we got it, but… We have used it for storing home grown cornmeal, grits, and popcorn with very good success. It will even will draw enough vacuum that the jar lid will seal – you can actually hear the lid “plink” when it draws down. When you open it later, you have to break the seal. Another good point is that you can re-seal jars after you open them using this method.
I can keep my “canned” dry goods on the shelf in my pantry, and leave the freezer for other things.
For those of you who may not know about making grits, here’s how it’s done. I spent 12 years living in South Louisiana and Southwest Mississippi as a teenager and young adult, so I learned how to fix grits…y’all. Cooking grits is super easy, but if you get it wrong they won’t be fit to eat. These definitely aren’t instant grits, so they will take a bit more time to cook, but the flavor and texture will be much better and worth the wait.
1 – Bring 4 cups of water to a boil in a saucepan, and stir in 1 cup of grits.
2 – Return to a boil and then simmer on low heat covered 30-40 minutes. Only remove lid once (at about the halfway point) to stir.
3 – When your grits are done, stir in salt, black pepper and a generous amount of butter to taste.
4 – Some folks like to add crumbled bacon or finely diced ham into their grits.
5 – Enjoy!
Learning the skill of making cornmeal, grits, and flour can be a very rewarding experience. I have found that the flavor and texture is better than store bought meal and grits – maybe it’s all in my head, or maybe not. I do know that growing and grinding your own cornmeal, grits and flour costs less than buying it. I also know that every skill of this type that you learn, even if you only do it once – brings you one step closer to a self sufficient lifestyle.
 There is an old saying “When buying Grits-in-a-Box, open the box, dump out the grits, then eat the box.” Don’t take shortcuts on making grits. A few extra minutes makes all the difference in the world.
Located @ 62 State Street in Charleston
Fine, Medium and Coarse
Polenta Cooking Contest –
 INGREDIENTS
STEP BY STEP
This are approximate guidelines, ingredients and quantities. I need to debug this later.
Cornmeal
AP Flour
Sugar
Salt
Garlic
Baking Powder
Buttermilk
Egg
Scallions
Lump Crab Meat
Fry in oil at 360º for about 2 minutes per side
Dipping Sauce
– Cilantro
– Jalapeño
– Salt
– Pepper
– Garlic powder
– Mayo
Recipe mostly by TipHero, with a twist or two from Grandpa.
INGREDIENTS
STEP BY STEP
 INGREDIENTS
STEP BY STEP
This recipe is based on one by Jeff Smedstad, executive chef from the Elote Cafe here in Sedona, Arizona.
INGREDIENTS
STEP BY STEP
INGREDIENTS
STEP BY STEP
Also makes a decent burro when wrapped in a flour tortilla.
ALTERNATE INGREDIENTS
P.F. Chang’s adds shittake mushrooms, sherry, bamboo shoots, and water chestnuts; but then again, they serve this with iceberg lettuce!! Yech.
Veggie Wrap
INGREDIENTS
STEP BY STEP
OPTIONAL INGREDIENTS
INGREDIENTS
STEP BY STEP
Note: This is a lot of information. If you print out this recipe, you can use the delete function to delete any “tabled” recipes that you don’t want.
| 1. Shave cabbage thin. Discard hard core. 2. Pack tightly into glass jar sprinkling 1 tsp with each handful (approx 2 TBL per quart jar) 3. Add distilled water to cover (or tap water that has aired out for 24 hours) 4. Place lid on loosely. 5. Stand jars in tray (or plate) and leave on counter for 9-12 days. A longer fermentation makes a tangier sauerkraut. Go for as long as six weeks. 6. Add water lost by fermentation process – top off daily – also, remove any floaters from the top of the water.After 9-12 days, kraut is ready to eat or may be canned in boiling water bath. May also be refrigerated for up to 2 months.Caraway seeds or garlic may be added if desired as you pack in the cabbage. |
OTHER NOTES FOR SAUERKRAUT AND KIMCHI BELOW.
In the first stage, the cabbage is soaked in a salty brine that kills off harmful bacteria. In the second stage, the remaining Lactobacillus bacteria (the good guys!) convert sugars into lactic acid, which preserves the vegetables and gives them that wonderful, tangy flavor. (If you want to learn more about fermentation, I highly recommend The Art of Fermentation by Sandor Katz.)
| How to Make Cabbage Kimchi
Makes 1 quart Equipment Cut the cabbage. Cut the cabbage lengthwise into quarters and remove the cores. Cut each quarter crosswise into 2-inch-wide strips. Salt the cabbage. Place the cabbage and salt in a large bowl. Using your hands (gloves optional), massage the salt into the cabbage until it starts to soften a bit, then add water to cover the cabbage. Put a plate on top and weigh it down with something heavy, like a jar or can of beans. Let stand for 1-2 hours. Rinse and drain the cabbage. Rinse the cabbage under cold water 3 times and drain in a colander for 15-20 minutes. Rinse and dry the bowl you used for salting, and set it aside to use in step 5. Make the paste. Meanwhile, combine the garlic, ginger, sugar, and seafood flavor (or 3 tablespoons water) in a small bowl and mix to form a smooth paste. Mix in the gochugaru, using 1 tablespoon for mild and up to 5 tablespoons for spicy (I like about 3 1/2 tablespoons). Combine the vegetables and paste. Gently squeeze any remaining water from the cabbage and return it to the bowl along with the radish, scallions, and seasoning paste. Mix thoroughly. Using your hands, gently work the paste into the vegetables until they are thoroughly coated. The gloves are optional here but highly recommended to protect your hands from stings, stains, and smells! Pack the kimchi into the jar. Pack the kimchi into the jar, pressing down on it until the brine rises to cover the vegetables. Leave at least 1-inch of headspace. Seal the jar with te lid. Let it ferment. Let the jar stand at room temperature for 1-5 days. You may see bubbles inside the jar and brine may seep out of the lid; place a bowl or plate under the jar to help catch any overflow. Check it daily and refrigerate when ready. Check the kimchi once a day, pressing down on the vegetables with a clean finger or spoon to keep them submerged under the brine. (This also releases gases produced during fermentation.) Taste a little at this point, too! When the kimchi tastes ripe enough for your liking, transfer the jar to the refrigerator. You may eat it right away, but it’s best after another week or two. |
Recipe Notes
Salt: Use salt that is free of iodine and/or anti-caking agents, which can inhibit fermentation.
Water: Chlorinated water can inhibit fermentation, so use spring, distilled, or filtered water if you can. Last resort, you can use tap water than has aired out for 24 hours.
Seafood flavor and vegetarian alternatives: Seafood gives kimchi an umami flavor. Different regions and families may use fish sauce, salted shrimp paste, oysters, and other seafood. Use about 2 tablespoons of fish sauce, salted shrimp paste, or a combination of the two. For vegetarian kimchi, I like using 3/4 teaspoon kelp powder mixed with 3 tablespoons water, or simply 3 tablespoons of water.
| Sauerkraut is made by a process called lacto-fermentation. To put it (fairly) simply: There is beneficial bacteria present on the surface of the cabbage and, in fact, all fruits and vegetables. Lactobacillus is one of those bacteria, which is the same bacteria found in yogurt and many other cultured products. When submerged in a brine, the bacteria begin to convert sugars in the cabbage into lactic acid; this is a natural preservative that inhibits the growth of harmful bacteria.
Lacto-fermentation has been used for centuries to preserve seasonal vegetables beyond their standard shelf-life. The fermentation process itself is very reliable and safe, and the fermented sauerkraut can be kept at cellar temperature (around 55°F) for months, although those of us without cellars can make do with storing the kraut in our fridges. Besides preserving the cabbage, this fermentation process also transforms it into something incredibly tasty and gives it additional health benefits — fermented sauerkraut contains a lot of the same healthy probiotics as a bowl of yogurt. |
What Do I Need to Make Sauerkraut?
At the most basic, all you need is cabbage, salt, and some sort of container to store it while it’s fermenting. It’s important that the cabbage remain submerged in its liquid during fermentation. When making sauerkraut in a crock, you usually place a weighted plate over the cabbage to pack it down and keep it submerged. When fermenting in a mason jar, inserting a smaller jelly jar filled with rocks or marbles in the mouth of the larger jar serves the same purpose.
The cabbage near the surface tends to float, so when fermenting in a mason jar, you need to either tamp down the cabbage a few times a day or place a large outer leaf of cabbage over the surface of the shredded cabbage to hold it down. Also be sure to keep the jar covered at all times with a clean cloth or piece of cheese cloth. This will allow airflow, but prevent dust or insects from getting into the sauerkraut.
How Long Does It Take To Make Sauerkraut?
For a small quart-sized batch like we’re making today, the minimum time is about three days, though the kraut will continue to ferment and become tastier for many days after that. As simple as it sounds, the best rule of thumb is to keep tasting the kraut and refrigerate (or take it cellar temperature) when it tastes good to you. The sauerkraut is safe to eat at every stage of the process, so there is no real minimum or maximum fermentation time. It can go for as long as six weeks.
What Can Go Wrong?
Not much! You may see bubbles, foam, or white scum on the surface of the sauerkraut, but these are all signs of normal, healthy fermentation. The white scum can be skimmed off as you see it or before refrigerating the sauerkraut. If you get a very active fermentation or if your mason jar is very full, the brine can sometimes bubble up over the top of the jar. This is part of the reason why I recommend using a larger mason jar than is really necessary to hold the cabbage. If you do get a bubble-up, it’s nothing to worry about. Just place a plate below the jar to catch the drips and make sure the cabbage continues to be covered by the brine.
It is possible that you might find mold growing on the surface of the sauerkraut, but don’t panic! Mold typically forms only when the cabbage isn’t fully submerged or if it’s too hot in your kitchen. The sauerkraut is still fine (it’s still preserved by the lactic acid) — you can scoop off the mold and proceed with fermentation. This said, it’s still important to use your best judgement when fermenting. If something smells or tastes moldy or unappetizing, trust your senses and toss the batch.
I have been making fermented beverages and foods for years, and I have always been amazed by how easy they are and how delicious the results can be. There are a few resources I turn to again and again:
The Art of Fermentation by Sandor Katz – This is a great all-around resource on fermentation in general, fermentation problem-solving, and fermentation health benefits.
Cultures for Health – This is an online resource for fermentation cultures and equipment, but I also turn to them for a lot of information on fermenting. They just released a free e-book on lacto-fermentation that is available if you sign up for their newsletter.
| Here’s how to make a small batch of sauerkraut in a mason jar — it’s just enough kraut to get you hooked!
How to Make Homemade Sauerkraut in a Mason Jar Makes 1 to 1 1/2 quarts Ingredients Equipment Clean everything: When fermenting anything, it’s best to give the good, beneficial bacteria every chance of succeeding by starting off with as clean an environment as possible. Make sure your mason jar and jelly jar are washed and rinsed of all soap residue. You’ll be using your hands to massage the salt into the cabbage, so give those a good wash, too. Slice the cabbage: Discard the wilted, limp outer leaves of the cabbage. Cut the cabbage into quarters and trim out the core. Slice each quarter down its length, making 8 wedges. Slice each wedge crosswise into very thin ribbons. Combine the cabbage and salt: Transfer the cabbage to a big mixing bowl and sprinkle the salt over top. Begin working the salt into the cabbage by massaging and squeezing the cabbage with your hands. At first, it may not seem like enough salt, but gradually, the cabbage will become watery and limp — more like coleslaw than raw cabbage. This will take 5 to 10 minutes. If you’d like to flavor your sauerkraut with caraway seeds, mix them in now. Pack the cabbage into the jar: Grab handfuls of the cabbage and pack them into the canning jar. If you have a canning funnel, this will make the job easier. Every so often, tamp down the cabbage in the jar with your fist. Pour any liquid released by the cabbage while you were massaging it into the jar. → Optional: Place one of the larger outer leaves of the cabbage over the surface of the sliced cabbage. This will help keep the cabbage submerged in its liquid. Weigh the cabbage down: Once all the cabbage is packed into the mason jar, slip the smaller jelly jar into the mouth of the jar and weigh it down with clean stones or marbles. This will help keep the cabbage weighed down, and eventually, submerged beneath its liquid. Cover the jar: Cover the mouth of the mason jar with a cloth and secure it with a rubber band or twine. This allows air to flow in and out of the jar, but prevent dust or insects from getting in the jar. Press the cabbage every few hours: Over the next 24 hours, press down on the cabbage every so often with the jelly jar. As the cabbage releases its liquid, it will become more limp and compact and the liquid will rise over the top of the cabbage. Add extra liquid, if needed: If after 24 hours, the liquid has not risen above the cabbage, dissolve 1 teaspoon of salt in 1 cup of water and add enough to submerge the cabbage. Ferment the cabbage for 3 to 10 days: As it’s fermenting, keep the sauerkraut away from direct sunlight and at a cool room temperature — ideally 65°F to 75°F. Check it daily and press it down if the cabbage is floating above the liquid. Because this is a small batch of sauerkraut, it will ferment more quickly than larger batches. Start tasting it after 3 days — when the sauerkraut tastes good to you, remove the weight, screw on the cap, and refrigerate. You can also allow the sauerkraut to continue fermenting for 10 days or even longer. There’s no hard and fast rule for when the sauerkraut is “done” — go by how it tastes. While it’s fermenting, you may see bubbles coming through the cabbage, foam on the top, or white scum. These are all signs of a healthy, happy fermentation process. The scum can be skimmed off the top either during fermentation or before refrigerating. If you see any mold, skim it off immediately and make sure your cabbage is fully submerged; don’t eat moldy parts close to the surface, but the rest of the sauerkraut is fine. Store sauerkraut for several months: This sauerkraut is a fermented product so it will keep for at least two months and often longer if kept refrigerated. As long as it still tastes and smells good to eat, it will be. If you like, you can transfer the sauerkraut to a smaller container for longer storage. |
Recipe Notes
Sauerkraut with Other Cabbages: Red cabbage, napa cabbage, and other cabbages all make great sauerkraut. Make individual batches or mix them up for a multi-colored sauerkraut!
Canning Sauerkraut: You can process sauerkraut for longer storage outside of refrigeration, but the canning process will kill the good bacterias produced by the fermentation process. See this tutorial from the National Center for Home Food Preservation for canning instructions.
Larger or Smaller Batches: To make larger or smaller batches of sauerkraut, keep same ratio of cabbage to salt and adjust the size of the container. Smaller batches will ferment more quickly and larger batches will take longer.
Hot and Cold Temperatures: Do everything you can to store sauerkraut at a cool room temperature. At high temperatures, the sauerkraut can sometimes become unappetizingly mushy or go bad. Low temperatures (above freezing) are fine, but fermentation will proceed more slowly.
INGREDIENTS
STEP BY STEP
CLICK HERE for Avocado Tips and Tricks.
Ingredients
1/4 tsp sea salt (to taste)
1 tsp garlic (more or less to taste)
1/4 CU finely diced red onion or Valida
2 seeded habeñero, jalapeno or Serrano peppers (see Variations)
3 limes (approx 2 TBS lime juice)
1/2 tsp salt
Mix and let set 10 minutes
2 ripe avacados (soft, but not squishy)
1/2 CU diced cilantro or parsley
1 few mint leaves
1 diced tomato
1/2 finely minced onion
1 Tomato
1/4 CU Parsley
Instructions
1. Crush avocados
2. Mix in all other ingredients
Variations
1.Substitute seeded jalapenos for heat, but not too hot
2. Add diced tomatoes (cherry is best from my viewpoint)
3. Best to meld for 30 minutes, but impressive to mix at the table.