Boiled chicken
cheese
tortilla chips
cream of mushroom soup
cream of chicken soup
Category: Grandpa’s Use Only
These recipes are for Grandpa and his family. This category includes recipes from magazines, TV shows, newspapers, and other sources where I don’t have permission to republish the recipes, but still feels they are recipes that he may want to cook for himself at a later time.
Next Day Belgian Waffles
Grandpa’s Waffles
This uses my regular waffle iron, so they are not nearly as thick as Belgian Waffles, but the texture is there at least.
- 1 C AP flour
- scant salt
- 1/2 tsp baking powder
- 1 tsp baking soda
- 2 TBL confectioner sugar
- Combine above
- Add 1/2 C melted butter
- 2-3 eggs
- 1 C milk
- 1/2 tsp vanilla
This should be almost like soft pizza dough or cookie dough. Cut into pieces and refrigerate overnight. Put into your waffle iron while still chilled.
To make “Toaster Waffles” cook them only 4 minutes, rather than 5, then let cool, wrap and freeze. Cook on regular toaster or toaster oven cycle.
Alton’s Mixture
-
- DRY INGREDIENTS
- 1 C AP flour (not packed)
- 1 1/4 C wheat or buckwheat flour
- 3 TBL granulated sugar
- 1 tsp salt
- 1 tsp baking powder – double-acting *
* This means at 120º it gives an extra rise - 1/2 tsp baking soda
- WET INGREDIENTS
- 3 eggs
- OPT: 1-2 overripe bananas
- 1/4 tsp vanilla
- 1/4 C melted butter (4 TBL or 2 oz)
- 12 oz Buttermilk
Traditional Irish Blessing
May the road rise up to meet you.
May the wind be always at your back.
May the sun shine warm upon your face;
the rains fall soft upon your fields
and until we meet again,
may God hold you in the palm of His hand.
Broccoli and Cheese Dipping Sauce
- Cut broccoli into finger food sized florets
- Blanche broccoli for 30-45 seconds
- Plunge into ice water to stop the cooking process
- Put onto paper towel to drain
- In a pot, combine the following
- 2 TBL butter
- 1.5 TBL flour
- stir until it starts to brown
- add 1.5 C milk
- stir until it starts to thicken
- add 1 C grated sharp cheddar cheese
- 2 oz cream cheese
- to taste: salt, pepper, mustard powder, cayenne pepper
- Serve hot dip with cooled broccoli
Onion Strings
- Cut a Vidalia or Sweet onion as thinly as possible
- Put into a bowl and cover with buttermilk
- Let soak for 1-2 hours
- Drain well
- Toss in a bowl the following:
- 2 C AP flour
- salt, cayenne, black pepper, cumin
- Take small batches of onion and toss in the flour coating well
- Sake off most of the flour
- Put into hot (165º) peanut oil till browned and crispy
- Put onto a towel or rack and sprinkle with salt while still hot
Onions – IMPORTANT INFO
All onions and similar bulb vegetables belong to the genus ALLIUM.
WHY DO I CRY WHEN I CUT ONIONS?
Alliums contain a high concentration of organosulfur compounds. If you cut it with a newly sharpened knife, you will minimize these compounds. A dull knife “squeezes” these compounds out of the onion cell walls.
WHAT TYPE OF ONION TO BUY?
- RED: More peppery than potent. Red onions, which are actually a bit purple, are often eaten raw in salads and sandwiches. With an undertone of mild sweetness, they provide an excellent counterbalance for stronger herbs and dark leafy greens.
– If you don’t mind an extra step, cut them thinly, then soak them for 60 seconds in 1/2 water 1/2 rice or white vinegar to take even more bite out of them. Let them drain a few seconds before putting onto your food. - VIDALIA: This was originally bred in Vidalia, Georgia – hence the name. The cultivation of Vidalia onions started in the early 1930s. The different varieties are unusually sweet compared to other onions due to the low amount of sulfur in the soil in which Vidalia onions are grown. They are widely produced these days, but the true Vidalia is from Georgia.
– This is one of the sweetest onions, with mild potency and slight sweetness is excellent for both cooking and raw uses, especially in salads, relishes, sandwiches and salsas. - WHITE: This is a strongly flavored onion, but one with a milder after-taste. White onions are great for peppering aromatic dish bases and in non-green vegetable salads to pep up blander flavor profiles.
- YELLOW: This is what you would call the “Standard Onion.” They are yellowish with a mild pungency and good for almost all cooking uses, including standing in for other varieties when needed.
- CHIVES: White onions harvested while still extremely young. Cut off above the ground, and they will continue to grow.
- SCALLIONS aka GREEN ONIONS: Both the long, slender green tops and the small white bulb are edible, and are good either raw or cooked. They have a similar flavour to onions, but are much milder.
- SPRING ONIONS: Another name for Scallions that are very young and mild. They are harvested before the bulb has had a chance to swell.
- SHALLOTS: Shallots have a delicate and sweet flavor with a hint of sharpness, while onions bring a more intense heat. You can substitute shallots in nearly any recipe that calls for onions—just make sure you’re using the same volume.
- LEEKS: Leeks are a member of the onion family. The edible part of the leek plant is a long cylinder of bundled leaf sheaths which is sometimes called a stem or stalk. As the leek grows in height, soil is pulled around the base of the plant, blanching the stem- making it white and tender. These must be cut apart and washed thoroughly. Only the white is edible, not the green.
- GARLIC: Garlic is in the same genus, but is not an onion. Its flavor is different and stronger. Great in cooked soups, but not so much raw on a sandwich.
Some Popcorn Notes
Most of this from Alton Brown – Good Eats
- Try soaking in salted water before popping. This will put more moisture into the kernel
- Best varieties: Pearl and Rice
- Yellow Topaz
- Baby Black Pearl
- Baby Blue Sapphire
- Purple Amethysist
- Pink Diamond
- Southwest Gold
- Baby Peral
- Baby Yellow Topaz
- Red Ruby
- Petite Princess
- Blue Sapphire
- Use a pot that has a fairly small bottom
- Popper – Heavy guage large mixing bowl
- Fat and kernels go to the bottom
- Fairly high heat
- 3 TBL canola or peanut oil
- Yellow Topaz – 1/2 C
- 1/2 tsp Pickling Salt or Popcorn salt – or Blend regular salt
Put in container with a dozen popcorn kernels to break apart the clumps
Popcorn
- Large mixing bowl
- 3 tablespoons peanut oil
- 1/2 cup popcorn
- 1/2 teaspoon pickling salt
- Cover with foil and poke holes
- Medium heat
- Shake until popcorn starts to subside, then shake more to keep the kernels in motion
- Drizzle 3 tablespoons butter – drizzle and toss
Carmel corn
- Saucepan
- Thermometer
- Spatula
- 1/2 sheet pan sprayed
- Parchment cut to size sprayed
- Very large mixing bowl
- Set oven to 250°
- One stick of butter in a saucepan
- 16 ounce dark brown sugar
- 1/4 cup molasses or dark syrup
- 1/2 teaspoon vanilla
- Heat until 250°
- Mix 1 cup salted peanuts
- With 3 quarts of popped popcorn
- Add butter mixture to popcorn and mix quickly
- Spread on sheet pan
- Bake one hour at 250°
Breakfast tomorrow?
Popcorn, milk and sugar
Norwegian Potato Lefse
- 3 medium russet potatoes
- 1/4 C butter
- 1/4 C granulated white sugar
- 1/4 C heavy cream
- 1 tsp salt
- 1.5 C flour
- Cut peeled potato into equal sized pieces
- Plunge into already boiling water, and boil for 12 minutes
- Squeeze through a potato ricer or just squash with a fork
You can also use a food mill - If using a fork, make sure they are as smooth as possible
- Mix in everything except the flour
- Mix well, then mix in the flour
- Let rest for at least an hour
- Cut into eight pieces and form into balls
- Roll flat on floured surface and bake as they are done on a dry cast iron skillet. Bake for about a minute per side or until browned
- While one is cooking, roll the next one
- As they are finished, roll into tubes
You can make a cheese dip using one block of softened cream cheese mixed with 2 TBL sugar, 1/2 C sour cream, and 1/2 tsp nutmeg or CinnaSugar.
Top with Lingonberry Jam and sprinkle with lemon zest
Fideo Pasta
You can use this in place of rice most of the time.
-
- 2 TBL vegetable oil
- 1/2 LB fideo pasta
- 1/2 tsp ground cumin
- 1/2 tsp garlic salt
- 1 (8 oz) can tomato sauce
- 15 oz Tomato sauce
- 1 tablespoon chili powder
- 1 1/2 cups water
- Heat oil in a saucepan over medium-high heat.
- Add the dry fideo pasta, and fry until browned.
- Pour in half of the can of tomato sauce
- Add 1 cup of the water.
- Season with cumin, garlic salt and chili powder, and stir to blend.
- Bring to a boil, and cook until the liquid has almost evaporated.
- Stir in the remaining tomato sauce and water.
- Cover, and cook over medium heat for about 10 minutes, or until the fideo is tender, and the sauce has thickened.
Make your own fideo pasta
It’s the same price as normal pasta, so it is easier to just buy it, but if you want to try it, here is how.
- Take angel hair pasta and bundle a small bunch of the noodles – about 20.
- Put them on a cutting board, and then using a cleaver, chop the ends of the noodles into 1/2 inch pieces – use a towel to prevent them from flying all over the place
- Continue to process until you have about two cups.
PROMO PHOTOS
About Robert and the Photos…
Appetizers, Condiments and Sides
Breakfast

Lunch
Dinner
Home and Family Life








Travel














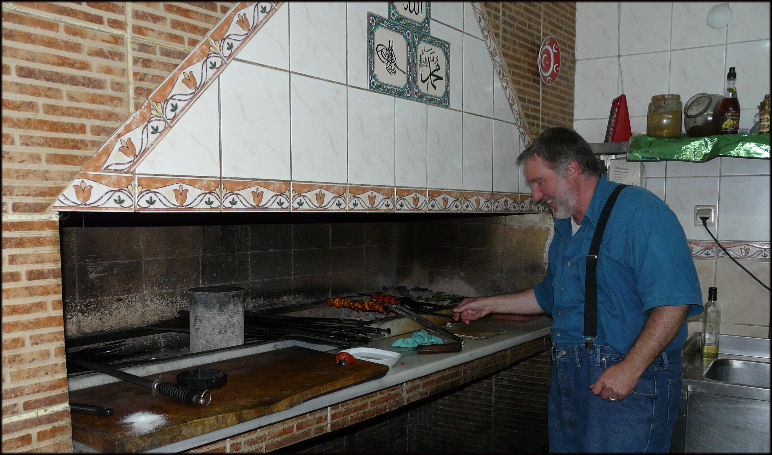
Robert is 57 years old. He retired from Software development in 2005 and turned his attention to cooking. He has taken several classes in cooking, but mainly relies on learning from other chefs and his own intuition. His travels have taken him to kitchens around the world, and to countries including Spain, France, Istanbul and the Czech Republic.
Here are some of the high points from the enclosed photographs.
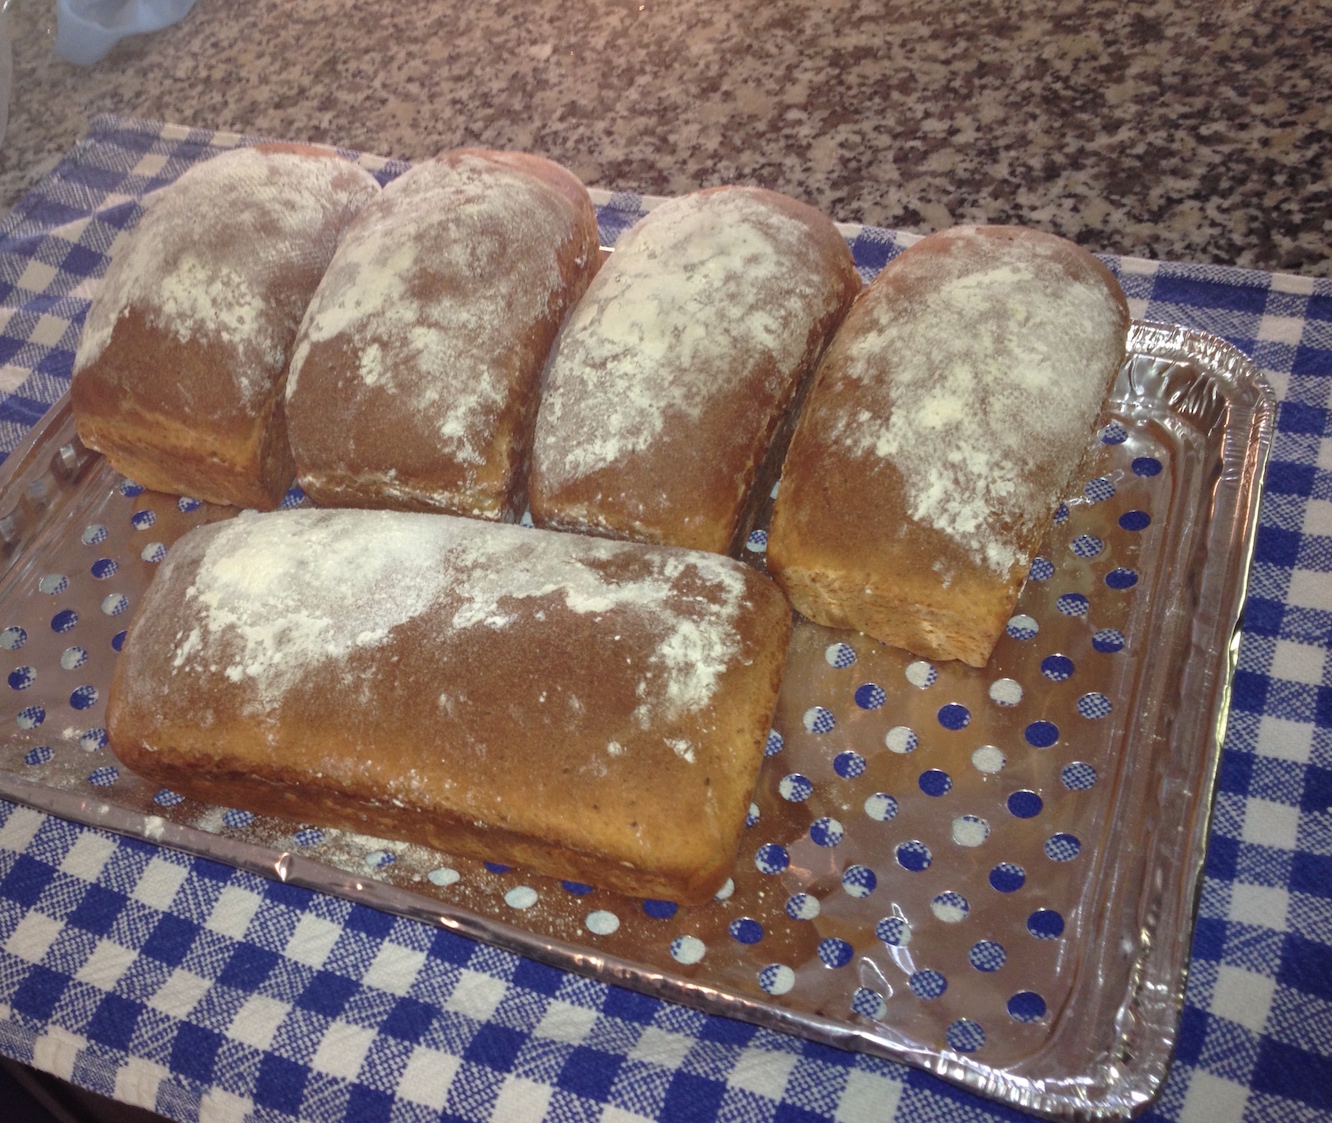
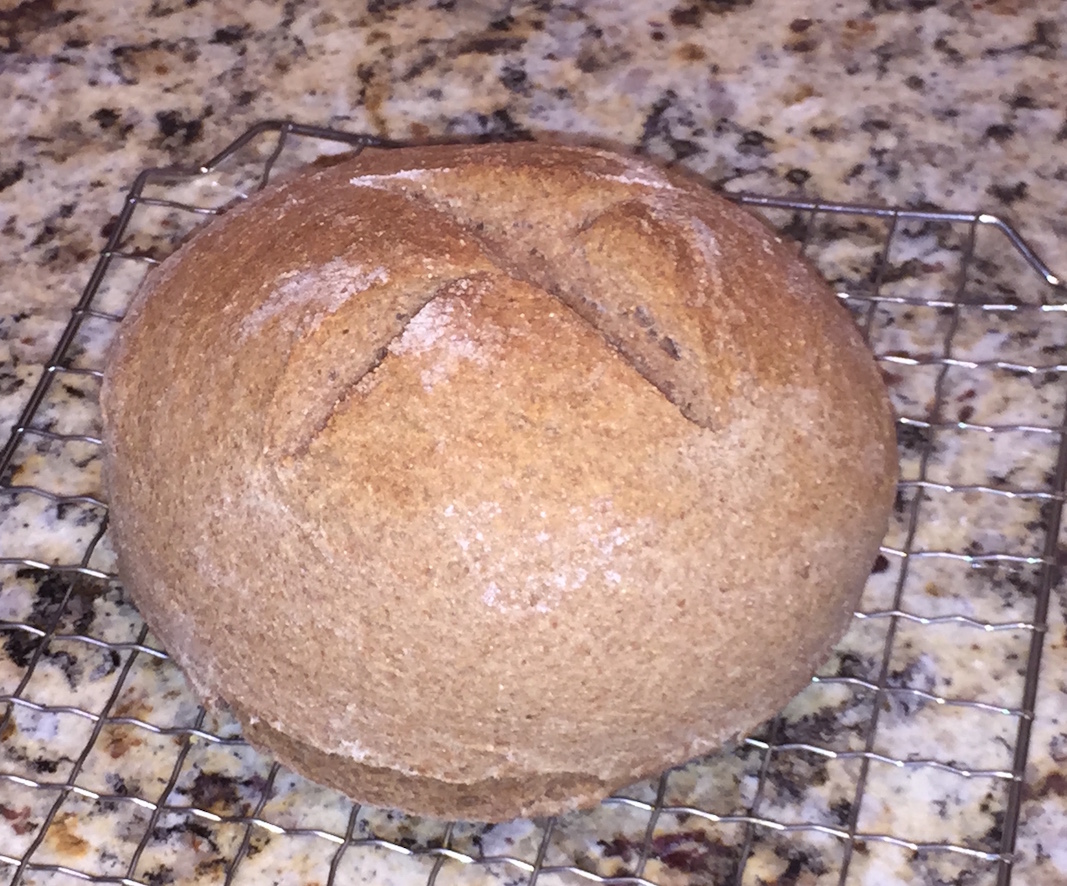
Bread Two photos of some of the loaves that Robert has created.
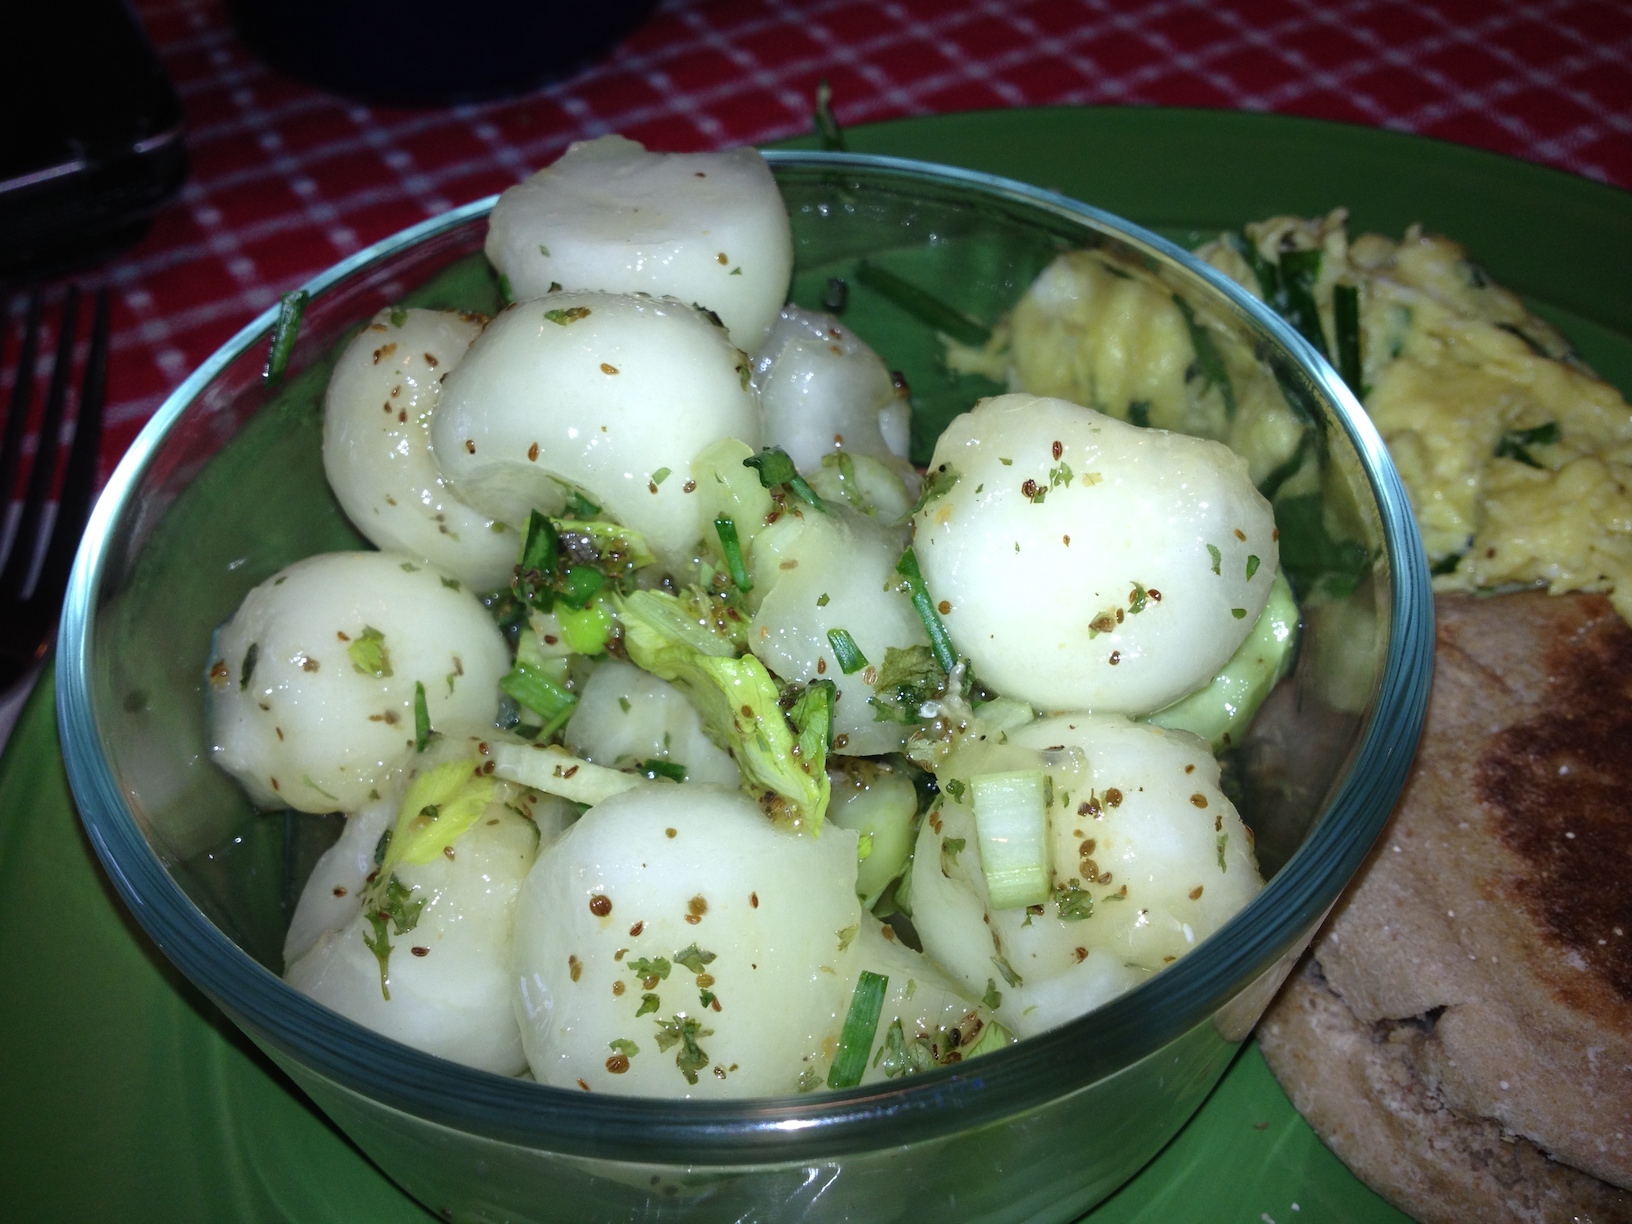
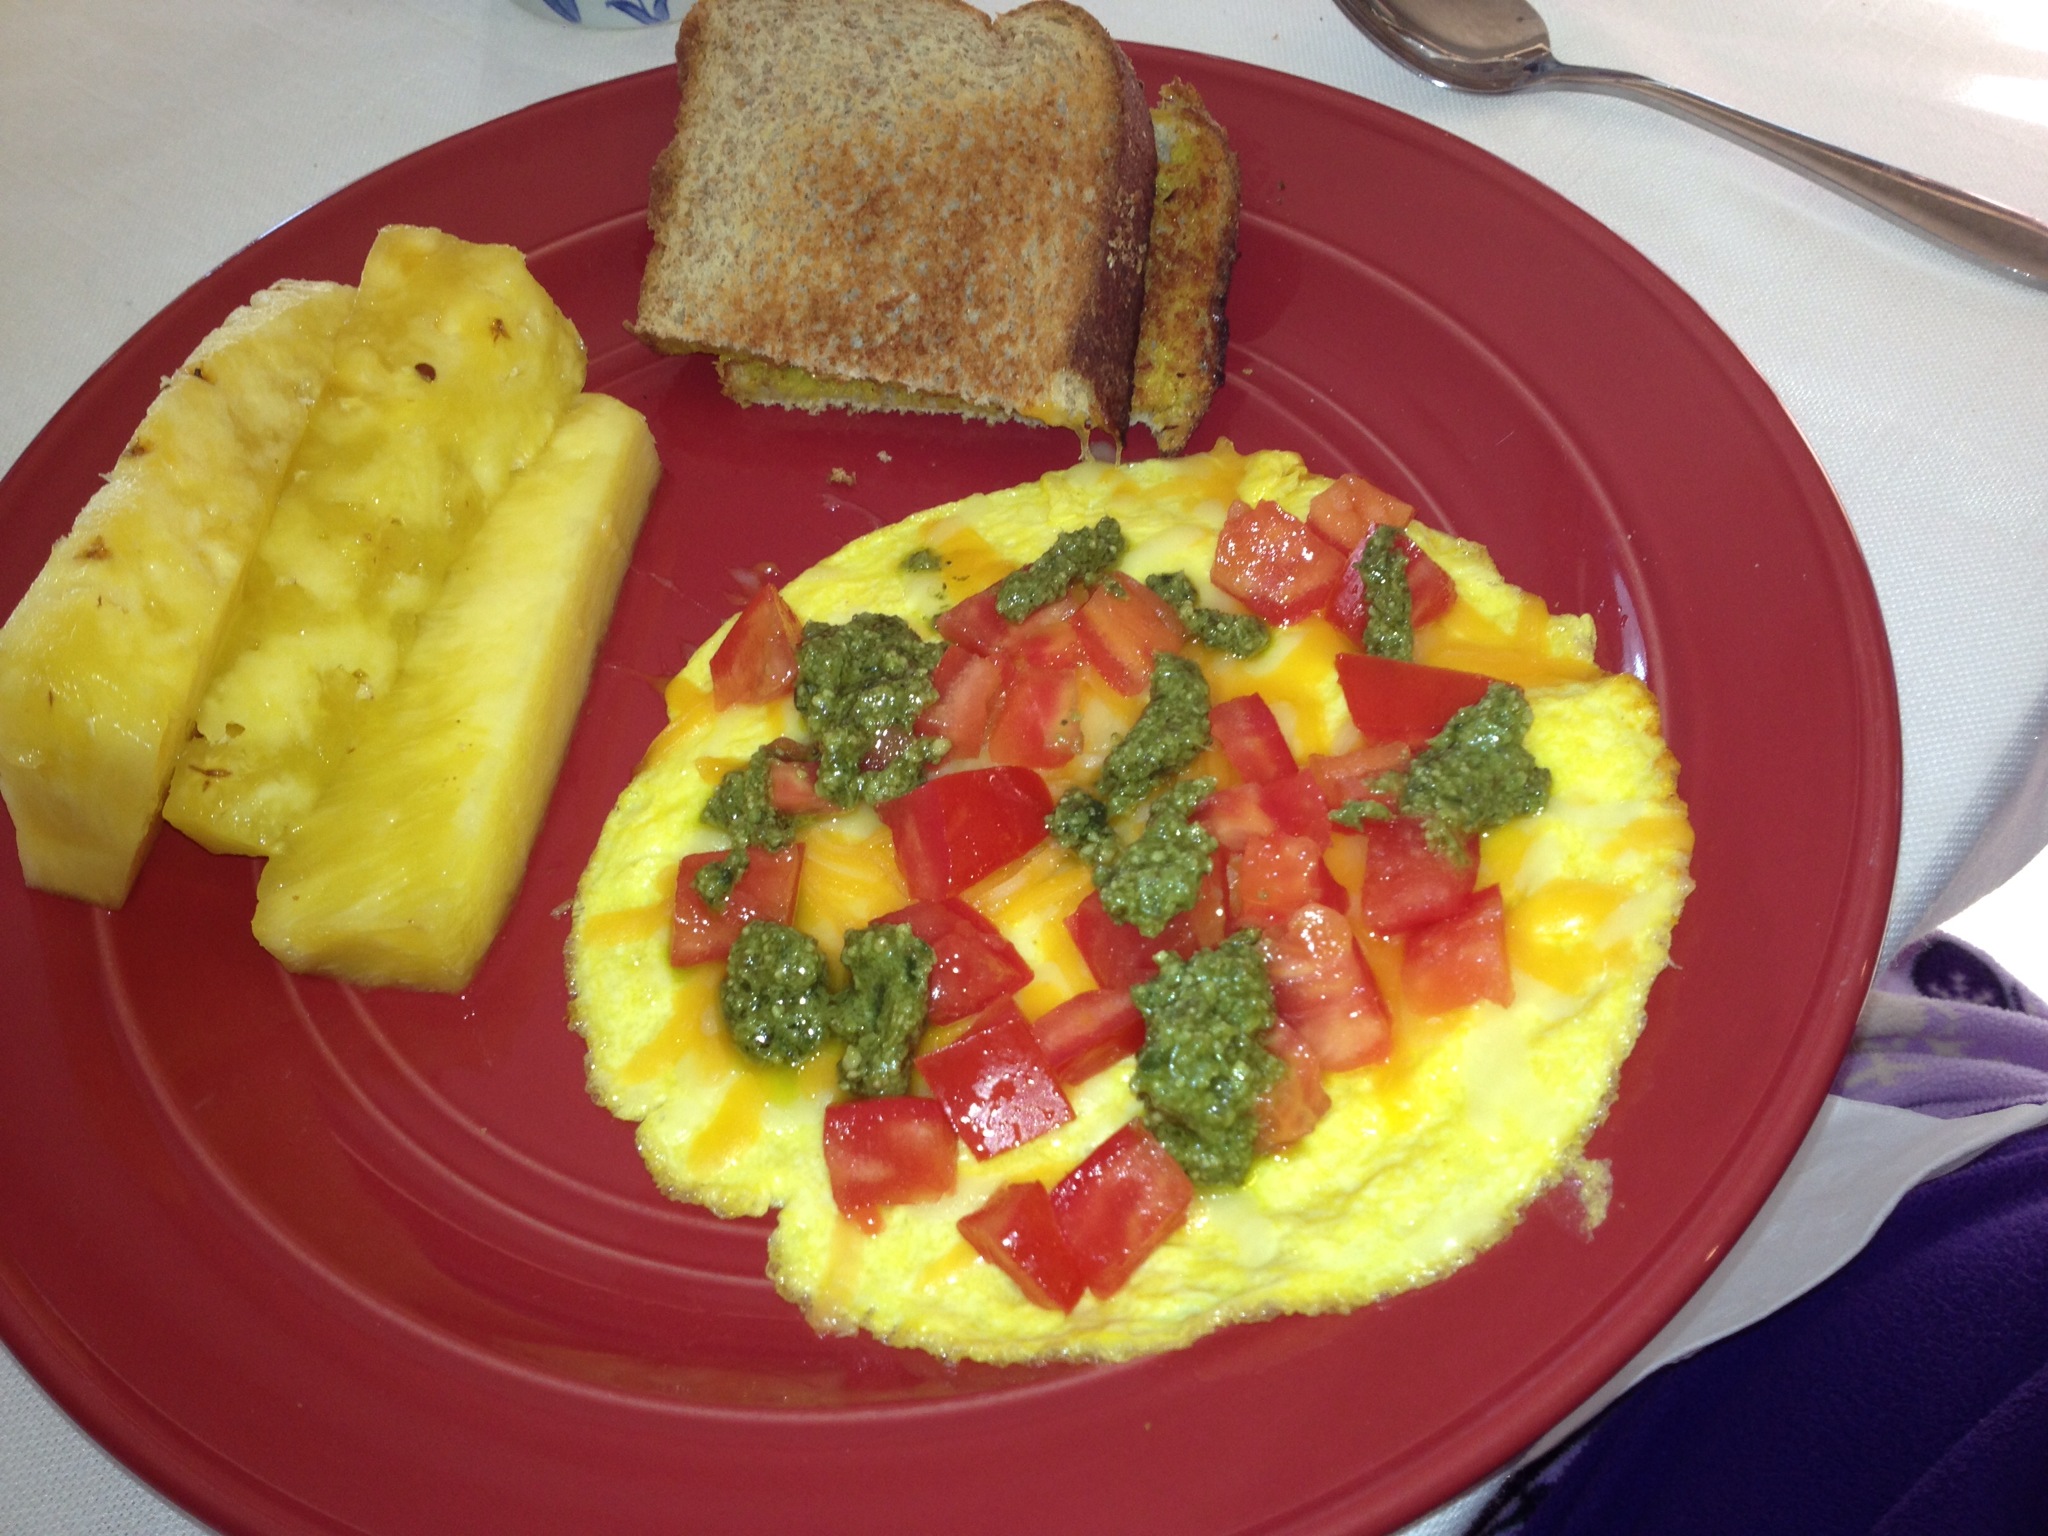
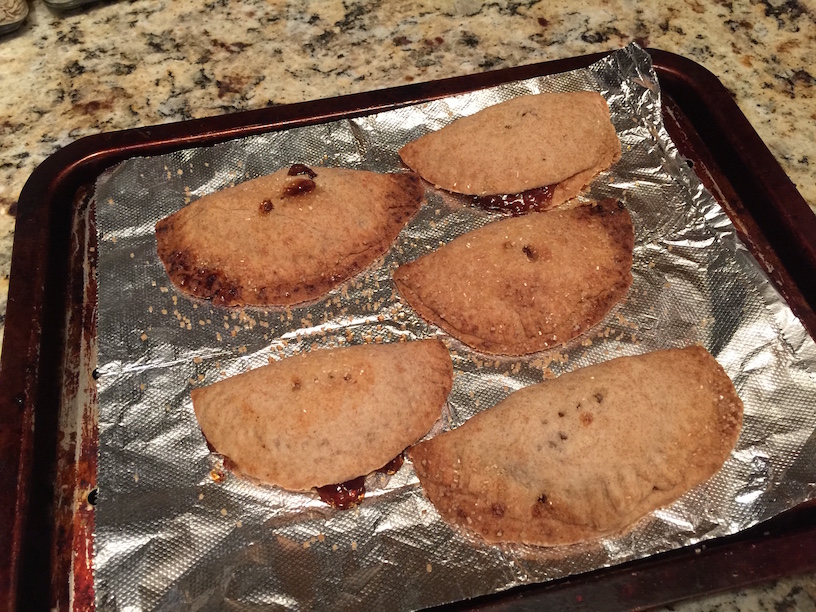
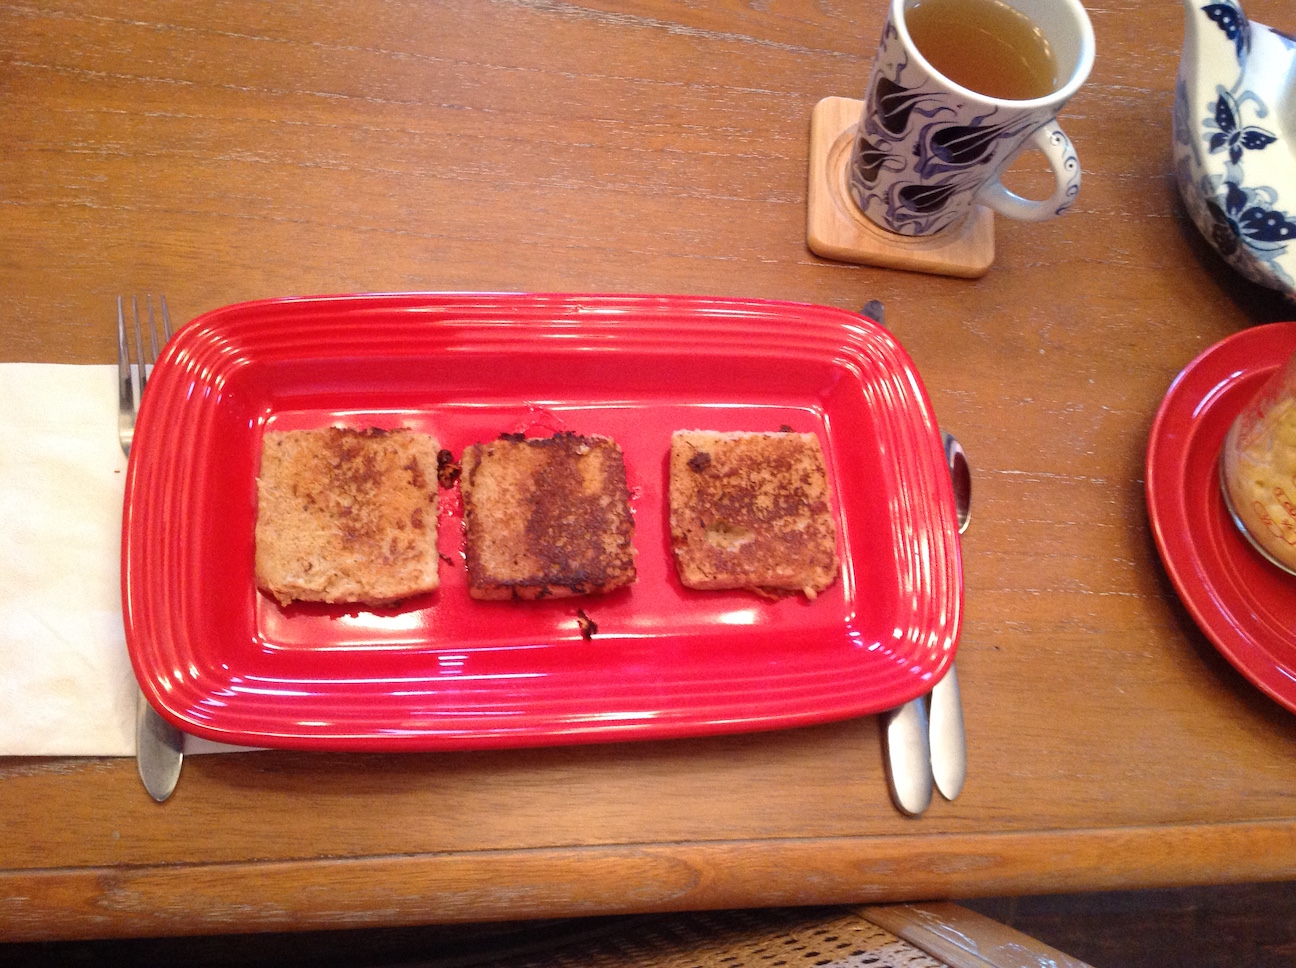
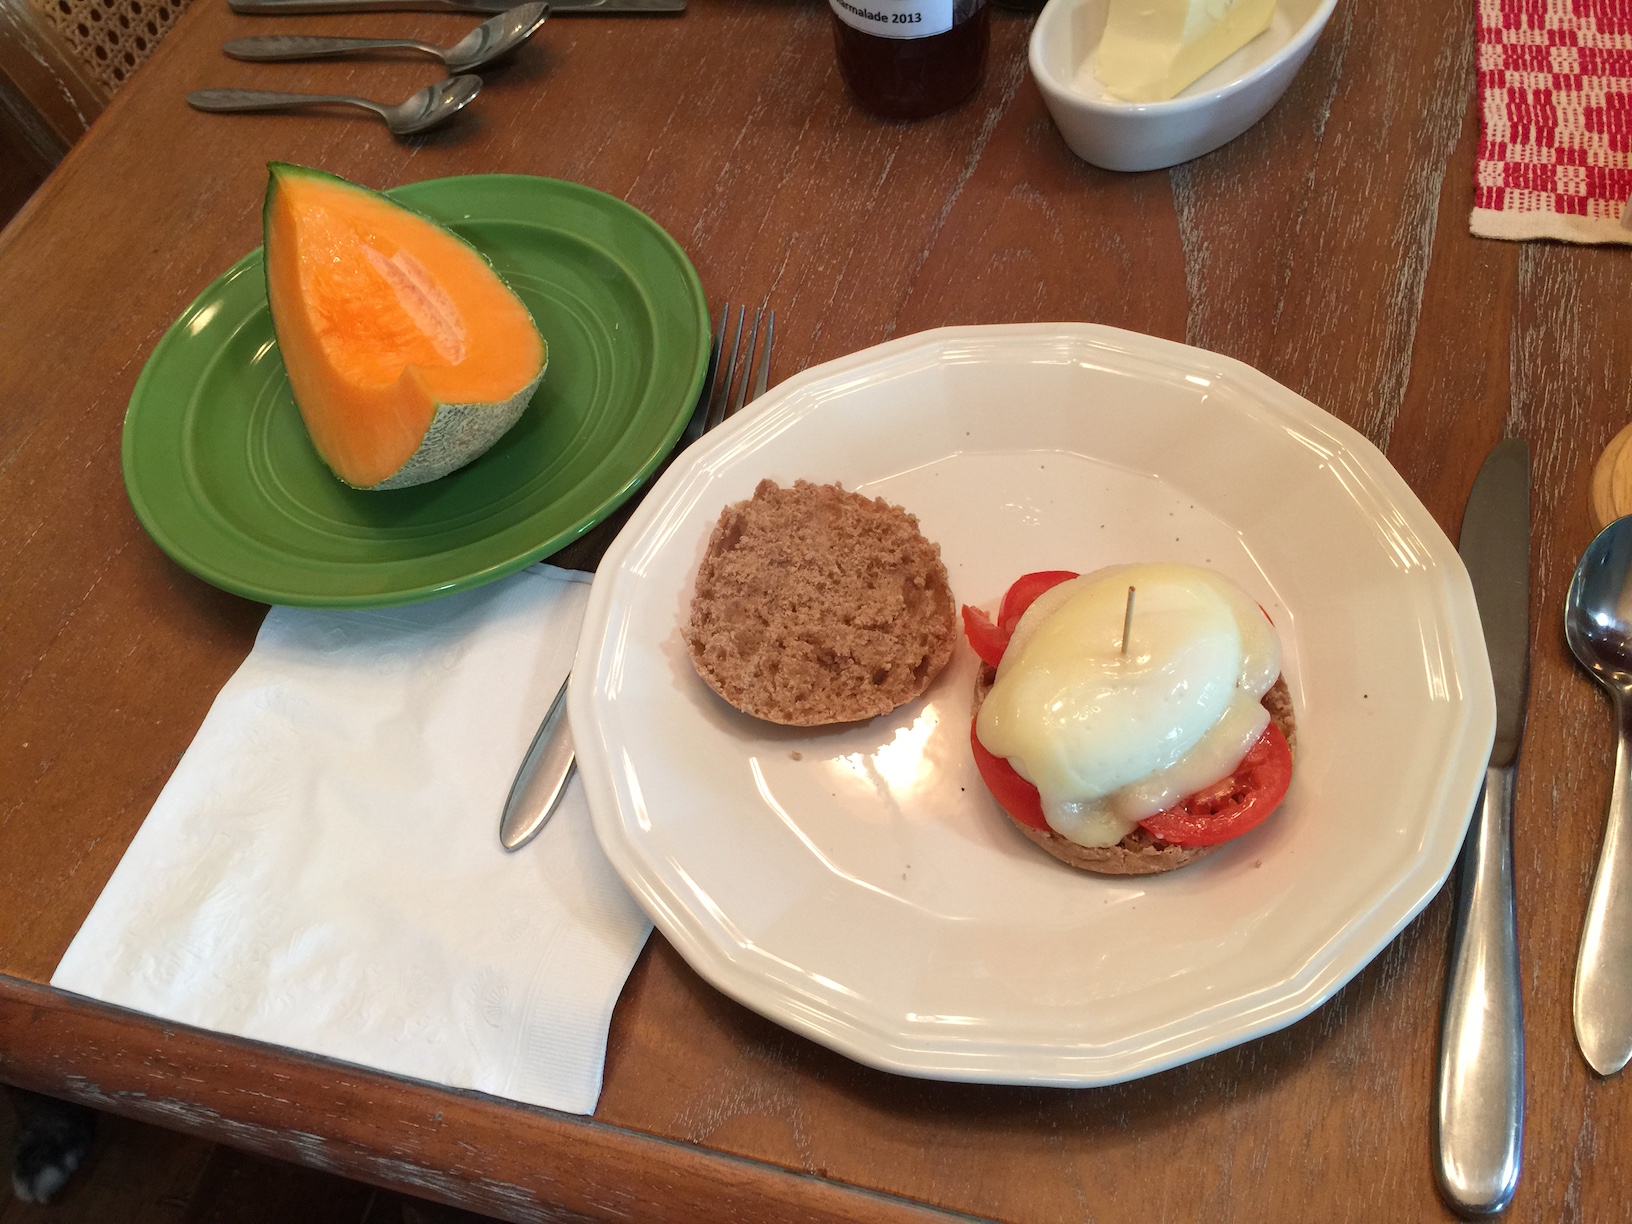
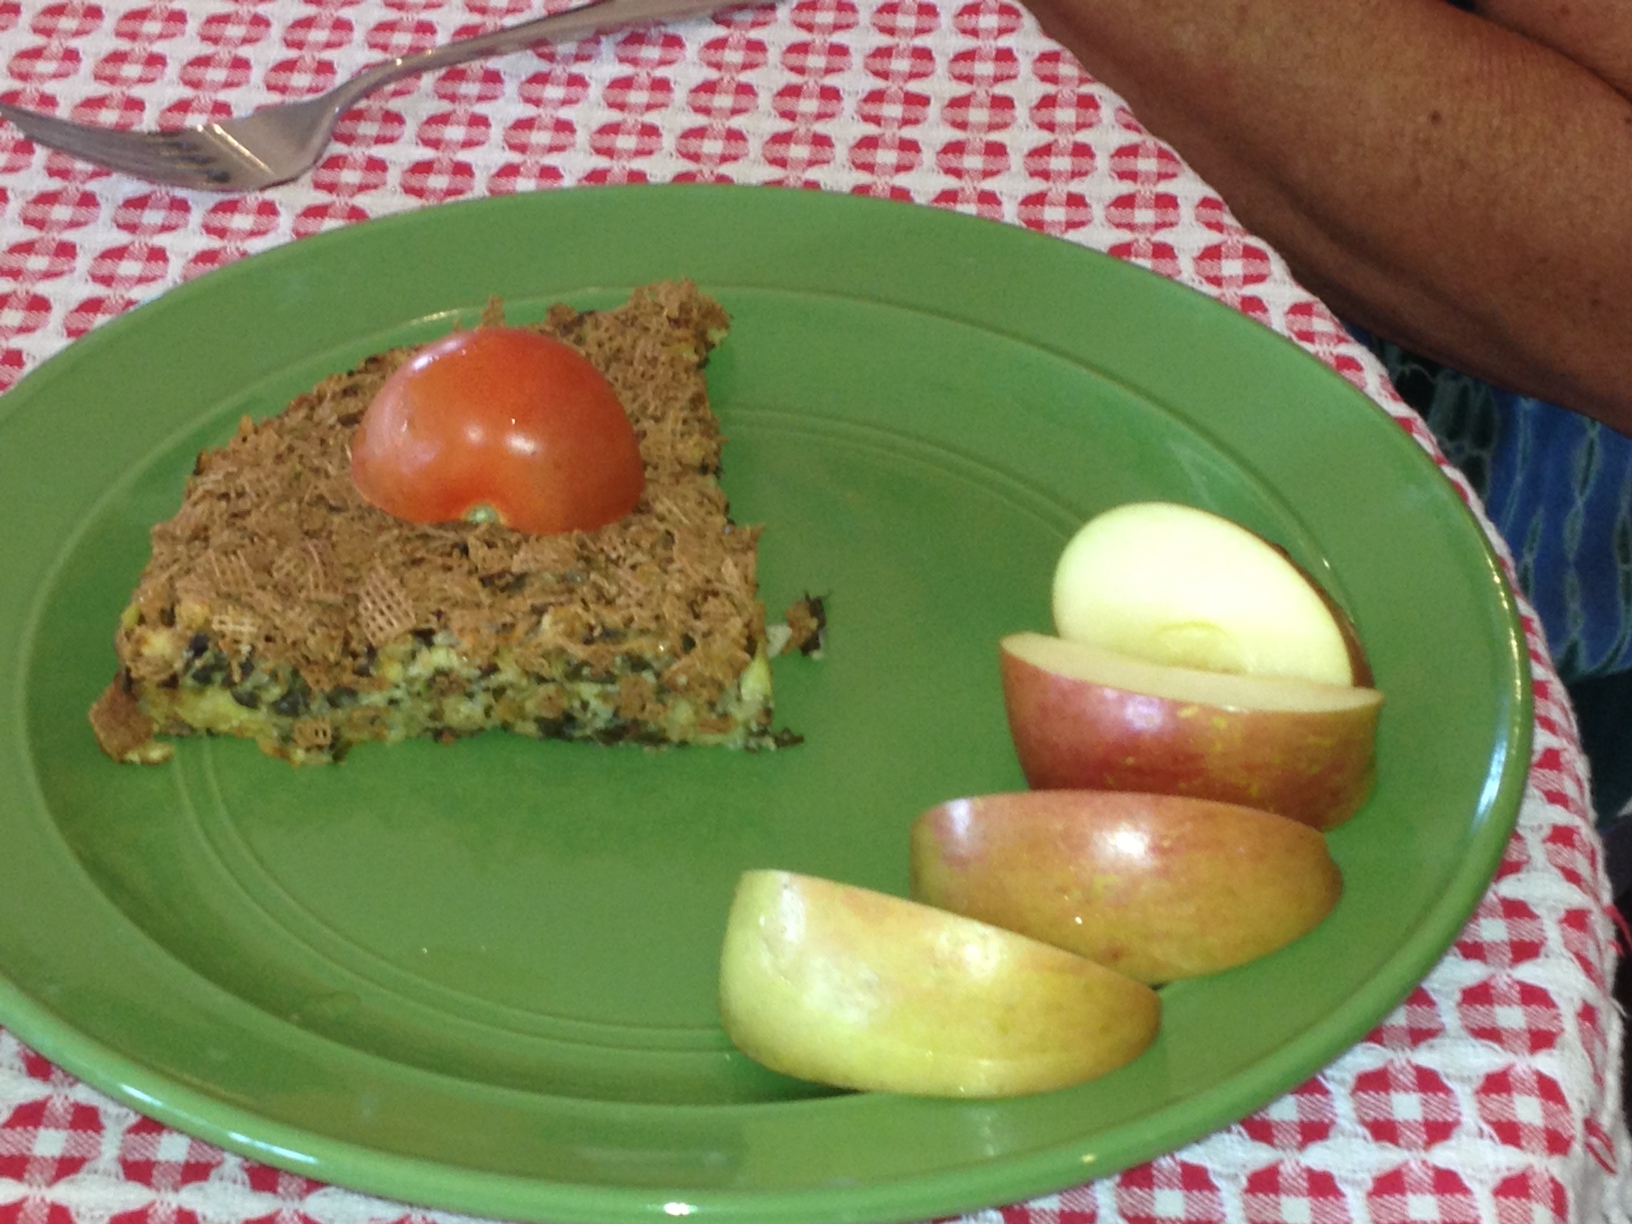
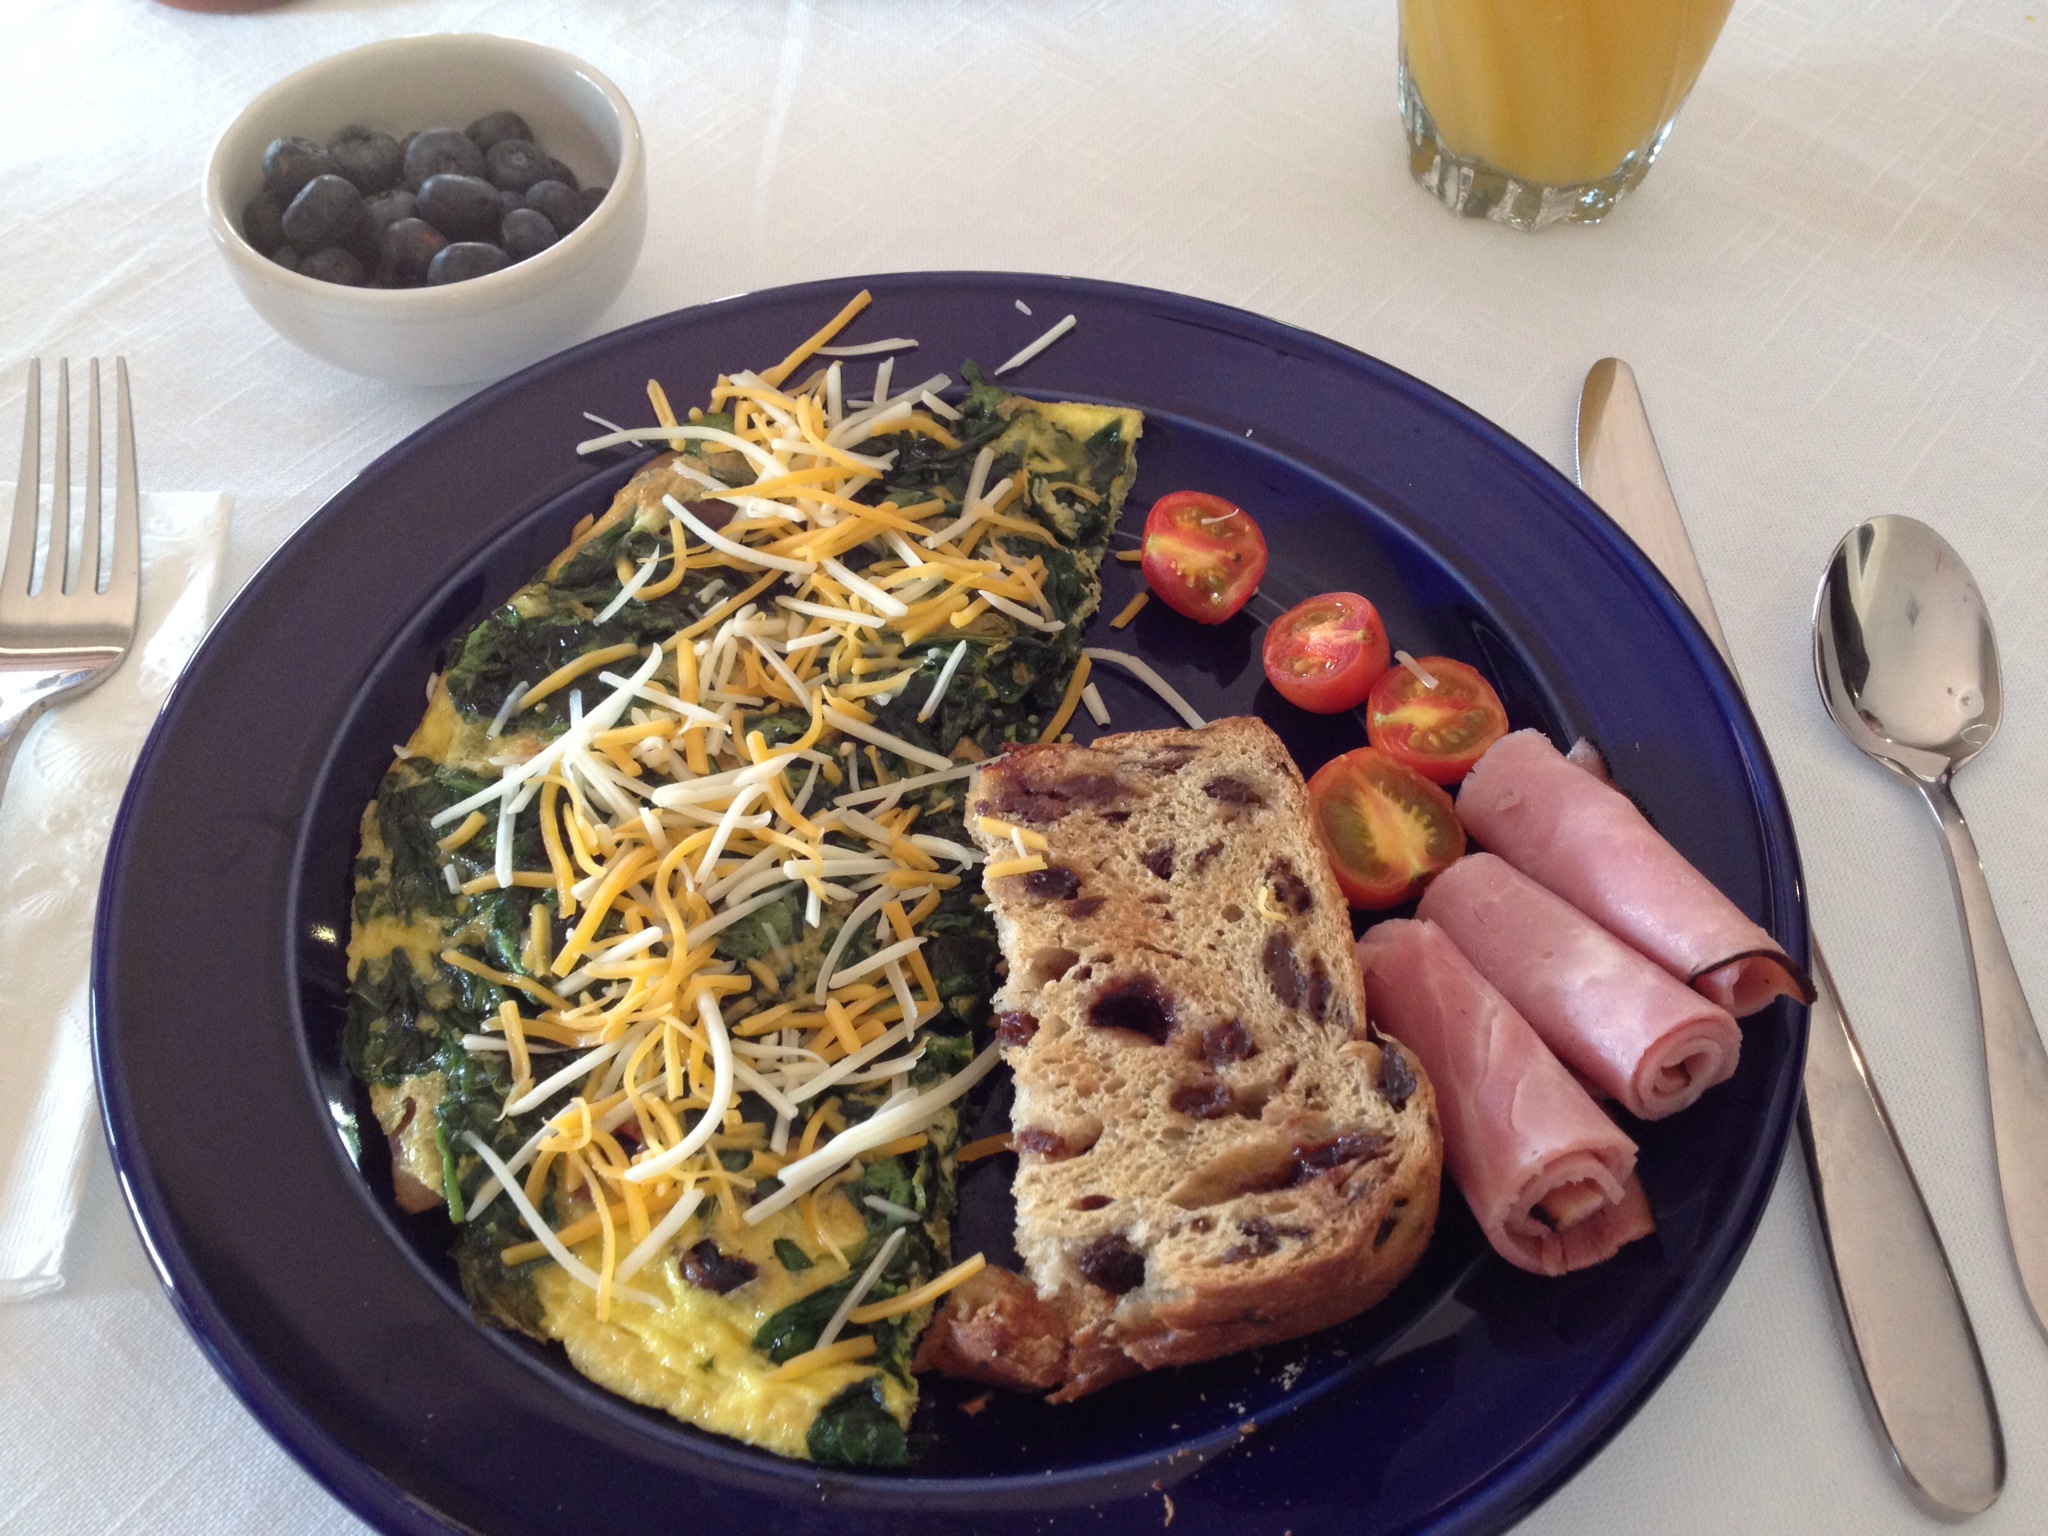
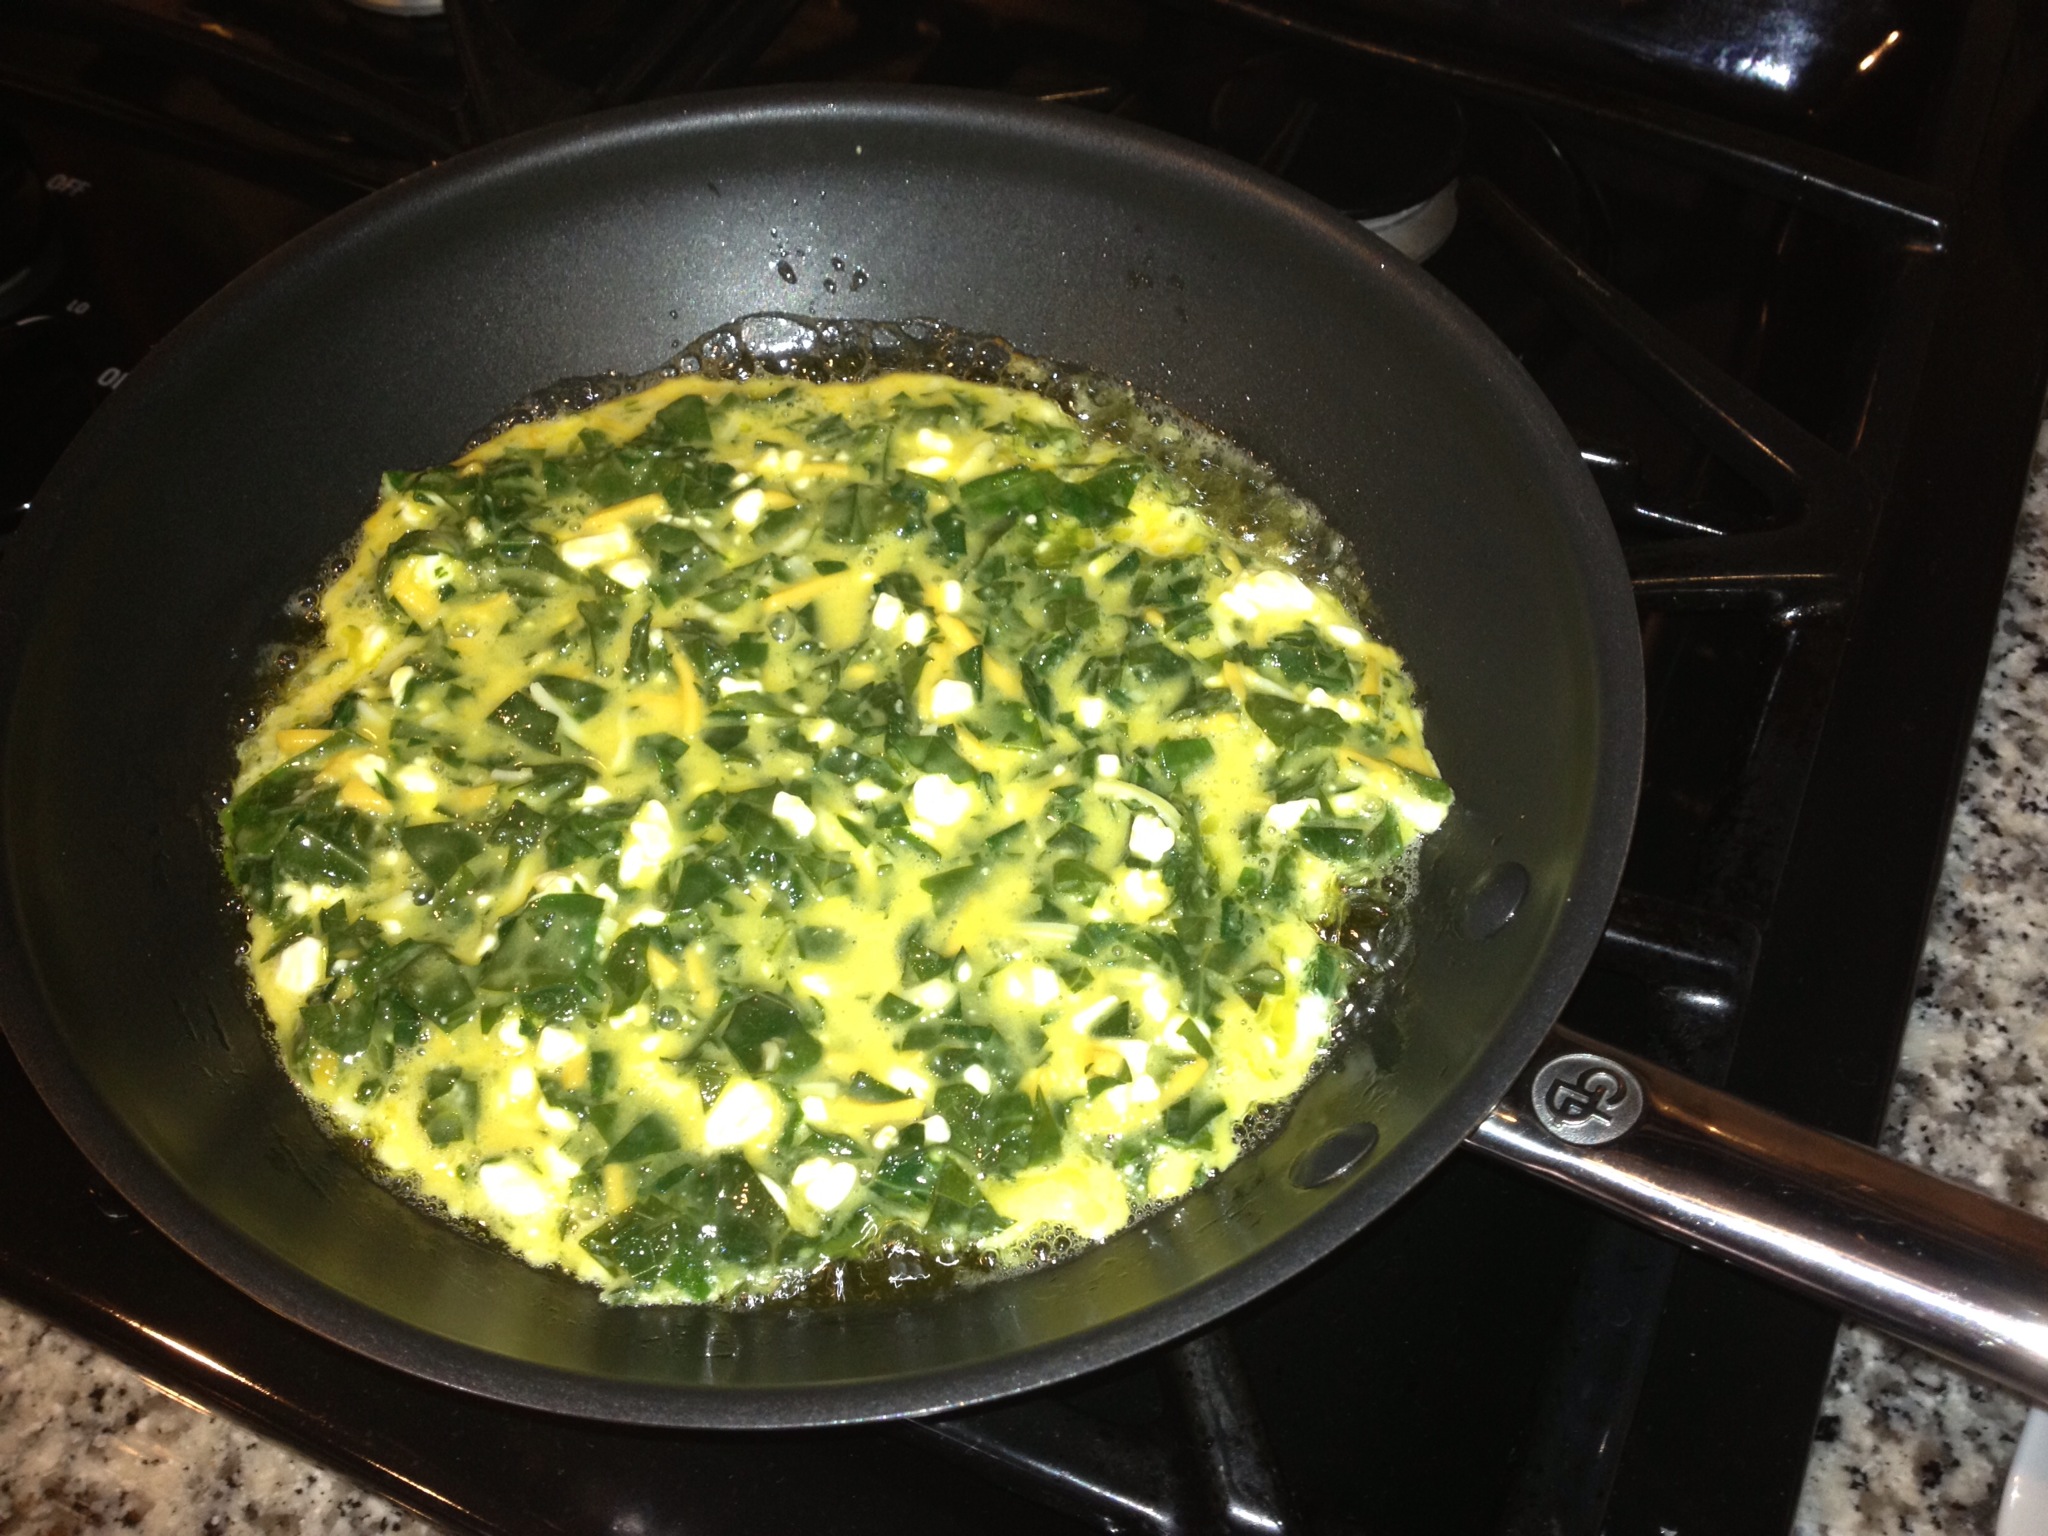
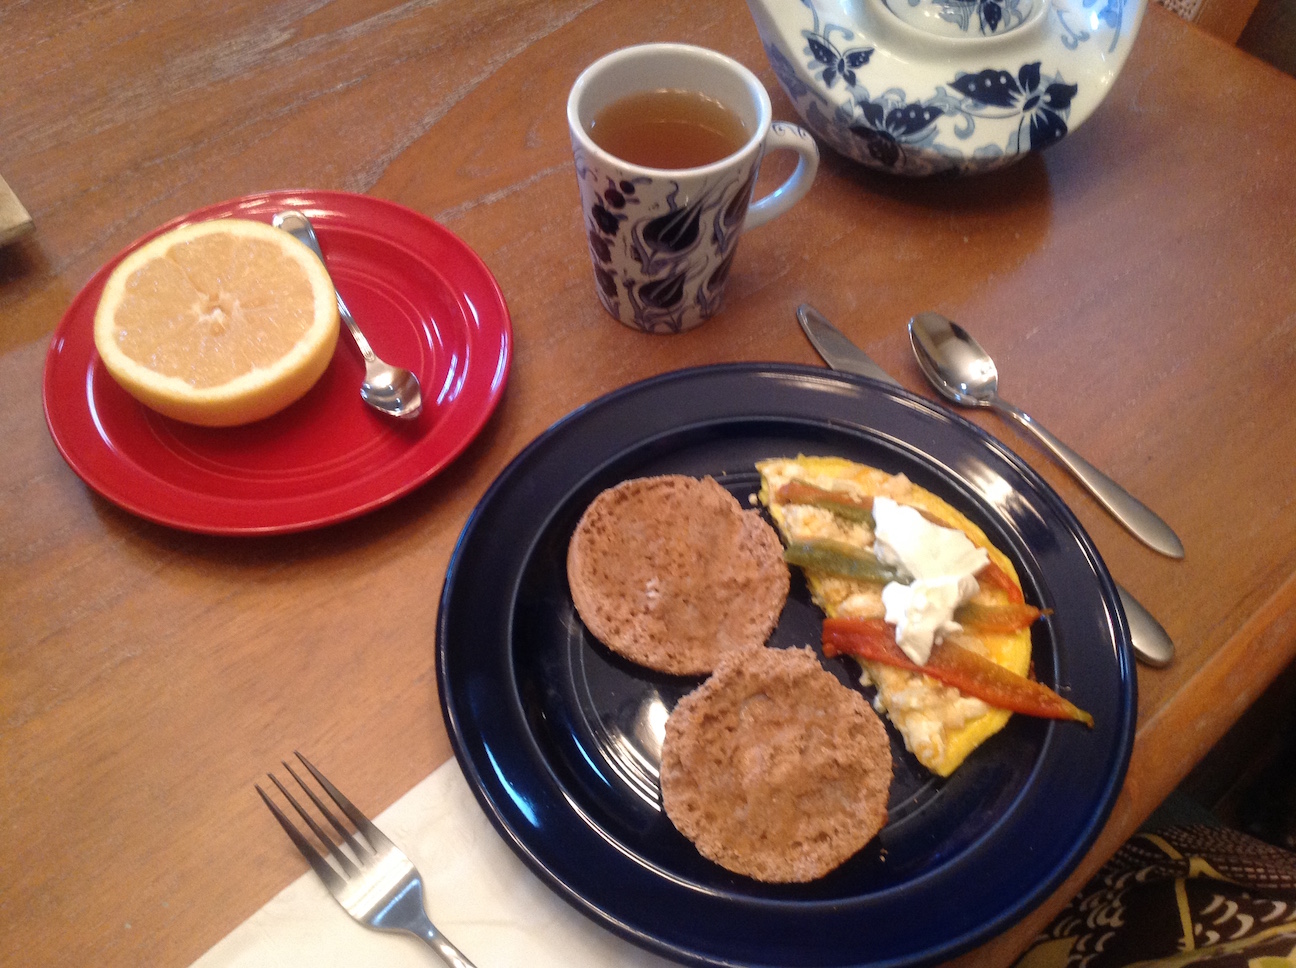
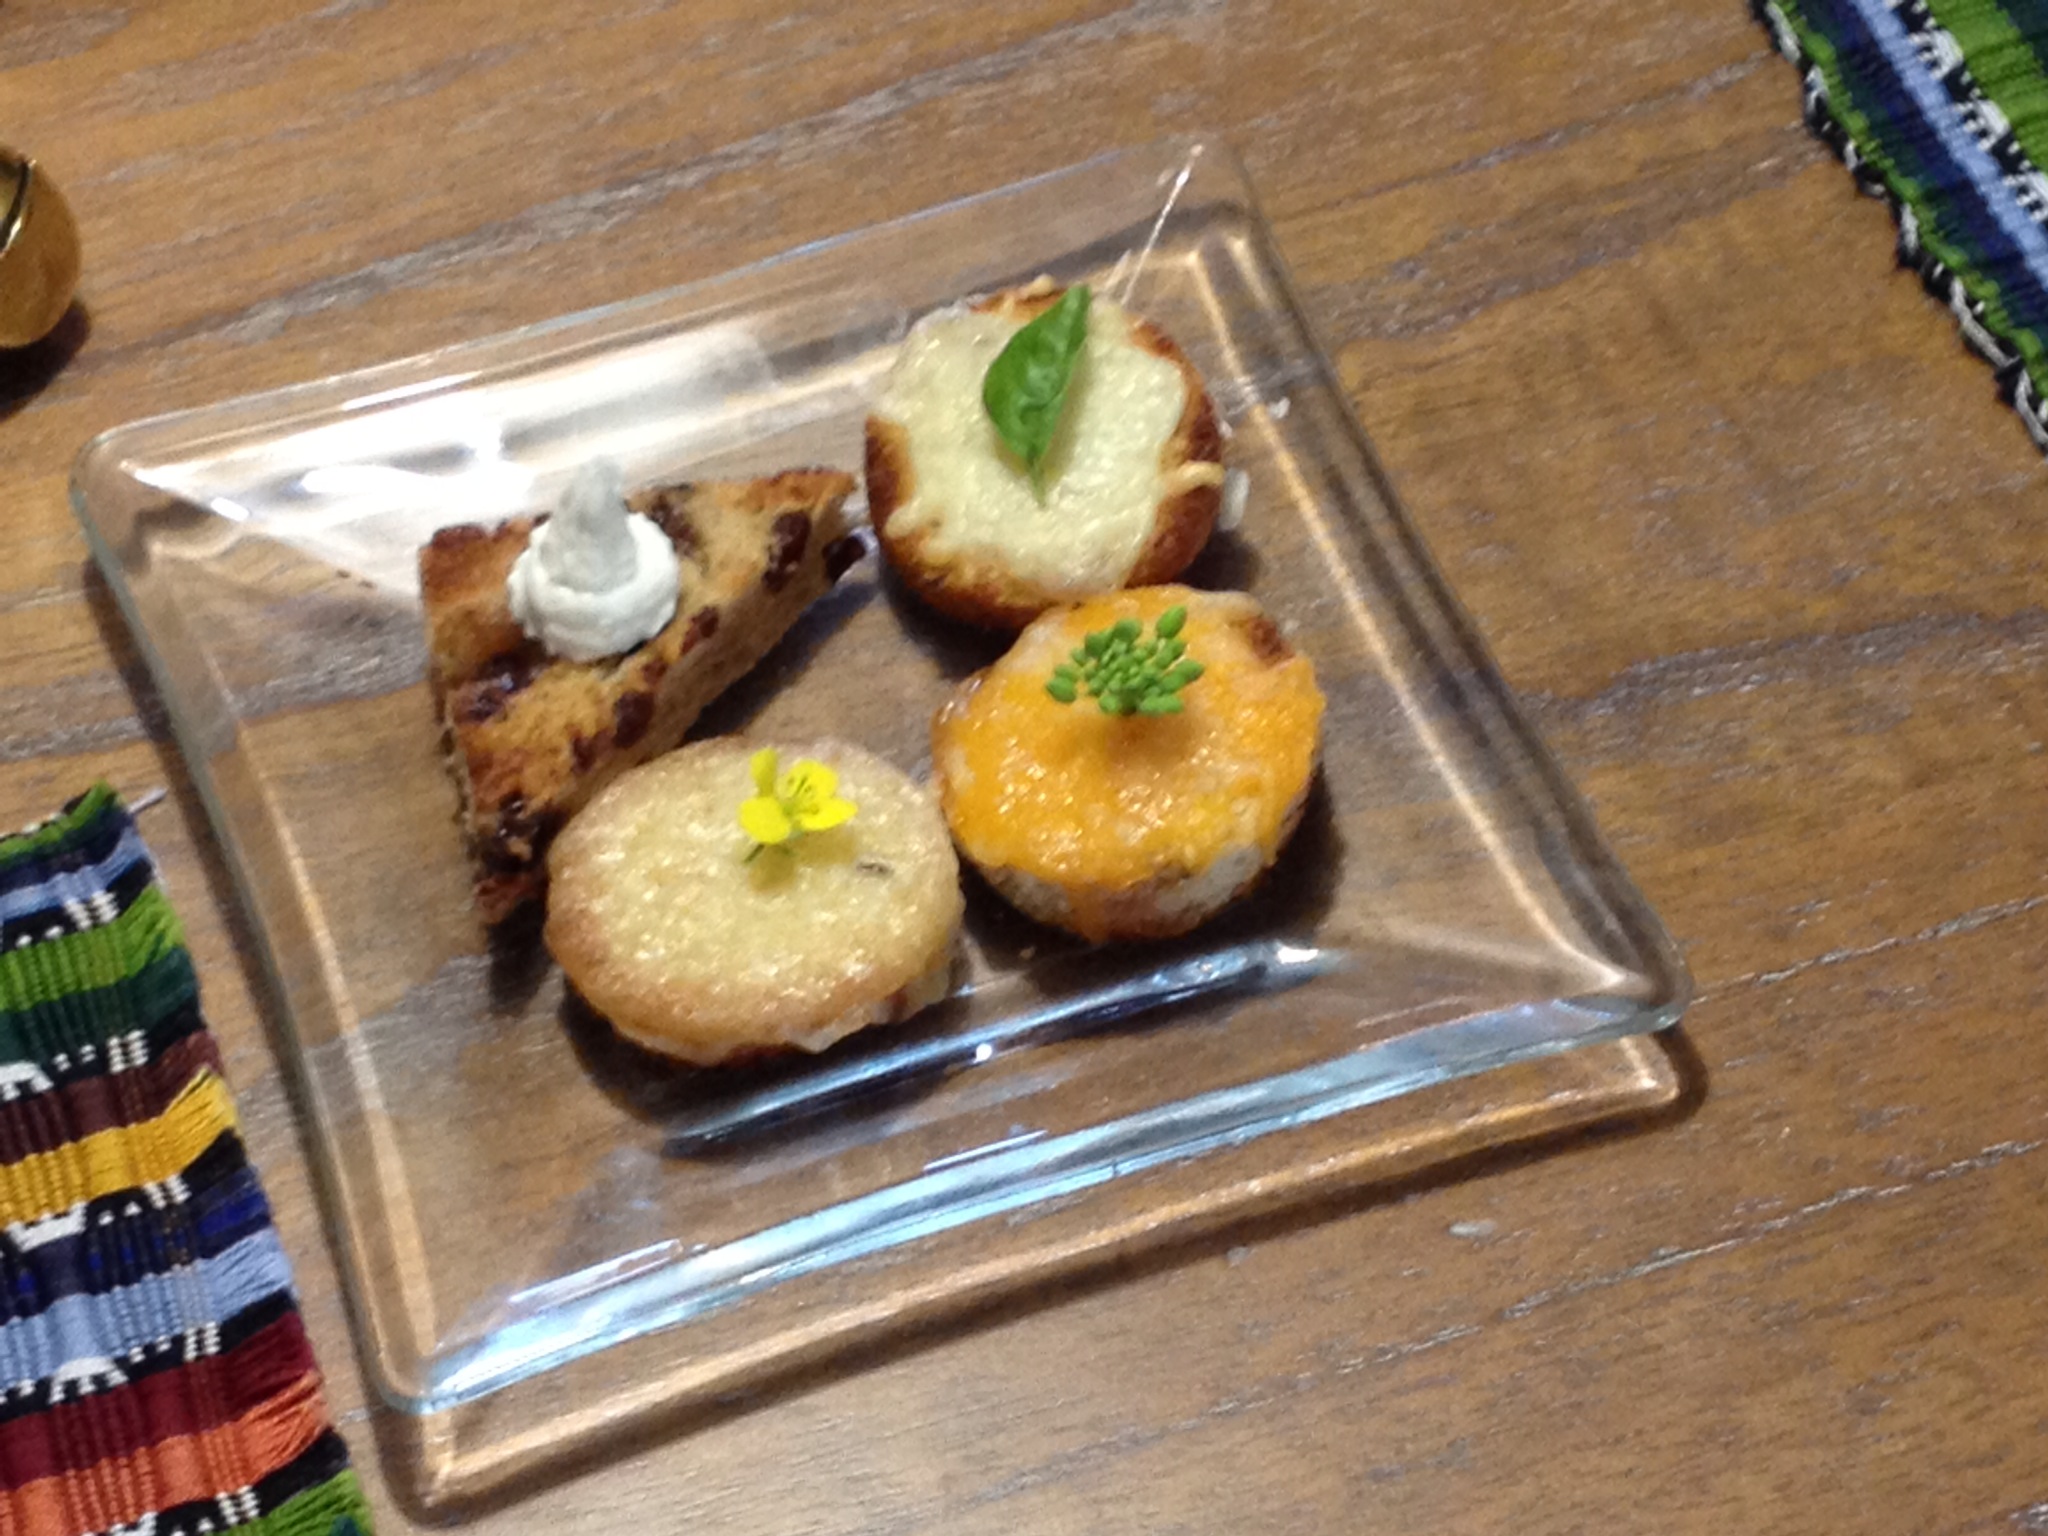
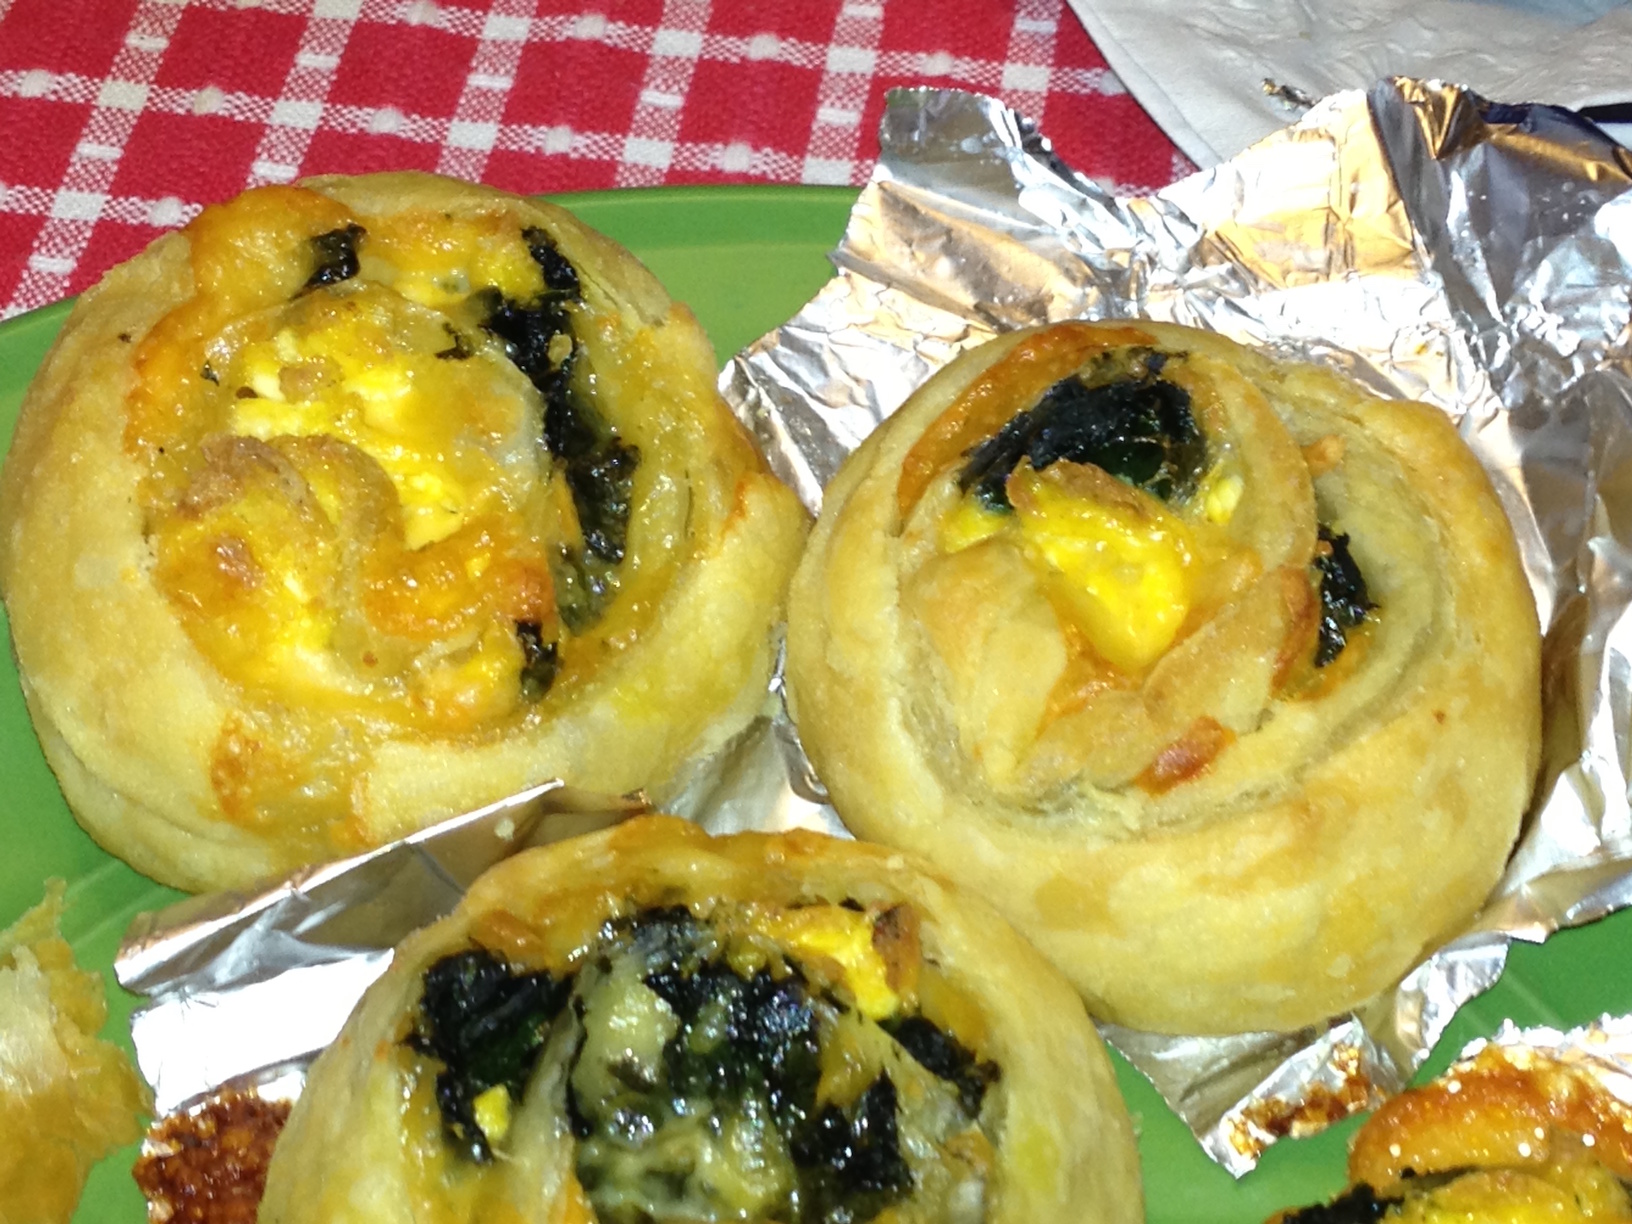
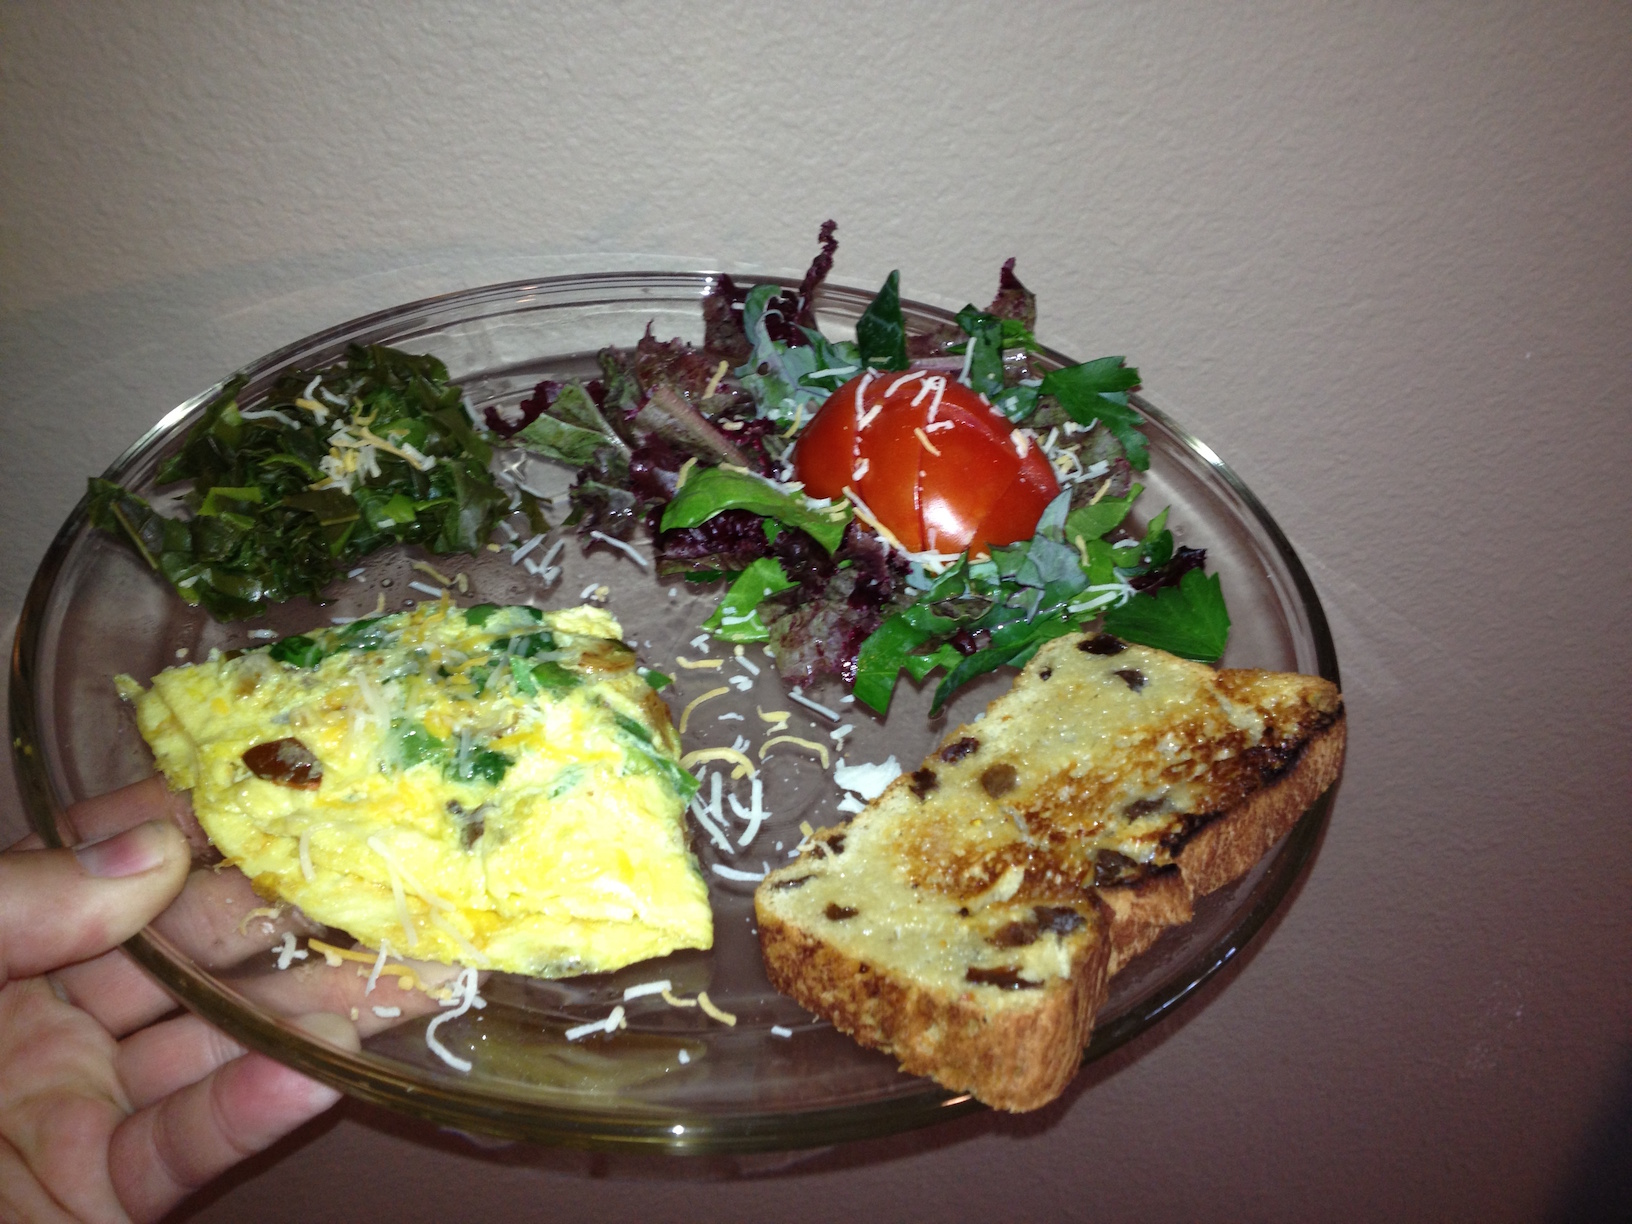
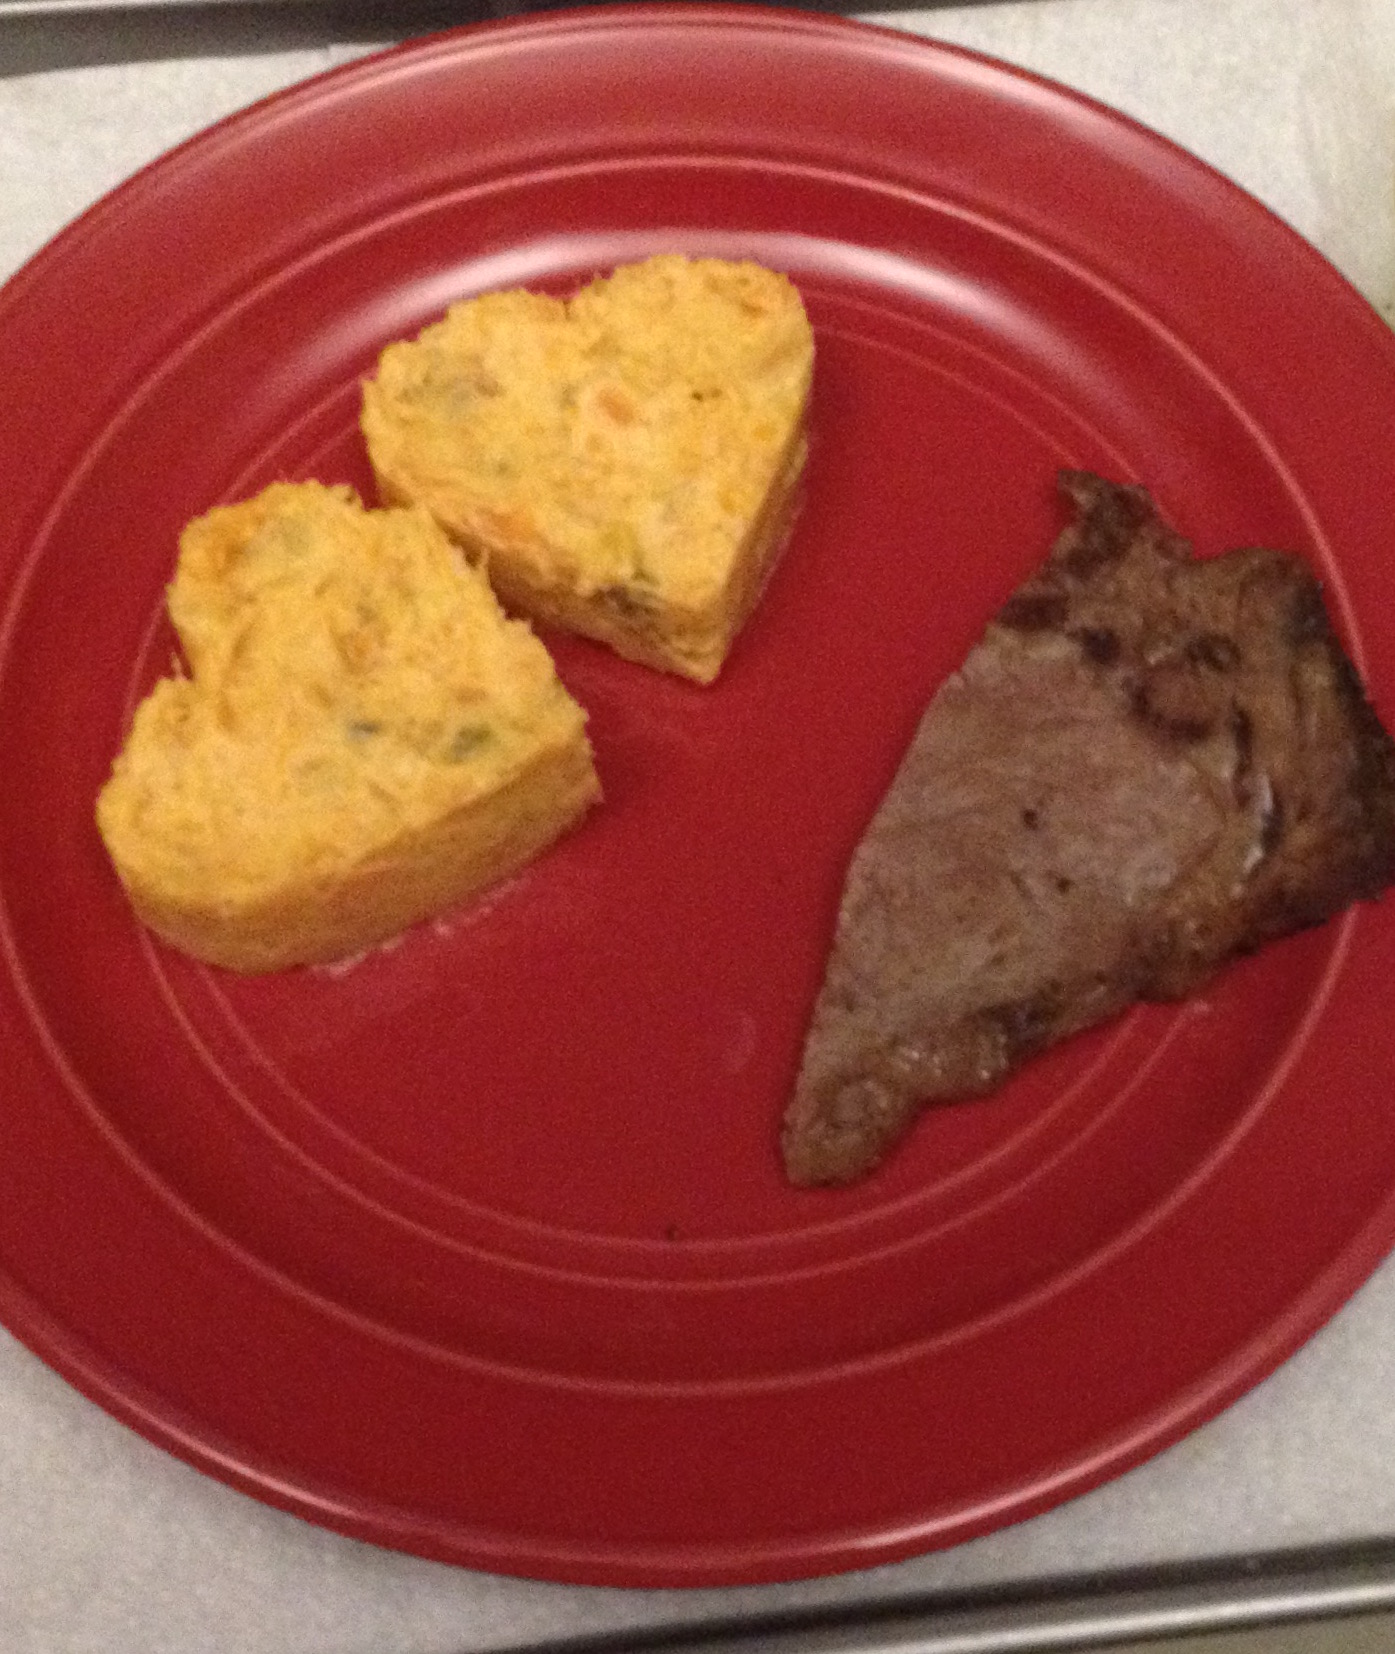
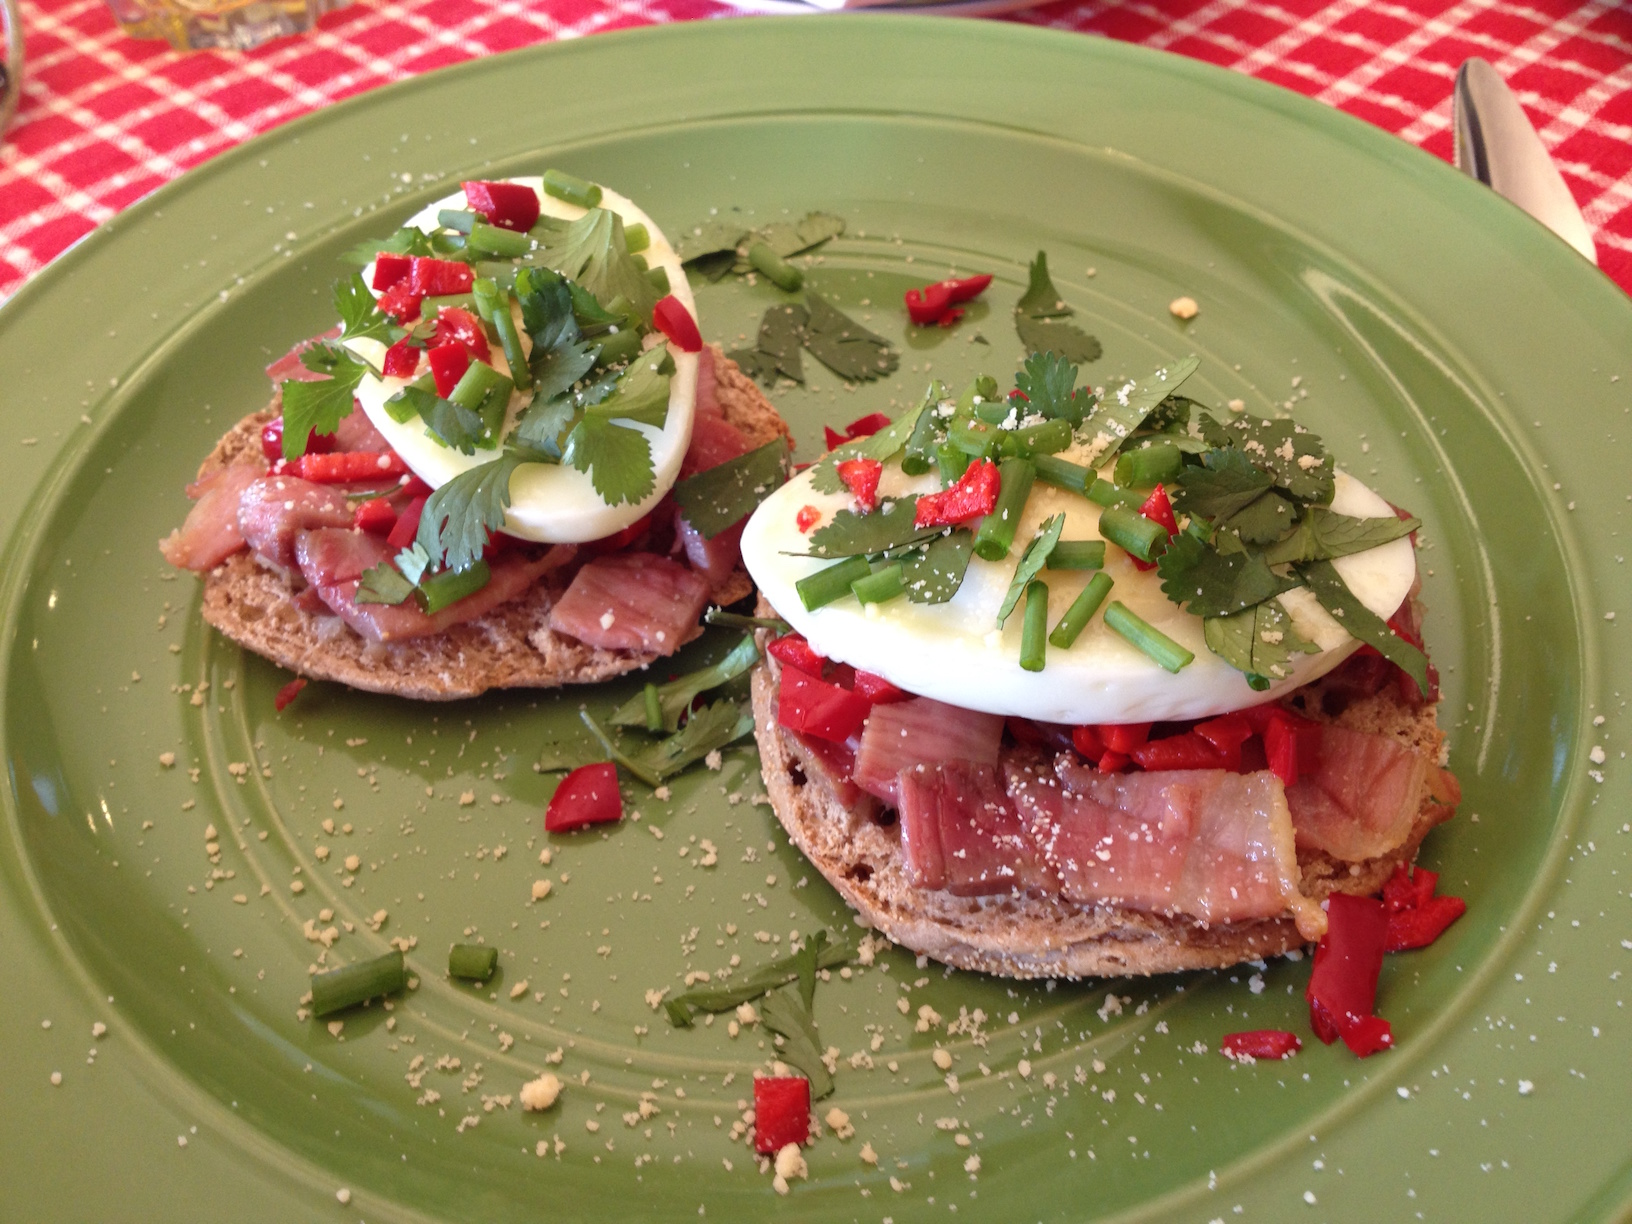
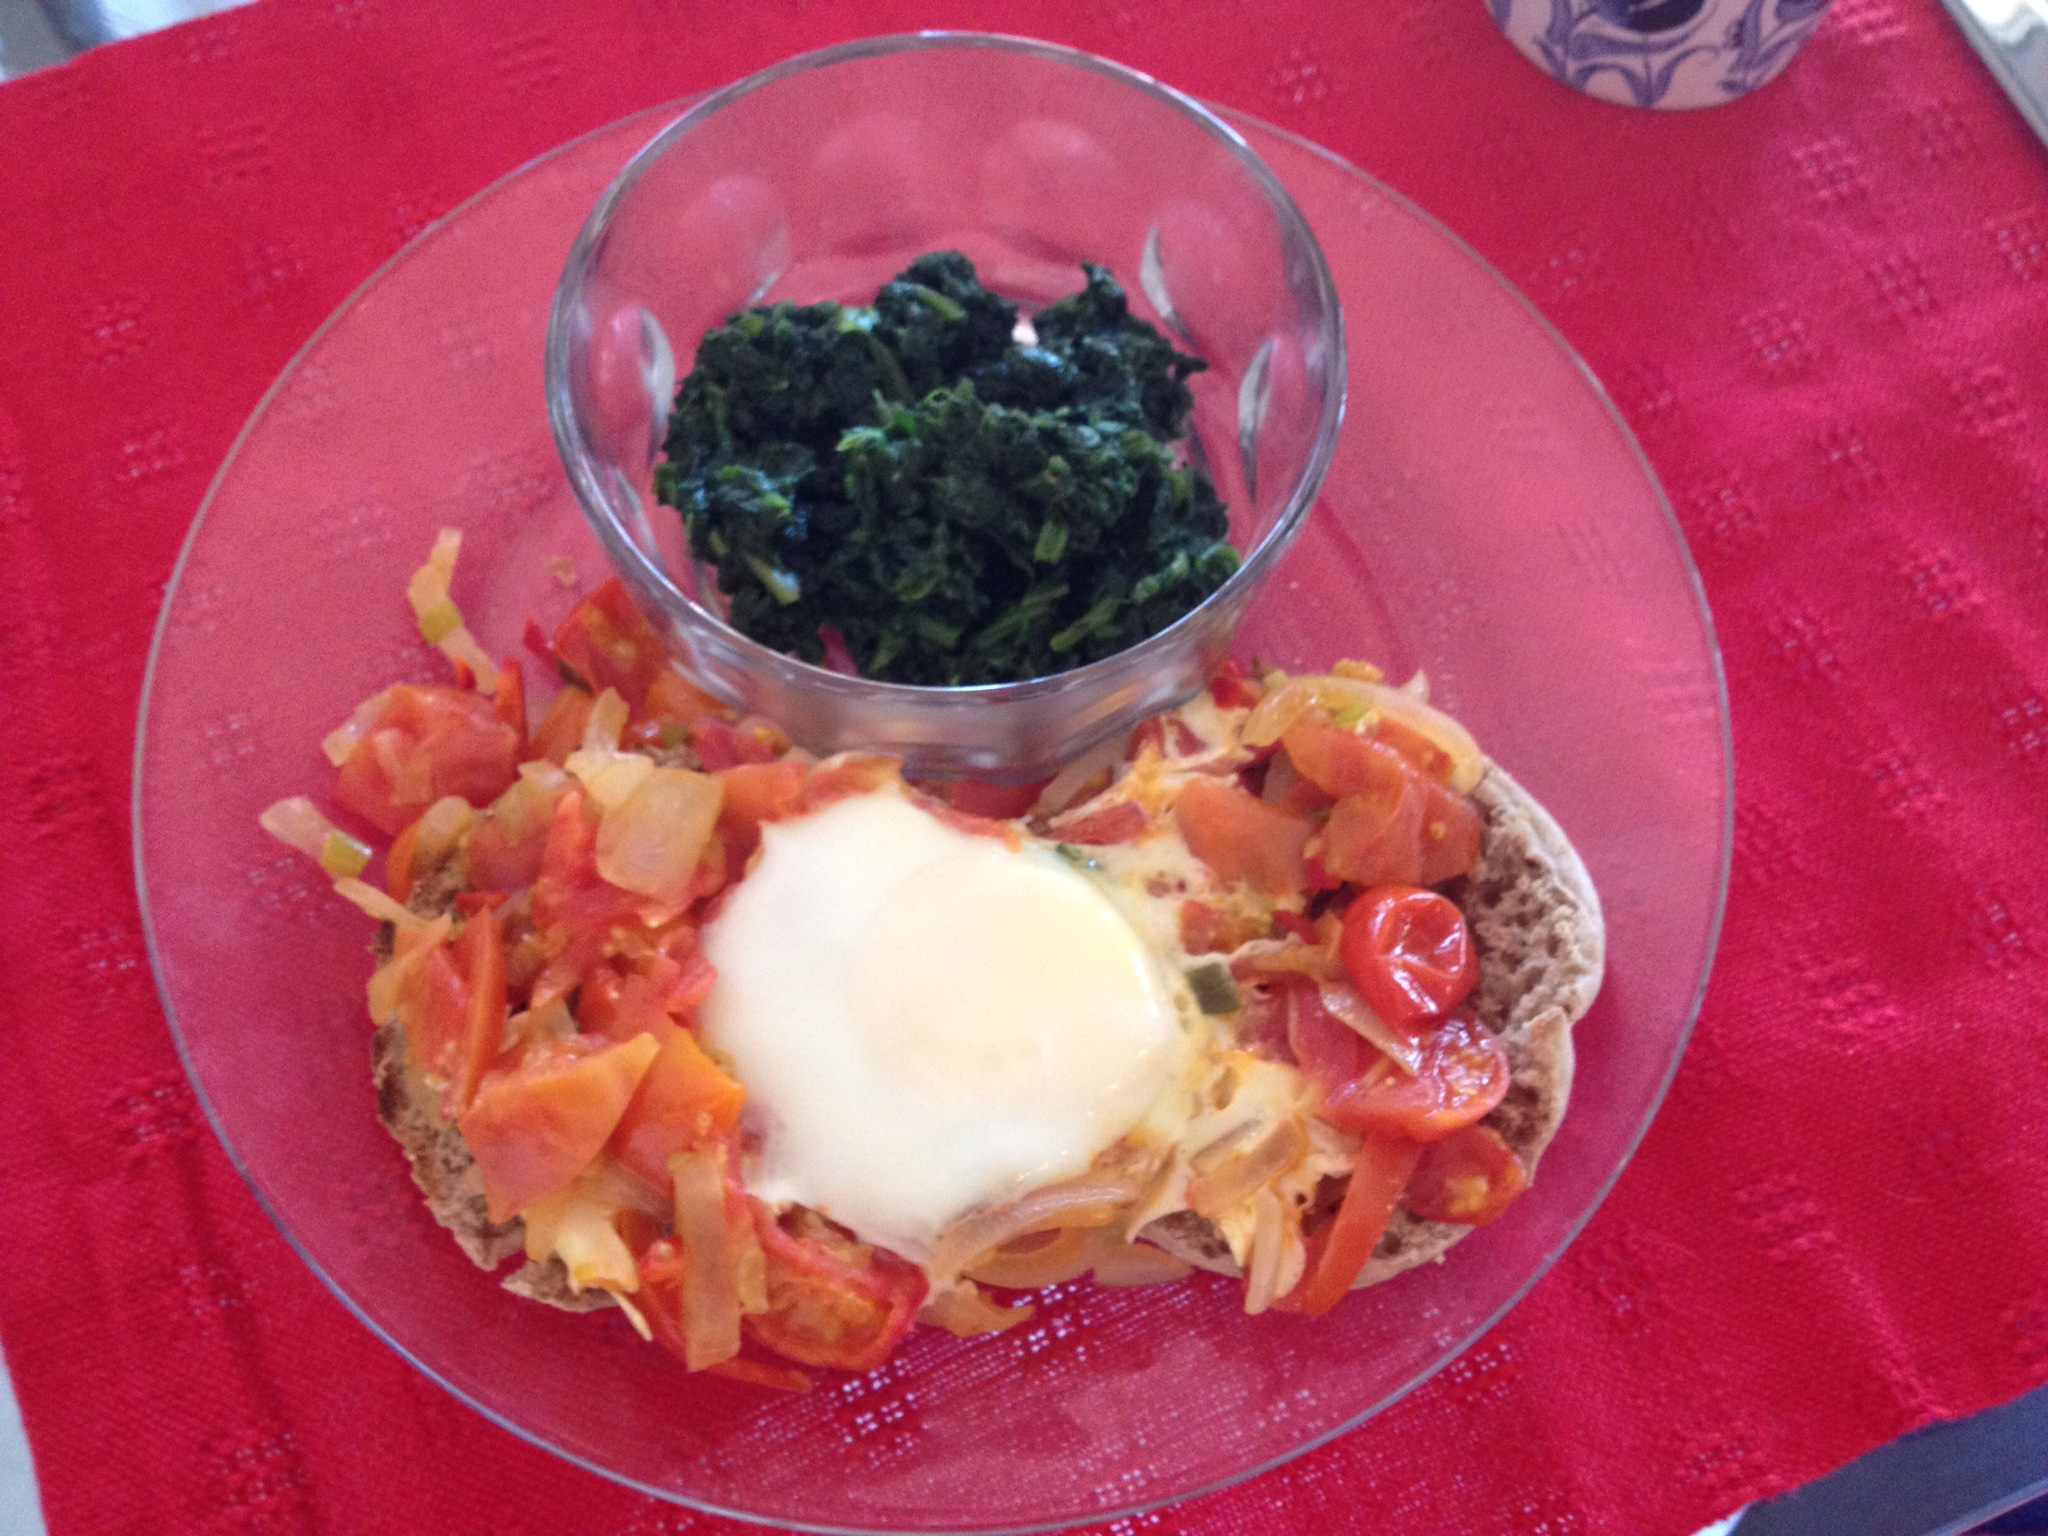
Breakfast Photos include lots of eggs, French Toast, breakfast tarts, quiches, and muffins.
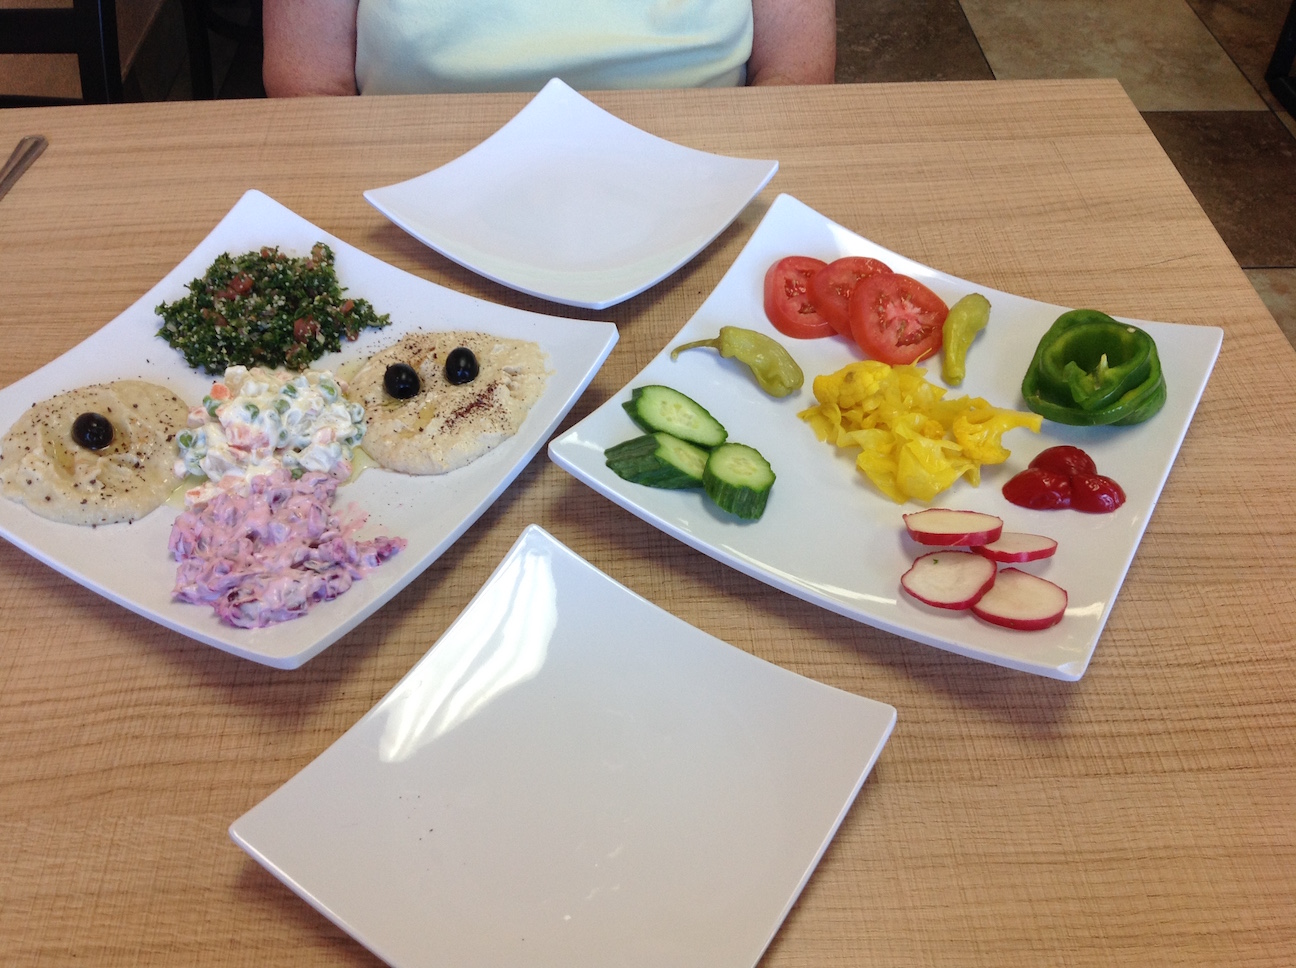
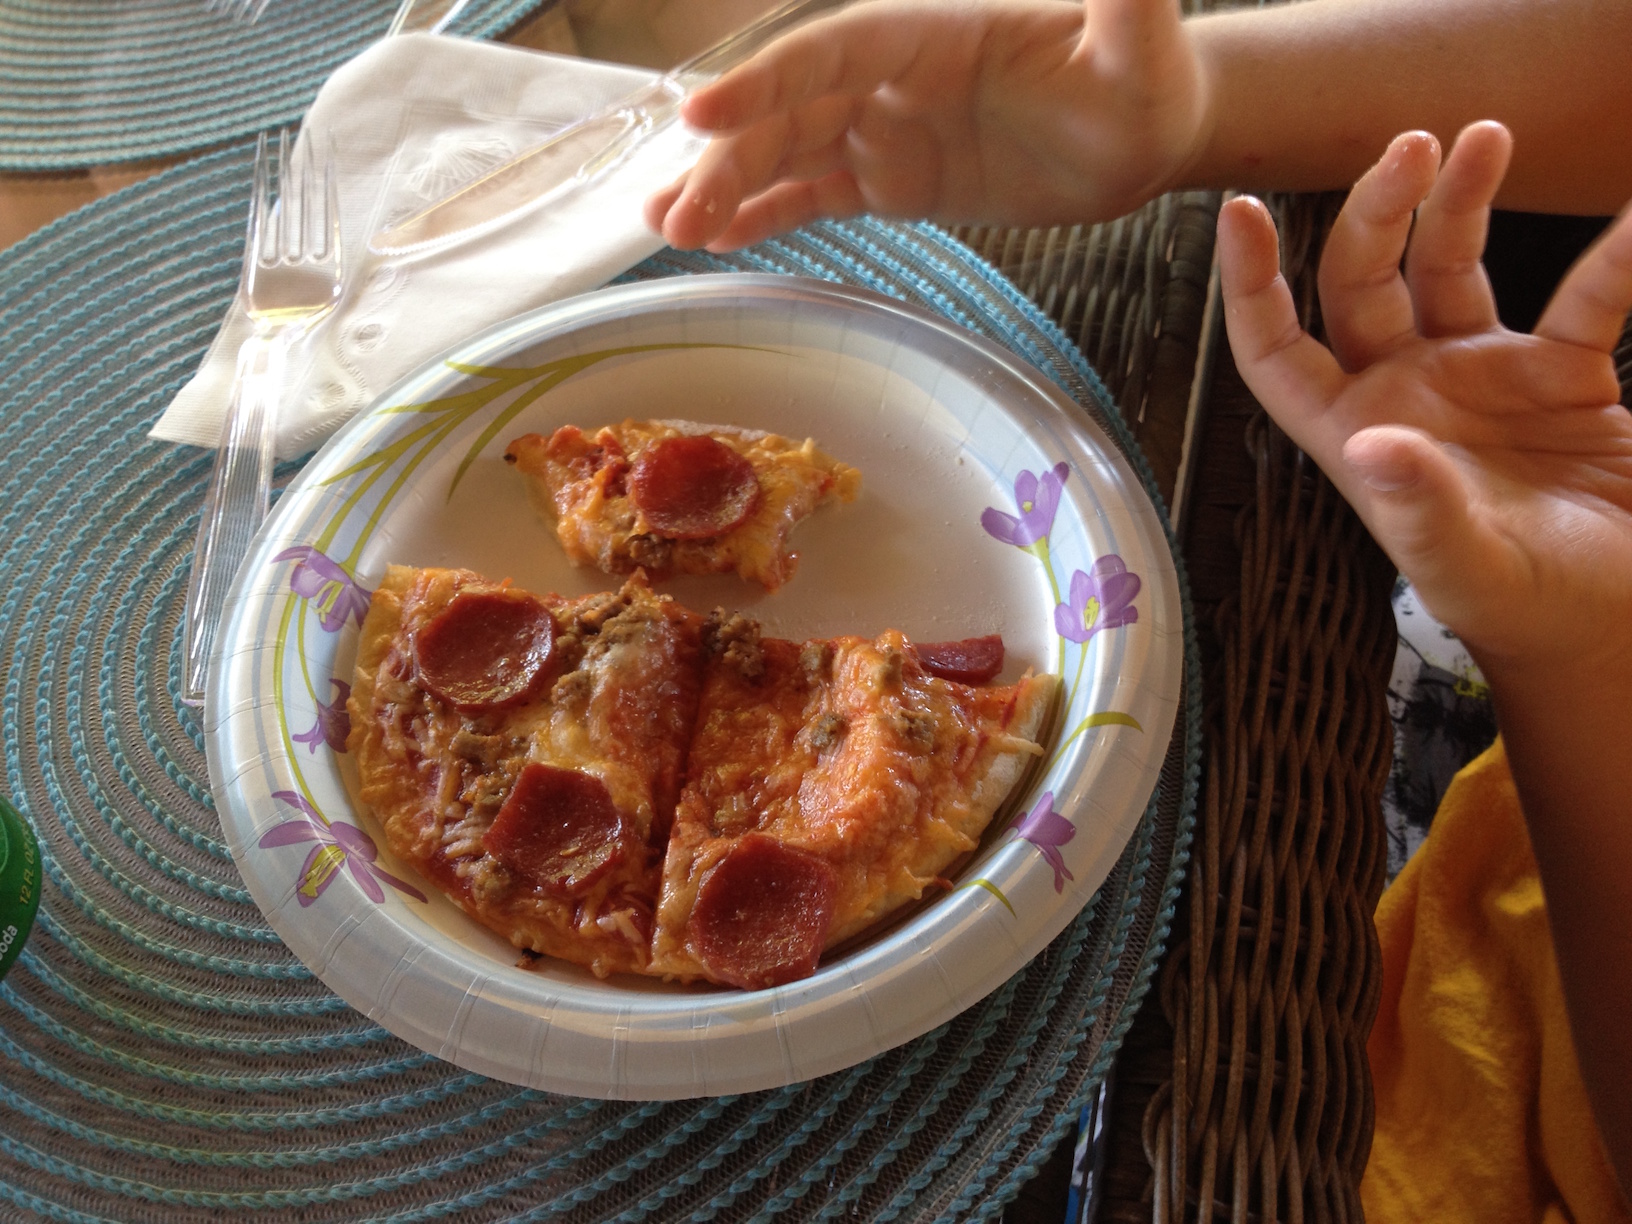
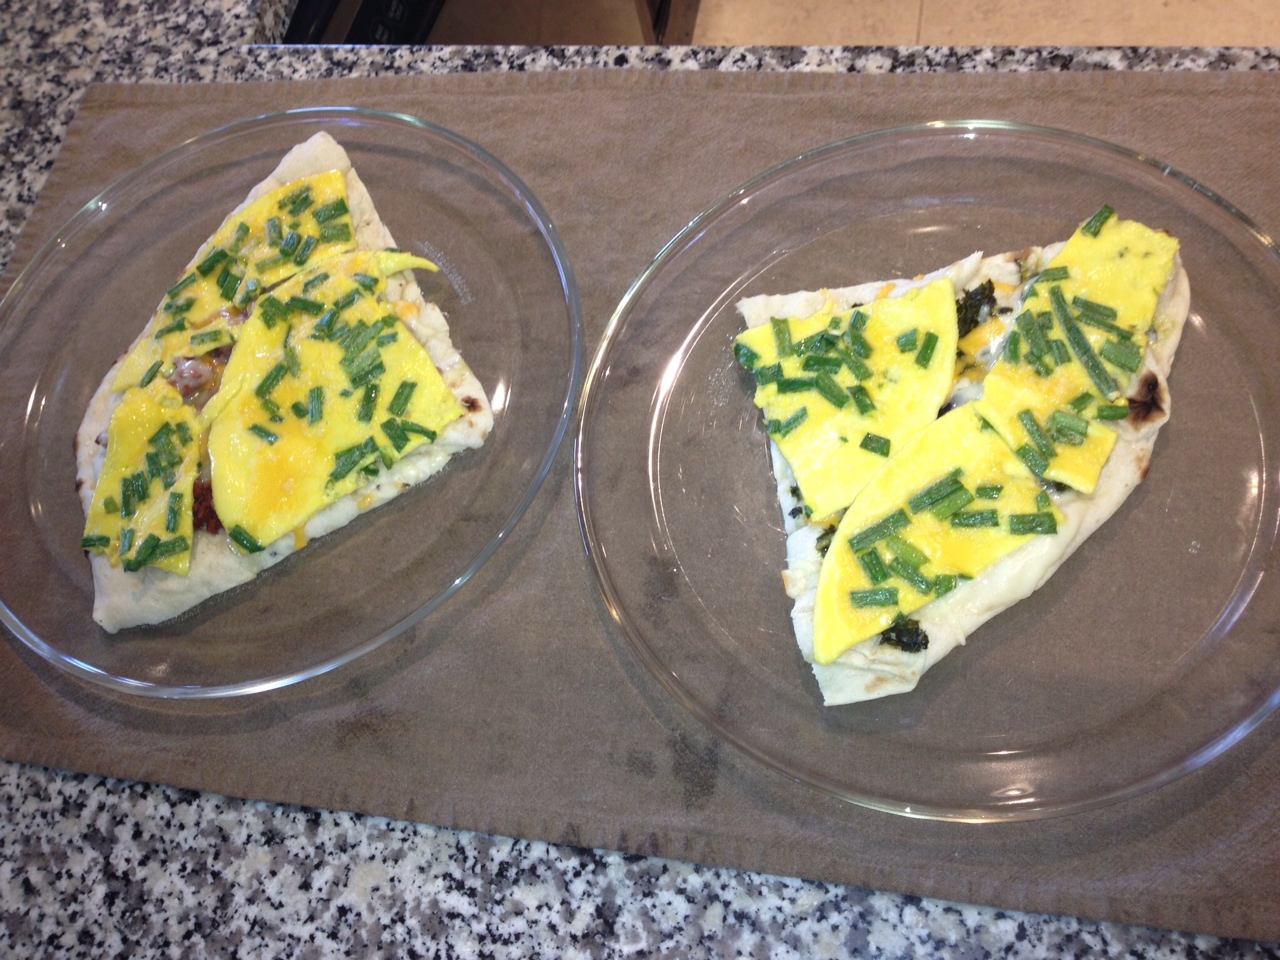
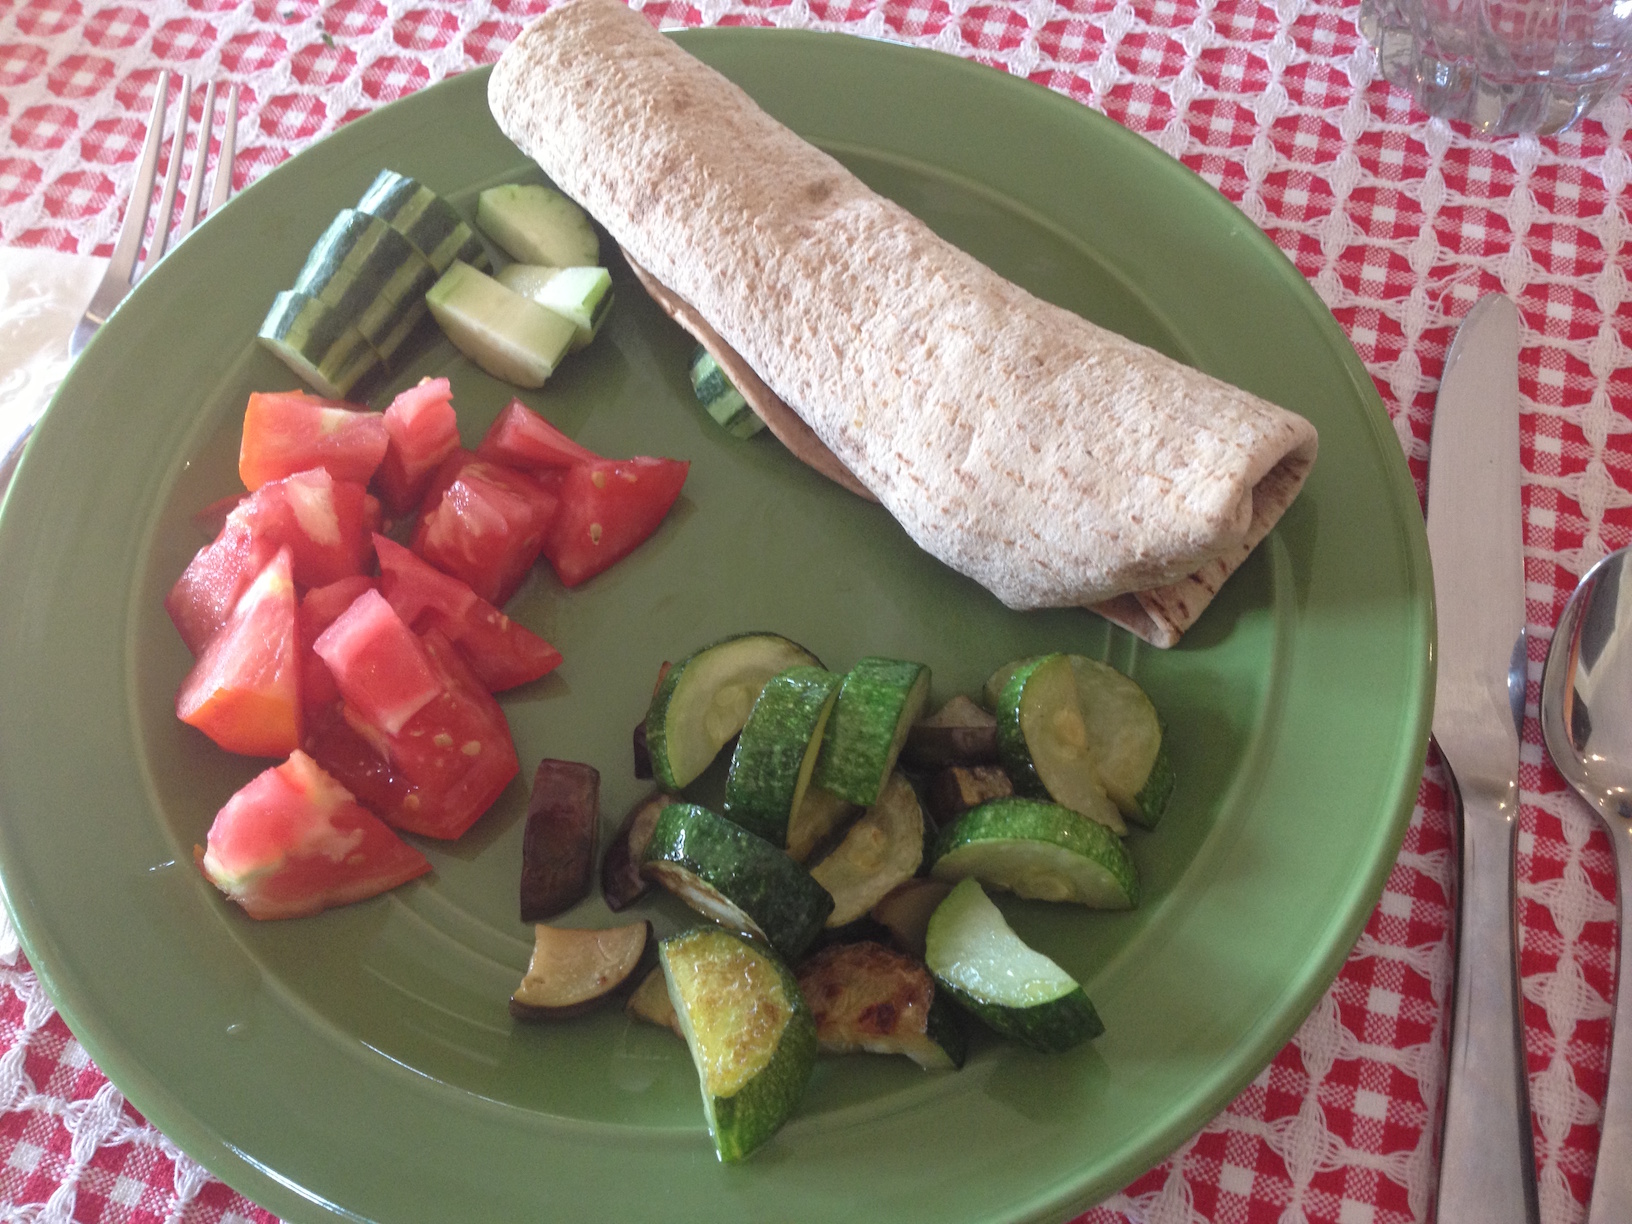
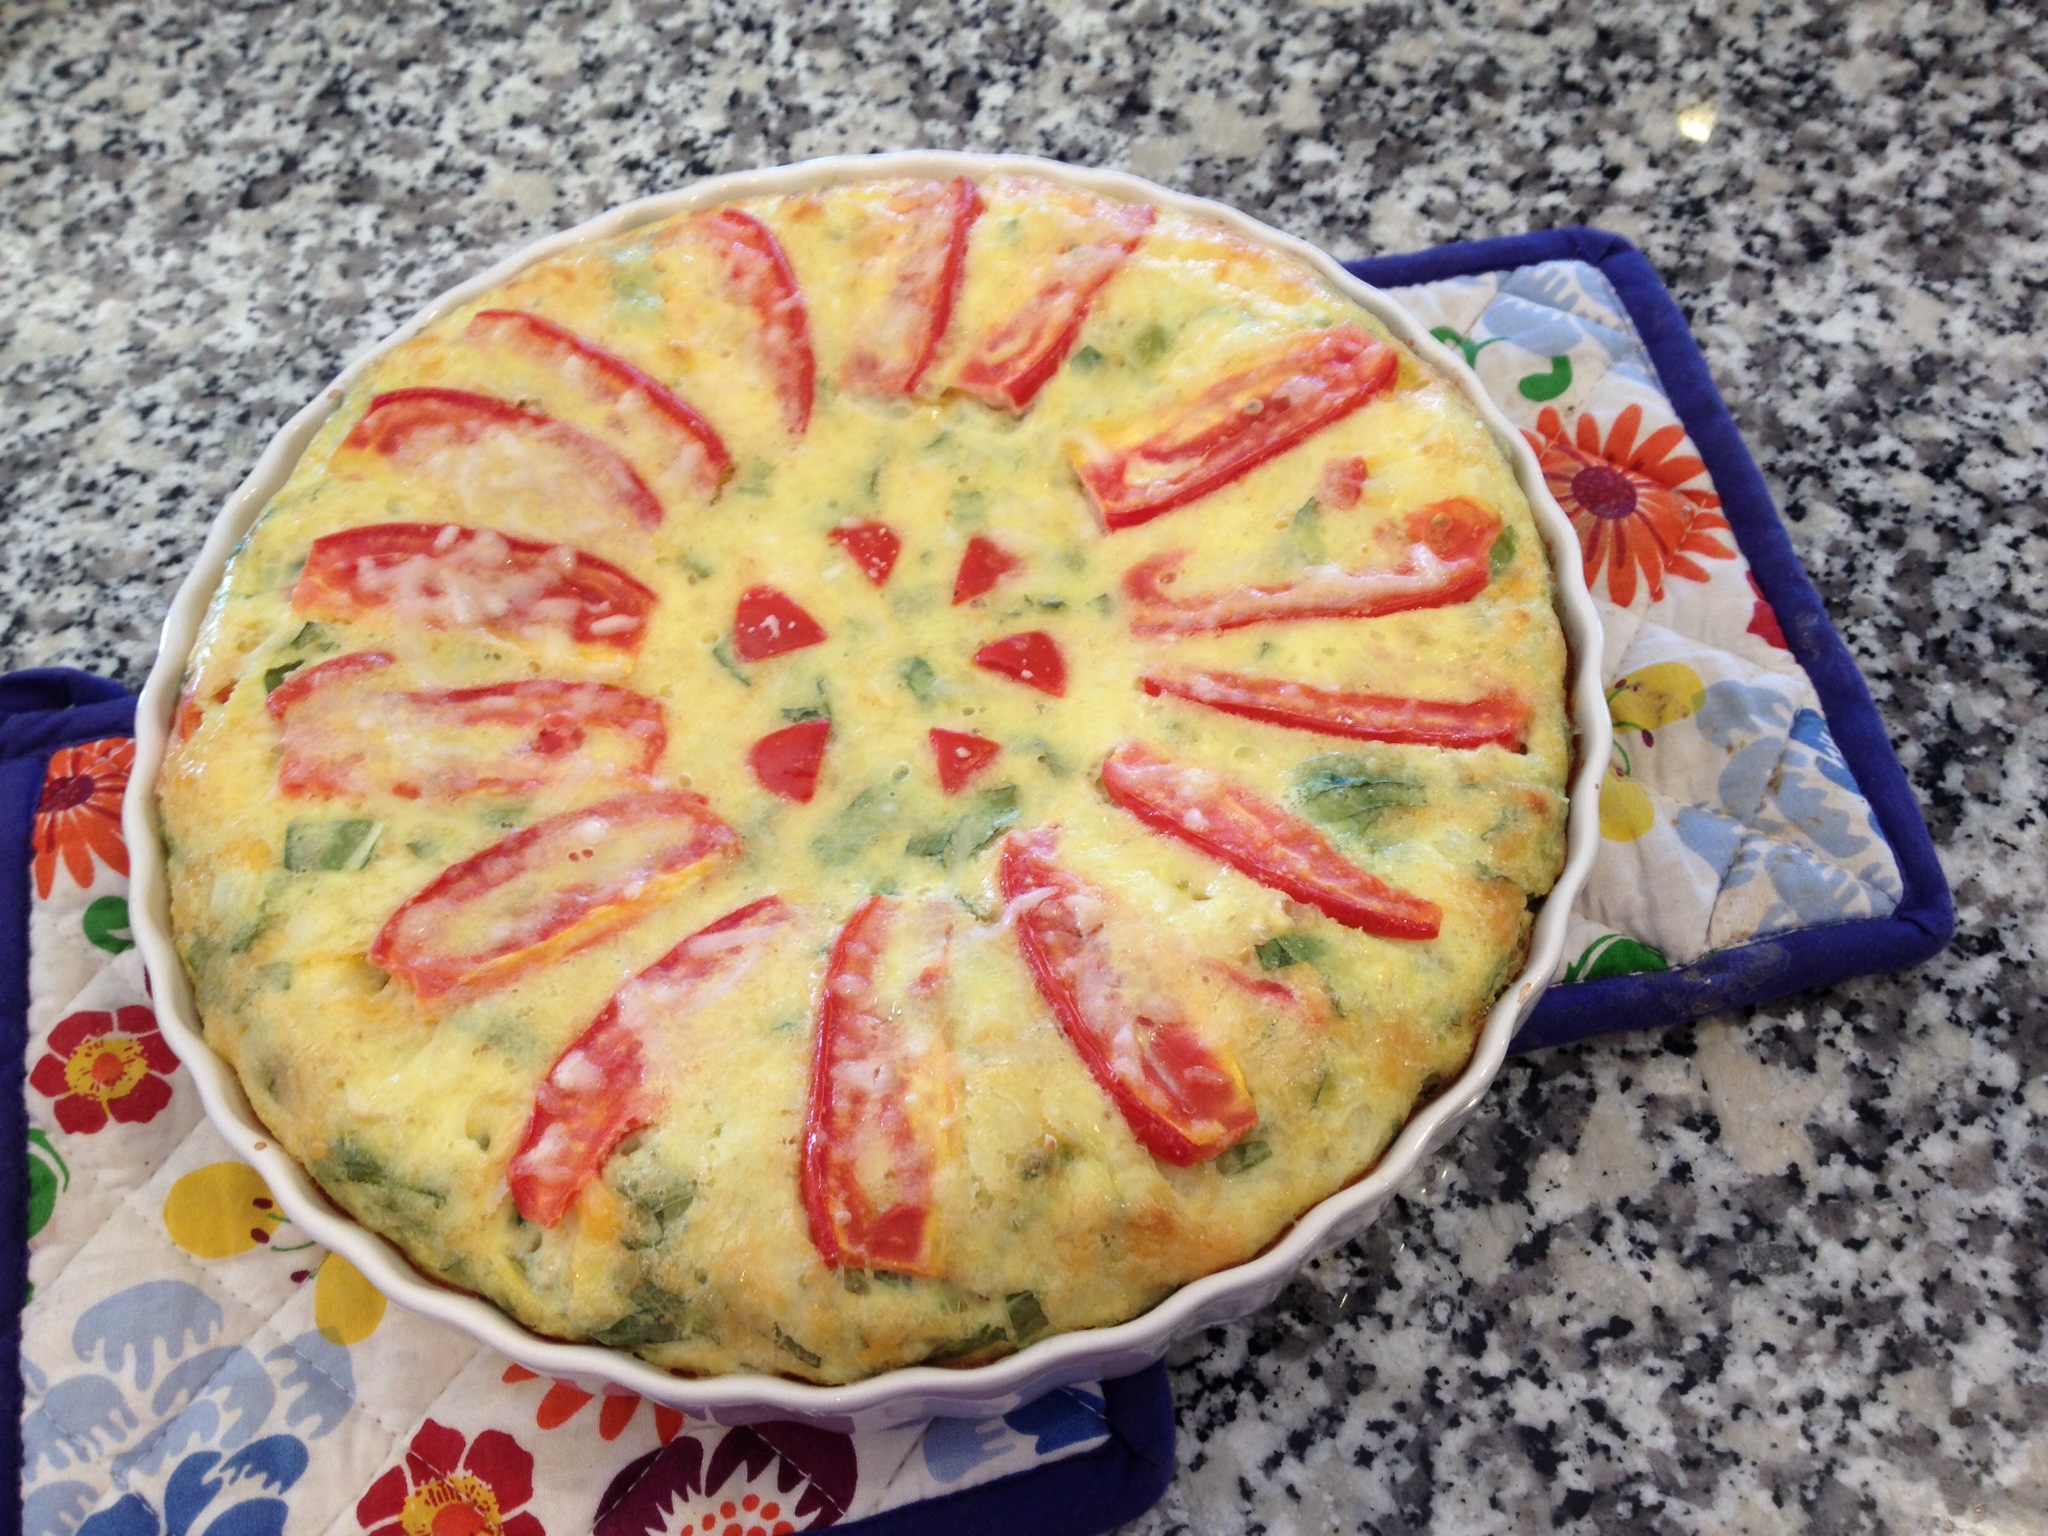
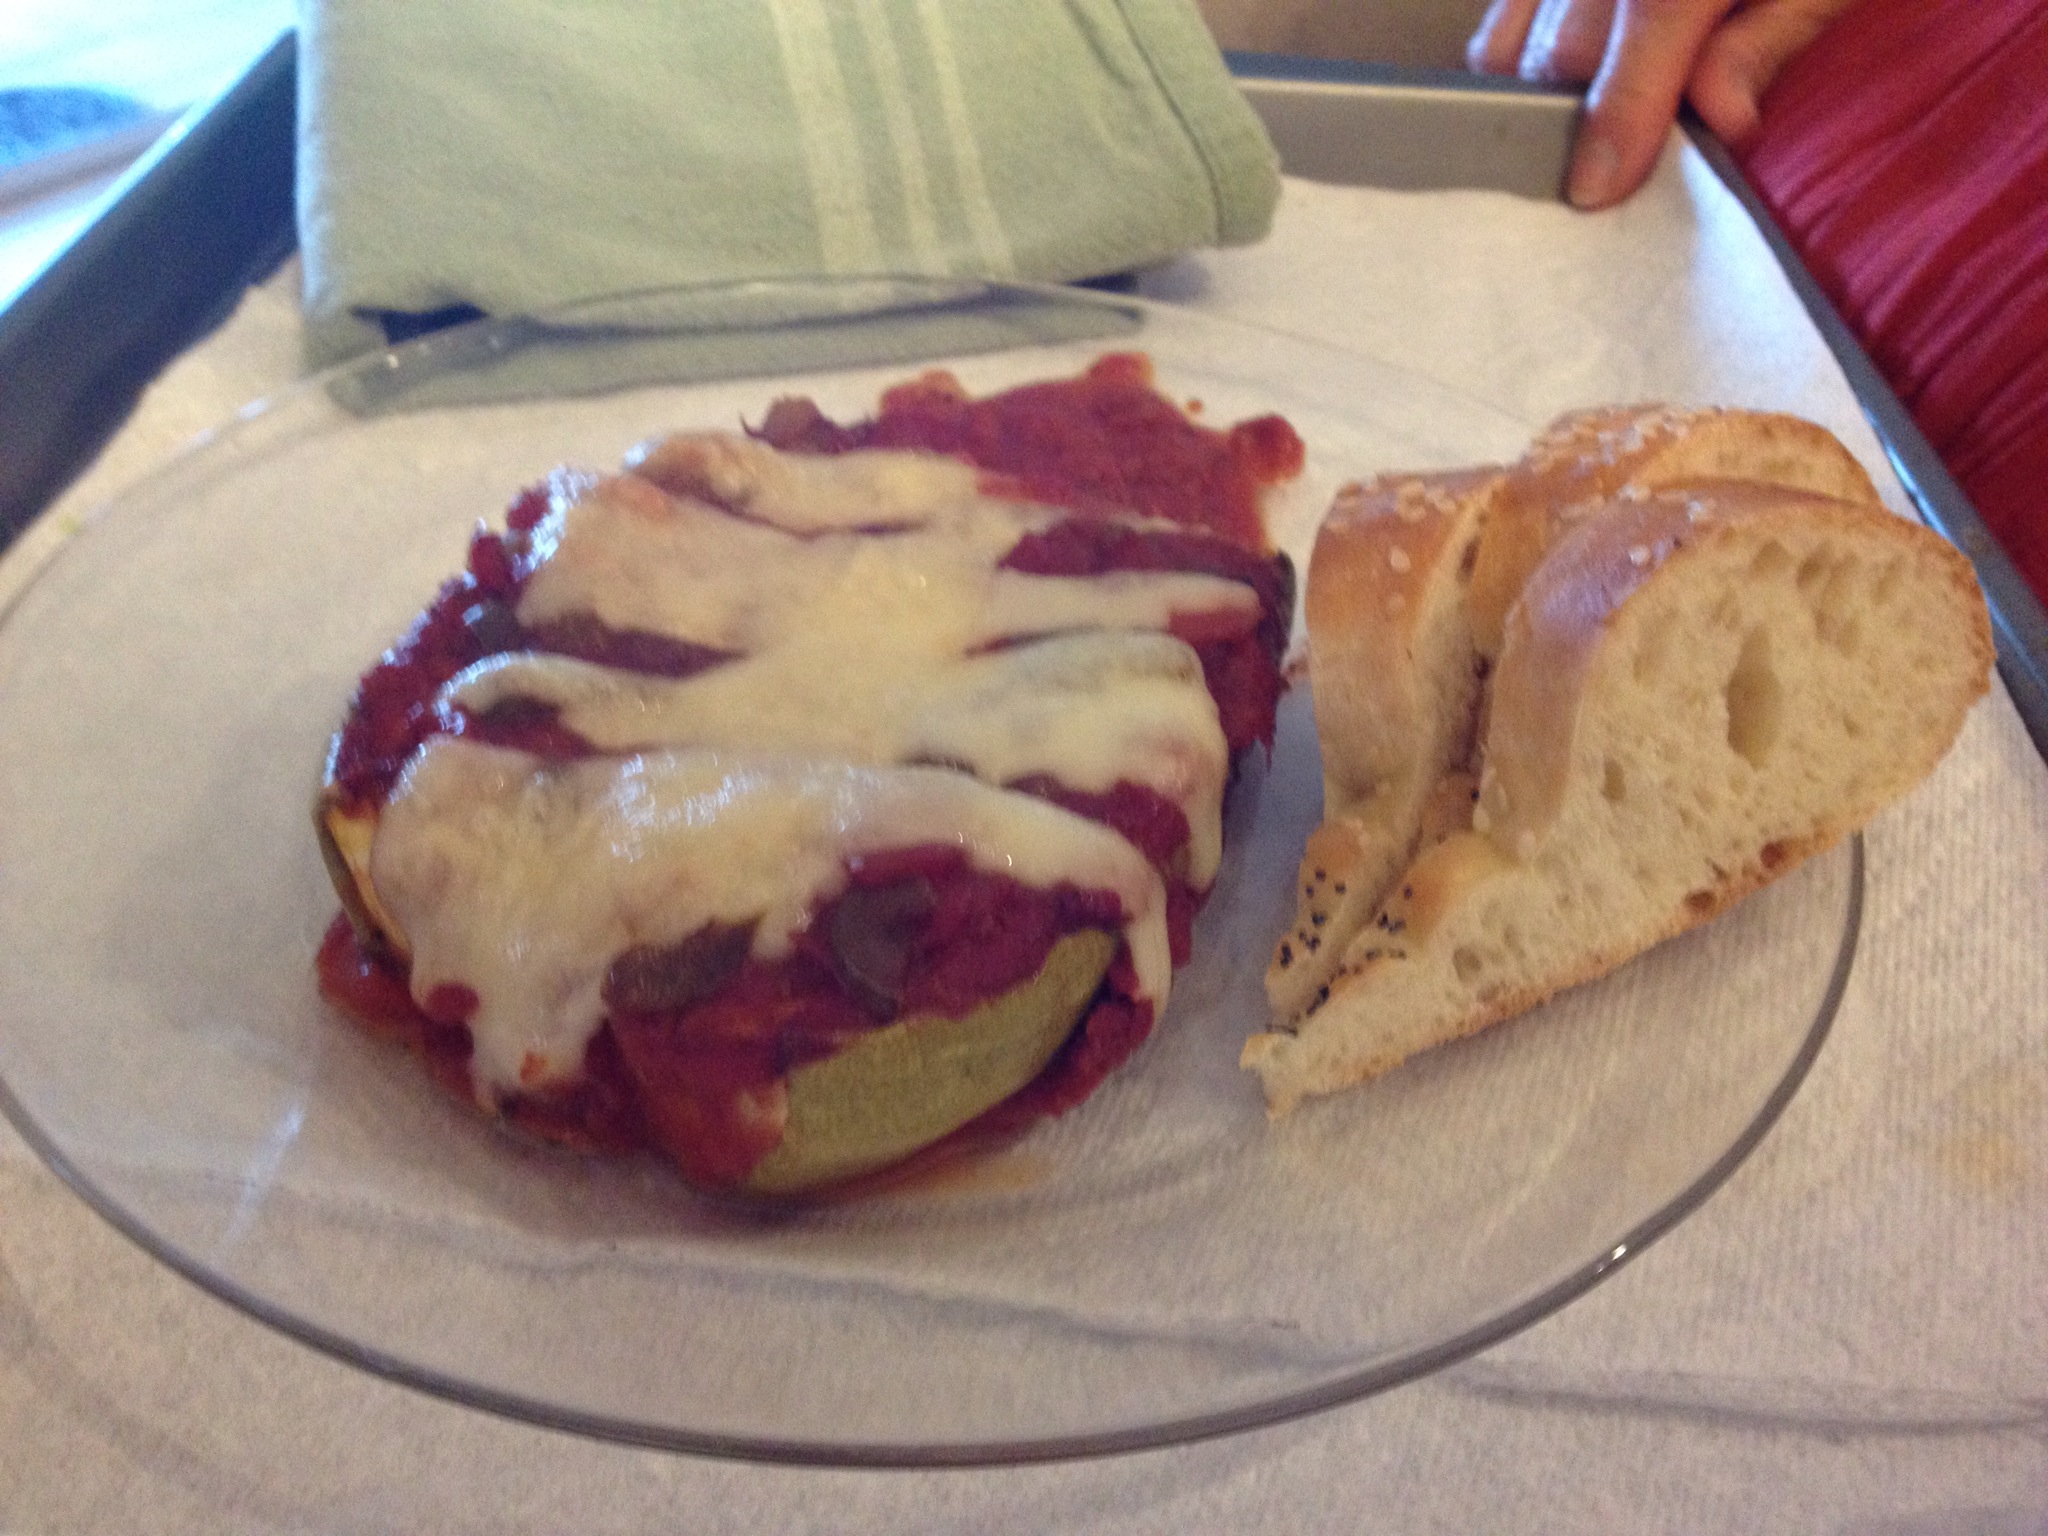
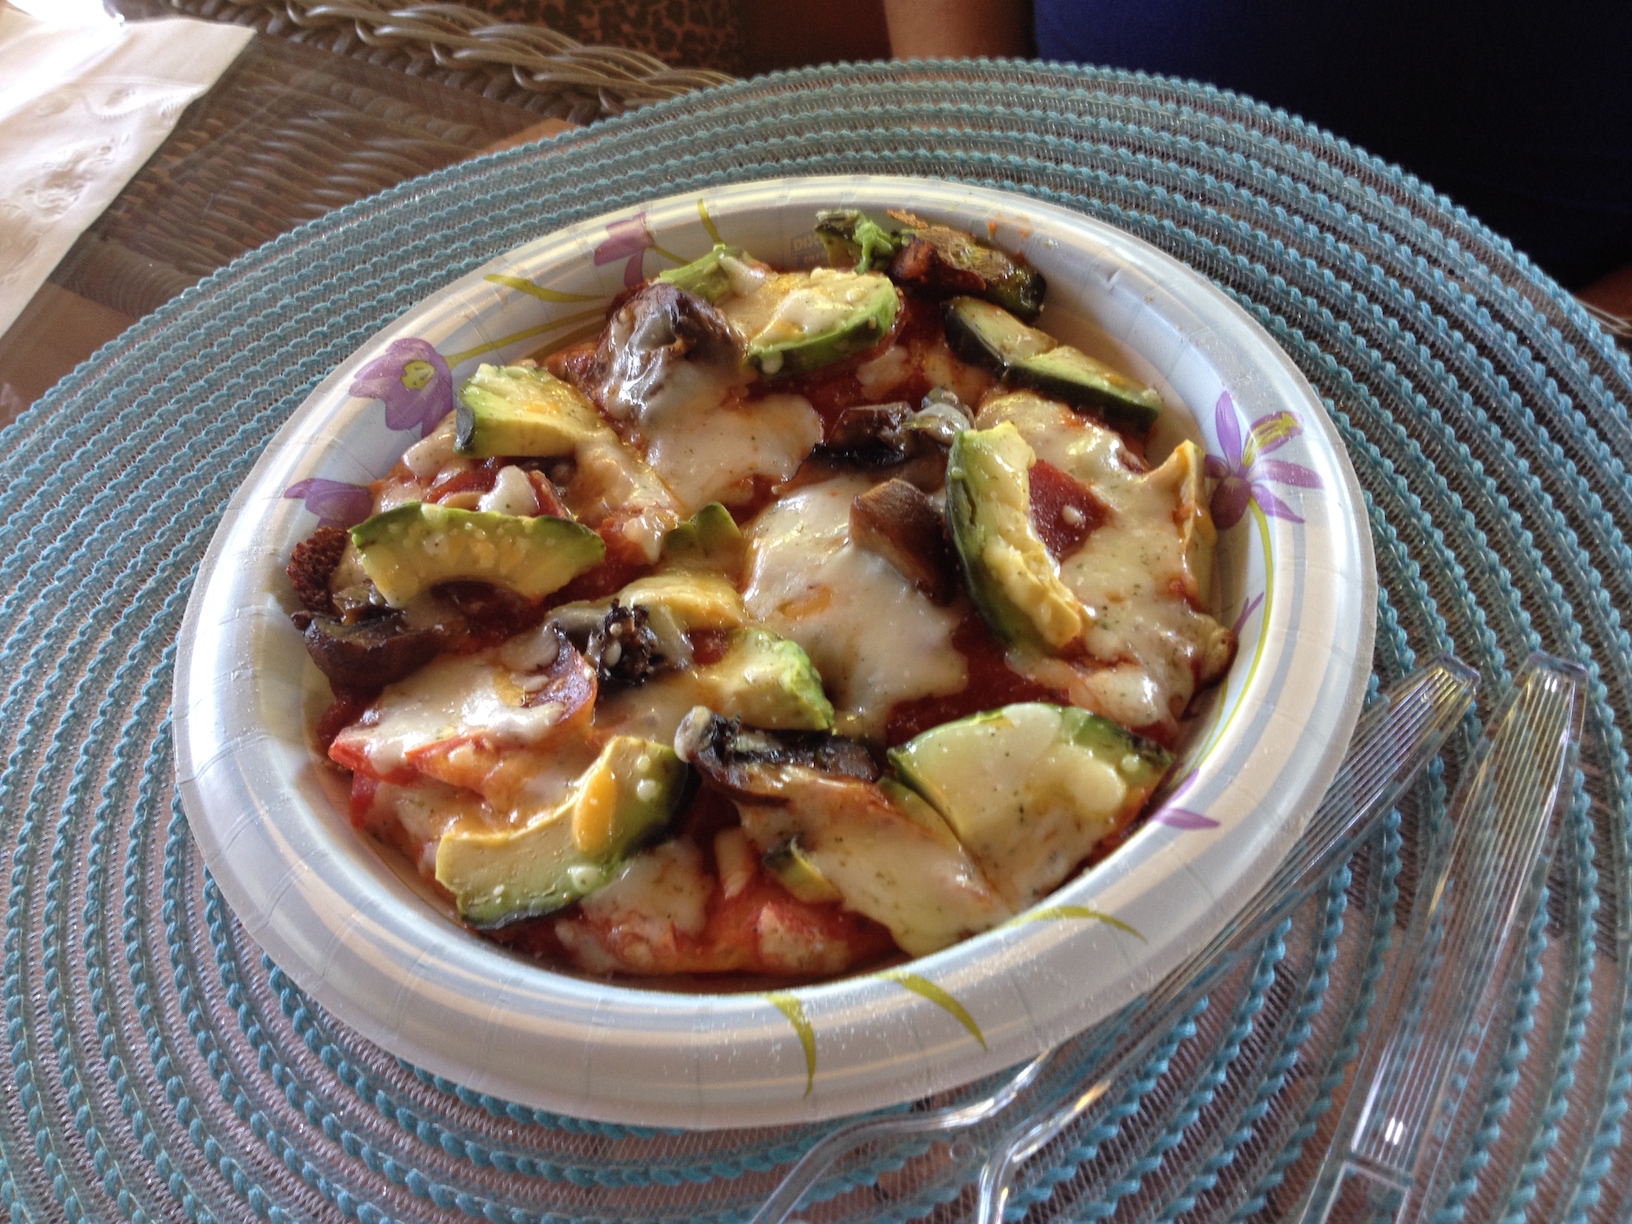
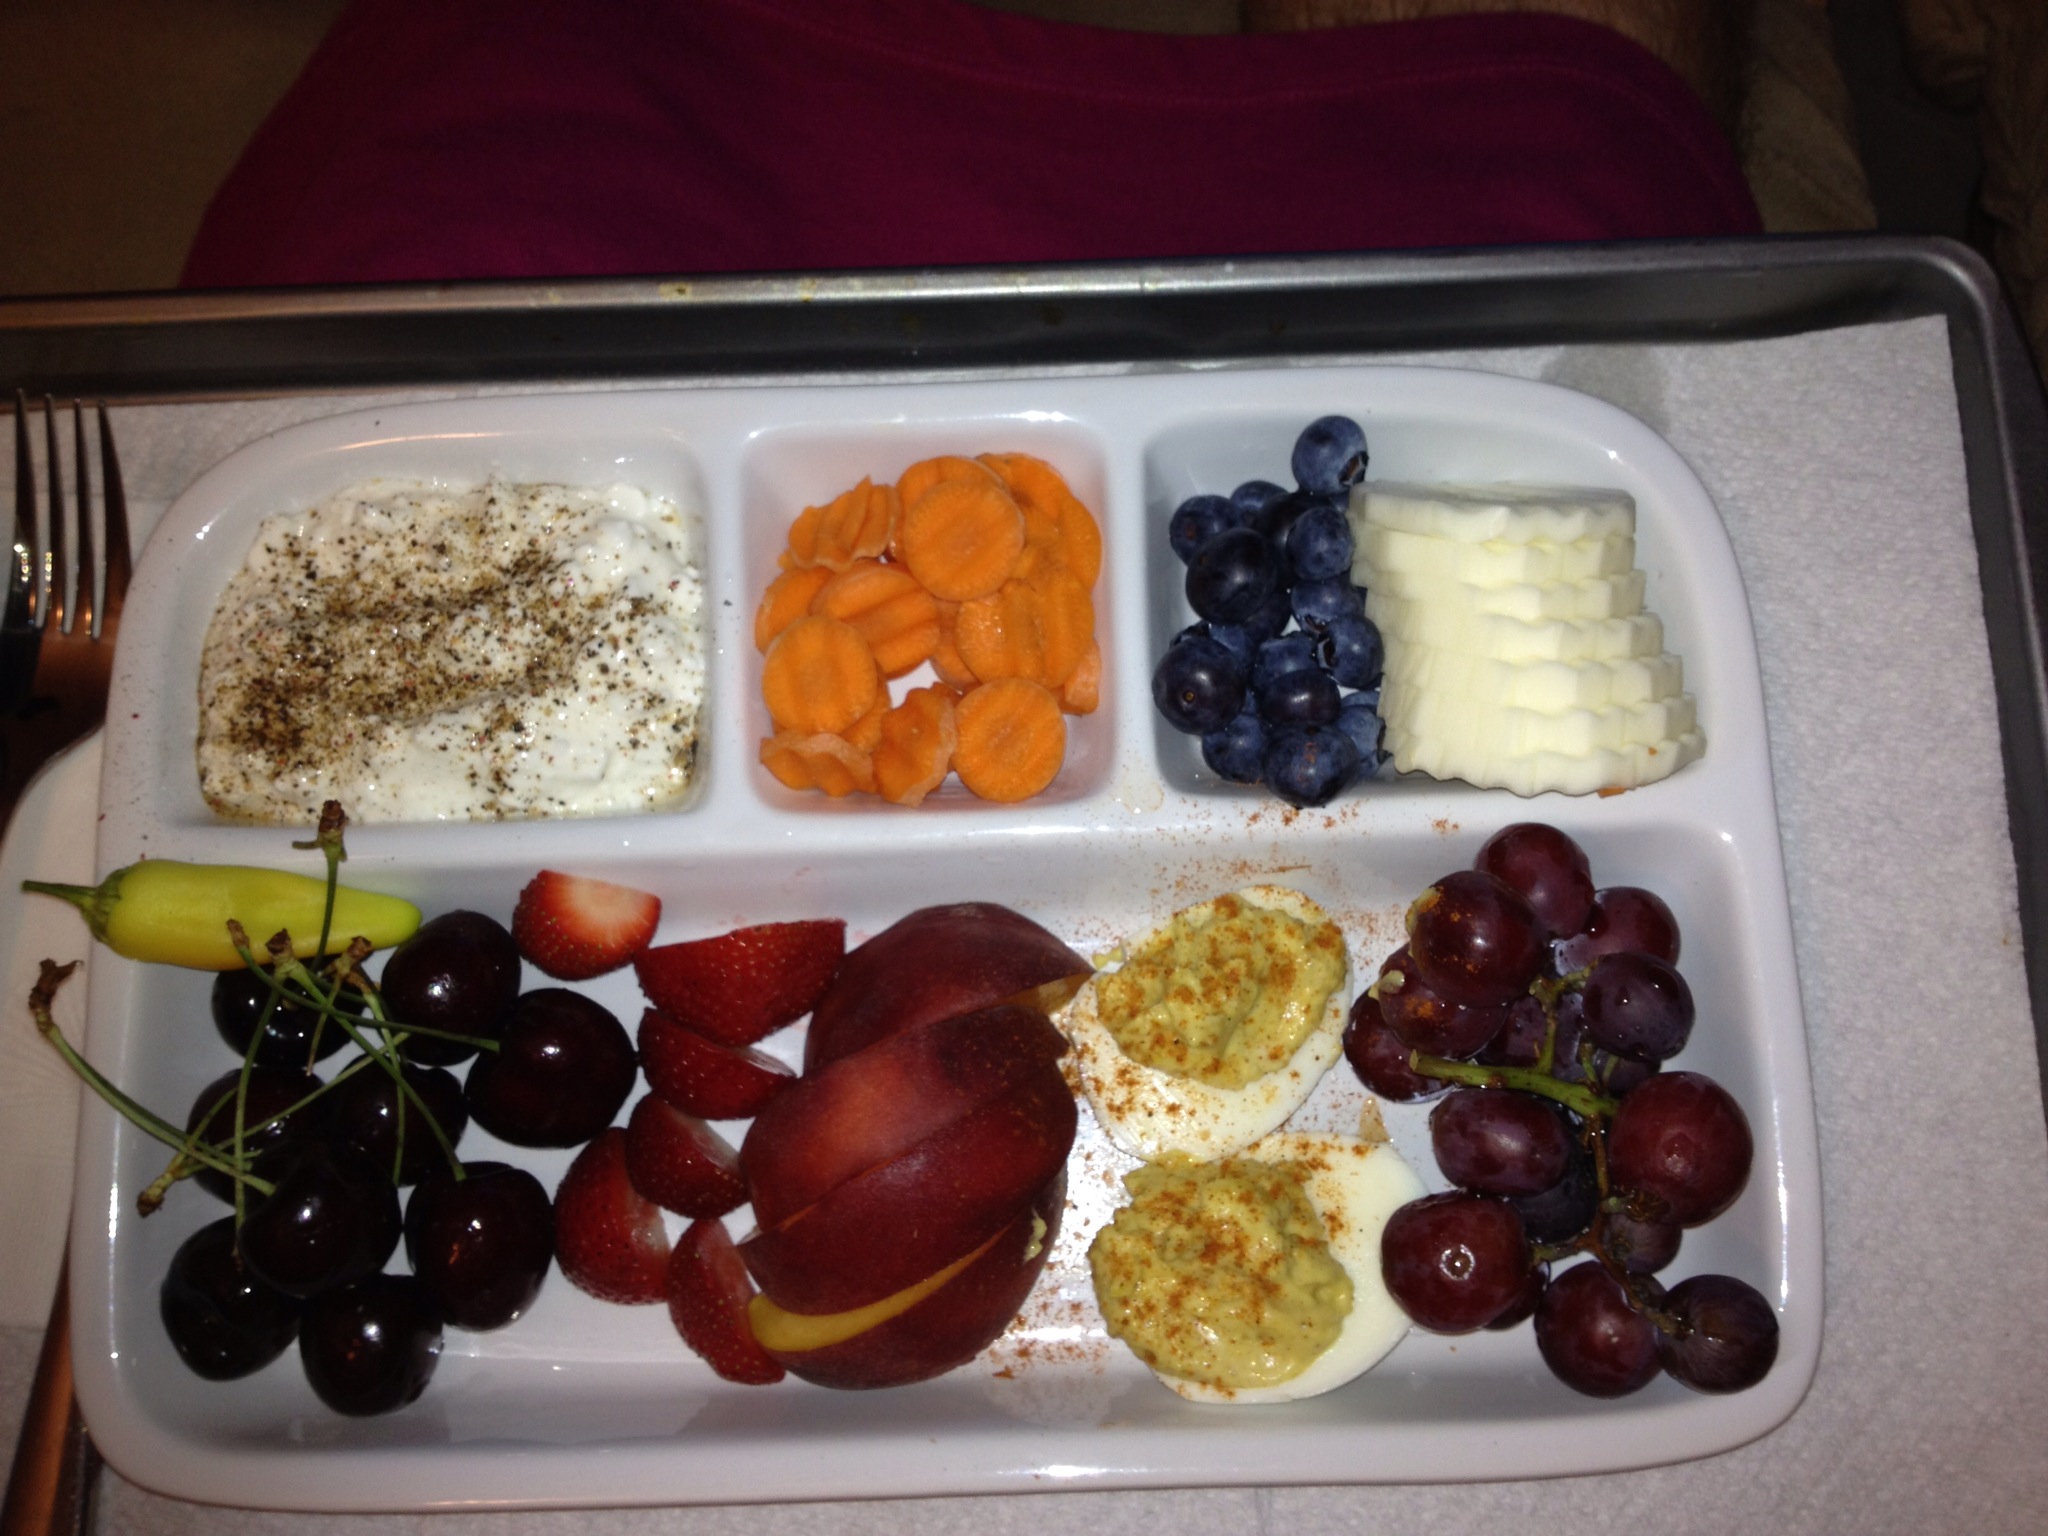
Lunch We usually eat out, sampling different restaurants in The Valley. In the photos are a sample plate, mini pizza, burrito, quiche, pitas and a lunch pie.
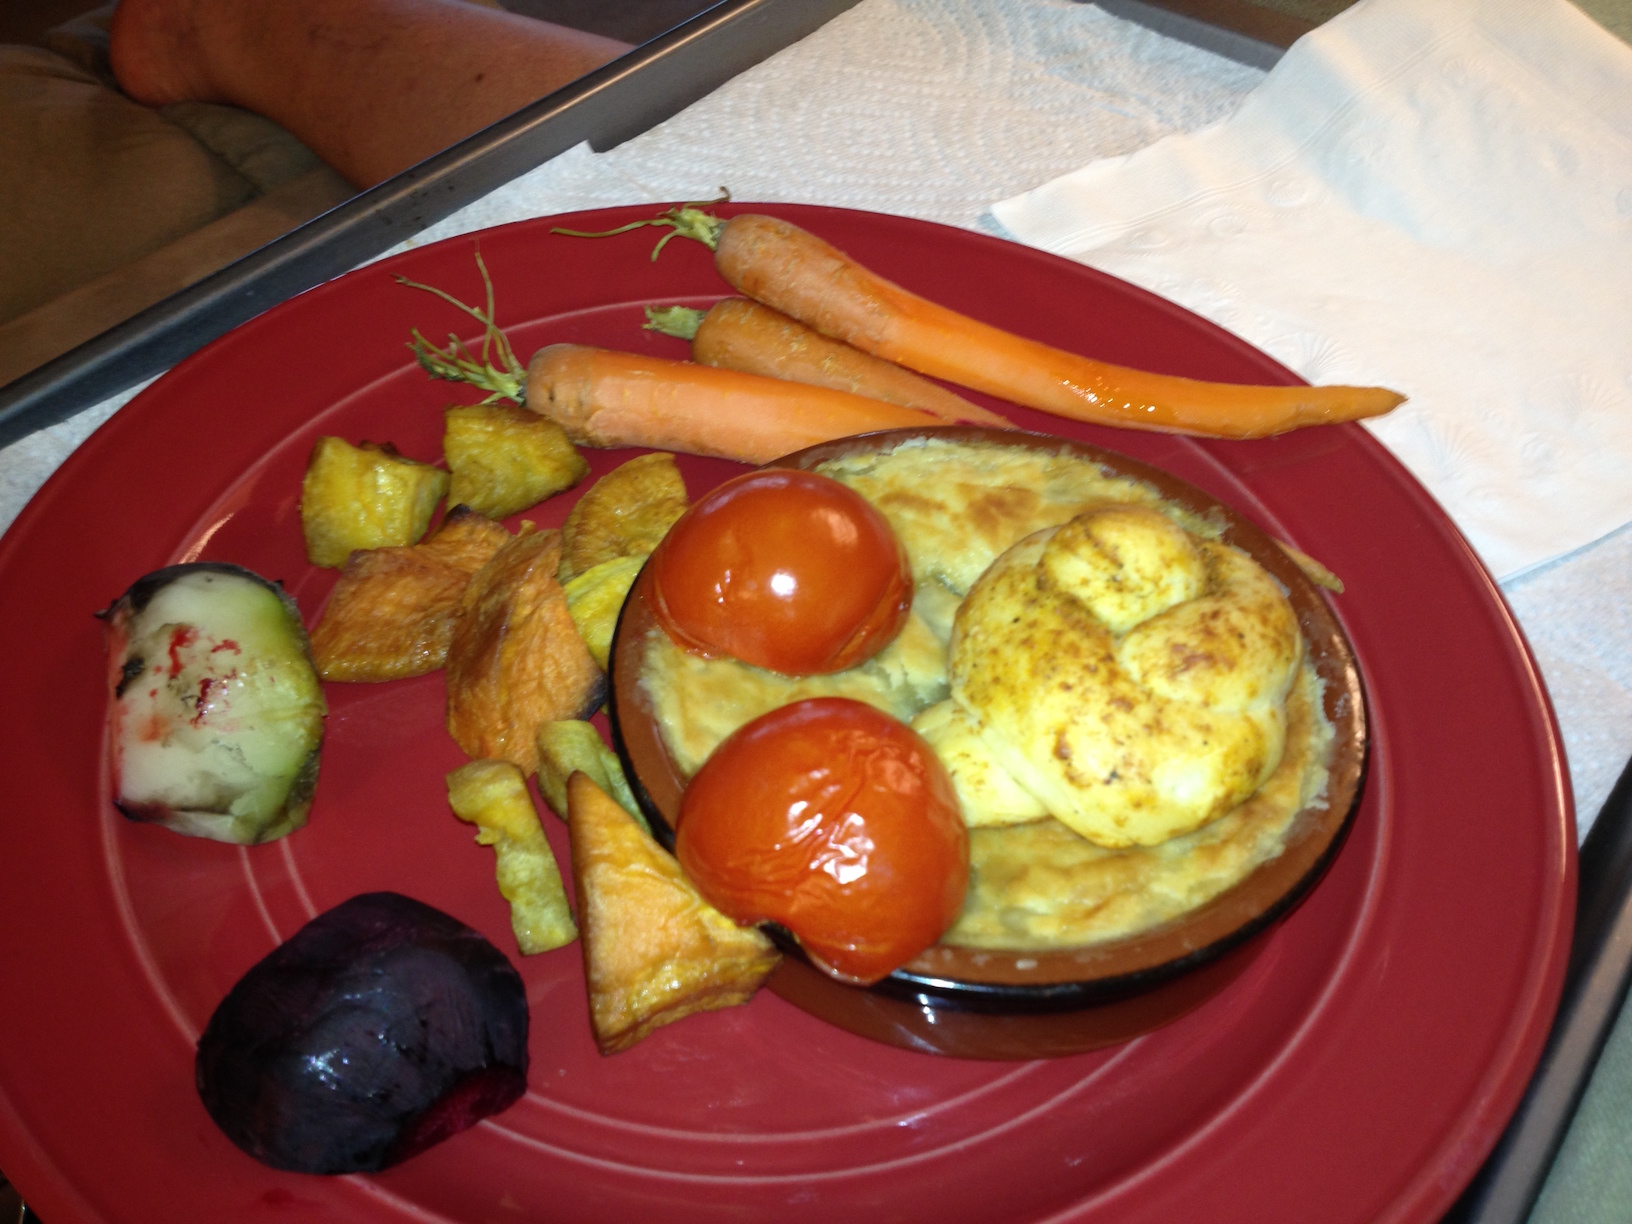
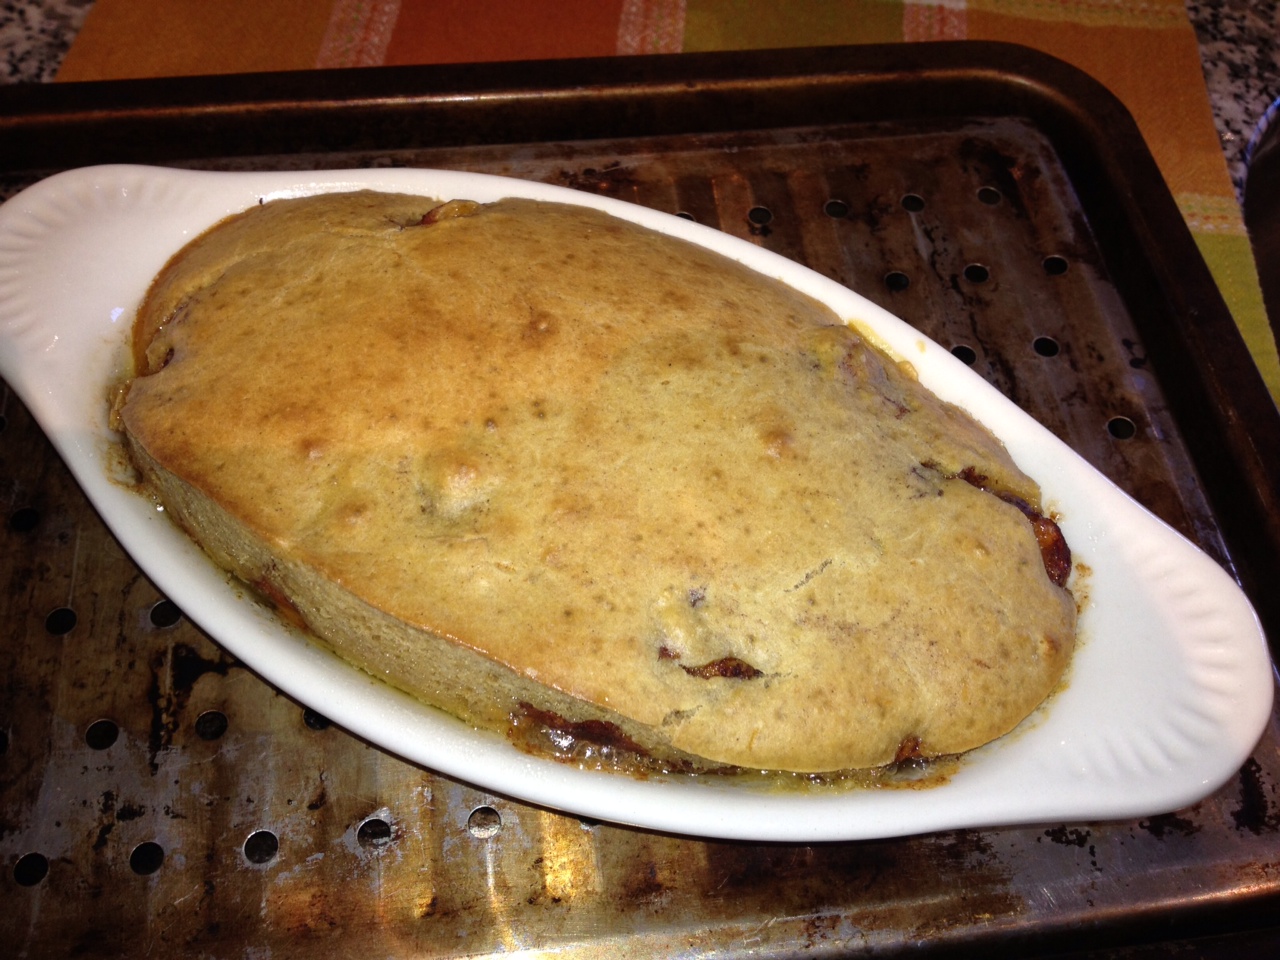
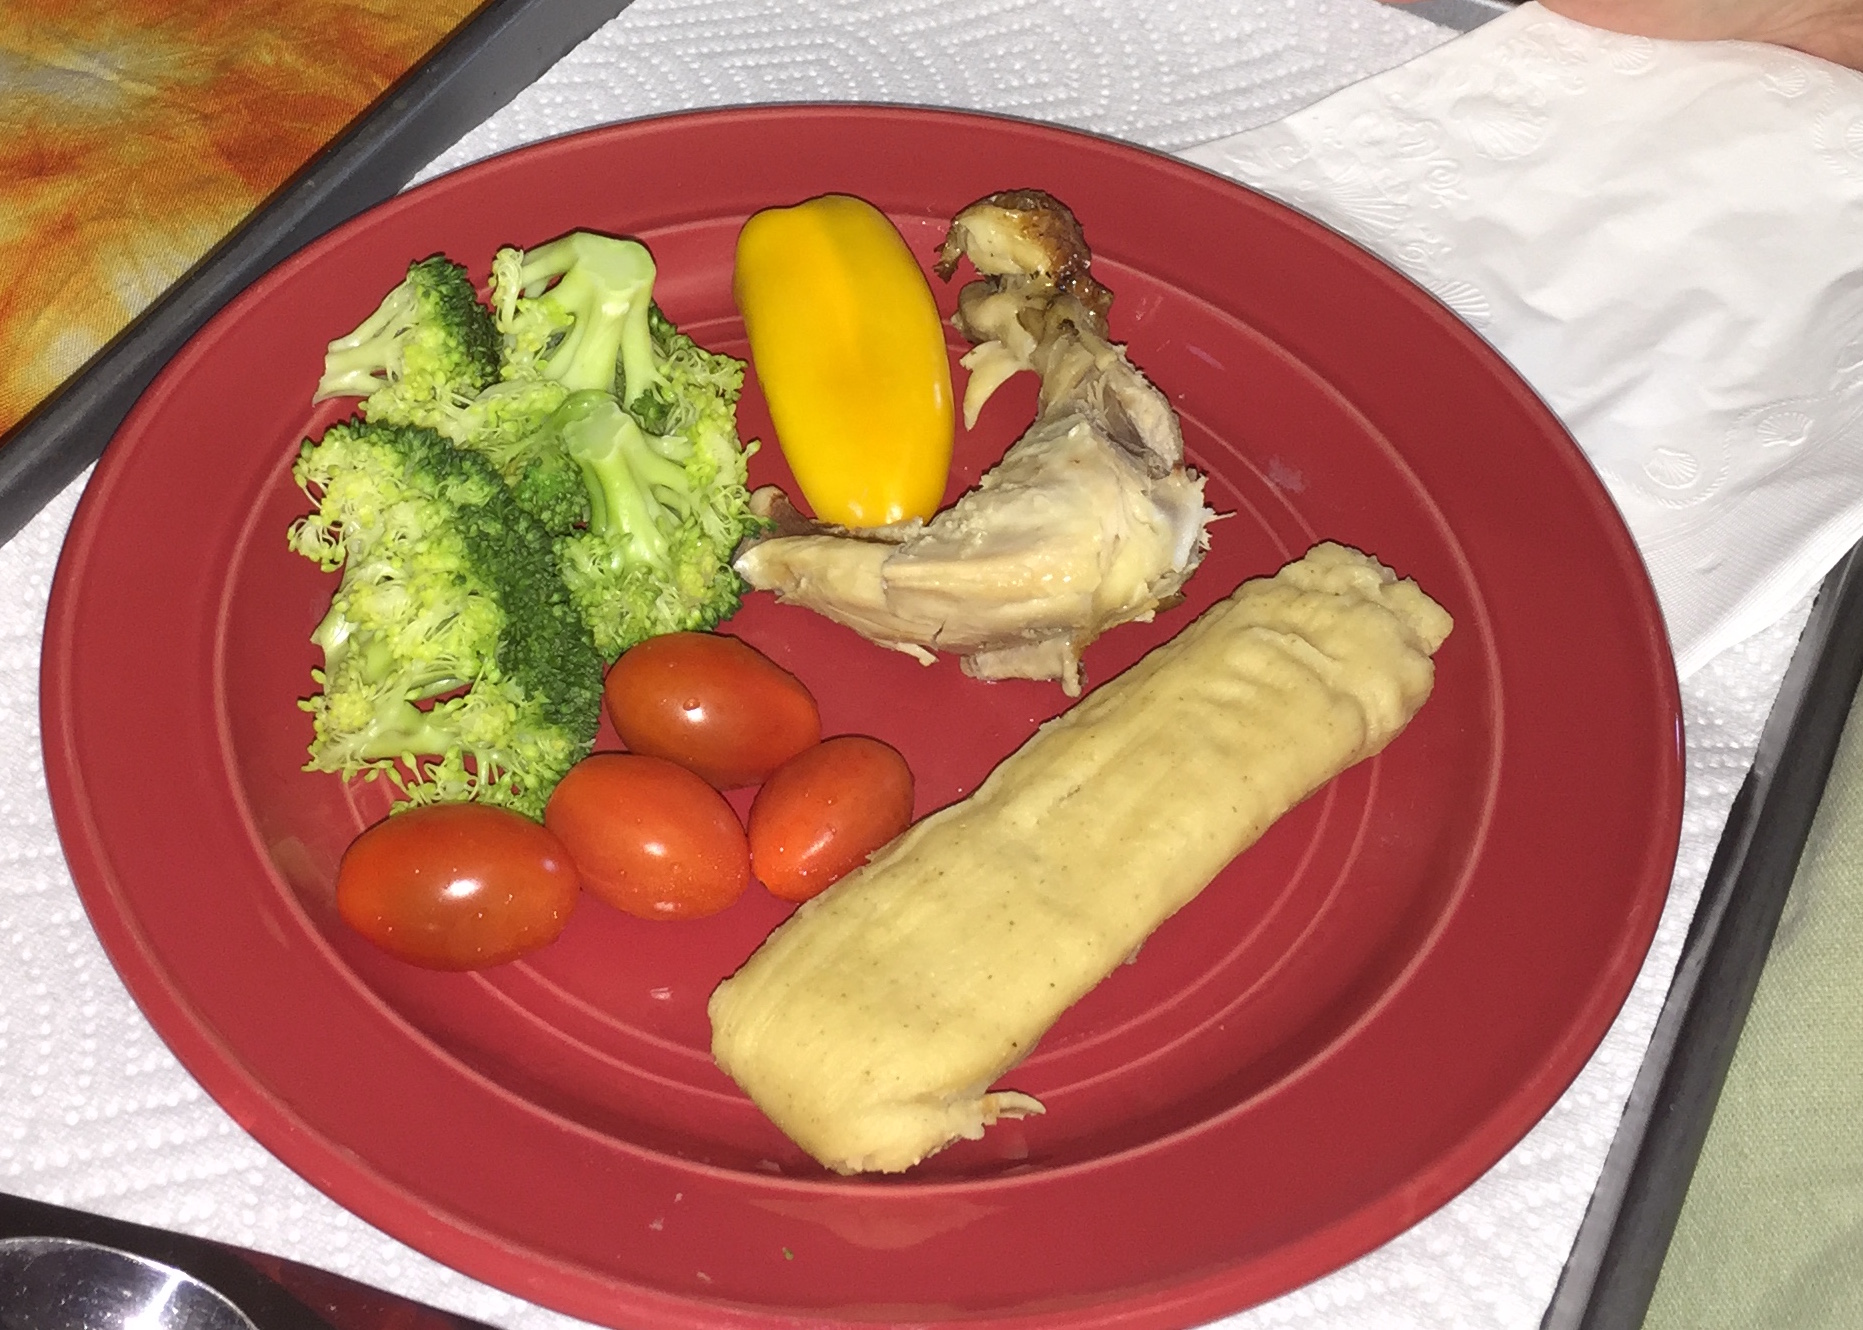
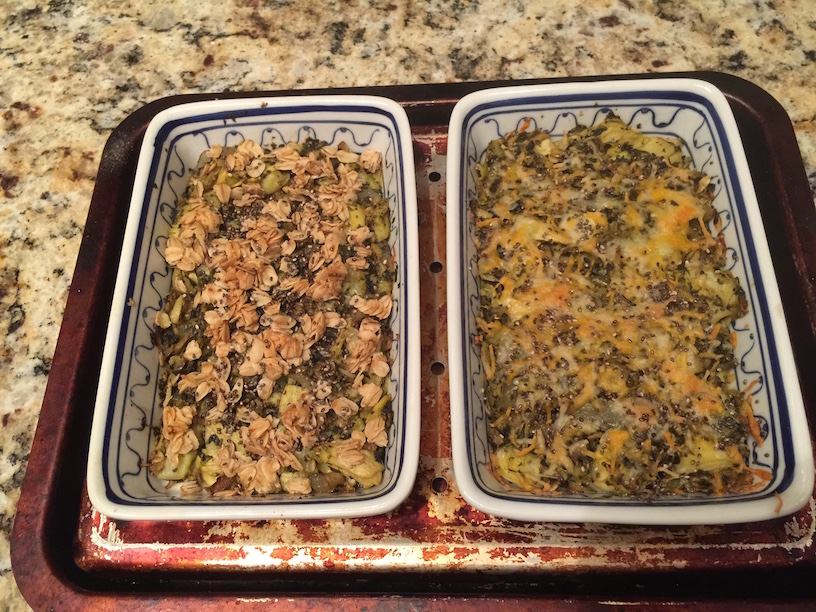
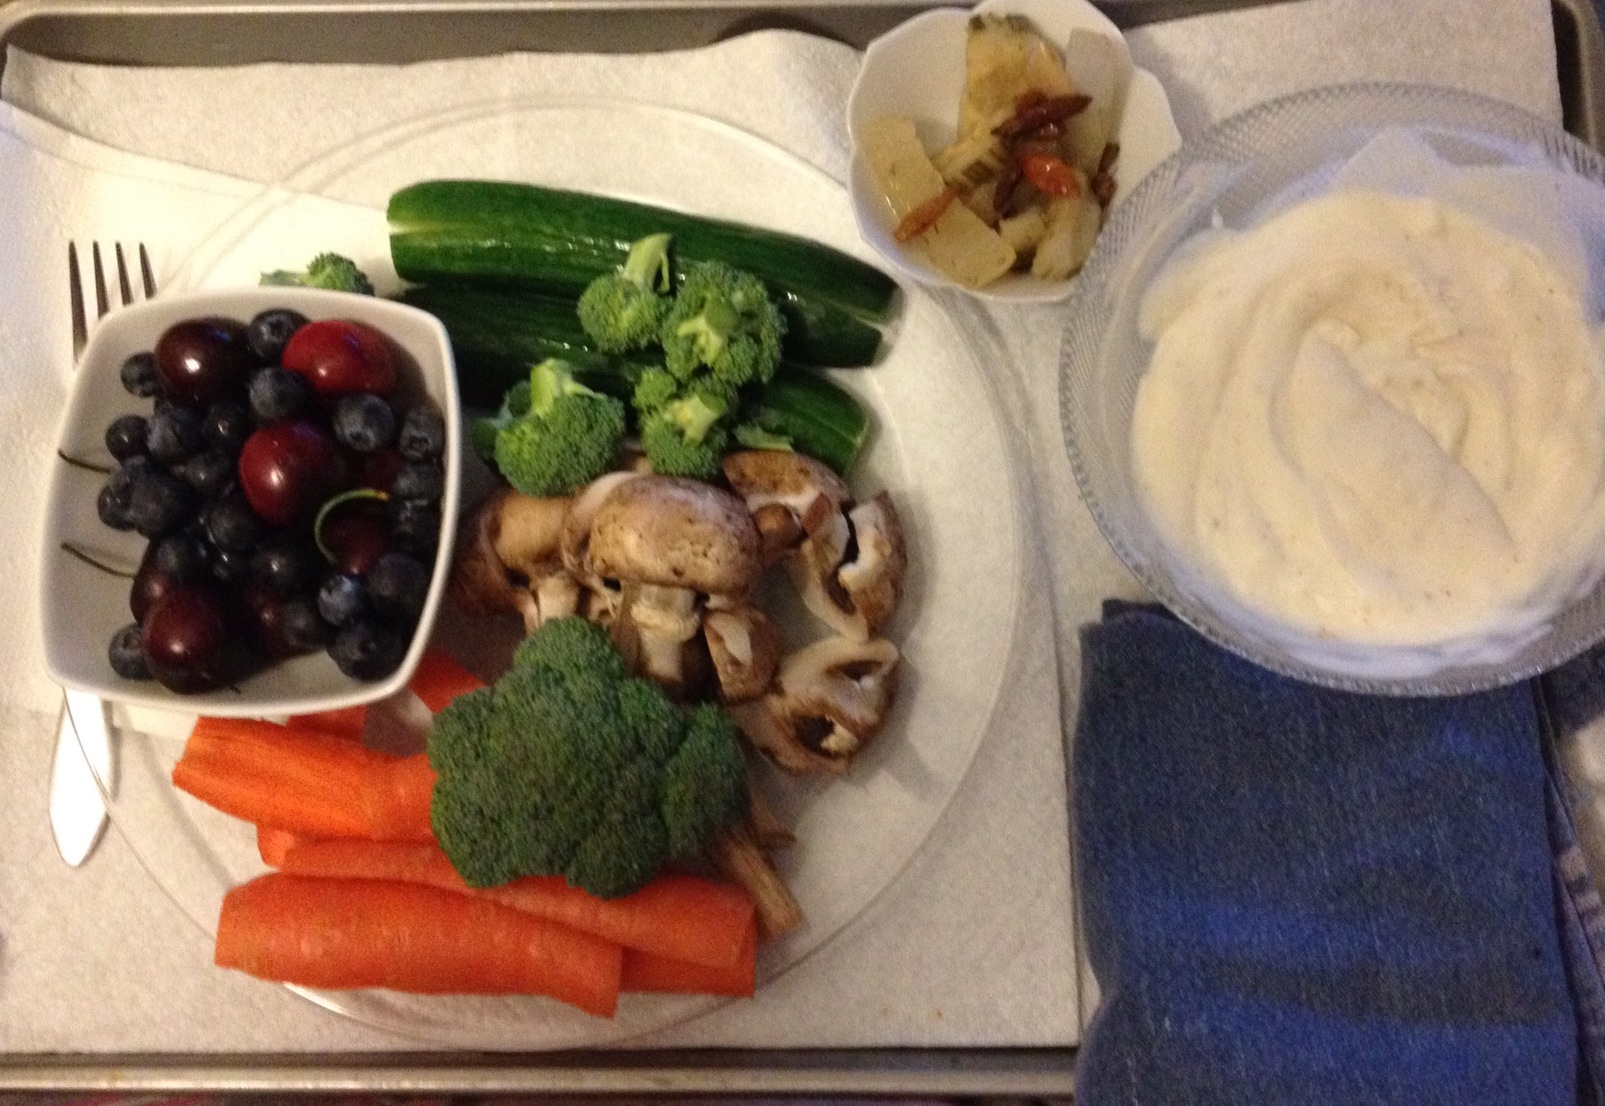
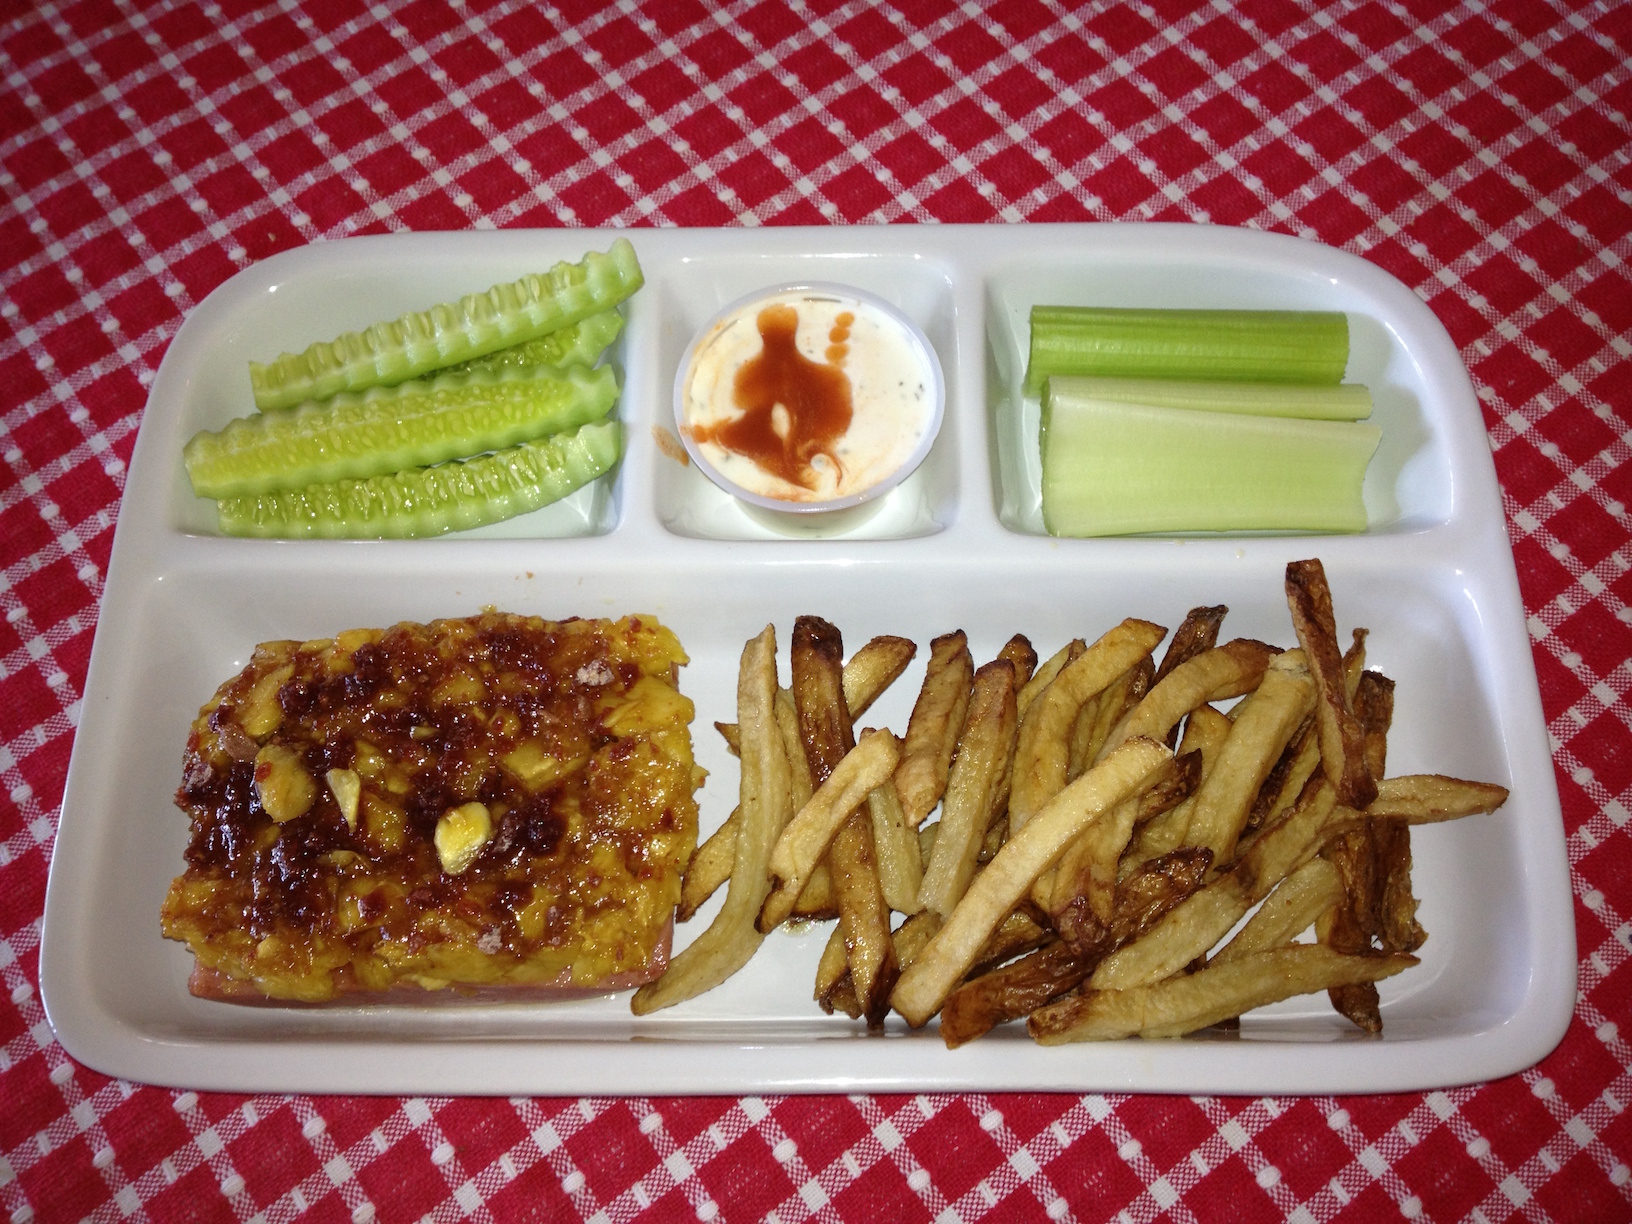
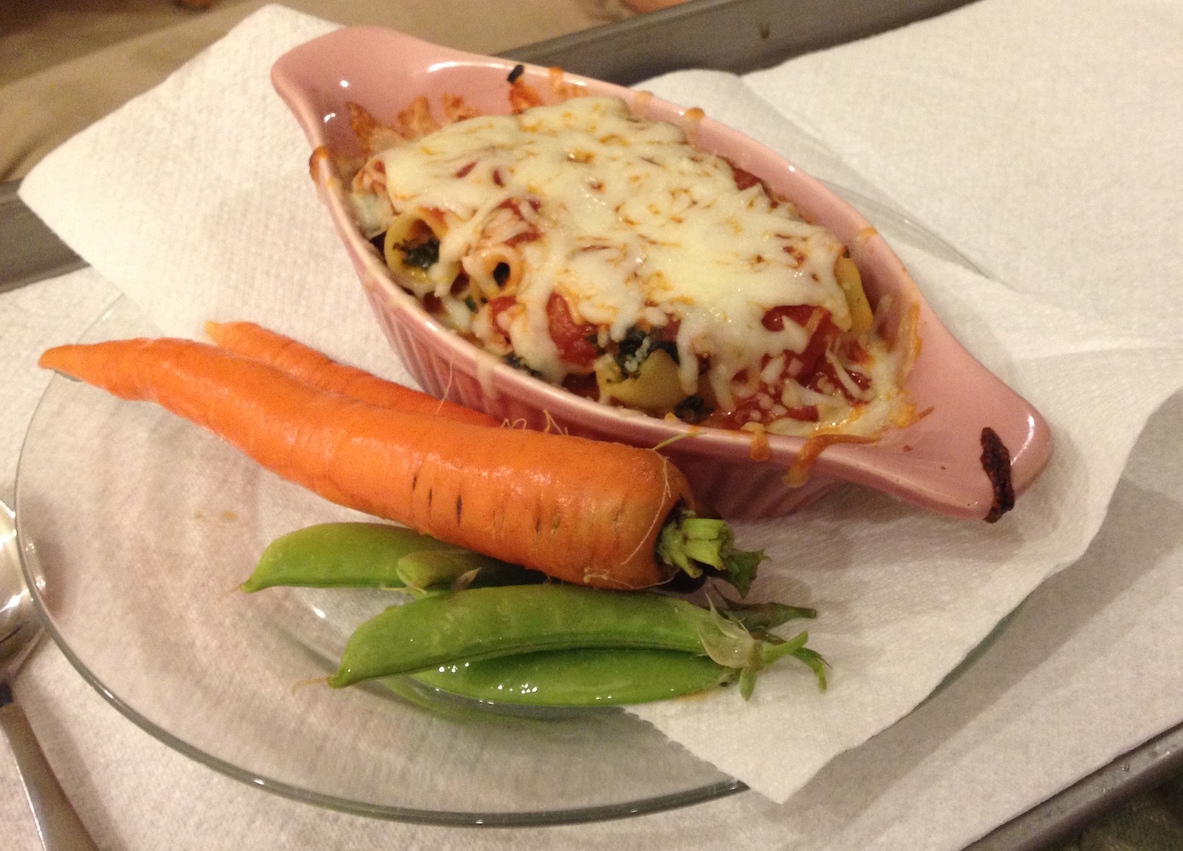
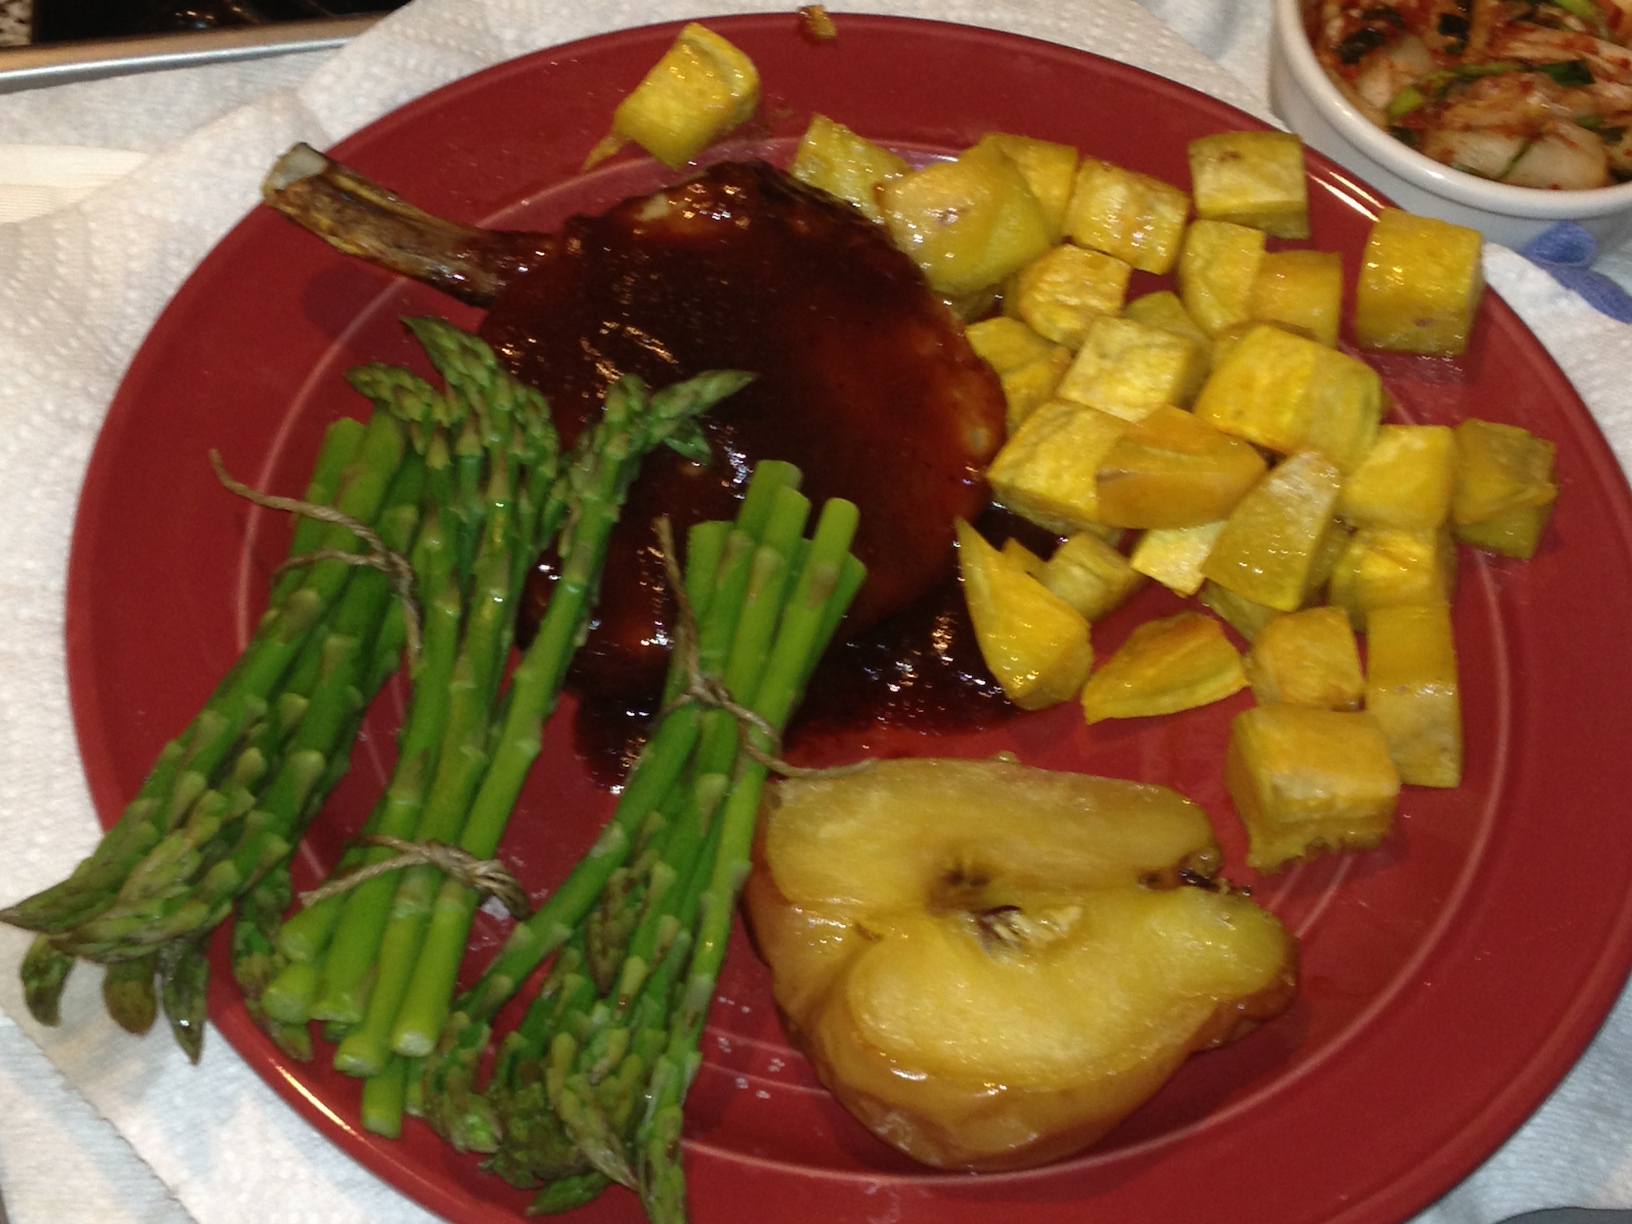
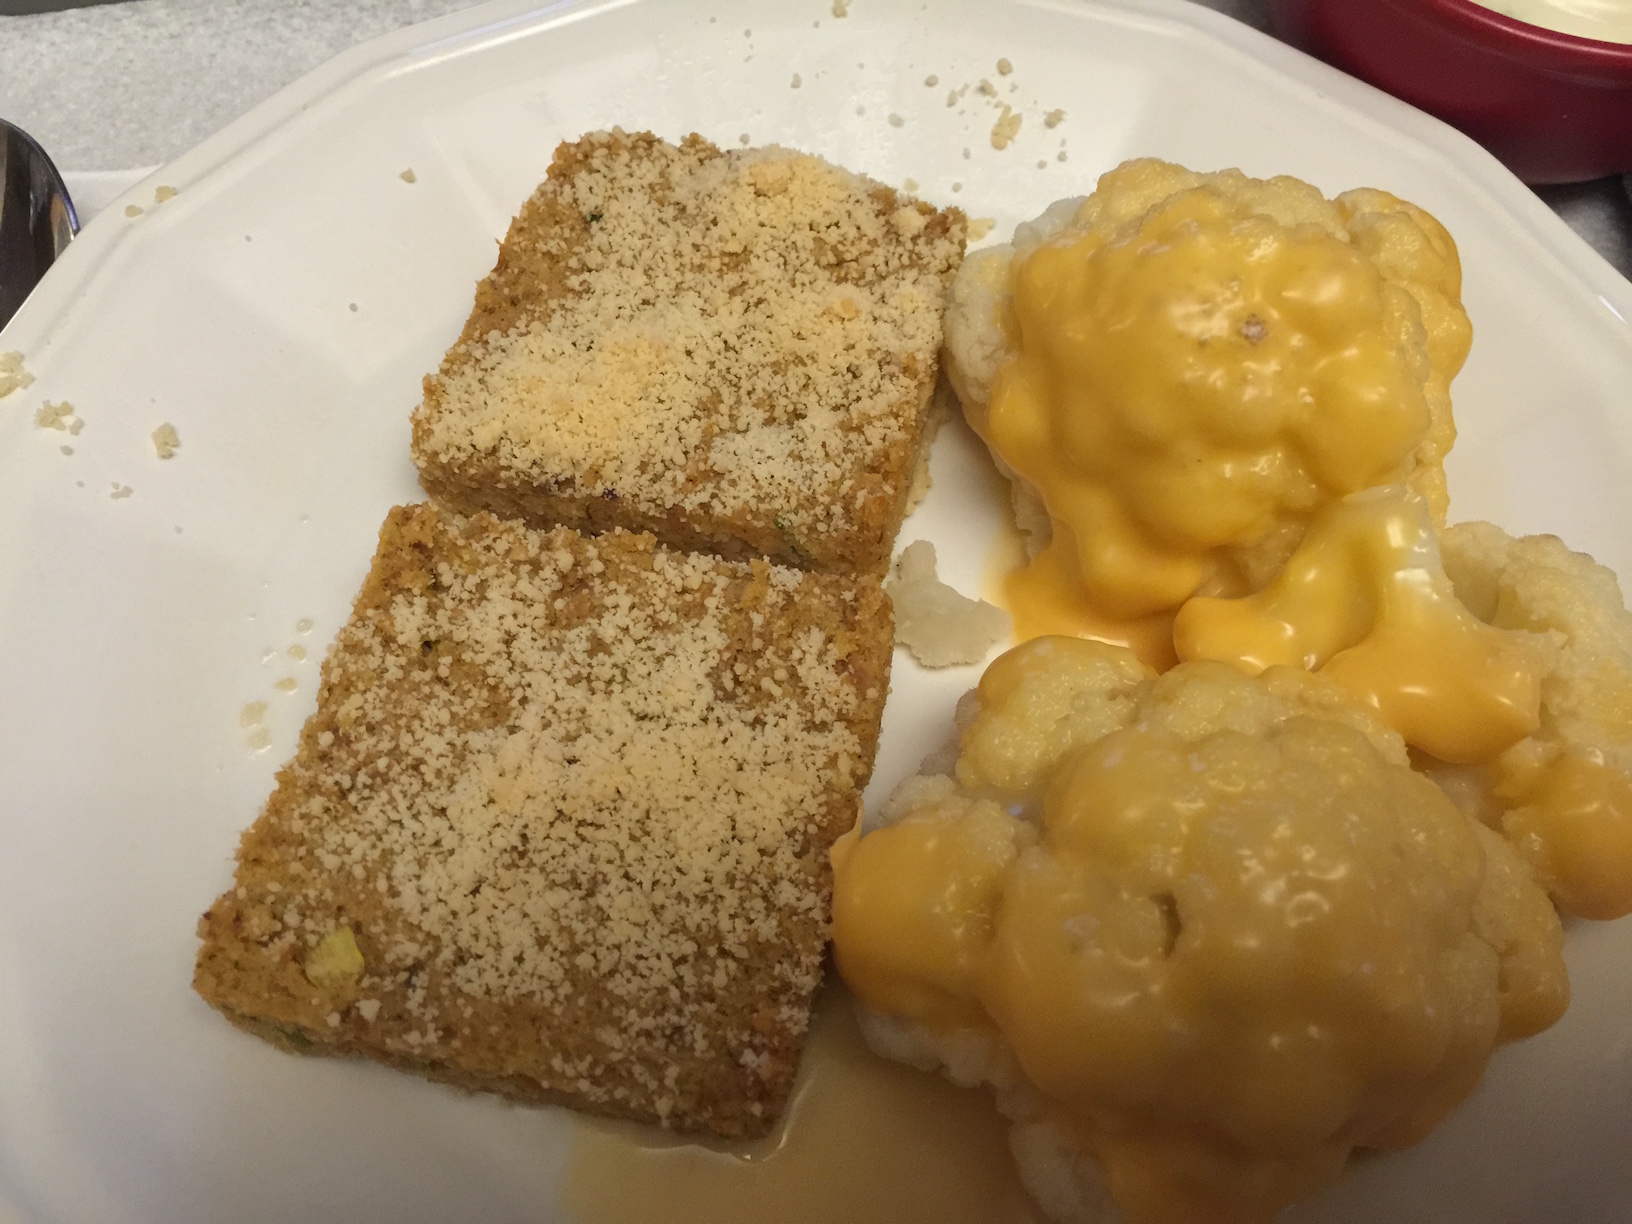
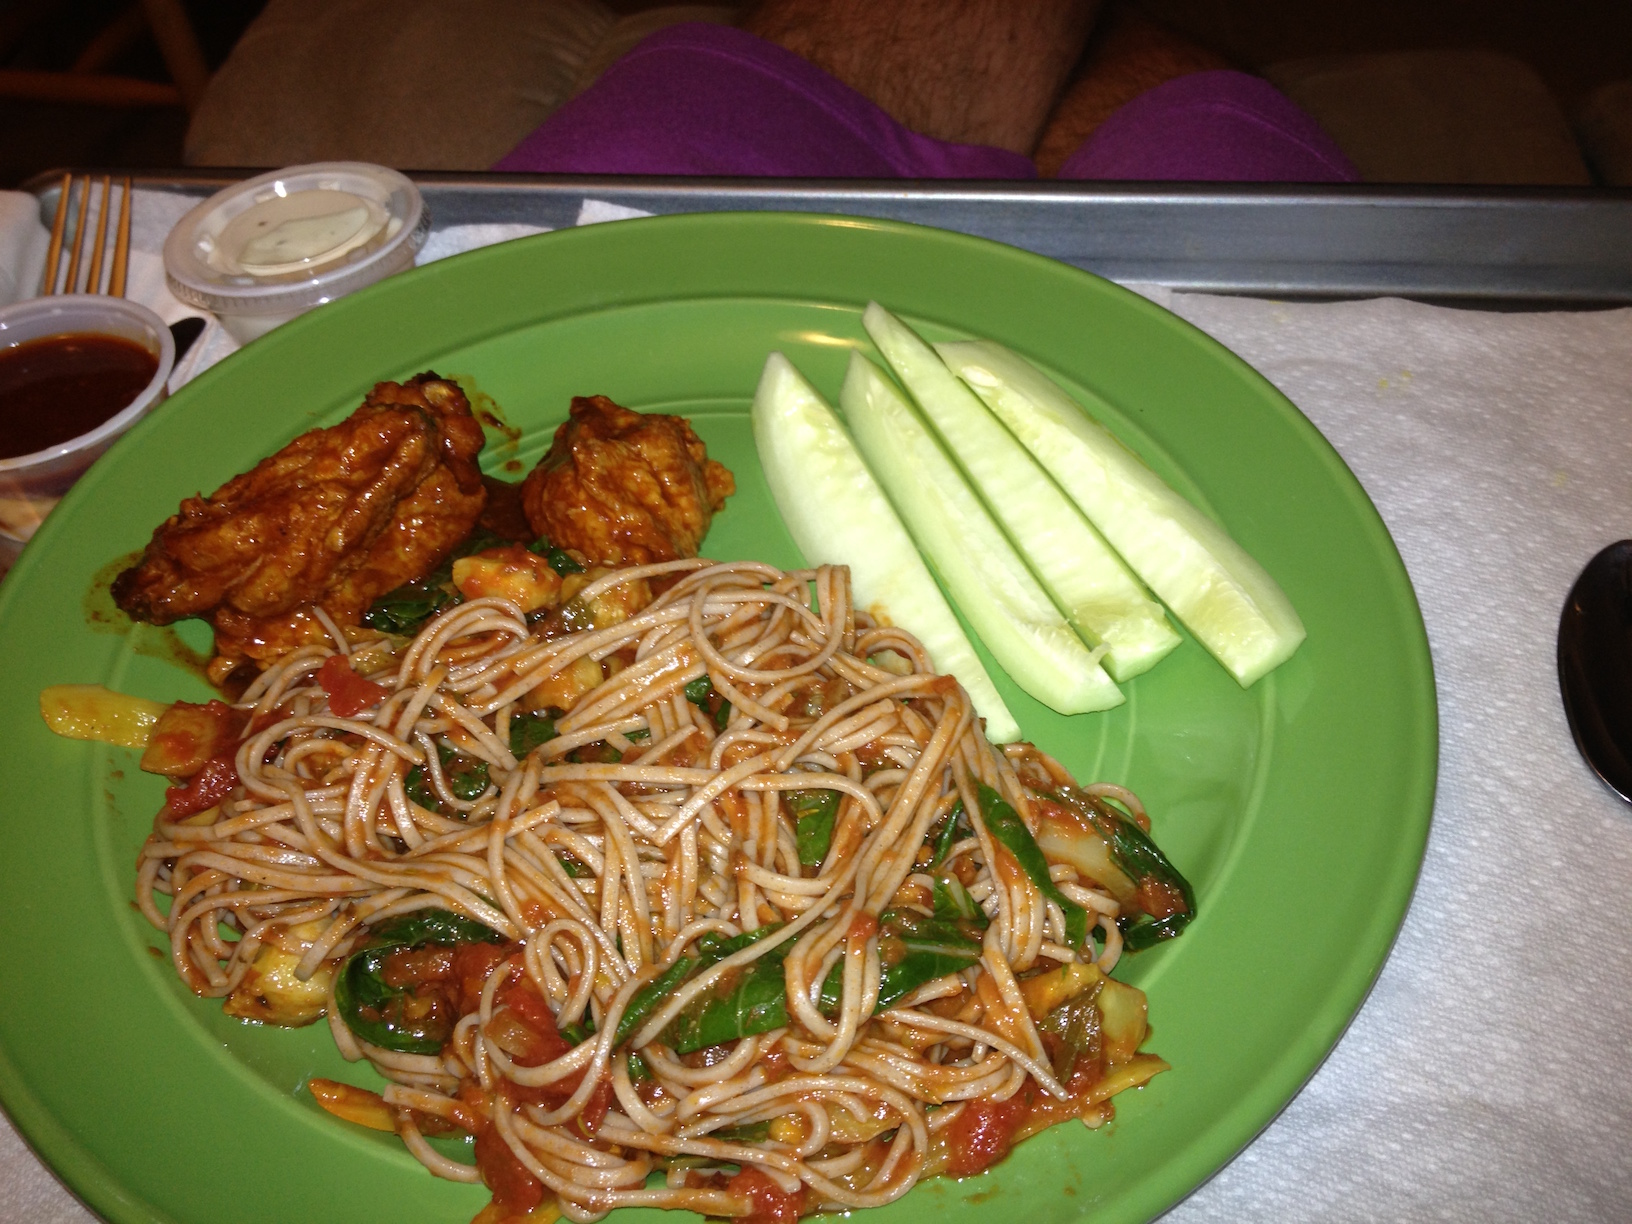
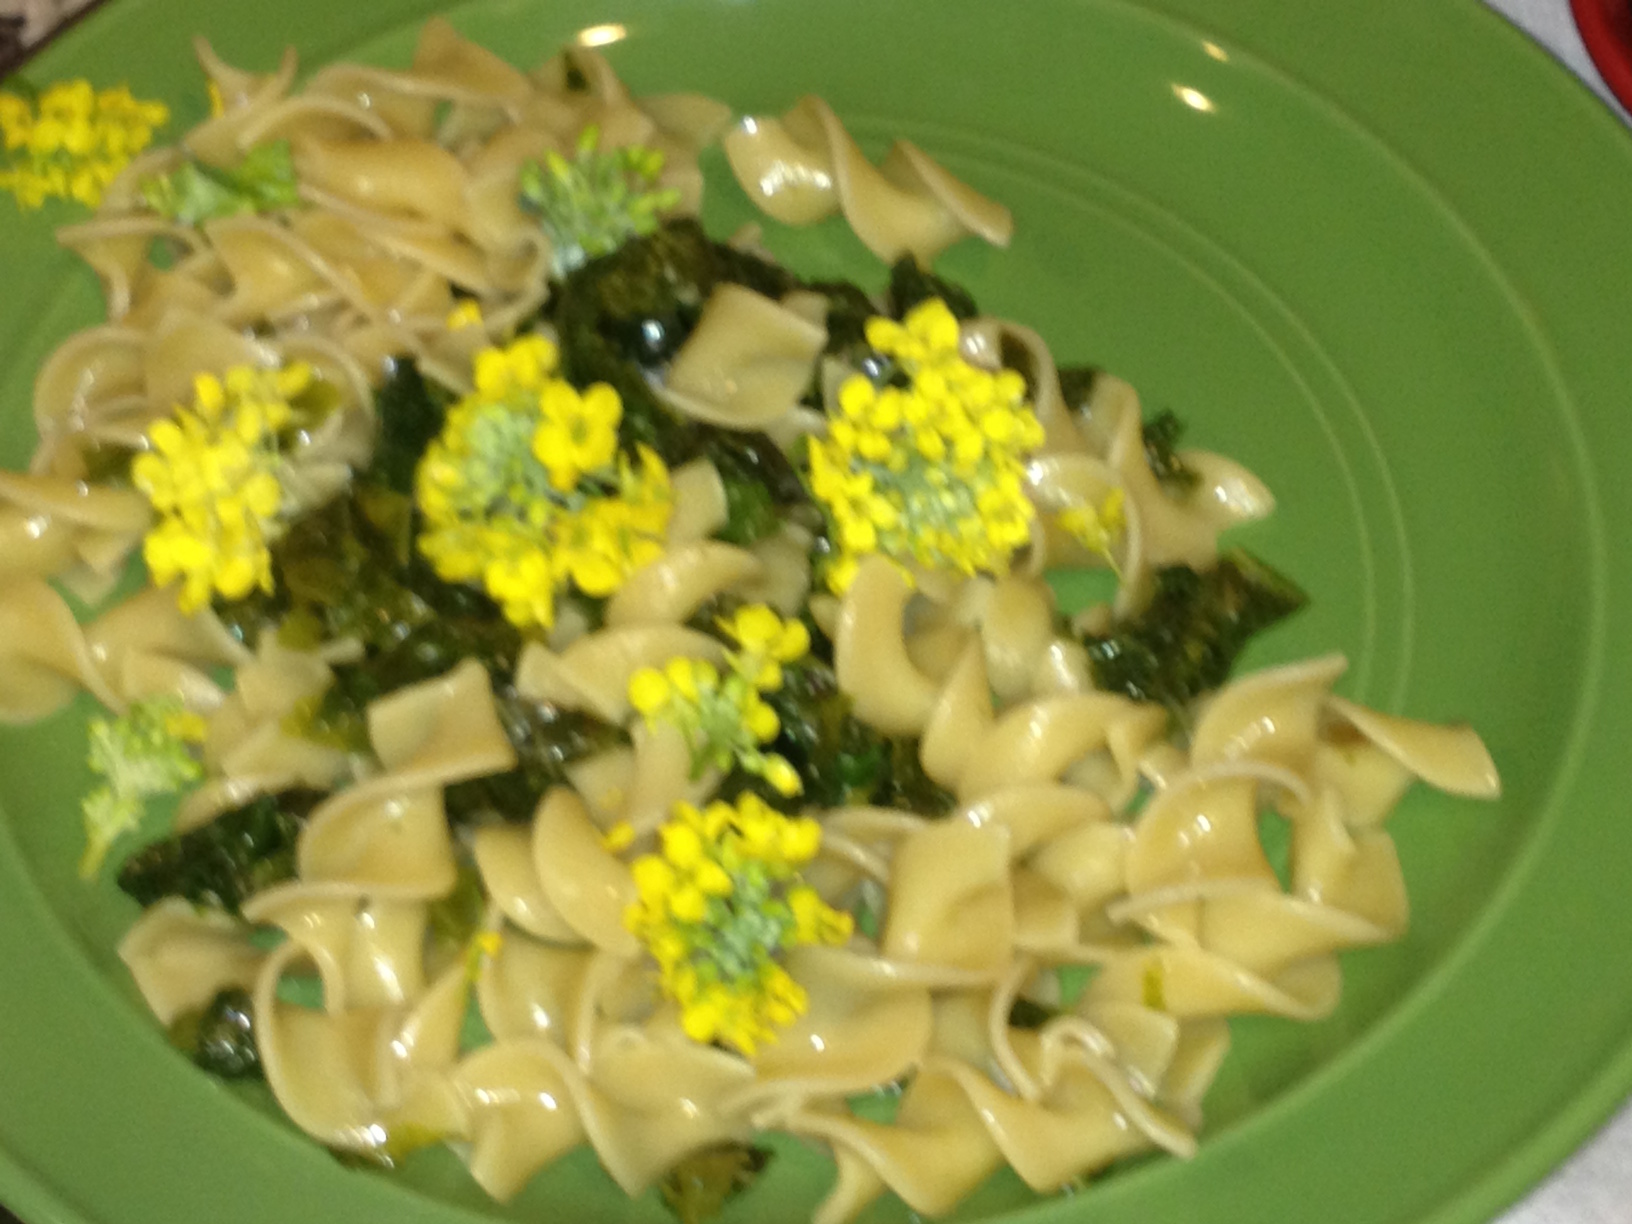
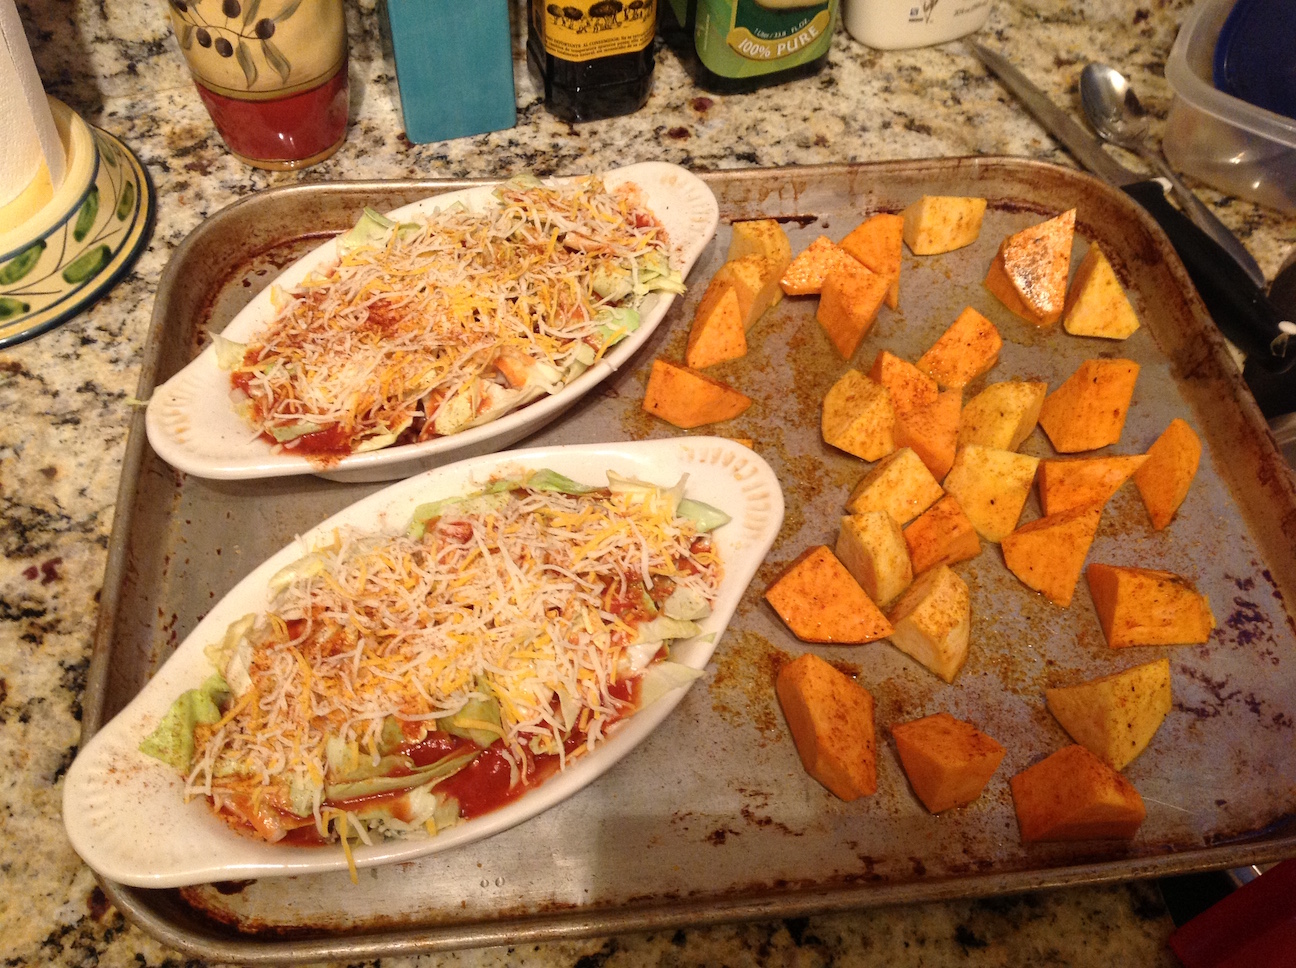
Dinner Photos include lots of casserole type dishes, vegetables, pasta, Mexican cuisine, and other International cuisine.
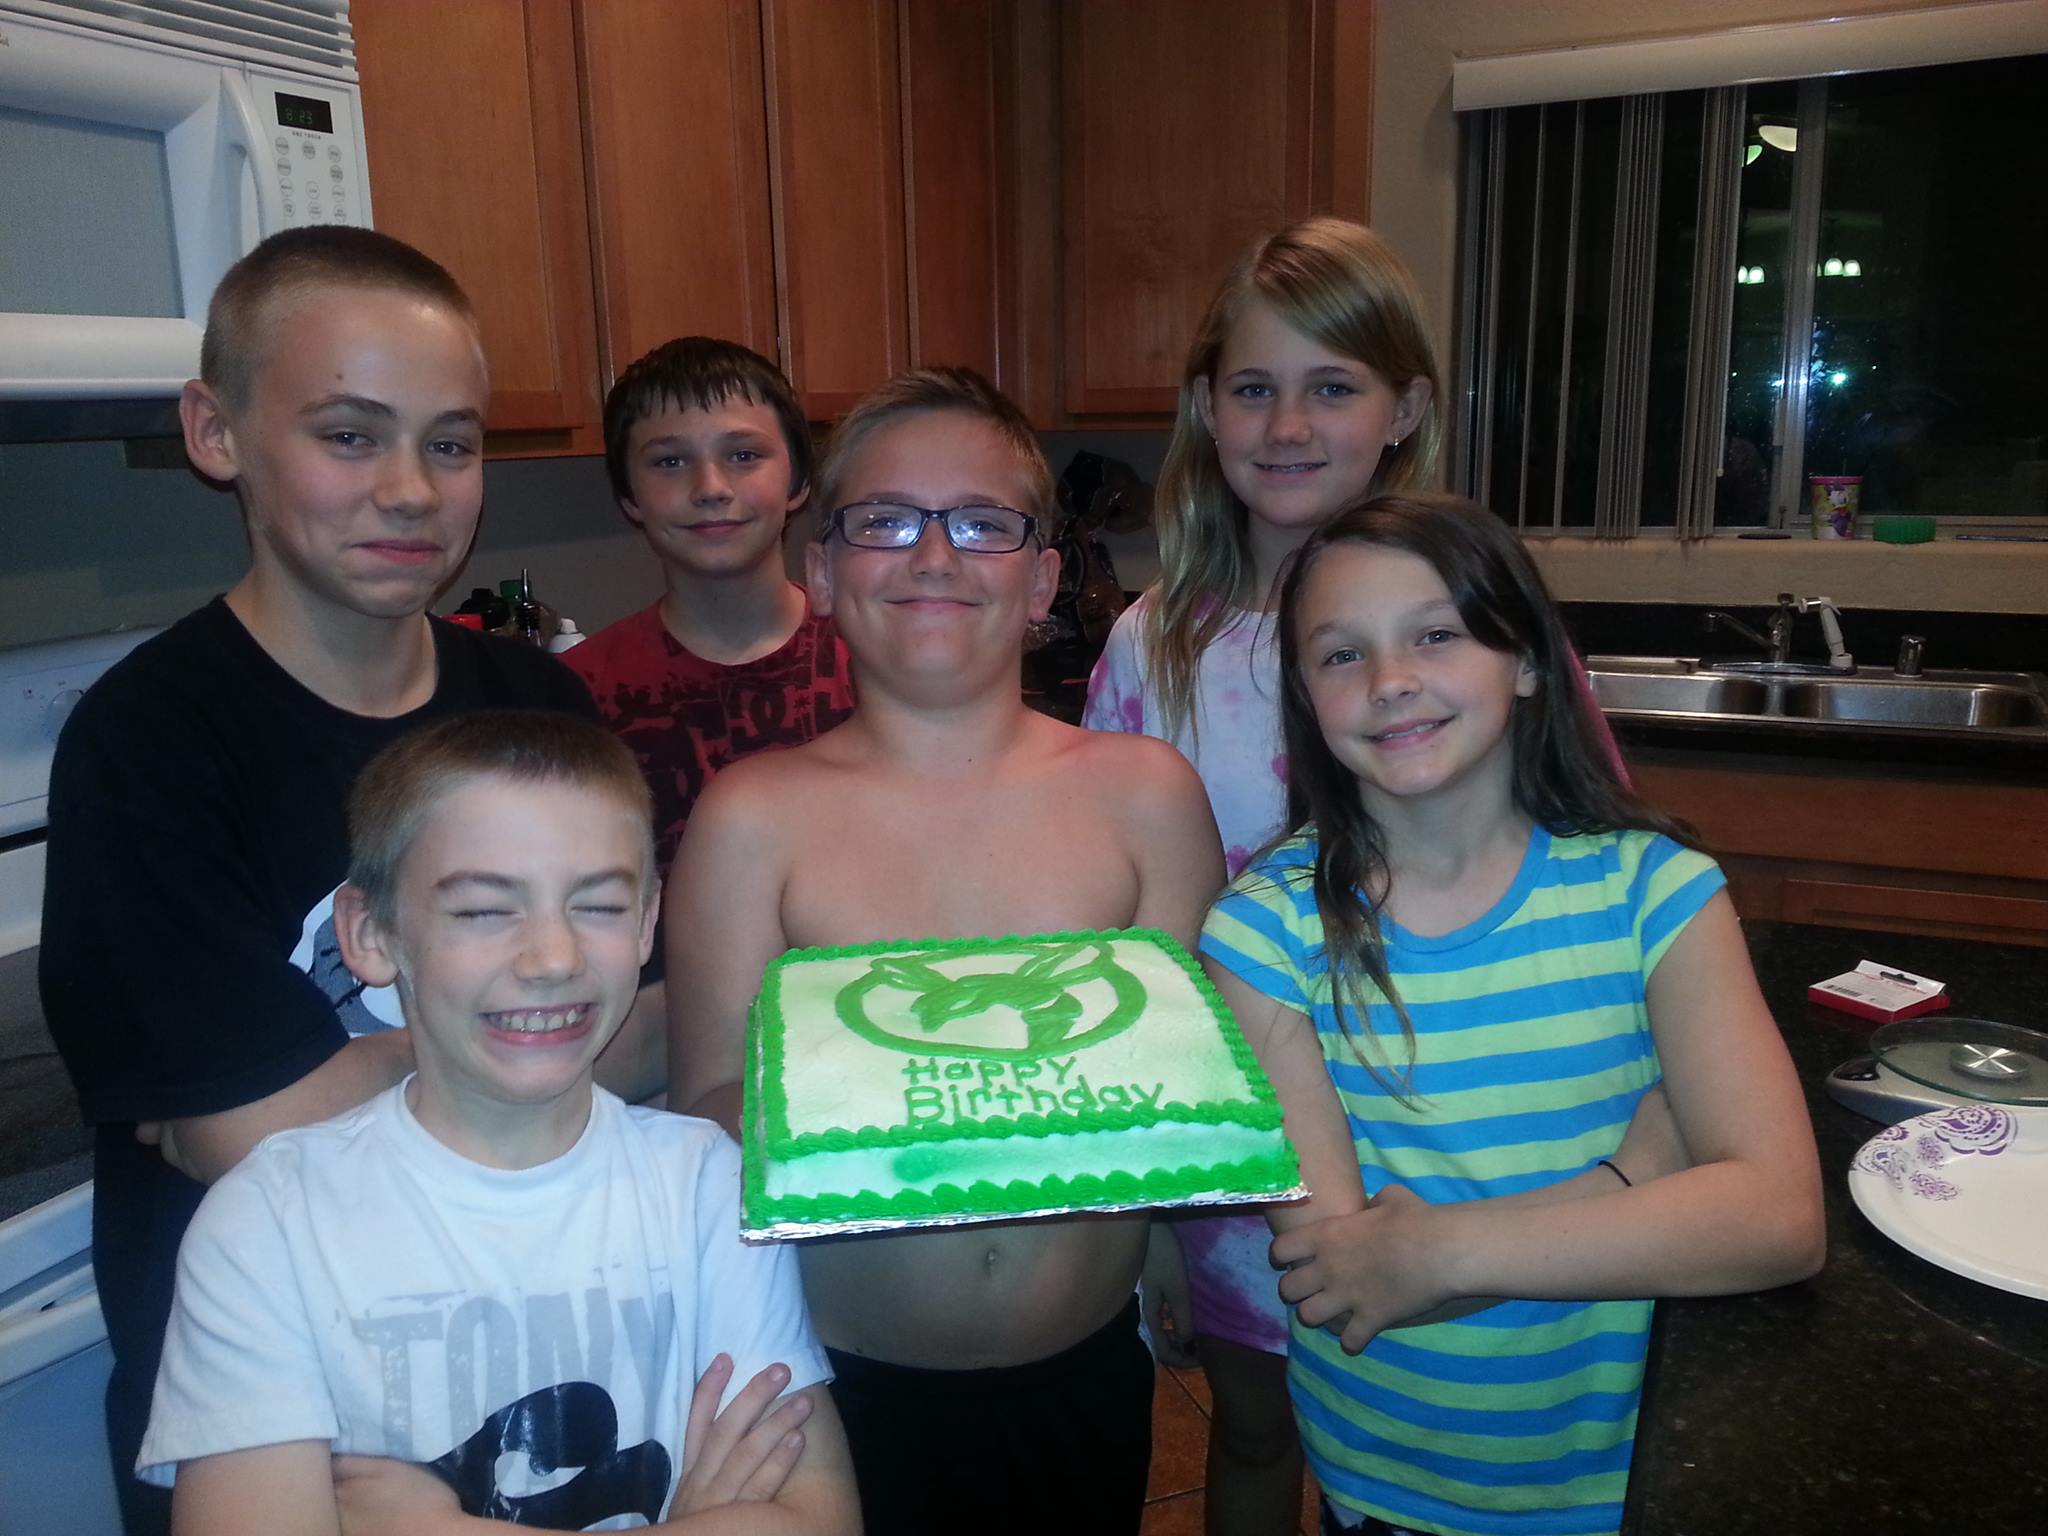
Grand Kids I have two year-old grand children, and six others ranging from 8 to 14 The oldest is in the Phoenix Childrens’ Chorus, which travels around the world.
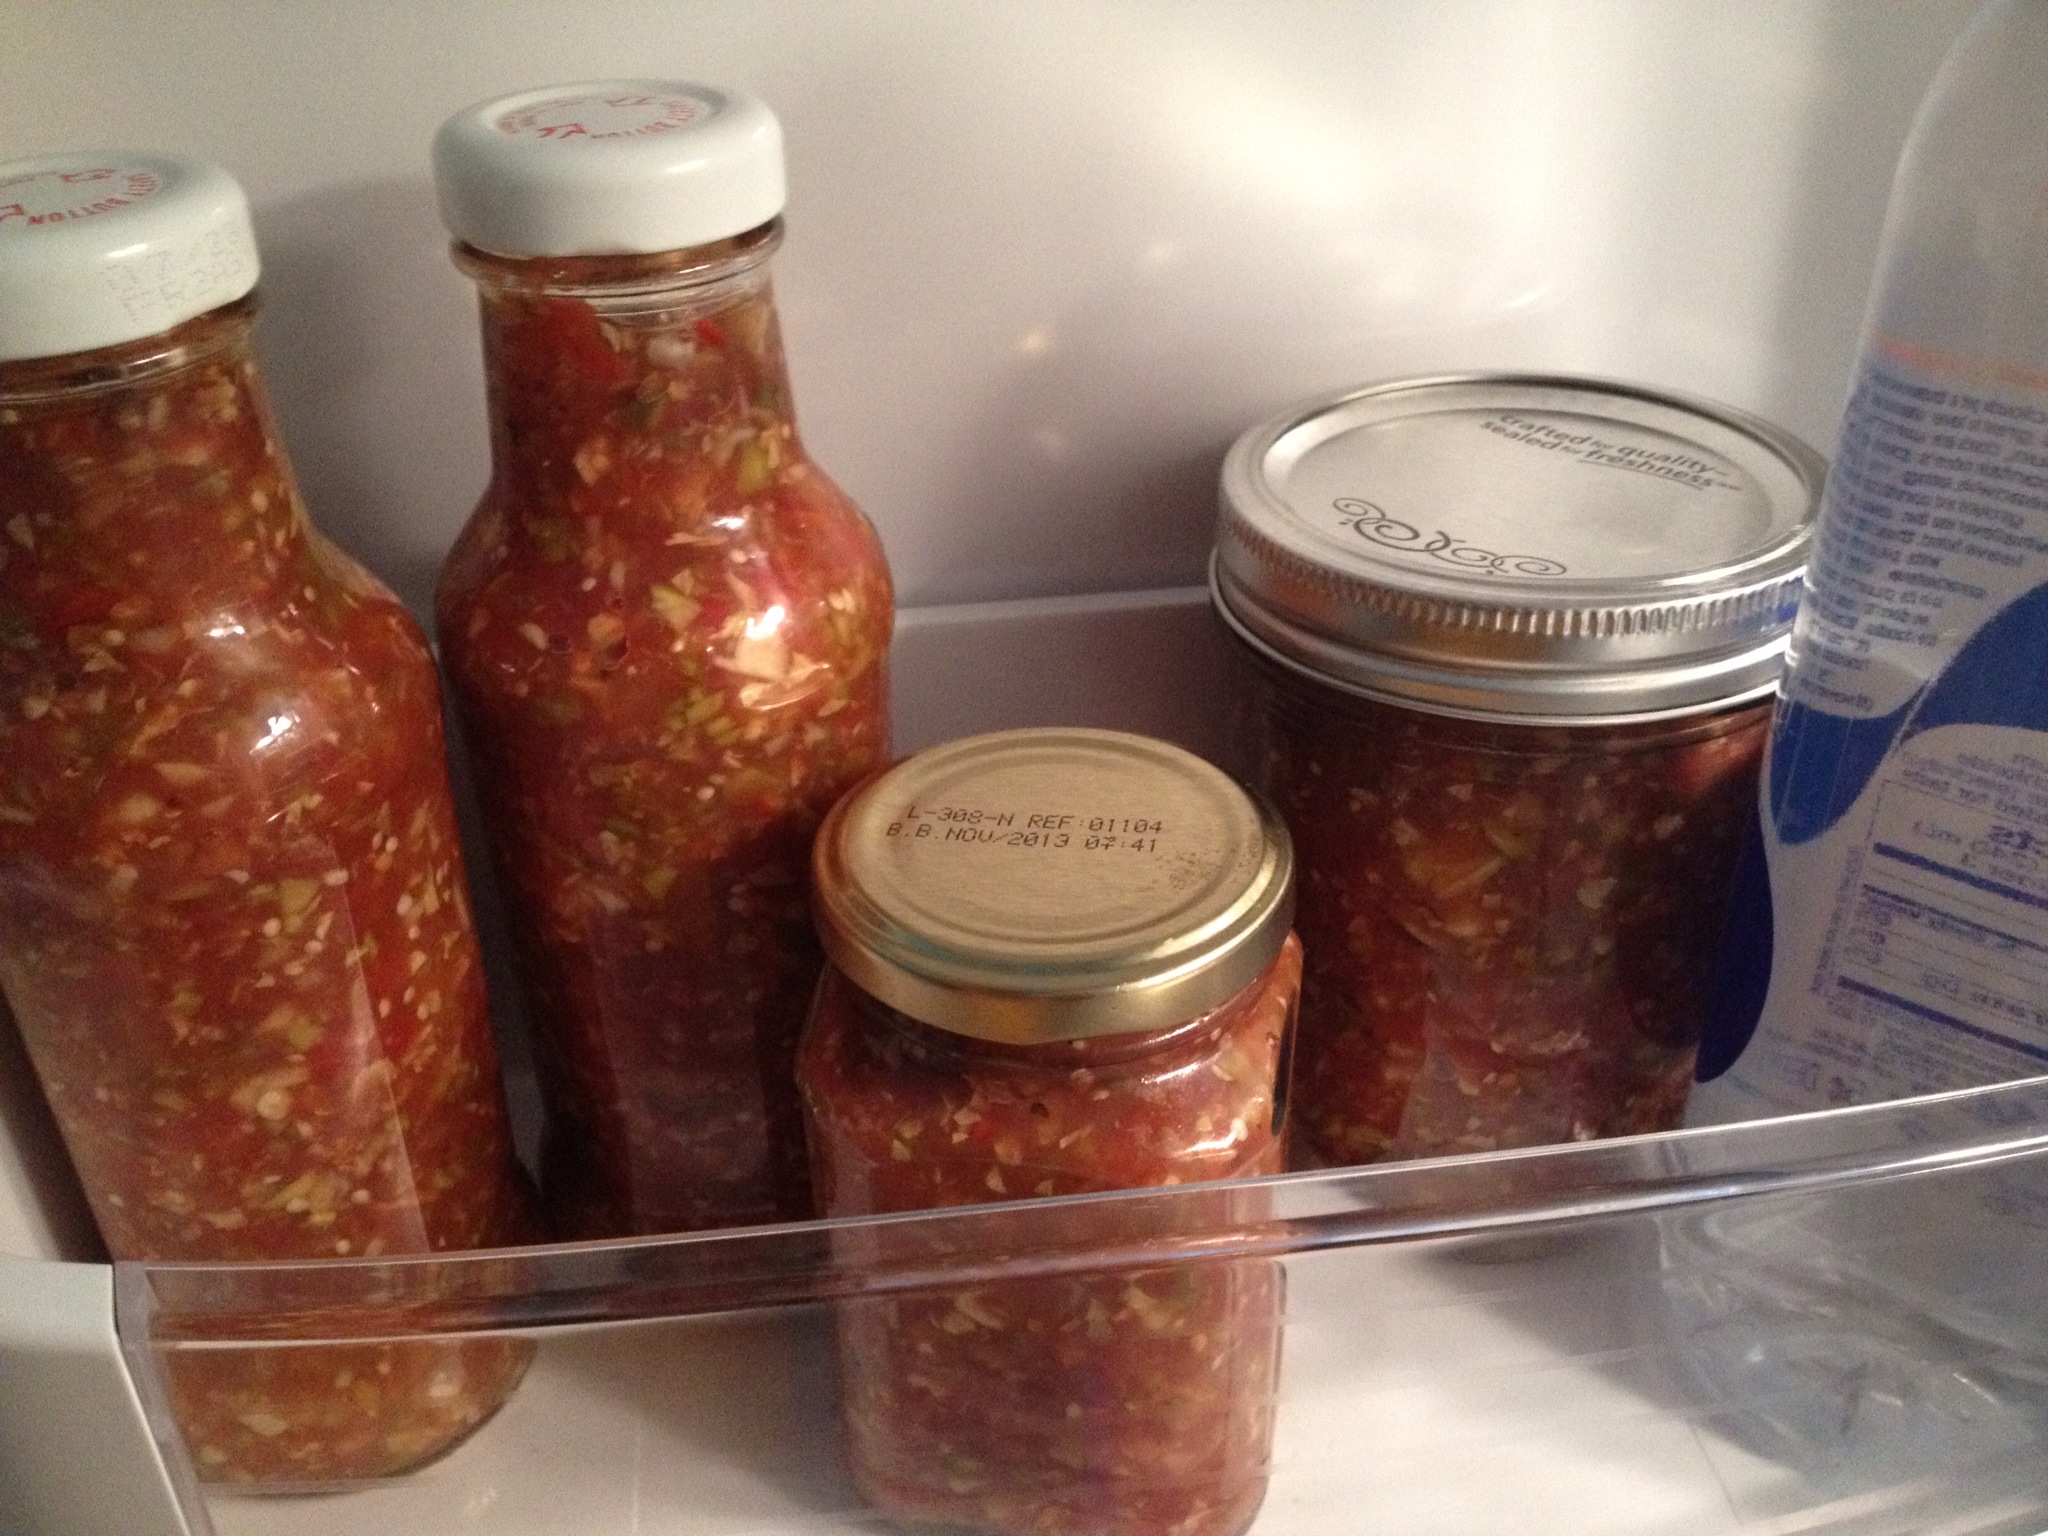
Jalapeno The jalapeño chili paste is my own creation. The photo shows the aging bottles. At about eight months, I blend the ingredients and run them through a food mill
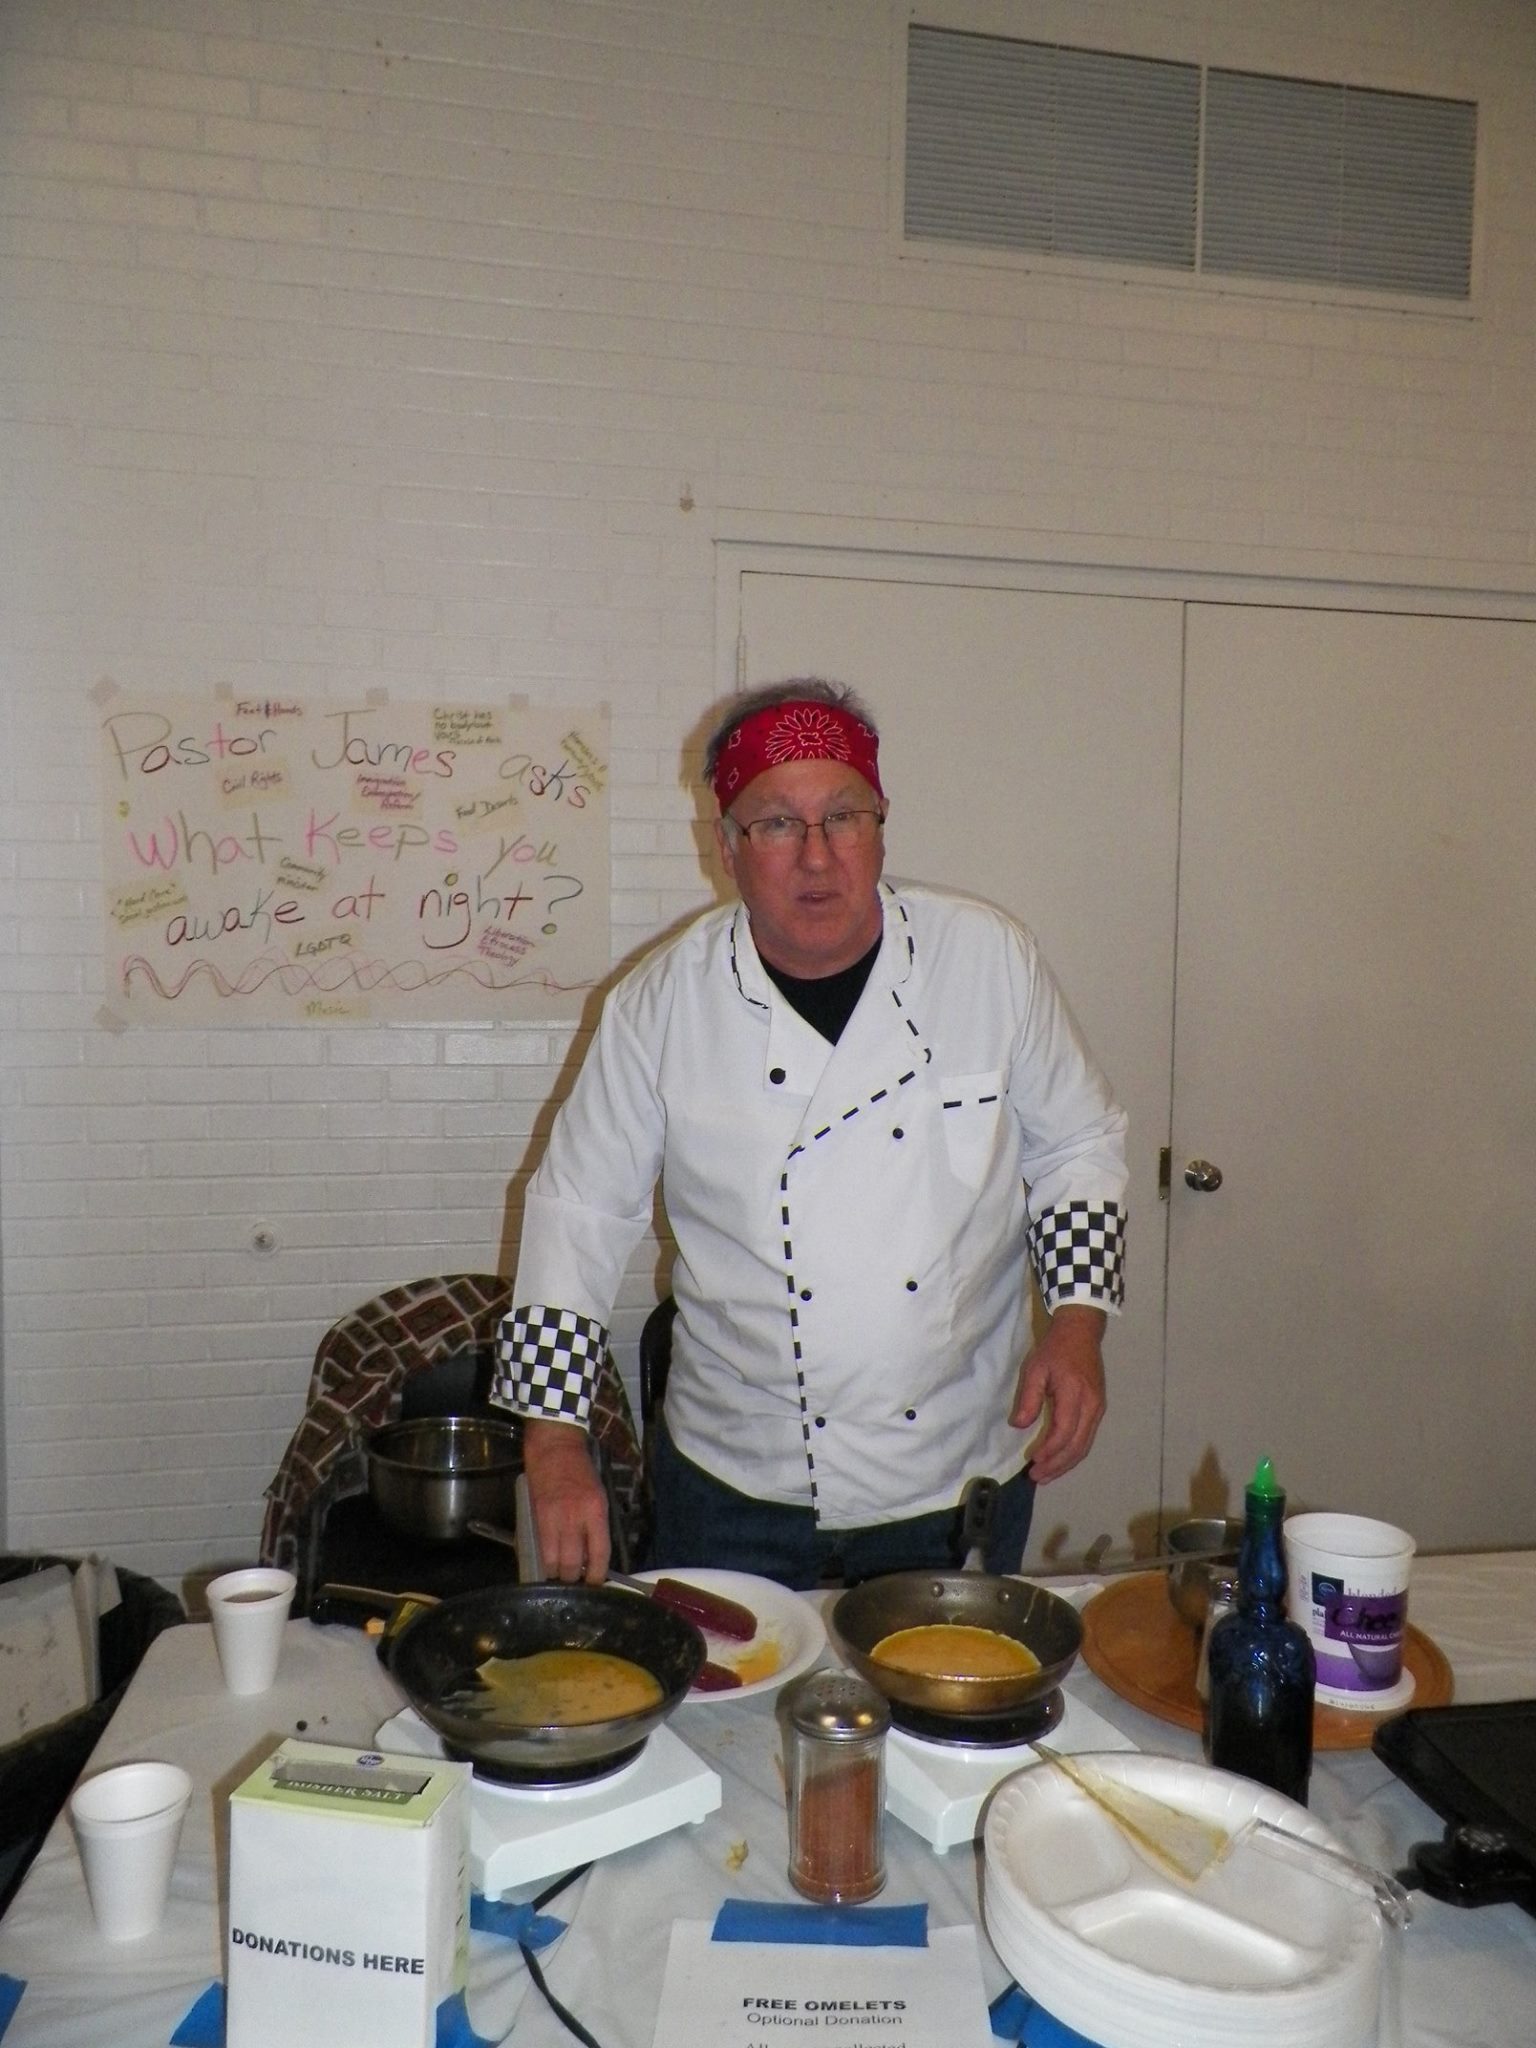
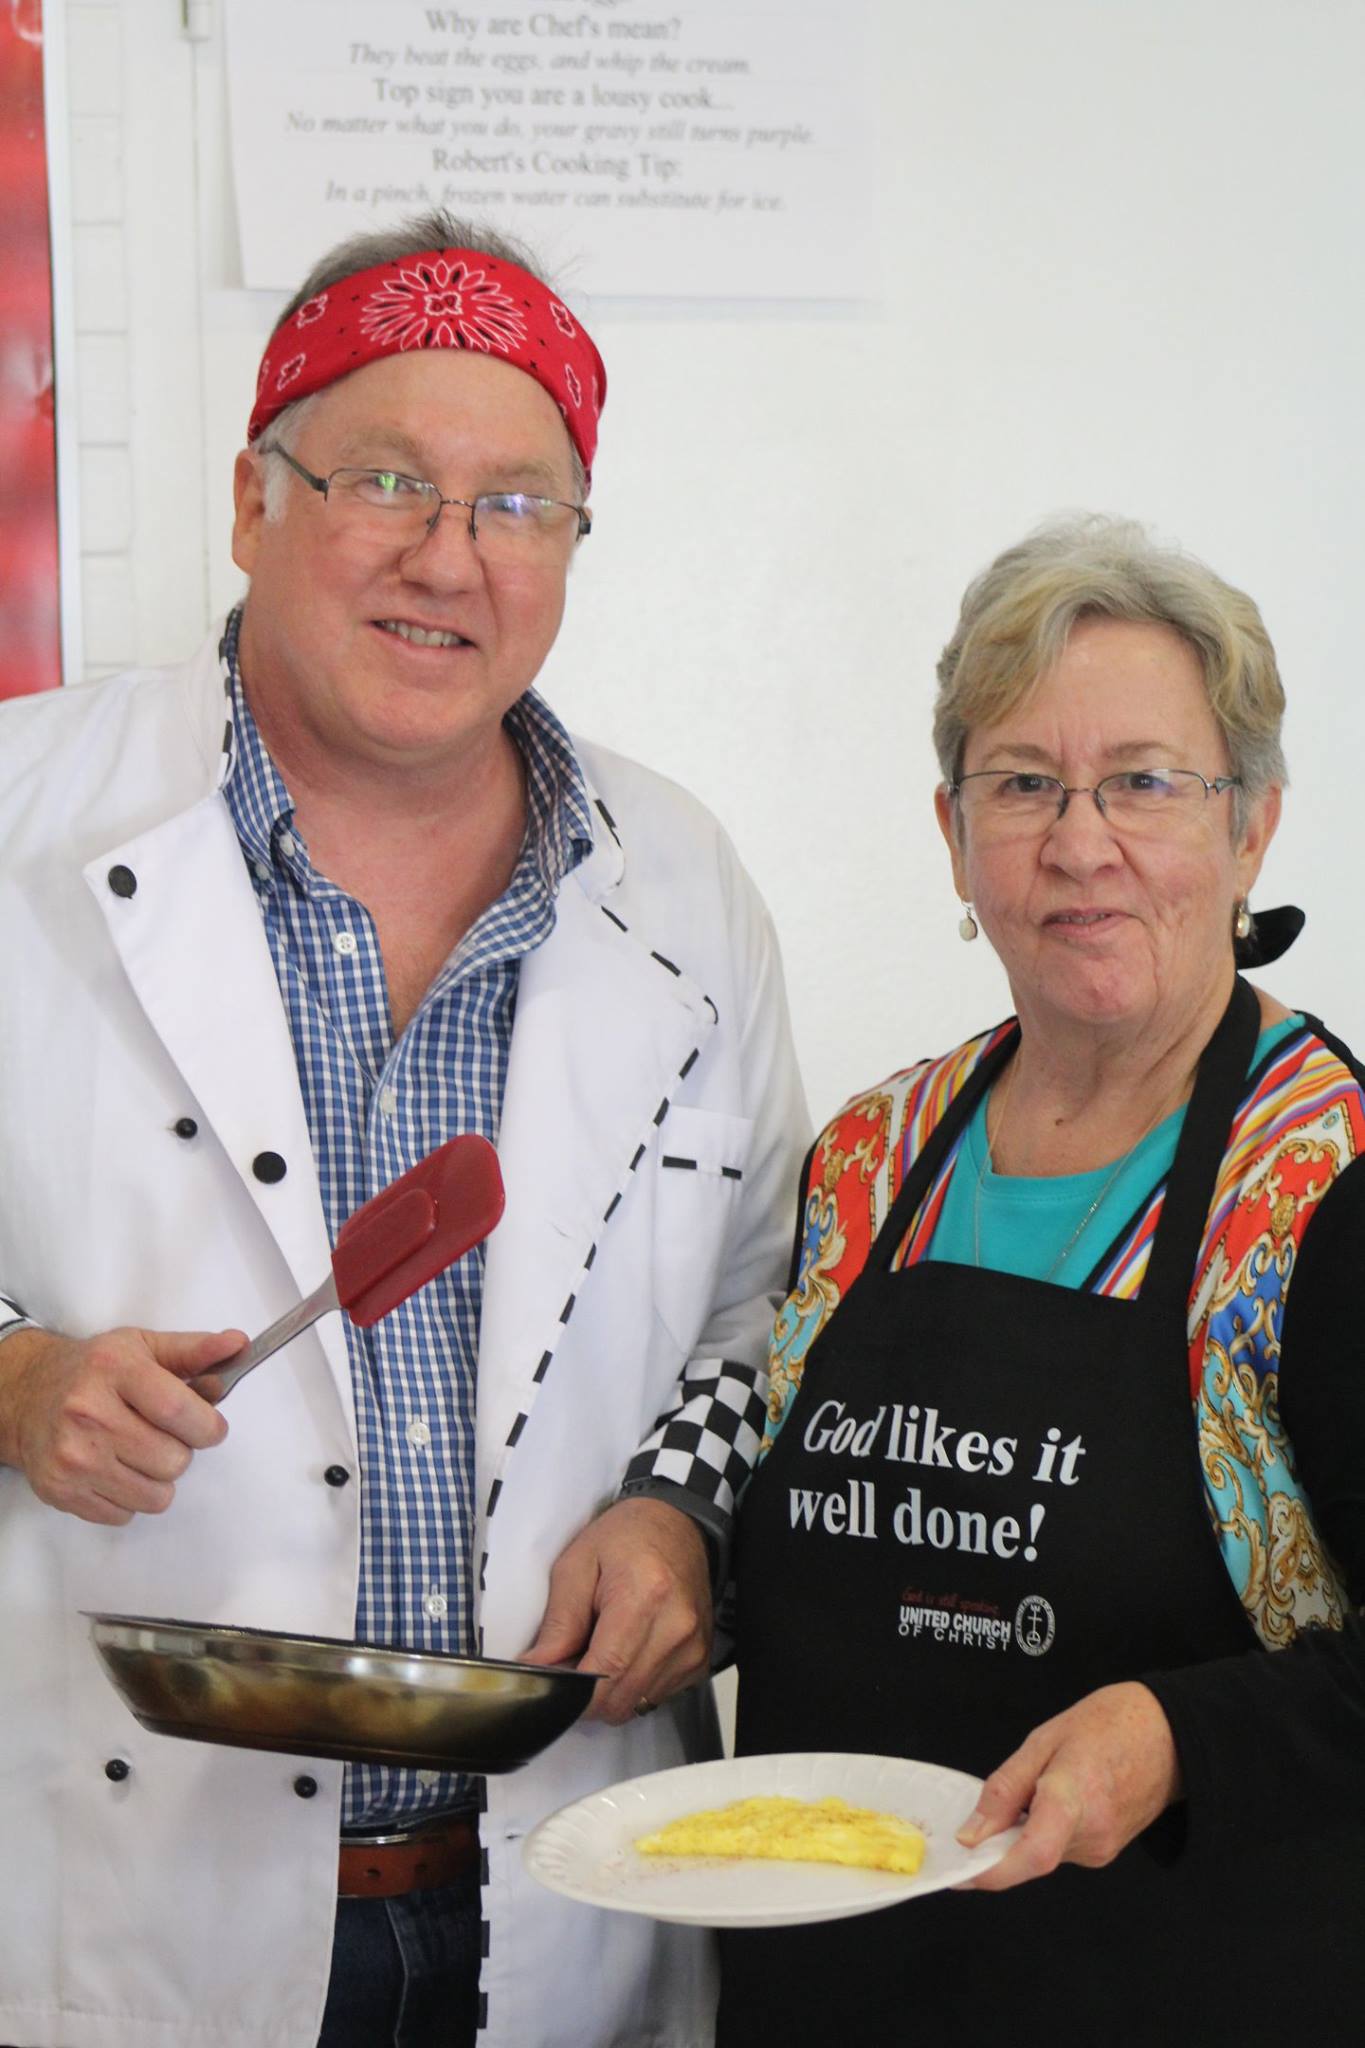
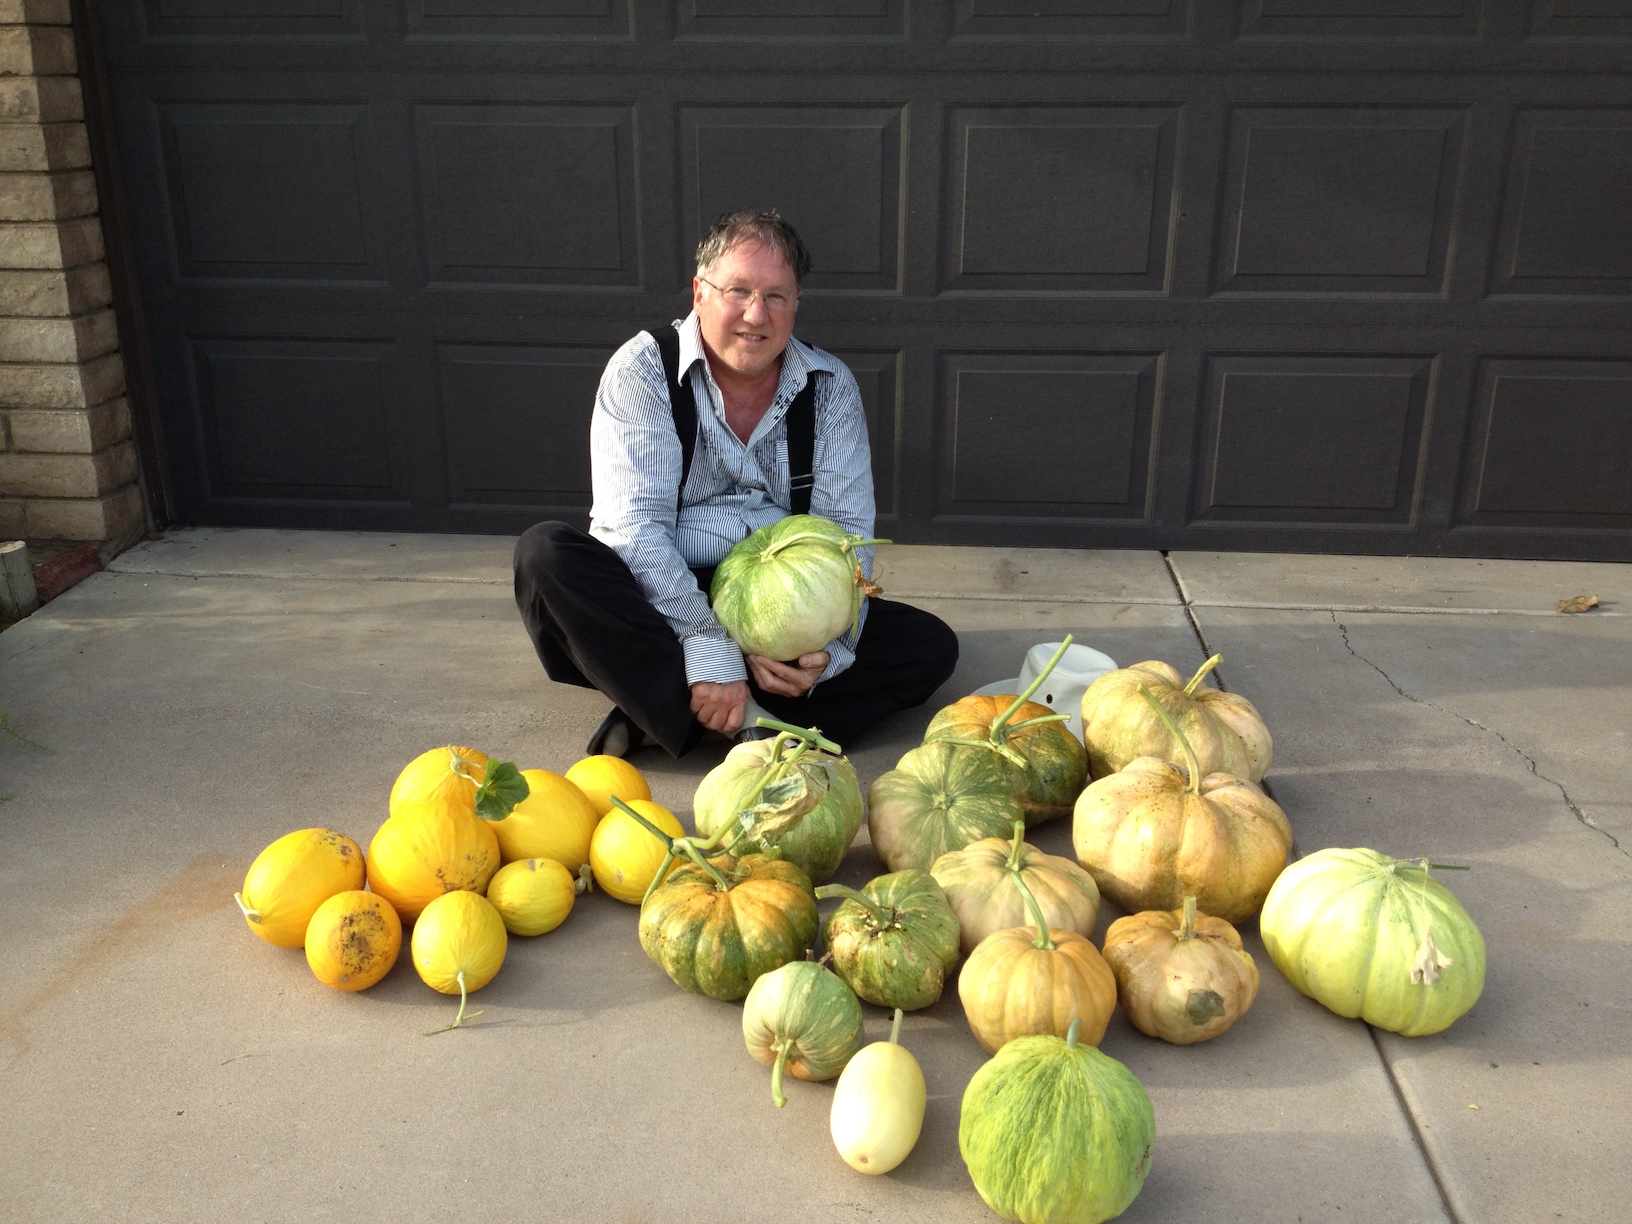
Robert Photos of Robert show him on his travels, with his grandkids, his wife in the center of their Urban Farm, and in his hospital uniform. His service dog and him are on staff at Banner Hospital as volunteers in the therapy dog program. Every easter I prepare about 80 omelets over a 30 minute period for breakfast.
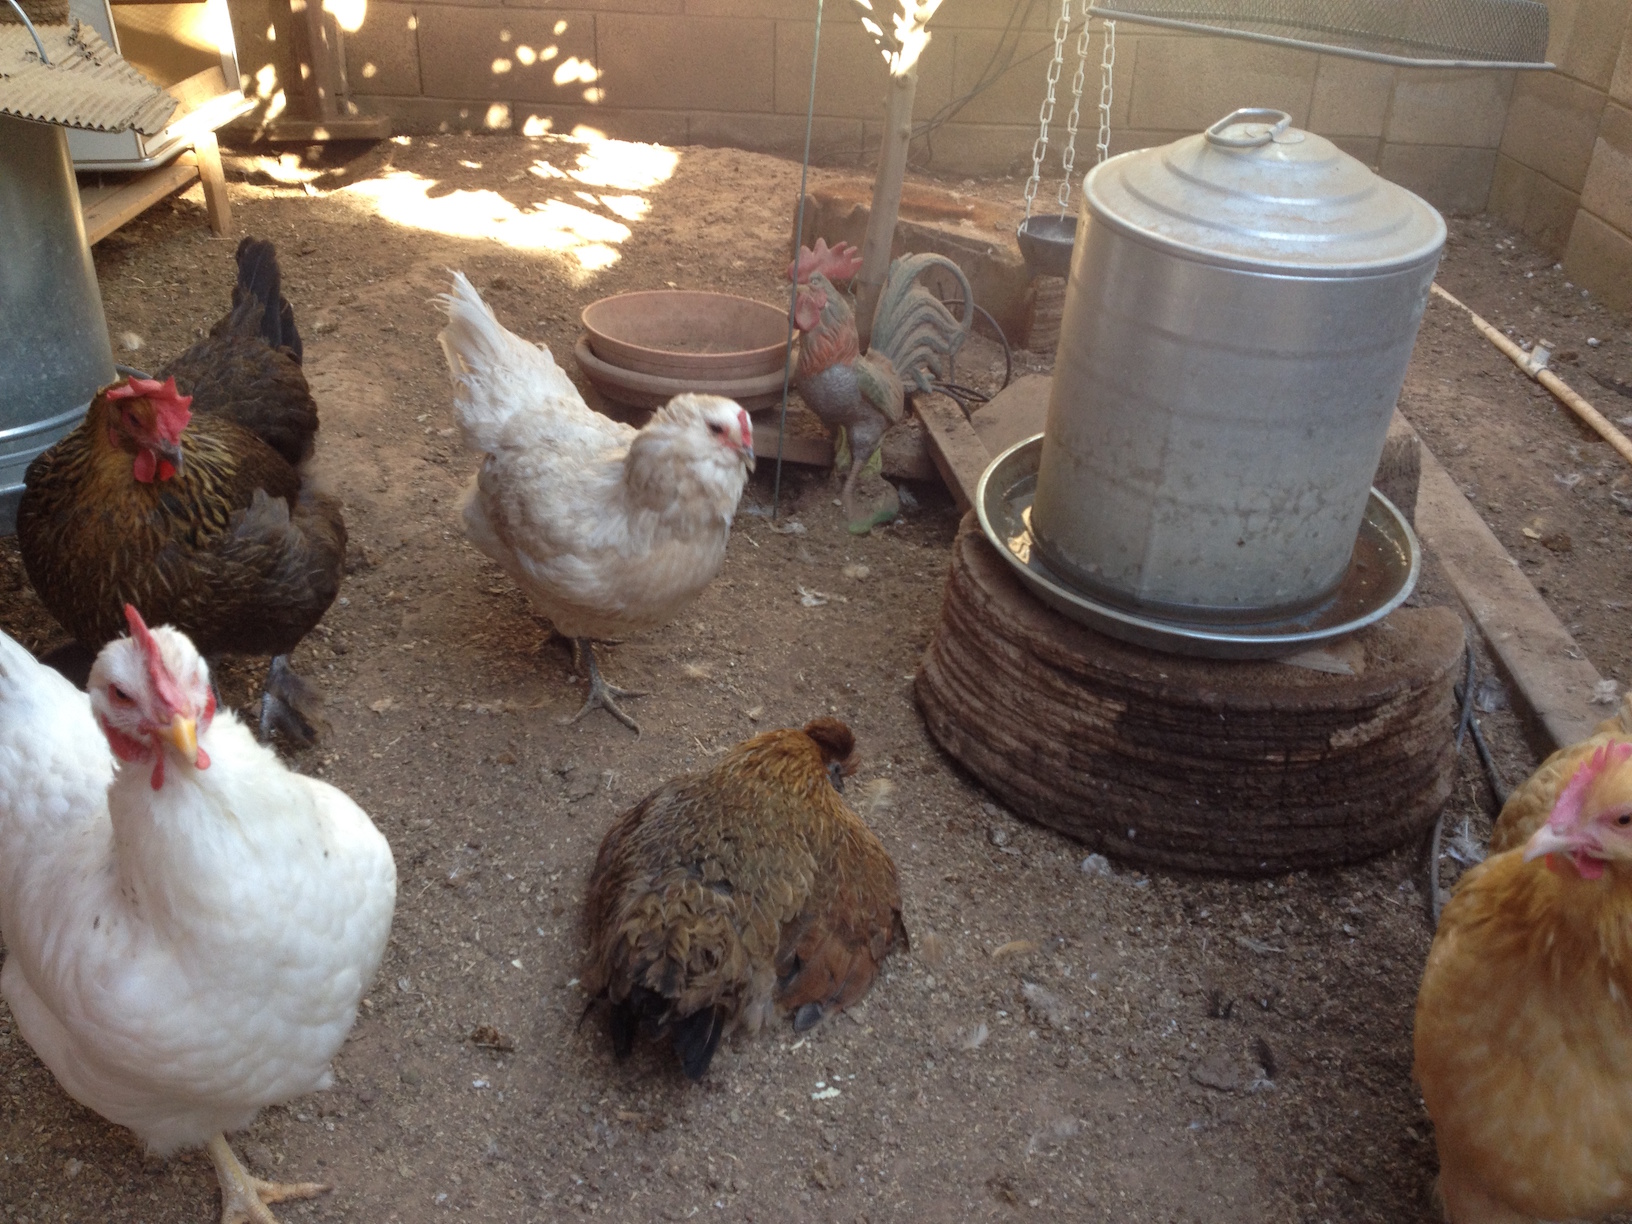
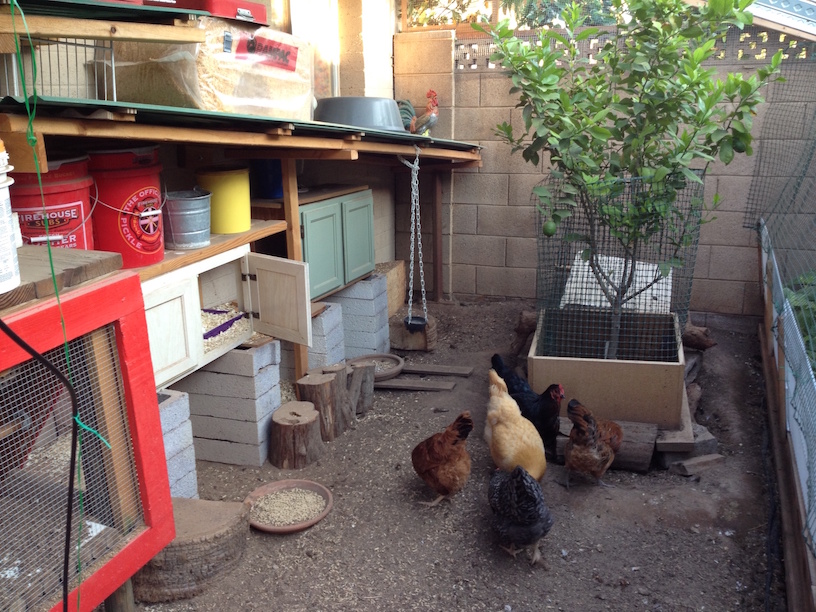
The Girls are in the last photo. Fresh eggs every morning!
PROMOTIONAL
Cilantro Slaw
Dressing
- 2 TBL lime juice
- 2 TBL mayonnaise or Miracle Whip
- 2 TBL agave or honey
- 2 TBL olive oil
- 1 TBL Dijon mustard
- Whisk lime, Miracle Whip, honey and mustard
- Emulsify (whisk) olive oil
- Let meld in refrigerator
Slaw
- 1 C green or napa cabbage
- 1 C purple cabbage
- 1 C cilantro
- 1/2 C julienne carrots
- 1/4 C minced scallions
- Shred cabbages
- Rough chop cilantro
- Process carrots and scallions
- Toss with dressing
- Taste and season
Spinach Soufflé
Ingredients for 2 large or 4 small
- 8 oz. chopped spinach
- 2 TBL butter or margarine
- 3 TBL cup flour (all-purpose)
- scant salt
- scant ground black pepper
- + 1/2 cup milk
- 1 tablespoon very finely chopped onion
- scant salt
- scant ground nutmeg, fresh is best
- 2 large eggs, separated
- 1/4 teaspoon cream of tartar
Steps by Step
- Chop steamed spinach and squeeze well to get as much moisture as possible out.
- Preheat oven to 350 F. Butter a 2 medium or 4 small soufflé or casserole dishes.
- Heat butter in a saucepan over medium-low heat. When butter has melted, add onion and stir for 2 minutes.
- Add 1/2 teaspoon salt and 1/8 teaspoon pepper.
- Add flour; stir until butter is absorbed.
- Gradually add milk, stirring constantly. When the mixture is thick and boiling, remove from heat.
- In a metal or glass mixing bowl, beat egg whites and cream of tartar until stiff peaks have formed.
- Stir in the spinach – this will cool the mixture a bit
- Stir egg yolks into the sauce mixture
- Stir about 1/4 of the beaten egg whites into the spinach mixture, then gently fold in the remaining egg whites.
- Pour into the prepared soufflé dish(s)
- Bake for 50 to 60 minutes. The top will be lightly browned. Serve immediately. Serves 2 or 4
Sugar Temperature Chart
230 – 235º :: Soft thread :: syrup
When you drop a little of this syrup into cold water to cool, it forms a liquid thread that will not ball up. This temperature is used for making syrups, liqueurs, jelly, etc.
| Between 232º and 236º do not agitate, you may form crystals which will make your candy grainy. If this happens though, add water and remelt the sugar, then bring it back up to temperature. |
235 – 245º :: Soft ball :: fudge, fondant or praline
Some say that this temperature maxes out at 240º, at which temperature Firm Ball is attained. Use your own judgement.
At this temperature, sugar syrup dropped into cold water will form a soft, flexible ball. If you remove the ball from water, it will flatten like a pancake after a few moments in your hand.
You will use Soft Ball for fudge, fondant, pralines, butter creams, and meringues.
245 – 250º :: Firm ball :: caramels
Drop a little of this syrup in cold water and it will form a firm ball, one that won’t flatten when you take it out of the water, but remains malleable and will flatten when squeezed.
Creamy caramel candies use this temperature.
250 – 265º :: Hard ball :: divinity, gummy bears
At this stage, the syrup will form thick rope threads as it drips from the spoon. The sugar concentration is rather high now, which means there’s less and less moisture in the sugar syrup. A little of this syrup dropped into cold water will form a hard ball. If you take the ball out of the water, it won’t flatten. The ball will be hard, but you can still change its shape by squashing it.
Hard ball is used for marshmallows, divinity, toffee, nougat, rock candy and gummy candy.
270 – 290º :: Firm thread – aka Soft Crack :: taffy and butterscotch
As the syrup reached soft-crack stage, the bubbles on top will become smaller, thicker, and closer together. At this stage, the moisture content is low. When you drop a bit of this syrup into cold water, it will solidify into threads that, when removed from the water, are flexible, not brittle. They will bend slightly before breaking.
The soft crack is used for butterscotch, taffy and candy apples.
300 – 310º :: Hard crack :: toffee, brittle, lollipop, hardtack
The hard-crack stage is the highest temperature you are likely to see specified in a candy recipe. At these temperatures, there is almost no water left in the syrup. Drop a little of the molten syrup in cold water and it will form hard, brittle threads that break when bent. CAUTION: To avoid burns, allow the syrup to cool in the cold water for a few moments before touching it!
If making hard tack after dumping the sugar mixture onto a marble slab and adding your flavor components, use a bench scraper to fold it all together – not your hands. Cut it with a scissor before it becomes brittle.
320 – 350º :: Light Caramel
Caramelizing Sugar
If you heat a sugar syrup to temperatures higher than any of the candy stages, you will be on your way to creating caramelized sugar (the brown liquid stage)—a rich addition to many desserts.
As the sugar warms into the candy light caramel stage, it will develop a light golden brown hue. When dropped into cold water, the sugar will form a solid chunk that requires some effort to snap.
Light caramel stage (about 340º) is the temperature you need for flan.
Clear-Liquid Stage
320° F
sugar concentration: 100%
At this temperature all the water has boiled away. The remaining sugar is liquid and light amber in color.
Brown-Liquid Stage
338° F
sugar concentration: 100%
Now the liquefied sugar turns brown in color due to carmelization. The sugar is beginning to break down and form many complex compounds that contribute to a richer flavor.
Caramelized sugar is used for dessert decorations and can also be used to give a candy coating to nuts.
Burnt-Sugar Stage
350° F
sugar concentration: 100%
Watch out! Above about 350° F, the sugar begins to burn and develops a bitter, burnt taste.
365 – 375º :: Dark Caramel
One source sets this temperature at 340º. Experience will be your best guide.
Light Caramel will turn to Dark Caramel, the firm chunk that forms in cool water will turn a dark amber color. The sugar should be removed from the heat at this stage or it will be prone to burning.
Dark Caramel is excellent for making caramel sauce and treacle, often used in Britain.
Dark Caramel vs Light Caramel
The difference between light caramel and dark caramel is mainly in color and flavor. Dark caramel will have a dark amber color with a reddish hue and a slightly more bitter taste than light caramel.
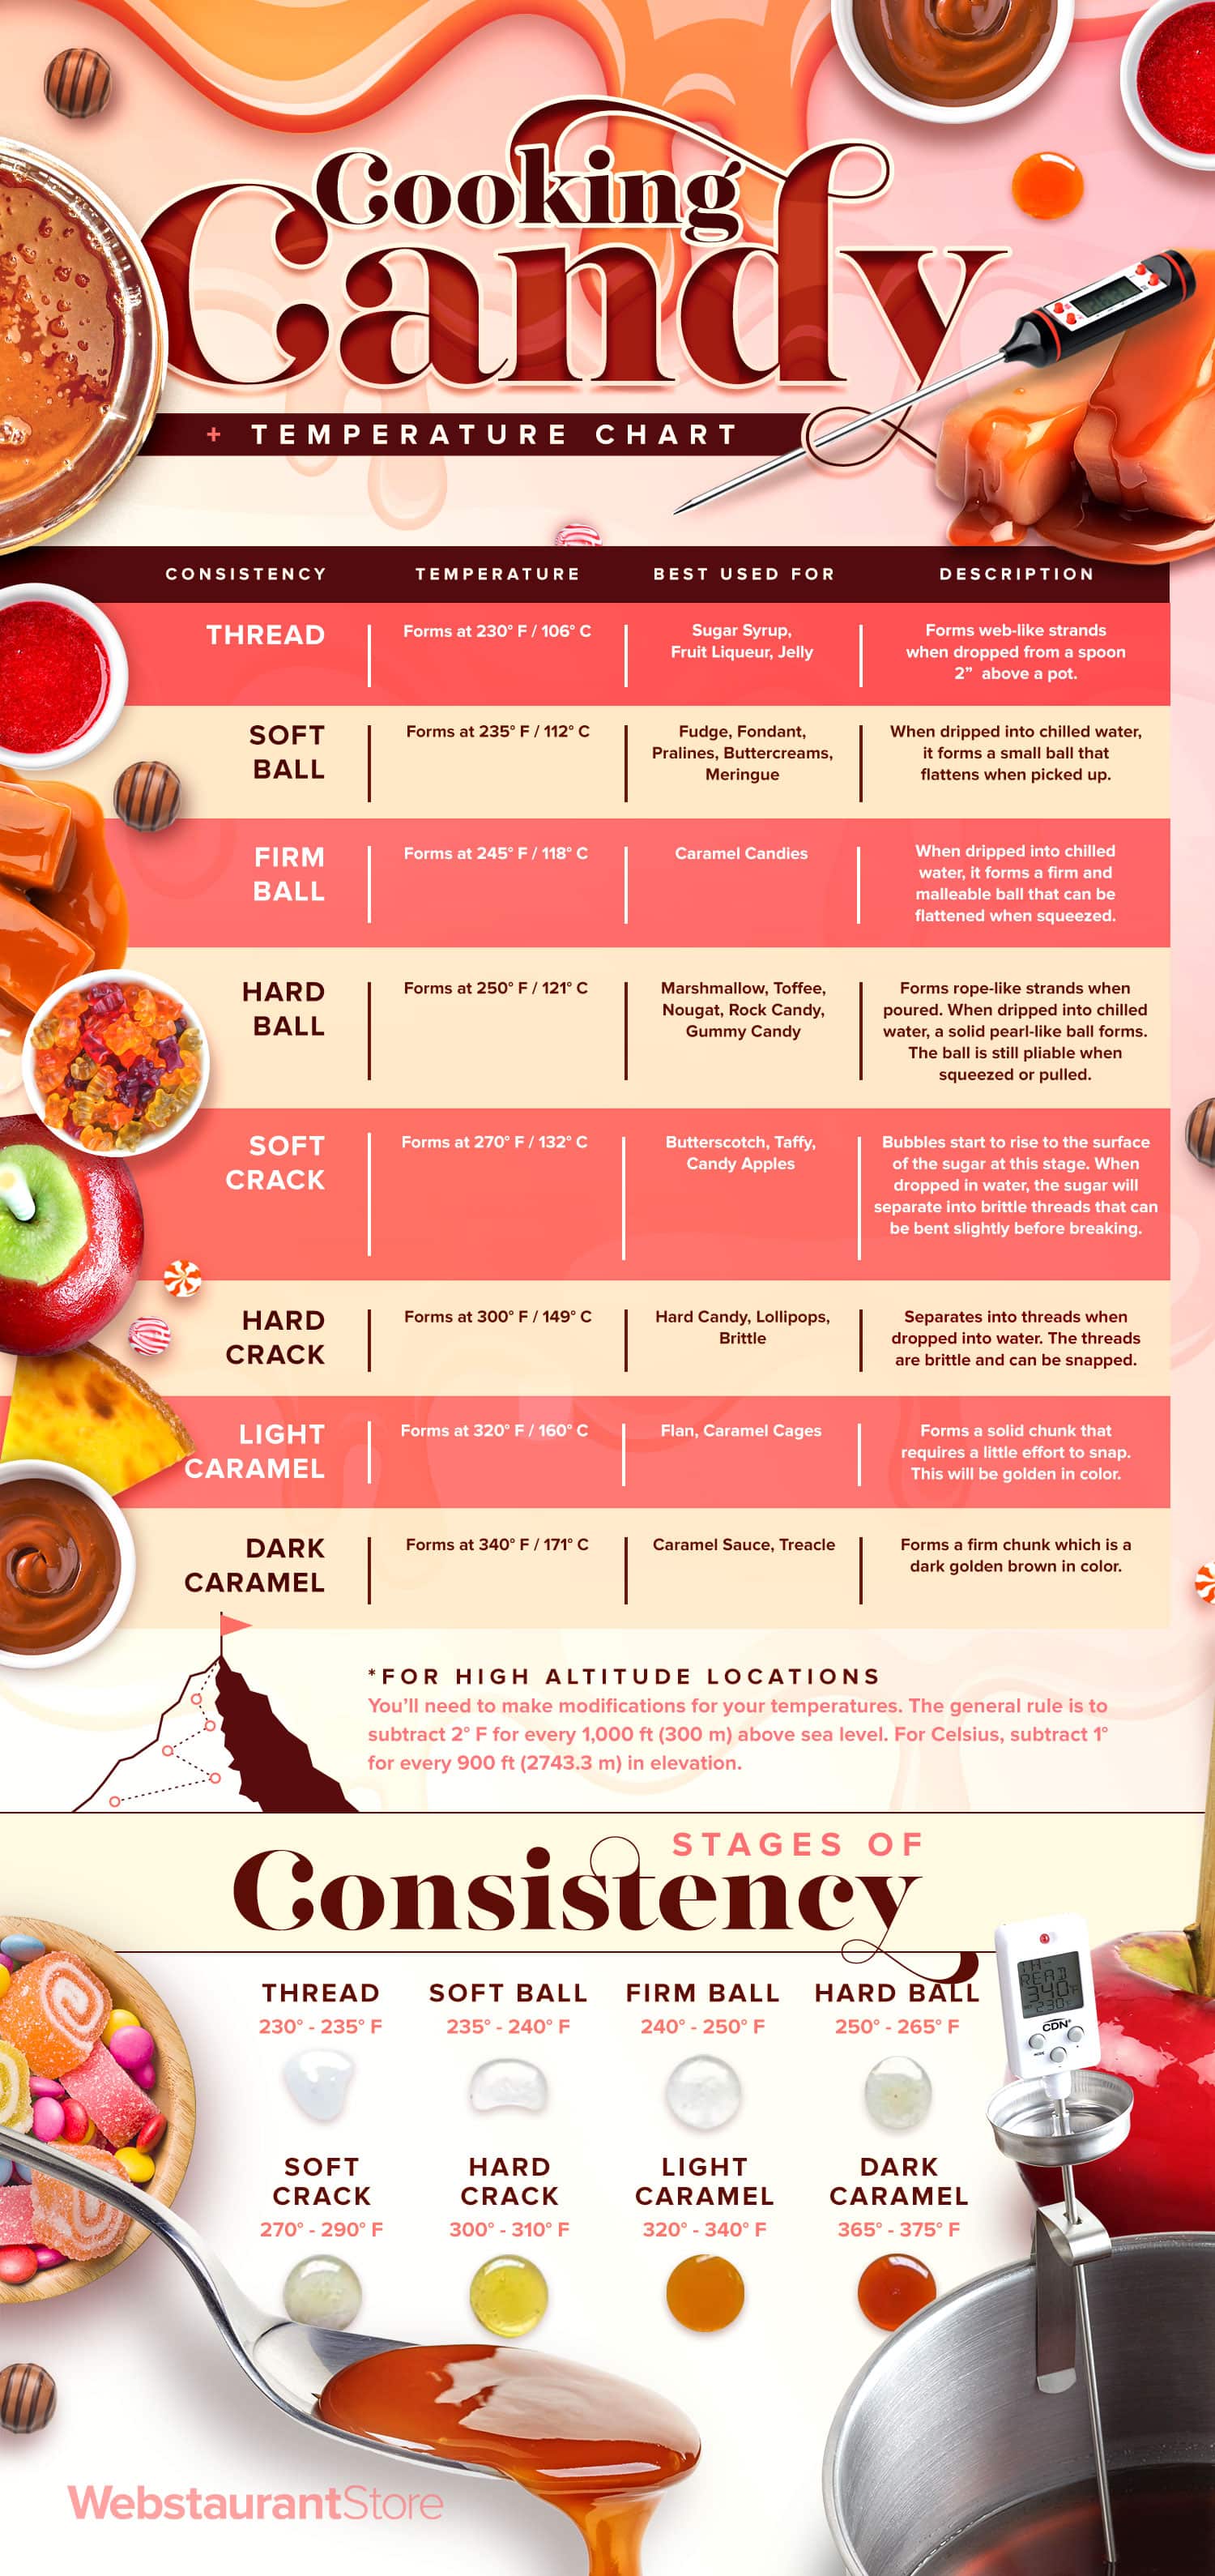
Candy Temperatures Chart
From webstaurantstore.com
Testing Your Candy Thermometer
To ensure that you achieve the desired results with your candy sugar, you’ll want to make sure that it is reaching the appropriate temperature. Use the following steps to learn how to test your candy thermometer with the boiling water test:
- Insert your candy thermometer in a pot of water so it does not touch the sides or bottom if the pot.
- Bring the water to a boil.
- Leave the thermometer in the boiling water for 5 minutes.
- Check the temperature, the thermometer should read 212 degrees Fahrenheit (100 degrees Celcius). Water starts boiling at this temperature if your location is at sea level.
- If your thermometer is accurate, you can begin your candy-making process.
- If the reading is higher than 212 degrees Fahrenheit, you’ll want to adjust the temperatures in the recipe to reflect the discrepancy.
High Altitude Candy Making
Because of the lower atmospheric pressure at 3,500 feet above sea level, bakers and confectioners are required to make certain adjustments for high altitude cooking. The boiling temperature of the water will be lower at higher altitudes, so you can either use the five-minute boiling water test listed above or make a few calculations.
To adjust your candy-making temperature for high altitude, subtract 2 degrees Fahrenheit for every 1,000 ft (300 m) above sea level. For Celsius, subtract 1 degree for every 900 ft (2743.3 m) in elevation.
Lavosh
Unleavened flat bread
Ingredients
- 1 teaspoon salt
- 1/2 tsp sugar
- 14.5 oz AP flour (about 2.5 C)
MIX ON A TABLE, THEN CREATE A WELL IN THE CENTER, THEN ADD - 1 egg plus 2 egg whites, beaten
- 2 TBL butter, melted
- 2/3 cup water
- Combine wet into the dry and mix until well combined
- Cut dough into eight pieces
- Butter bottom
- Roll until very flat – as thin as possible
- Transfer to ungreased baking sheet
- Brush with egg white and sprinkle with sesame seeds
- OR butter top and sprinkle with seeds
- Bake at 375º for 10-15 minutes
2 tablespoons sesame seeds
Old Timey Graham Crackers
Ingredients
- 1/8 tsp cinnamon
- 1/2 tsp baking soda
- 1/2 tsp kosher salt
- 3/4 tsp (aluminum-free) baking powder
- 1 7/8 oz AP flour
- 3 oz dark brown sugar
- 8 3/8 oz graham flour
PULSE IN FOOD PROCESSOR, THEN ADD - 3 oz cold butter (pieced)
AND PULSE UNTIL YOU GET COARSE MEAL, THEN ADD - 2 1/4 oz molasses
- 1 1/2 oz whole milk
- 1/2 tsp vanilla extract
- Pulse until you have a smooth dough
- Flatten into 1/2 strip, wrap in plastic, then refrigerate 30 minutes
- Roll out dough to 1/8 inch thick on parchment paper
- Dot (dock) the crackers
- Put onto a baking sheet and bake 350º for 25 minutes
- Allow to cool in the pan before removing
Rib Eye Cap Steak
A note from Grandpa:
This is an expensive cut, so it is worth the extra effort to make it truly special. It is practically Wagyu quality. You can butterfly it, and then spread a bit of butter of the surface and roll it up (roulade) and tie it into a tube. Cut this into disks of 1 1/2 to 2 inches, and cook in the oven at 550º until internal temperature is 125º (about 7-10 minutes) Remove to a plate and tent with foil for 5-10 minutes. Drizzle with melted butter infused with garlic, shallot, rosemary, and thyme.
From Snake River Farms
- Grade: USDA Choice or higher
- Weight: approx. 18 oz.
- English cross origin
- Wet-aged 21+ days for improved flavor and texture
- Hand cut by a master butcher
- Individually wrapped
- Product ships frozen and will arrive frozen or partially thawed
- Cost: approx $85 each
This rare cut is considered to be the single most delectable and flavorful steak available. Also known as the ribeye cap, deckle steak, calotte or spinalis dorsi, it is highly prized by top chefs, beef aficionados, and butchers alike. Surprisingly, a cut this spectacular is not universally known by its name, however anyone who has cut that small morsel of cap from a ribeye has realized there’s something special going on. If you look at a ribeye steak, you’ll see the large eye of meat that’s the center of the cut. Surrounding this center is the spinalis dorsi, or cap of ribeye. We carefully remove this from the entire ribeye roll to produce a beautiful cut that has the tenderness of a filet mignon, the rich marbling of a rib steak, and a mouthwatering flavor and texture all its own. The cap of ribeye is hard to find and is only available in limited quantities. Each steak is approximately 18 oz. and serves about 4 people.
“…Hands down, Double R Ranch is the best beef in the country.” ~ Eric Helner, Executive Chef, The Metropolitan Grill, Seattle, WA
Steak Temperature Guide
Here are the magic numbers you’ll need to determine when your steak is cooked to the degree of doneness you most prefer. The internal temp is when the steak should be removed from the heat. The steak will continue to cook so the temperature will rise during the rest period.
| Preference | Description | Internal Temp |
|---|---|---|
| Rare | Red center, very cool | 110°F |
| Medium Rare | Red, warm center | 120°F |
| Medium | Pink throughout | 130°F |
| Medium Well | Pink center | 140°F |
| Well | No pink | Not recommended |
*Consuming raw or undercooked meats may increase your risk of foodborne illness. The USDA recommends an internal temp of 145°F and resting for at least 3 minutes.
FEEDBACK
Best Cut Around
I received a rib cap from SRF as a gift. I seasoned with SPG, cut it in 4″ strips, rolled and tied each strip. I cooked over an open flame on my fire pit, using lump charcoal and oak. After an hour of cooking, I pulled the meat off with an IT of 125 degrees F. It was the most tender and flavorful steak I have ever had. Definitely buying this again.
SUPERB FLAVOR AND TEXTURE
The ribeye cap is my favorite cut of steak for special occasions. This is the fourth time I have ordered this piece. The flavor is superb, it has a very deep “beefy” flavor, and, if prepared correctly, exhibits melt-in-your-mouth tenderness. I cut this huge hunk of meat into two pieces, and cook them separately, one takes less time, as the cut tapers from very thick at one end to thin at the other. I reverse sear this cut, and I believe that is the only way to properly grill this hunk of meat. It ends up moist and tender on the inside, and beautifully charred on the outside.
Cream Puff – Choux Pastry
- 1 stick butter
- 3/4 C water
- just a pinch of salt
- 2 TBL sugar
- bring up to a boil
- 3/4 C Bread flour (about 6 oz flour – about 180 gm)
- 4 eggs plus two whites
See also Pate a Choux or Croquembouche
- Combine 1 stick butter, 3/4 C water and 2 TBL sugar
- Bring up to a boil
- Reduce heat to low, and stir in 3/4 C Bread flour all at once, while still hot, and stir quickly to combine
- Cook until the dough partly cooks – about 3-5 minutes
- Let cool until it is just warm, not hot
- NOTE: It freezes well at this point
- Put the mixture into a Kitchen Aid and add 3 whole eggs, one at a time letting each one completely incorporate
- Use an ice cream scoop to place balls (or pipes) on a baking pan lined with parchment
- Pipe into a pile, or forth and back to make an even pipe
- Bake at 425º for 10 minutes
- Lower heat to 350 for 10 more minutes
- Cool and vent (by poking a hole in the top or sides)
- Fill by piping in pastry cream (see below)
Authentic Pastry Cream
- 3/4 C whipping cream
- 8 oz marscapone
- 2 TBL powdered sugar (100 gm)
- OPT: Fold in 1/2 C raspberry jam
Cooked Pastry Cream
- 1 large eggs plus 1 yolk
- 50 gm granulated sugar
- 1 C whole milk
- 15-20 gm butter
- 15 gm cornstarch
- 1/2 tsp vanilla
- only a pinch of salt
- Combine sugar, eggs into a glass bowl
- Sift corn starch in, then set aside
- Bring milk and other ingredients to a simmer
- Temper into your egg mixture (about a quarter of it)
- Put eggs back into the milk, and return to heat
- Heat, but DO NOT simmer
- Will thicken quickly
- Strain and cool
- Pipe into your puff
Chocolate Topping
- 230 gm chopped chocolate
- 170 gm heavy cream
- 5 tsp coffee
- 1 pinch salt
- 1 TBL corn syrup
- Heat over a double boiler
- Let cool to 90 degrees before putting on puff
- Chill briefly
Italian Collection – COLLECTION INDEX
CLICK HERE TO VIEW ENTIRE DOCUMENT
- Pastitsio
- Parmesan Cheese Sauce
- Preparing Pasta
- Ricotta Manicotti
- Basic Tomato Sauce
- Green Beans with Caramelized Shallots
- Food Facts
- Bleu Cheese
- Danish Blue
- Roquefort
- Salmon Cakes
- Fig Spread
- Macaroni and Cheese
- Holiday Potluck
Danish Pastry
Dough
- 1/4 C warm water
- 1 pkg yeast
- 1/2 C warm milk
- 1/4 C sugar
- 1 egg
– Whisk together - 2 1/2 C AP flour
- 1 tsp salt
– Pulse dry ingredients - 2 sticks cold butter – cut into tabs
– Pulse to pea size with dry ingredients
– Fold wet and dry together - DO NOT overmix
– Wrap in plastic
– Refrigerate 10 hours
- Dust counter with flour – use sugar shaker
Dust both sides - Flatten and roll
- Fold (tame) into a square
- Dust and flatten
- Fold into thirds
- Roll from center – outward
- Keep square shape
- Fold into thirds again
- Cut in half
- Wrap both halves (separately) in plastic
- Refrigerate 1-20 hours
The next day - Dust surface with flour
- Roll into 10×20 square on floured surface
- Cut into 5 inch squares
Filling
- Fill with 1 rounded tsp of filling
- Add 1 tsp pastry cream
– Paint edges with egg wash
(1 egg and 1 tsp water) - Fold (see Folding Techniques)
Apricot Filling
- 1 C sugar
- 1 C apricots
- 1/2 C water
Prune Filling
- 1 C sugar
- 1 C prunes
- 1/2 C water
- 1 tsp cinnamon
- 1/2 tsp vanilla
Alternative Filling
- Raspberries
- Blueberries
- Blackberries
- Strawberries
- Lingonberries
- Cranberries
Confectioner Cream
- 1 C heavy cream or Half and Half
- 1 1/2 TBL cornstarch
- 2 TBL granulated sugar
- Microwave 1 minute, then stir
- Microwave another minute, then stir
- Switch to microwave time of 30 seconds, then stir
- Repeat about four more times until quite thick
- Temper in 1 egg yolk mixed with 1 tsp vanilla
- Once tempered, mix all together
- Chill 30 minutes before using
Filling Preparation
- Chop desired filling in food processor to chop, not quite to puree
- Mix with 2 TBL lemon
- Optional: 1/2 tsp almond extract
- You can jar and refrigerate
Microwave
Microwave for 10 minutes, stirring every 60 seconds
Stovetop
Bring to a simmer and cook 5 minutes, stirring continually
Folding Techniques
Packet
- Put filling in center
- Pick up all four corners
- Bring to the center over top of the pastry
- Pinch together
- Twist to secure
Tre Hjorne
- Put filling in center
- Fold opposite two corners together
– create a triangle (three corners) - Put a little twist in the two pointed corners
Spandaur
- Put filling in center
- Put opposite corners – one on top of the other
– this will create a kind of a roll - Secure with egg wash
- Egg wash and decorate with scraps
Half Circle Fold
- Cut the edges off the square, creating a circle
- Put filling in center
- Fold the circle into half
- Secure – paint edges with egg wash
- Use the leftover pieces to create a decoration
- Secure with egg wash
Star Fold
- Put filling in center
- Slice from filling to each of the four points
You will have an X with no cut under the filling - Secure – paint edges with egg wash
- Fold over left sides, leaving the right sides pointed out
After Folded
- Put parchment paper on a baking sheet
- Place folded pastries parchment paper
- Let rise 30 minutes
- Brush with egg whites
- Sprinkle with Pearl or Turbinado Sugar
- Bake 400º for 10 minutes
Icing
- 1/2 C confectioner sugar
- 2-3 tsp milk (start with 2)
- Put into sandwich bag and secure the open end
- Cut the merest tip from the bag
- Squeeze icing out – drizzle randomly over top
Sourdough Braided Wheat Loaves
Questions? Always start out at GRANDPA'S SOURDOUGH COLLECTION INDEX
Follow the instructions on reviving your starter.
Here is a recipe for bread loaves:
Feed your starter overnight
- Take your LIVE starter and add 3/4 C whole wheat flour and 1/2 C white flour
- Mix with 1/2 C water
- Knead and let rise 4-5 hours (better overnight)
Ready to make bread
- Sift 2 tsp salt with 3 C all white flour
- Mix in 1 1/4 with the starter
- Add the flour mix to the starter mix
- Mix by hand and proof 5 hours
- Shape 1/2 of the dough into a loaf and cook as bread
- Take the other half and distribute as follows:
- 25% in the jar as starter for your next use
- 25, 25 and 25 % in three ropes – use to make a braid
- Let relax, and shape into a loaf on a baking sheet
- Let both rise for one hour
- Bake (covered with foil) at 350 degrees for 20 minutes
- Remove foil and bake another 10 minutes